

Everyone’s tastes are different, which is great as it allows us to discover the world through the eyes of others. That magic is often rewarded, especially on 35mmc. That said, I believe a freshly new image (whether digital or a film scan), a RAW file, is still a preliminary image that needs to be worked on in order to reach it’s full potential. Tastes vary from a person to another, especially with black and white (which I’ll only cover in this article).
If you go back to the film age, each shot was put in an enlarger where some modifications were made. Choice of the paper, gradation filters, dodging and burning, etc -all these techniques are still relevant today, you might use them with preset, or manually in the software of your choice to post-process an image. I make all these sorts of changes myself. So as to better illustrate my point let me show you some before/after of scanned negs:
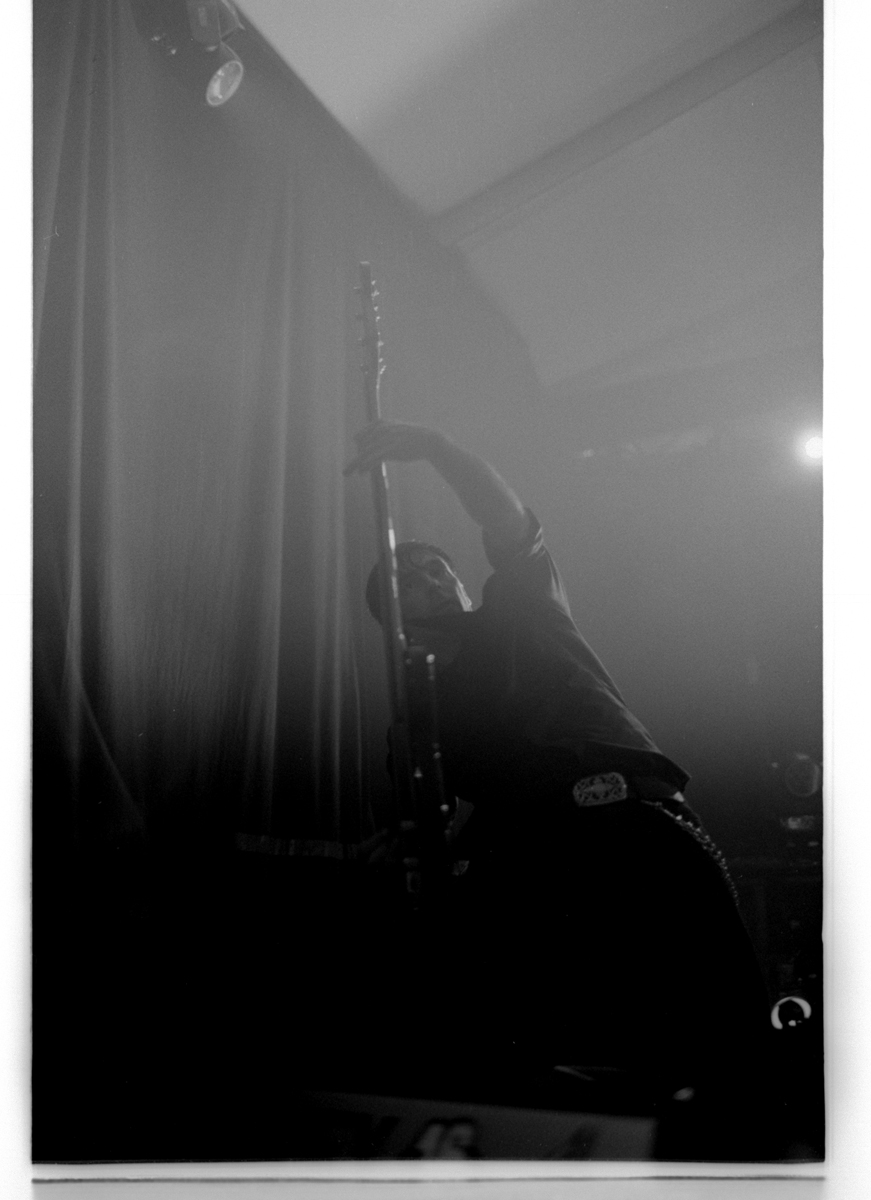
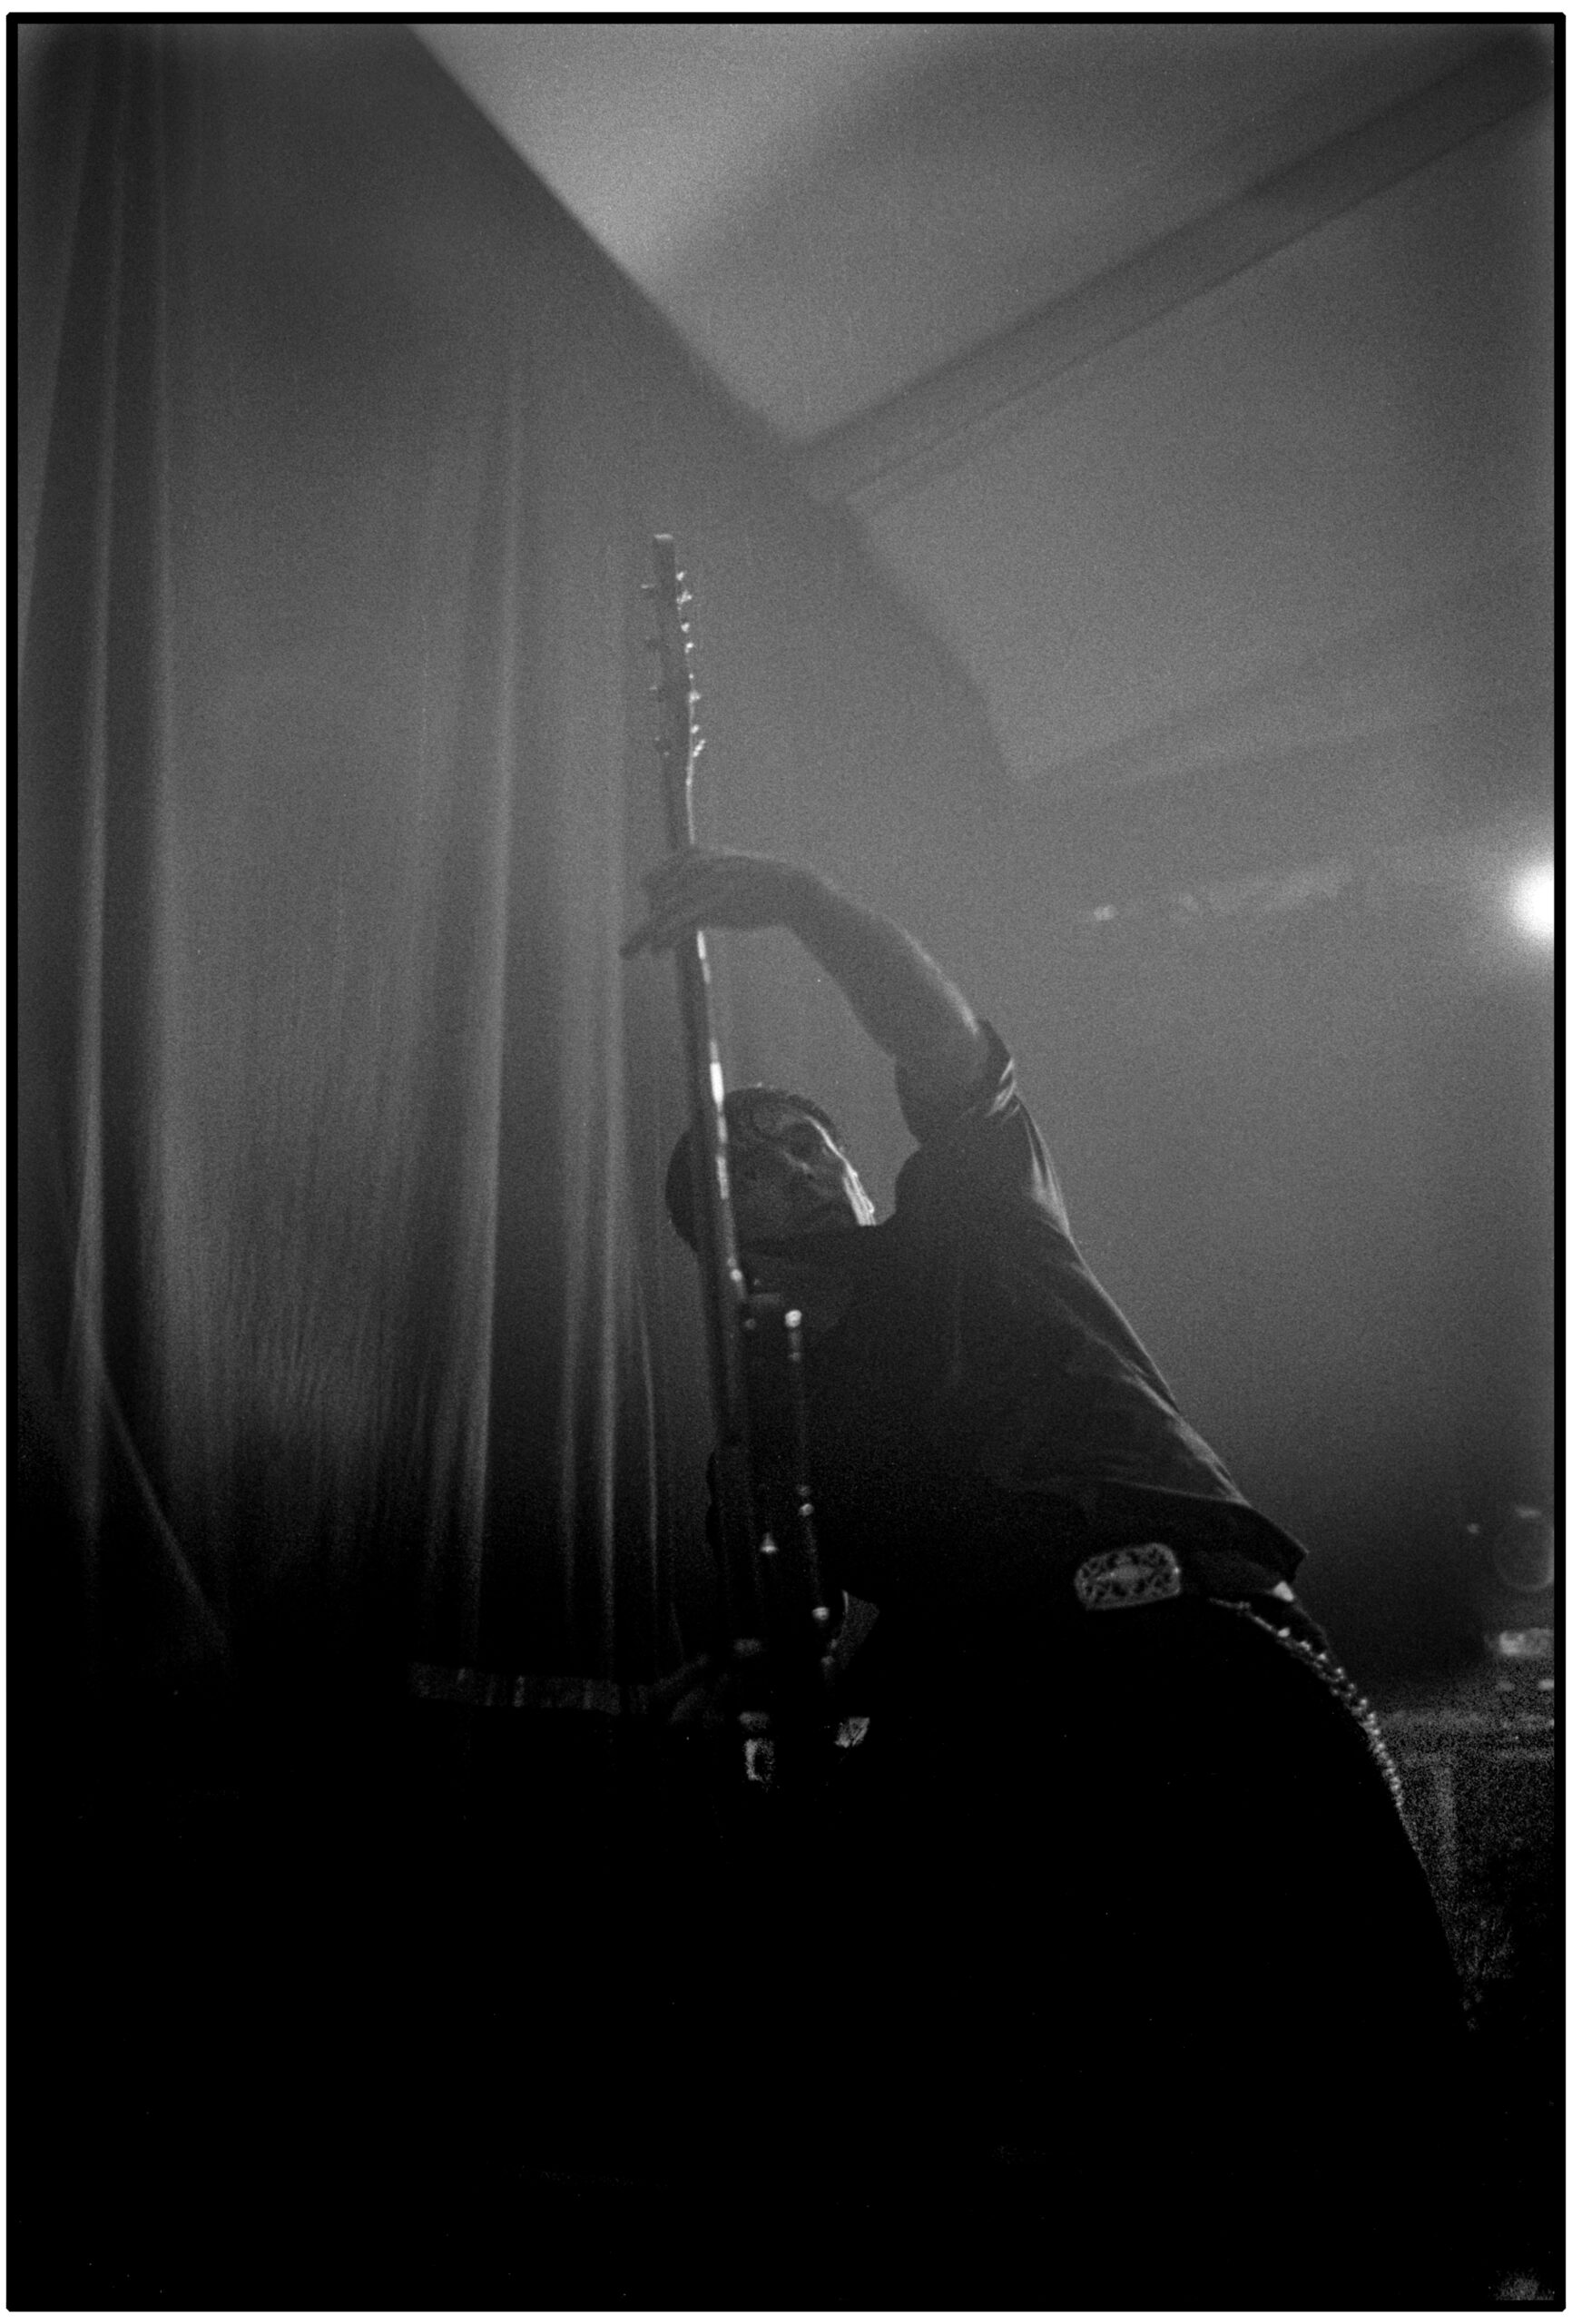
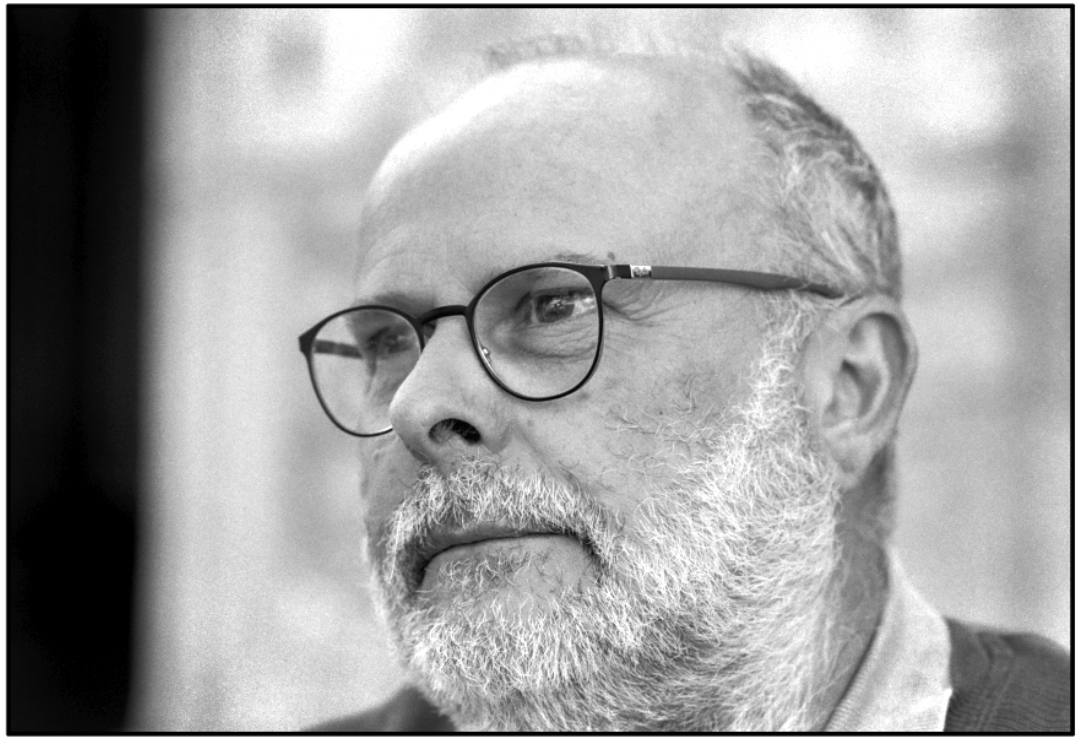
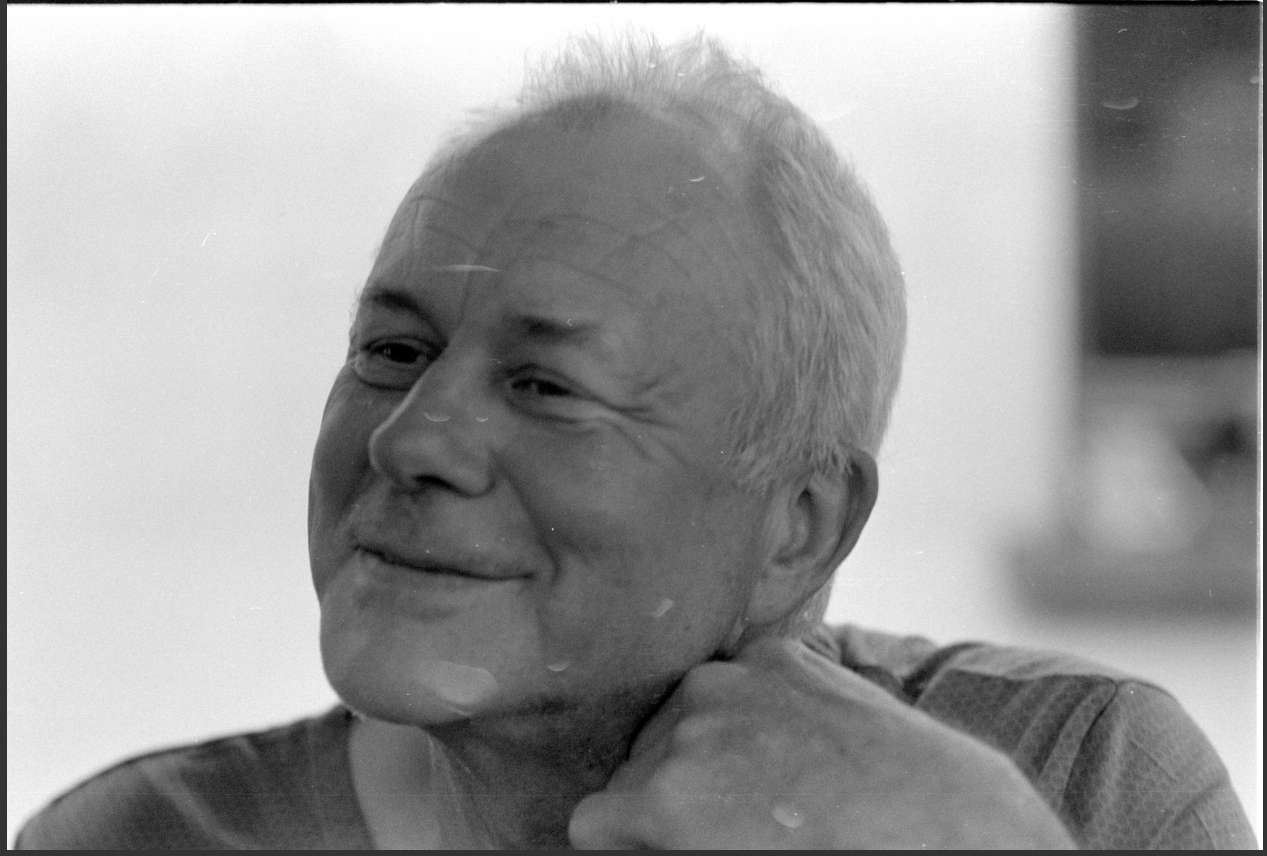
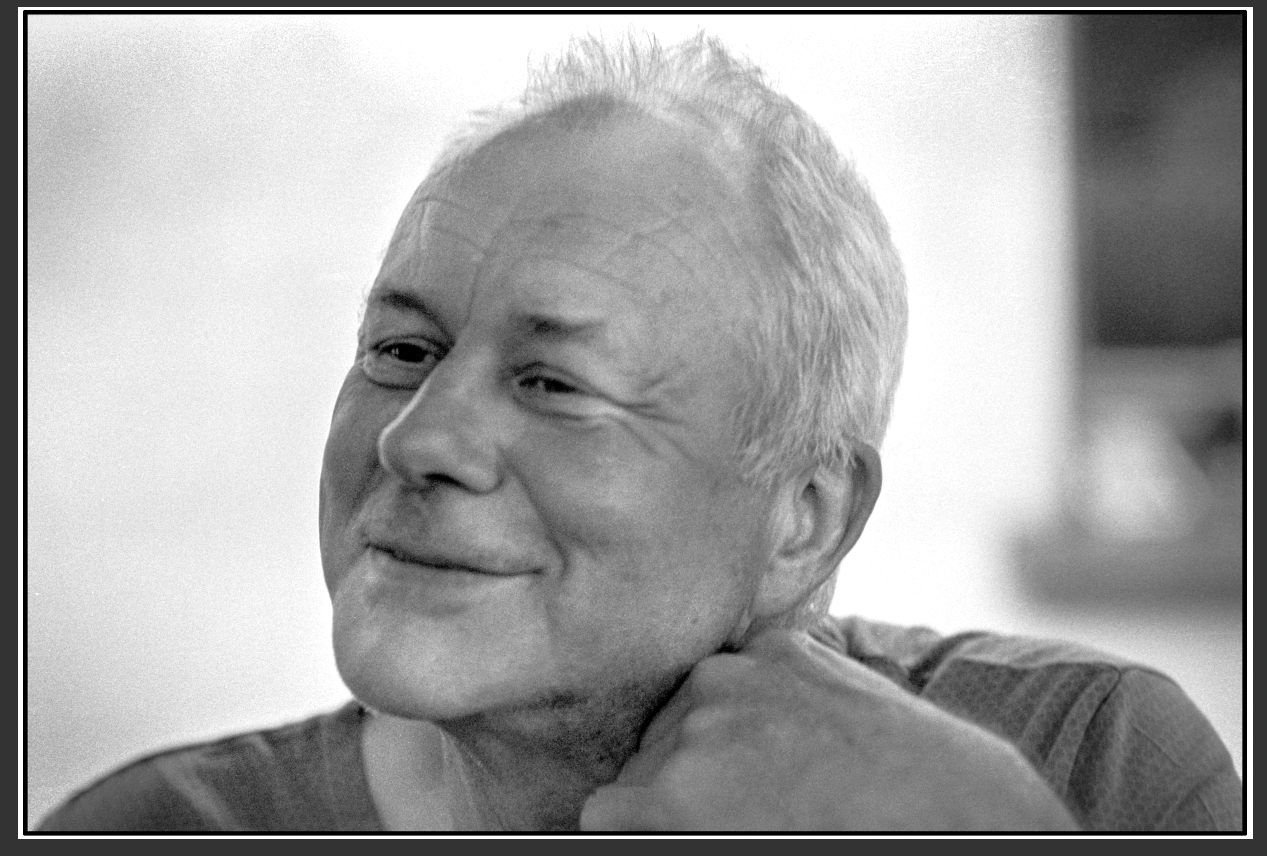
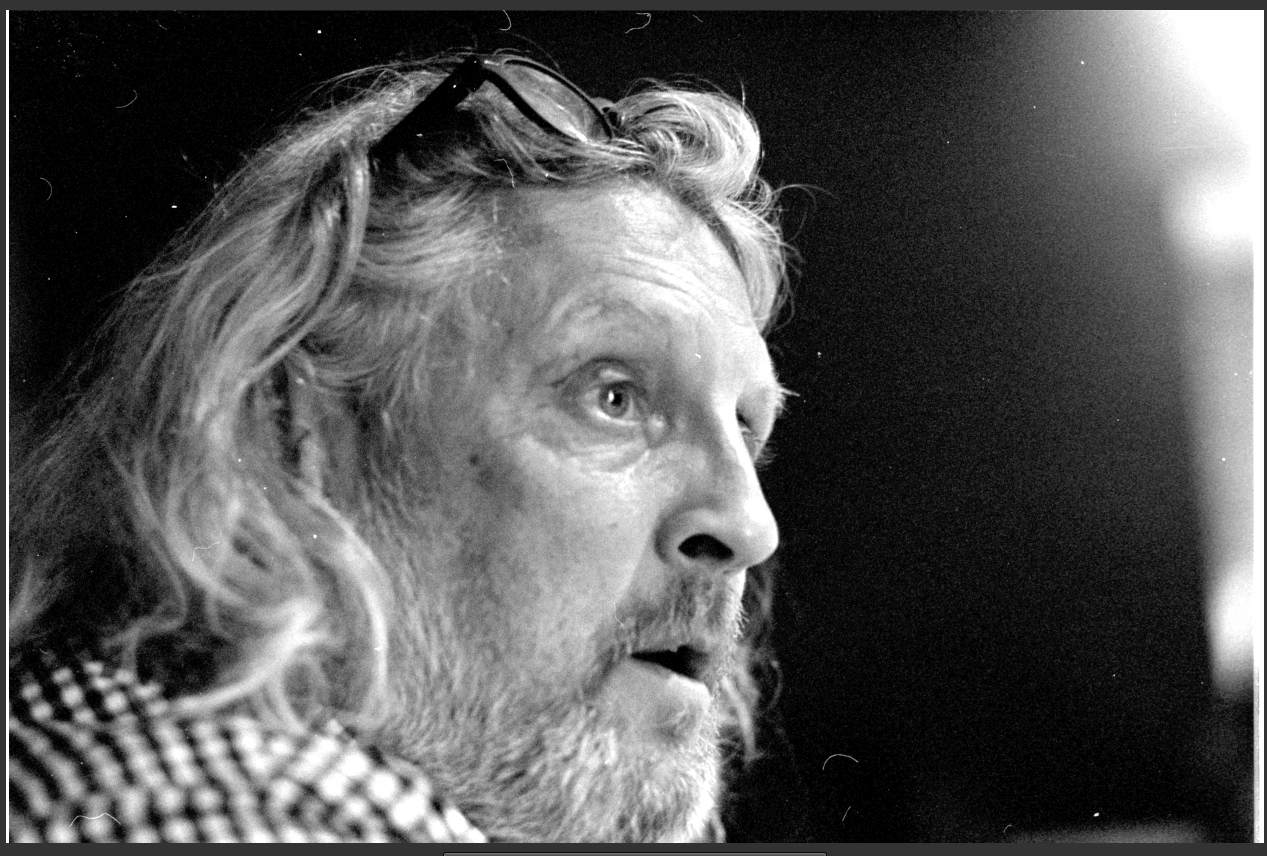
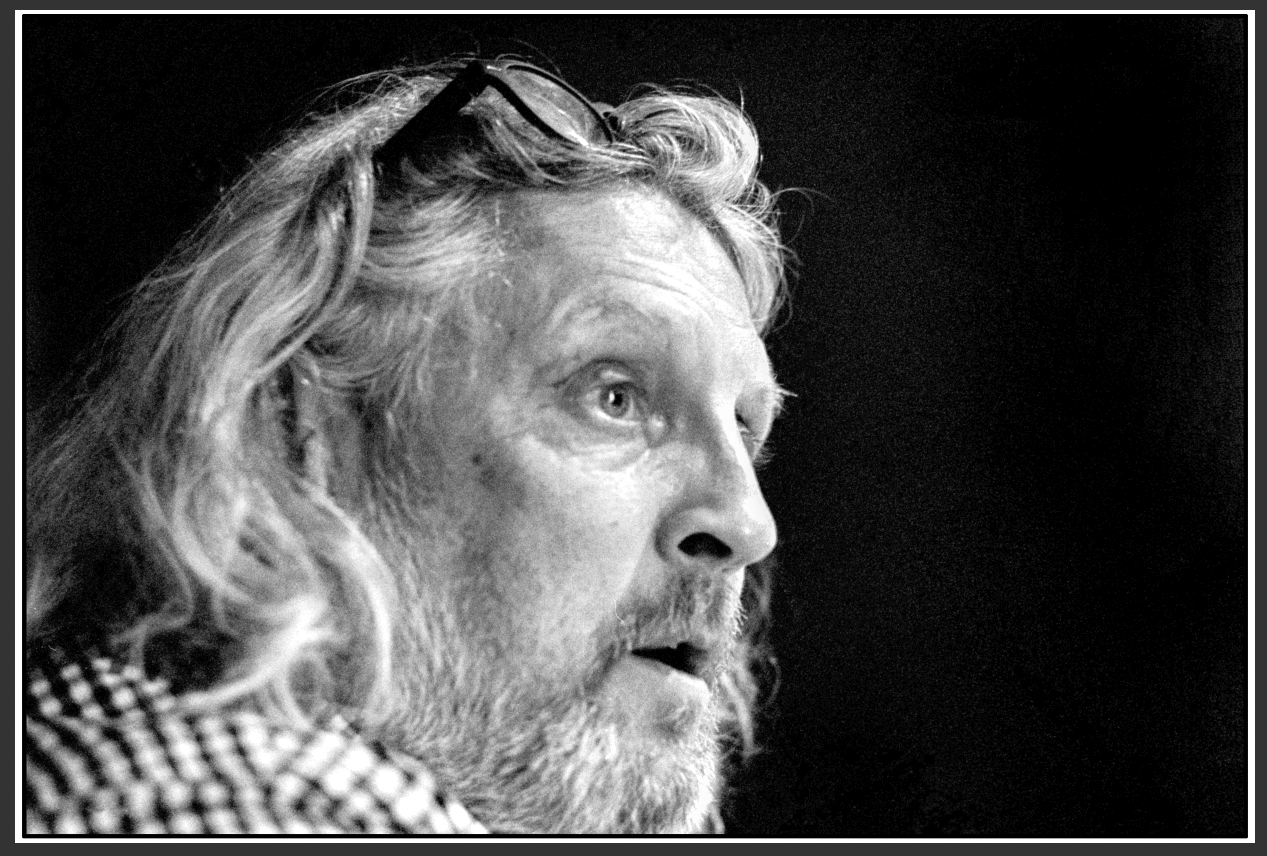
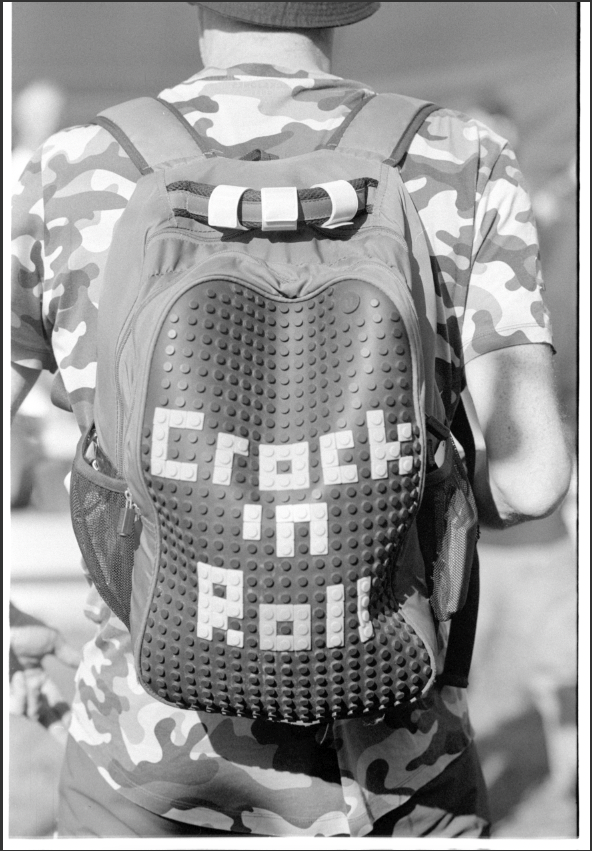
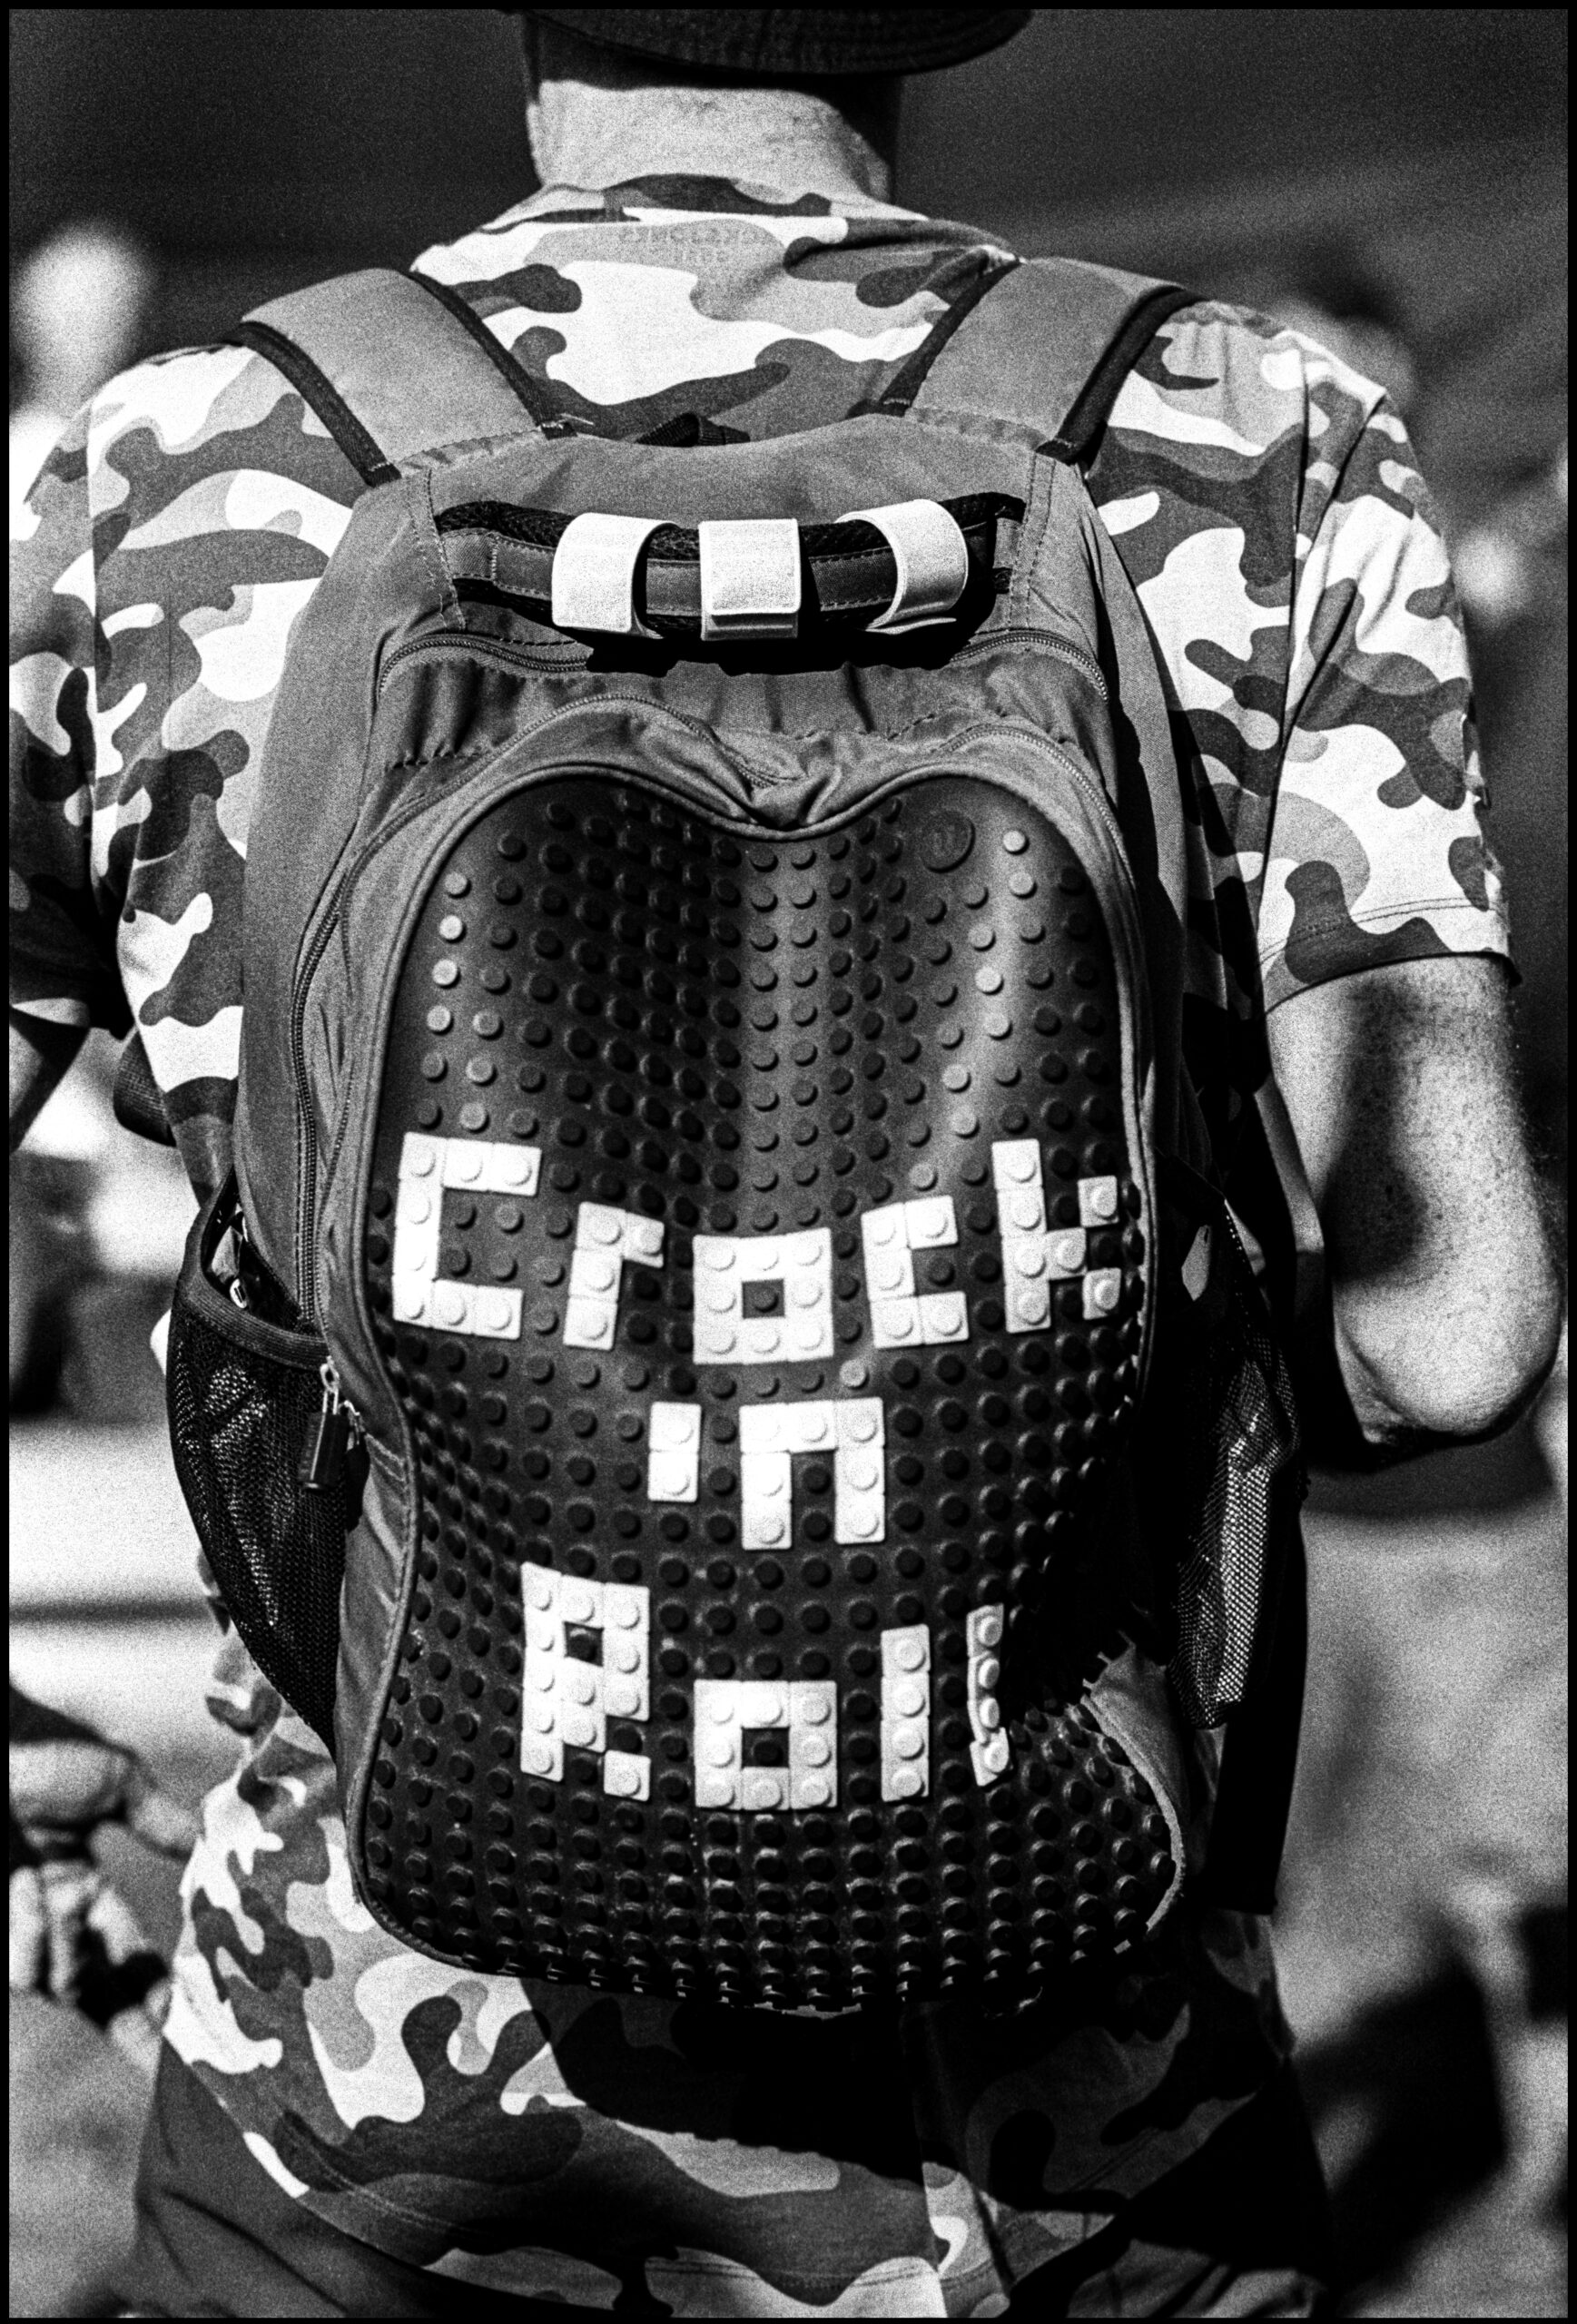
Sometimes, it’s not a big nor long process, sometimes, it changes completely the image to give it’s full potential.
I saw a documentary not too long ago, where the photographer was preparing an exposure and was working with the printer to have the image as HE SAW in is head when pressing the shutter. I then saw multiple tries to increase some part of the image until the photographer was satisfied. Doing myself wet printing, I knew how long it took, and the feeling to see your image taking live. Such privileged moment are rare, and as a lot of photographer, I do not spend enough time in the darkroom, thus my digital process is very important to me, as I want to be as close as possible to the image I took and had in my head as the finished products. Thus, the idea of sharing this post and some of my “recipe” came.
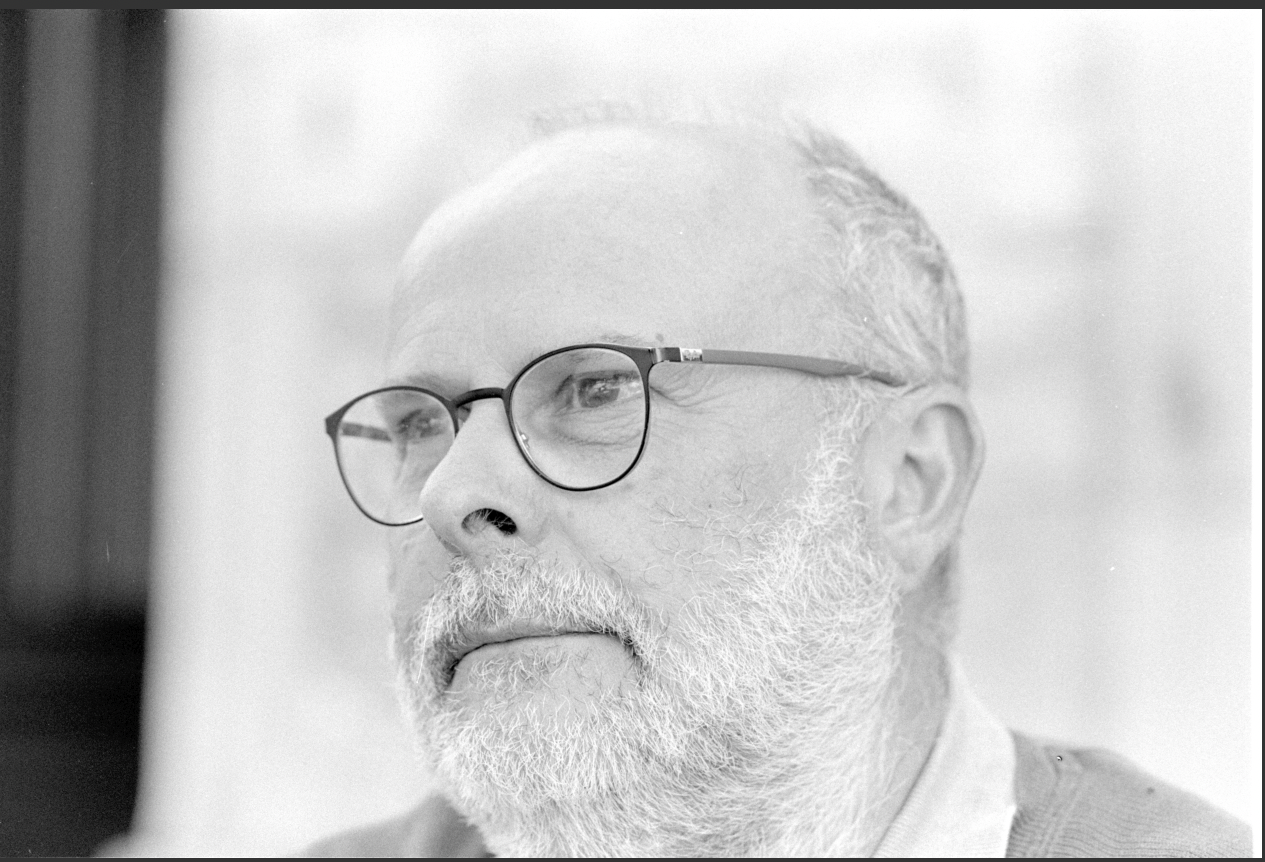
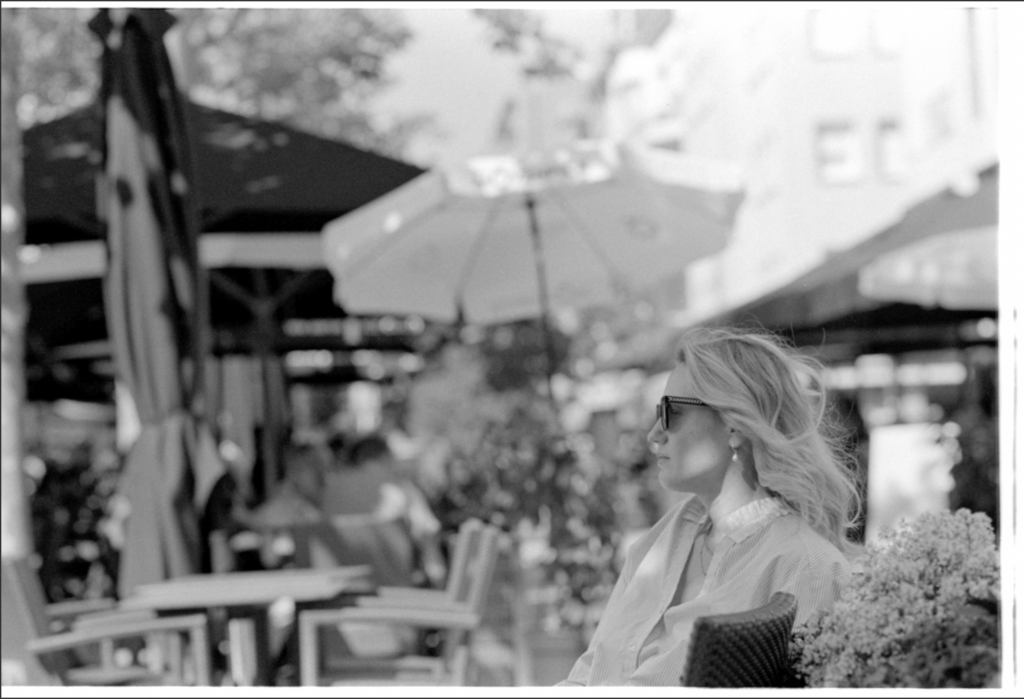
The RAW scan
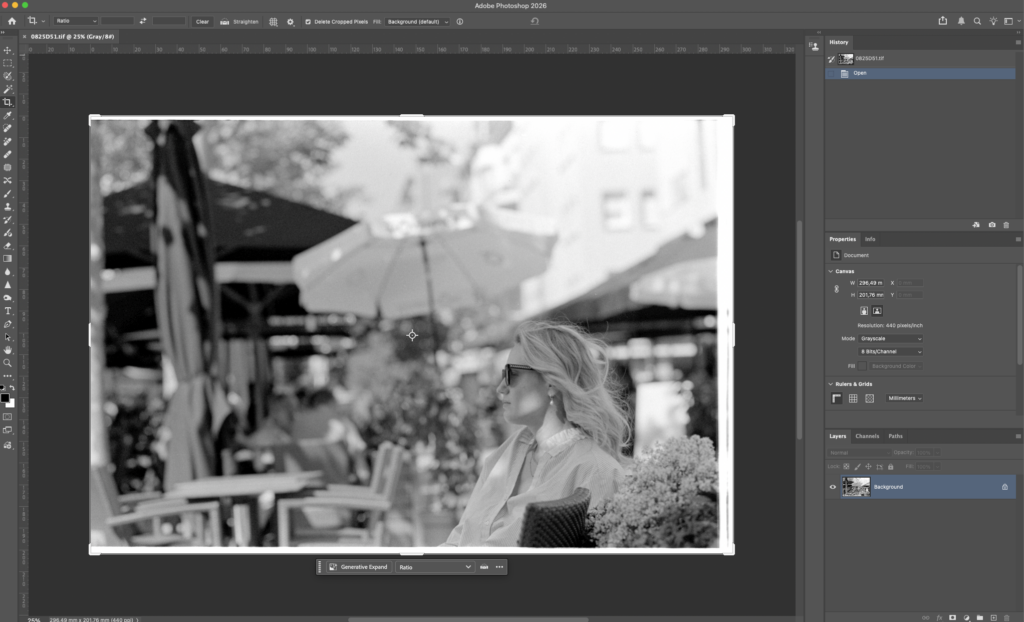
The exposure is good, and for some, it would be enough. Printing on an enlarger taught me that a black and white photography, is pure black, pure white, and as much different shades of grey as possible. The purpose of this is to enhance your subject, make it pop out of the frame.
My Process
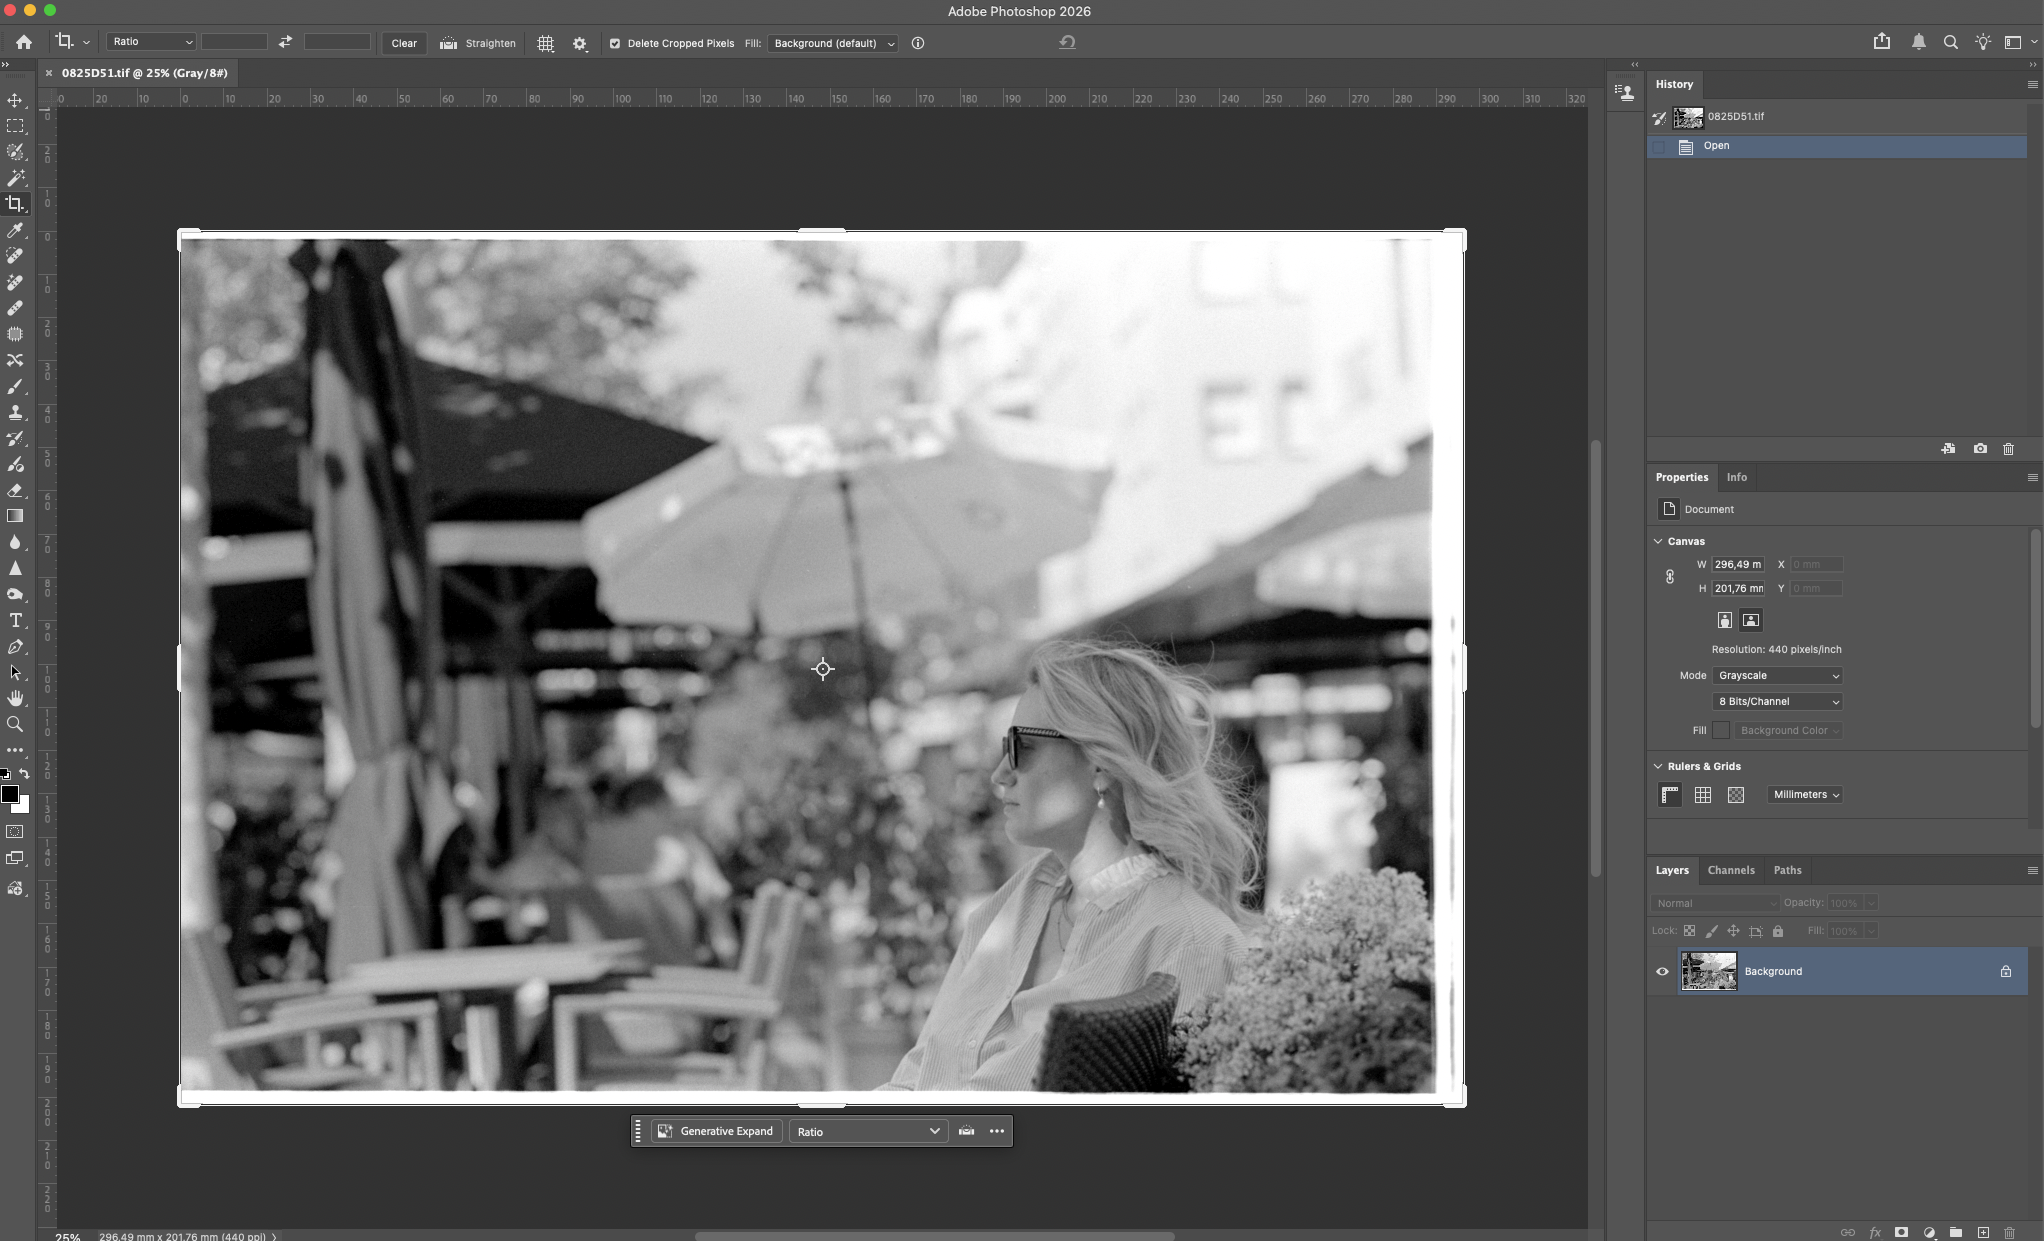
Firstly, cropping and cleaning the image: Usually, and when I have the time, I’ll try to apply in the viewfinder the rule of third, placing my subject on one of the intersections. In this case it’s near, and it shows I haven’t shot as much as I should have done lately.
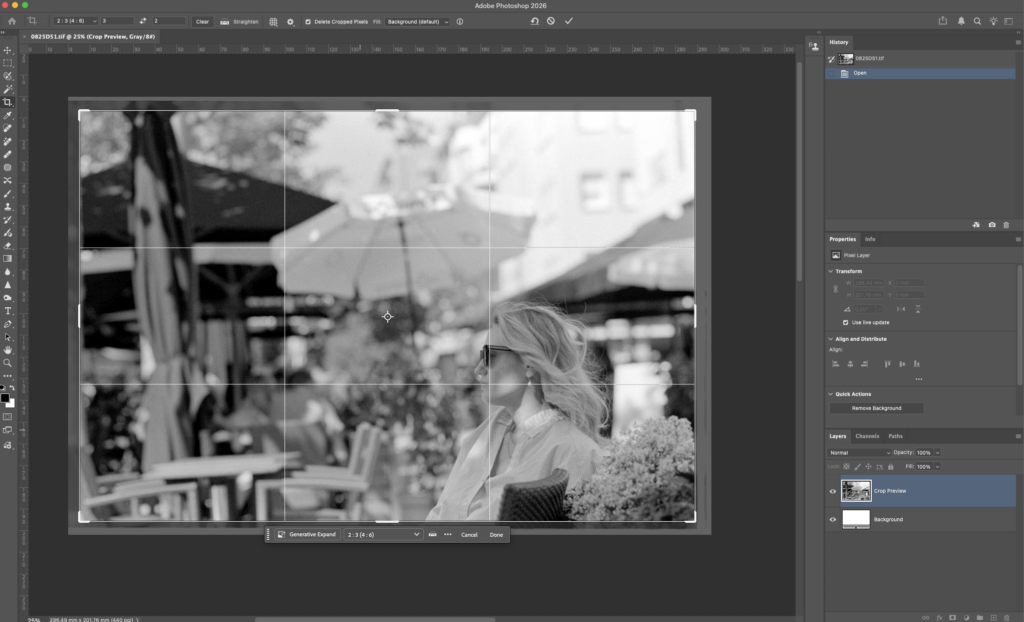
Here is the result. You do not really see it, but in fact the image is actually grey.
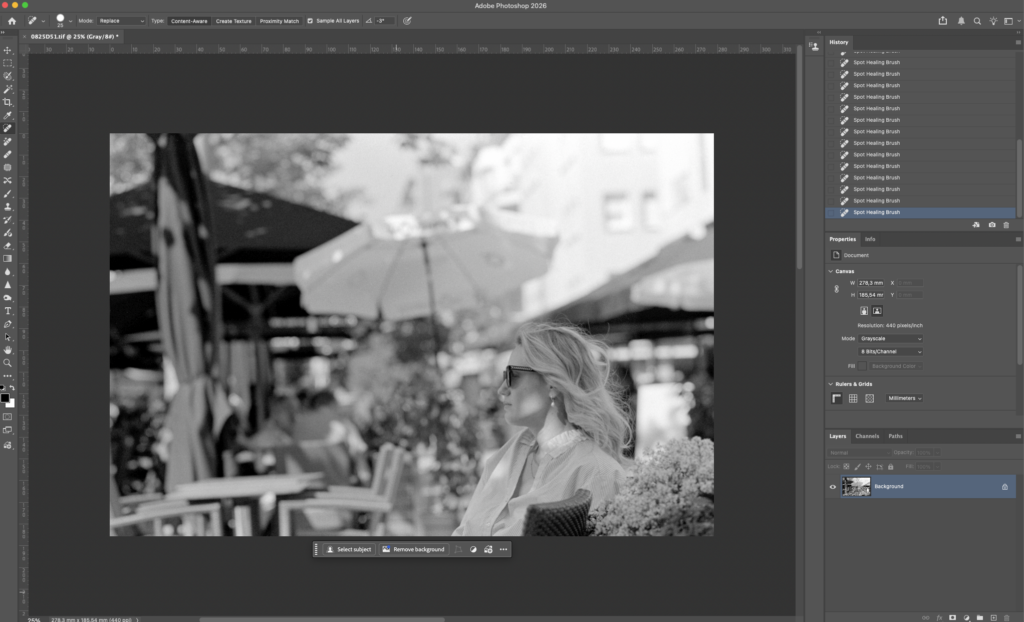
Next step is to open Camera Raw (Command – Shift – A on a mac). Camera Raw is the same engine used in Lightroom to develop images, only in Photoshop it is much more complete and gives a whole lot of possibilities. The plus side to working with Photoshop is that all correction, manipulation are embedded in the TIFF, whereas on Lightroom, all modifications are stored in an xmp files. The result is that if you have any problem with your library, and cannot go back, all the corrections are gone. It happened to me two times before I switched to Photoshop.
Here there are multiple options and parameters that I will change, my goal is to put as much light, black and white to reveal the subject and go for a real black and white images. Firstly, I’ll add some black, diminished the Highlight, add some clarity and/or texture depending on the finish I’m seeking:
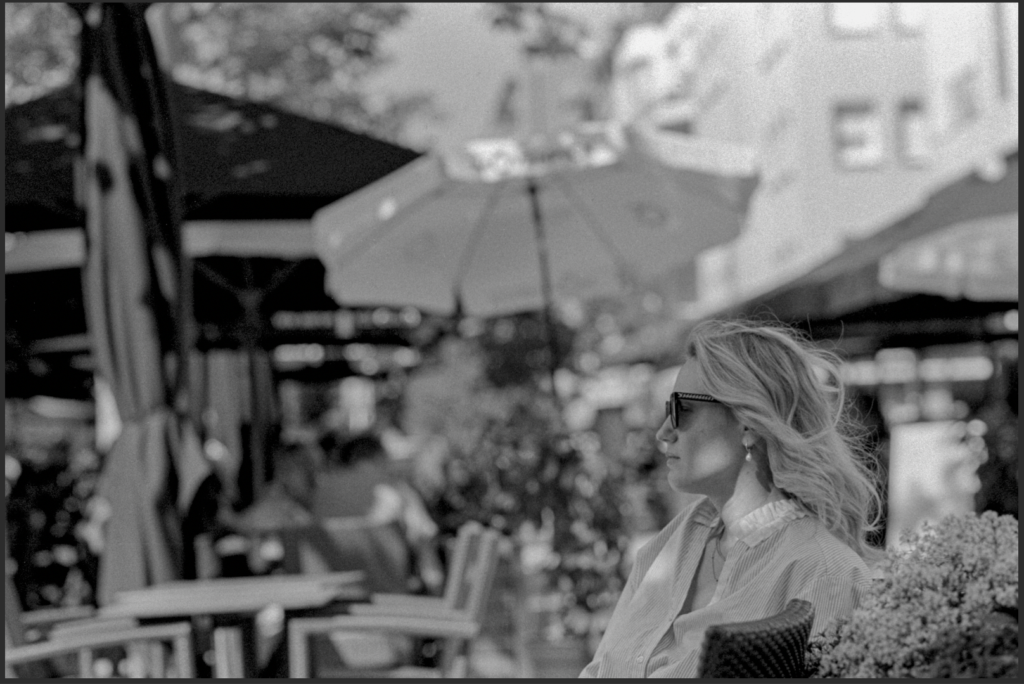
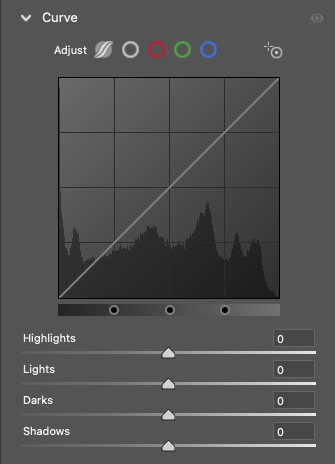
The clarity will help emphasises my subject, whilst decreasing the highlights helps later on. The black is just there to have a more contrasty image. Next step, is to play with the Curve tool, luckily like Lightroom, I have the full spectrum of channels to play with: Highlight, Lights, Darks, Shadows. I’ve found that these are the less detrimental to the quality of the final image.
Which will give this as a result:
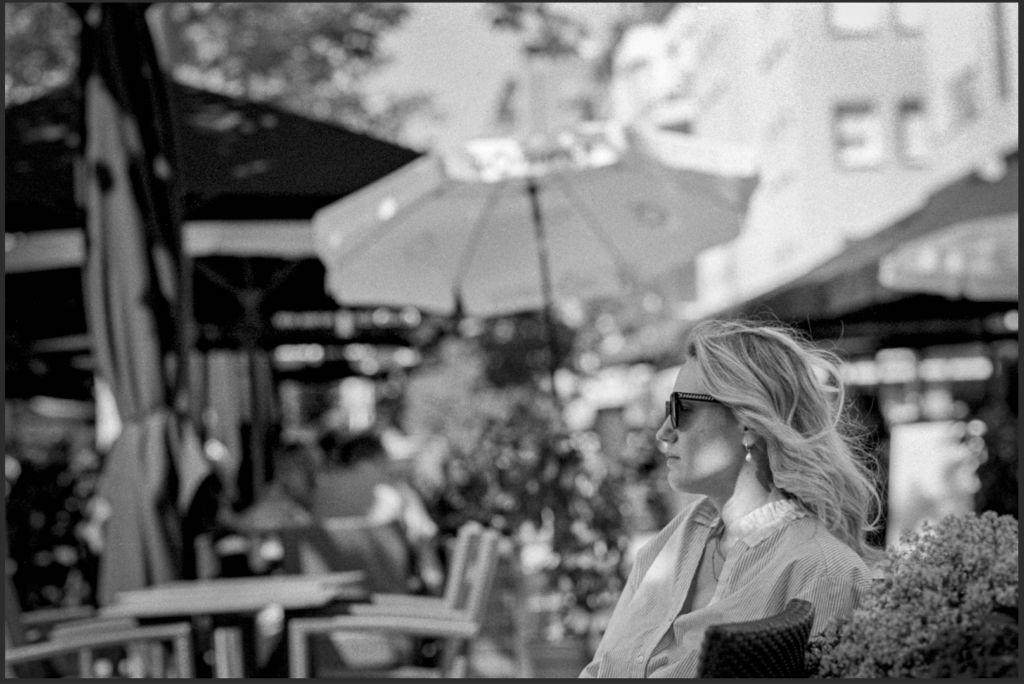
You can already see the image takes shape and is no more what the Raw neg was. Just a touch of clarity and texture, opening the shadow, give some Lights and a bit of highlight. (not too much as this will be dealt with later on). Comparing both of them, the difference is a bit subtle, but we can see that the subject starts to get emphasis and pop out a little bit. But, for me it is still a grey image.
I will then add a white layer, reduce the size of my main layer and add a little black stroke. The reason for this manipulation, is to have an image, with pure white and pure black to compare with my less grey image. It facilitates any further transformation.
The next step is for me to add two more layers: Levels and Brightness/Contrast
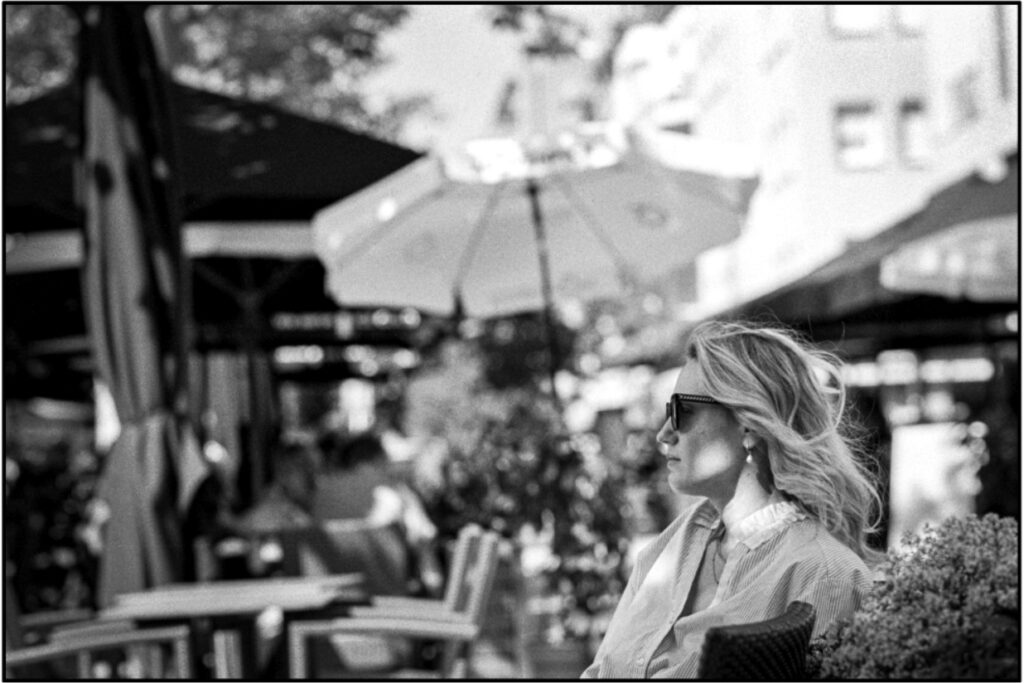
Again same goal, make my subject pop! But as you can see now, I have light, however her eyes are too dark.
Last step: dodging and burning
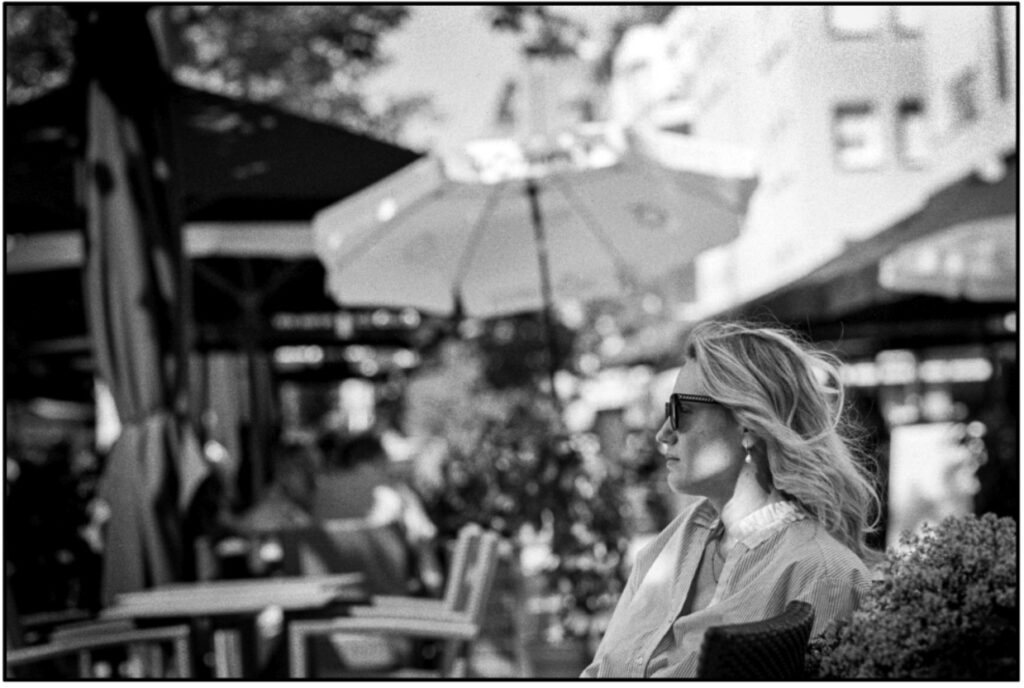
It doesn’t have to be heavy, the different step is a transformation following your own taste, I took me time and different software to eventually deciding on Photoshop, as this allows me to be as close to what I would do in front of an enlarger.
So here are the before after of the same negative. Even when sometimes I see when reviewing my to-do folder an image that seems nice and contrasty enough, as I see it in Photoshop, I know it’s not a black and white image!
Which one do you prefer? Why?
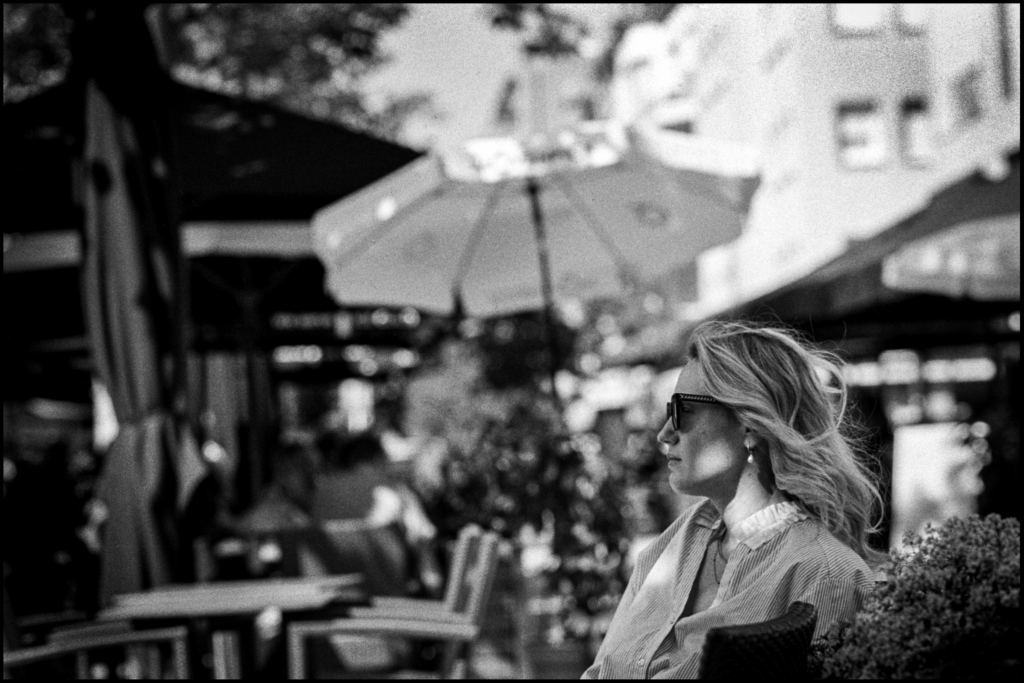
I hope this was interesting for you, do not hesitate to comment or ask questions!
Happy shooting to all,
Alex
A very big thank you to Scott Ferguson, who helped me a lot both in correcting my text and for his input and questions who made this post possible without the use of AI or (hopefully) making Hamish go nuts!
Share this post:

Comments
No comments found