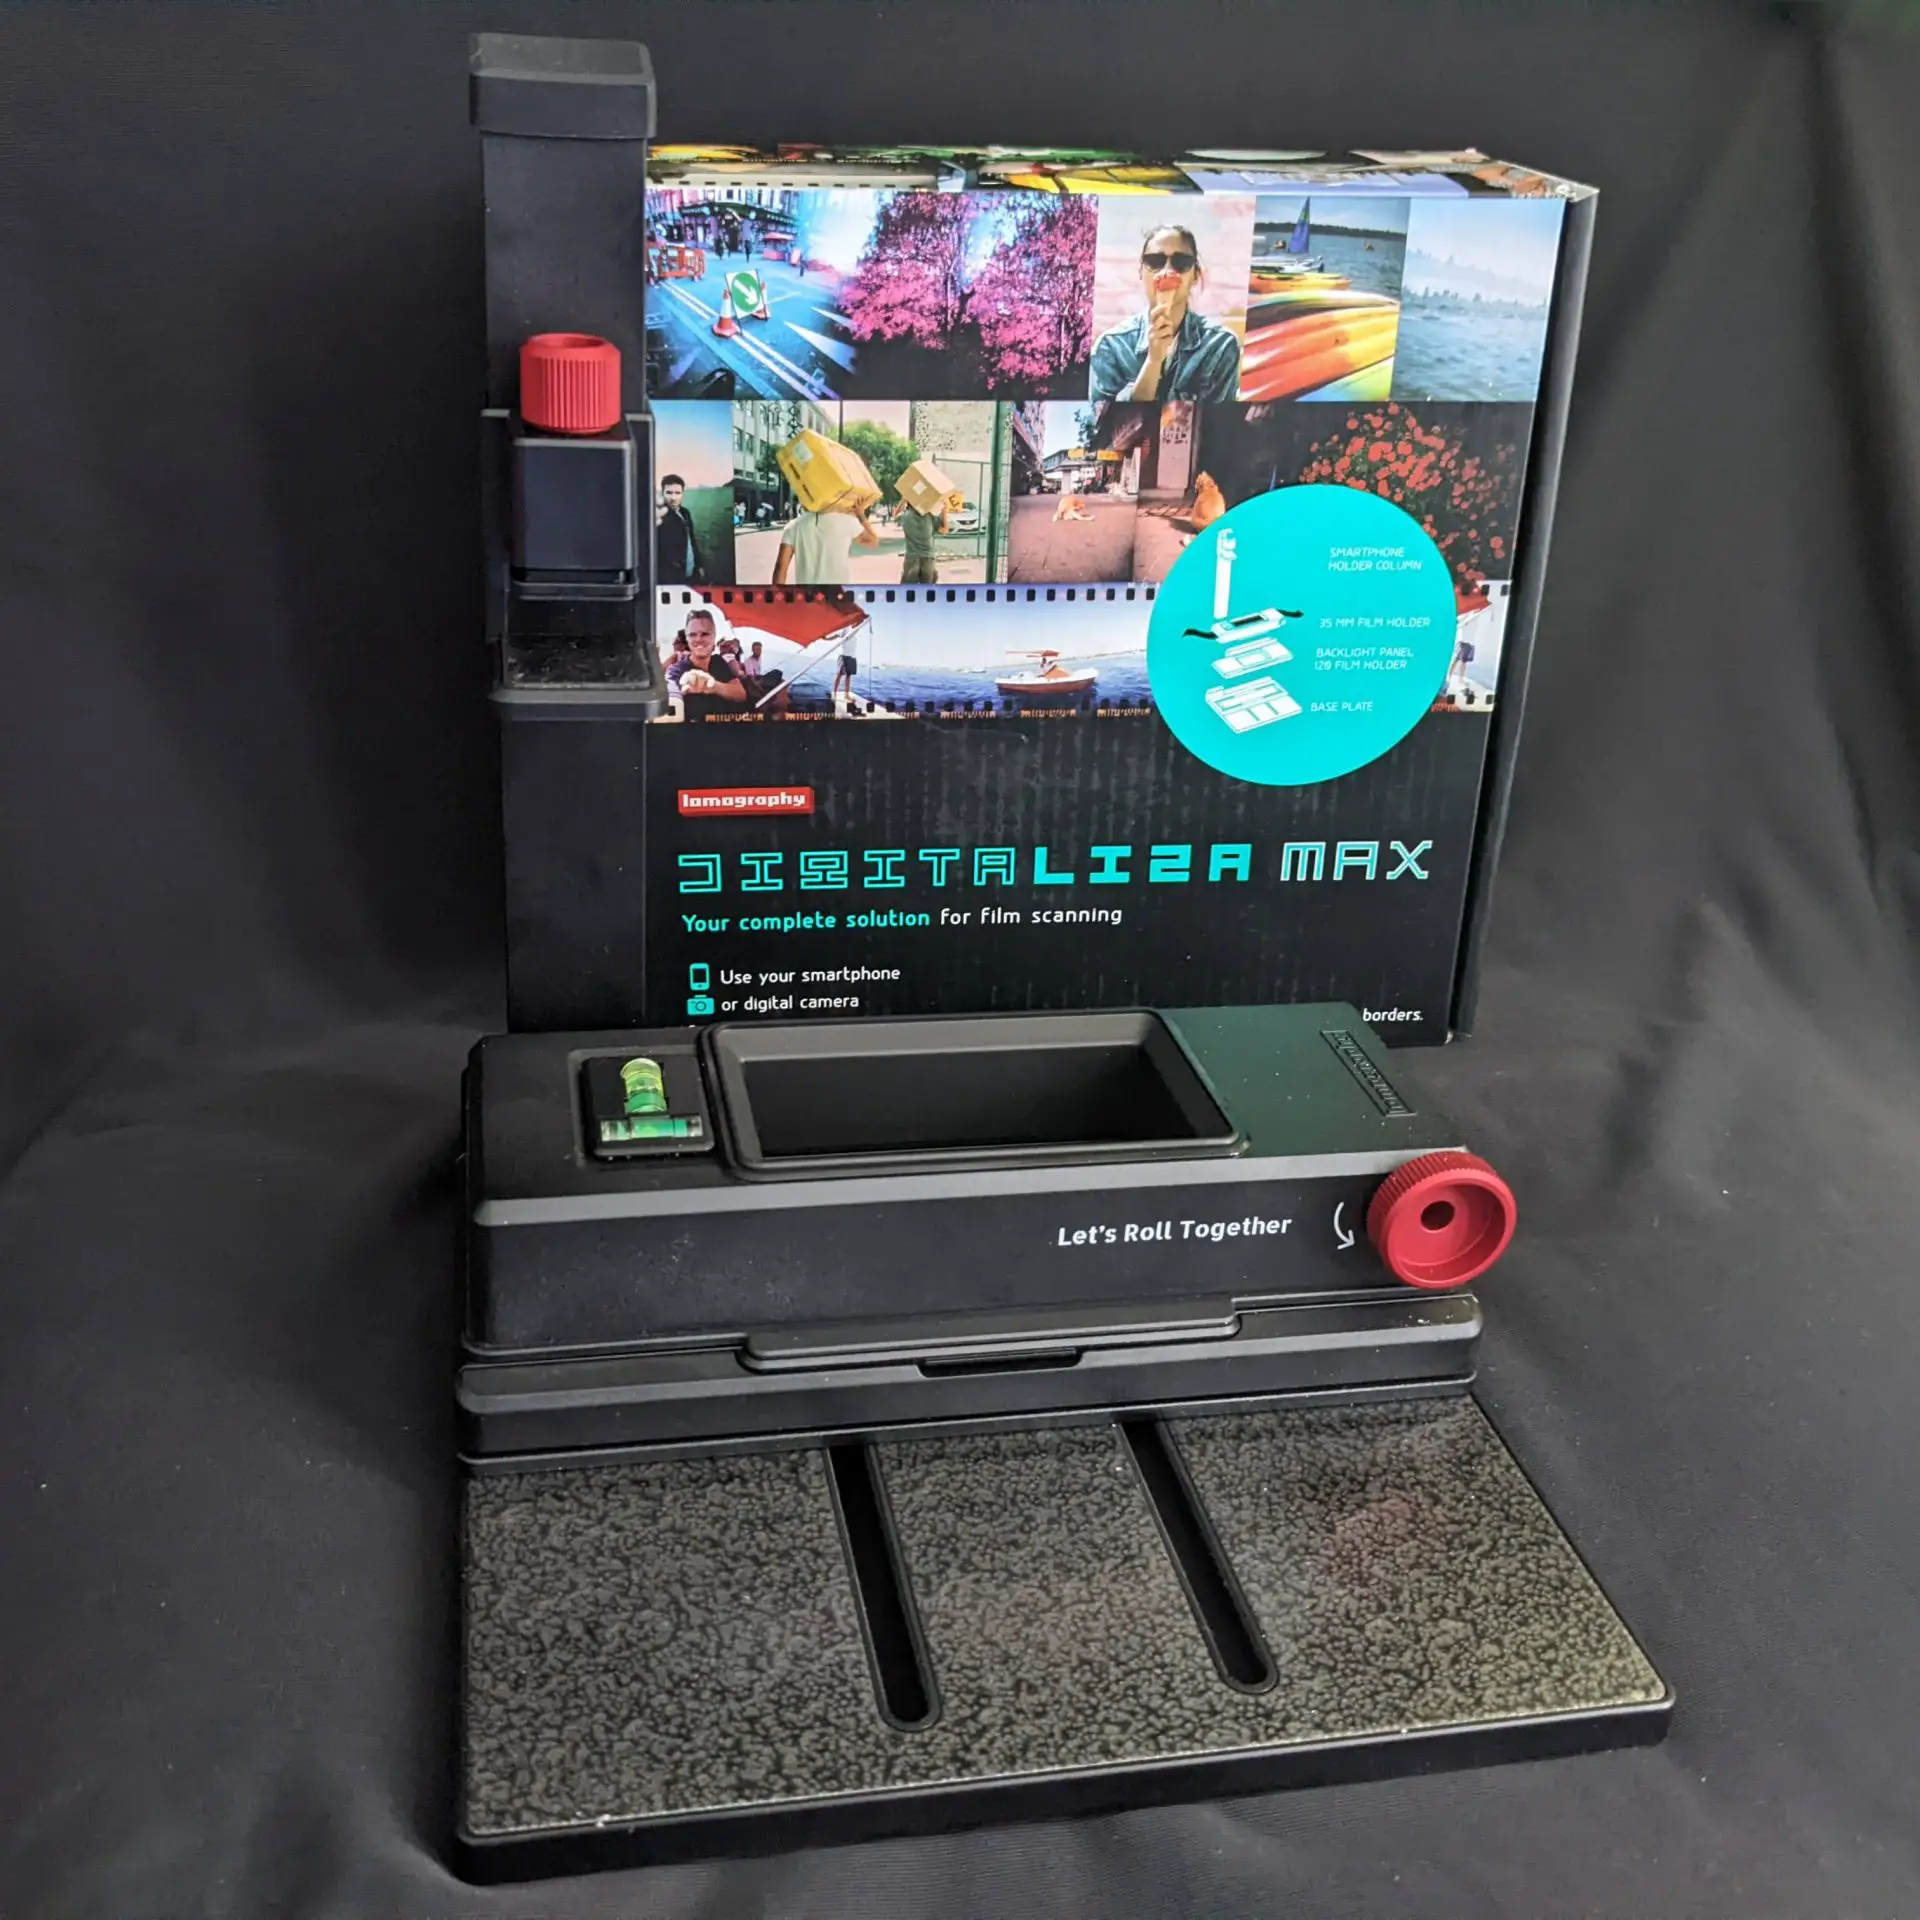
Shortly after my Using a Mobile Phone And a Free App To Scan Negatives article came out in March, Lomography announced they were releasing a new type of scanning device for scanning film, the DigitaLIZA+ and the DigitaLIZA Max.
As someone who now does 99% of their scanning with a mobile phone, I was intrigued by these two new scanning products and pre-ordered the ditiaLIZA Max.
The only difference between the DigitaLIZA+ and Max is that the Max comes with a smartphone copy stand. The DigitaLIZA+ is aimed at people who really only use a DSLR/mirrorless camera and tripod to scan their negatives, whereas the Max gives you the option of a camera or mobile phone because of the included copy stand. At present, there doesn’t seem to be an option to buy the copy stand at a later date and because of this, I opted to spend a little bit extra to have the best of both worlds.
As you would expect the majority of the pieces are made from plastic. Although the arm to hold the phone is aluminium and the base of the copy stand has a large metal piece to give it some weight and hold the whole thing steady. The whole system is modular and comes in three separate parts, the copy stand a 120 film holder and the 35mm film holder. Along with three masks, a 35mm mask, a 35 mm panoramic diffuser and a 127 film mask.
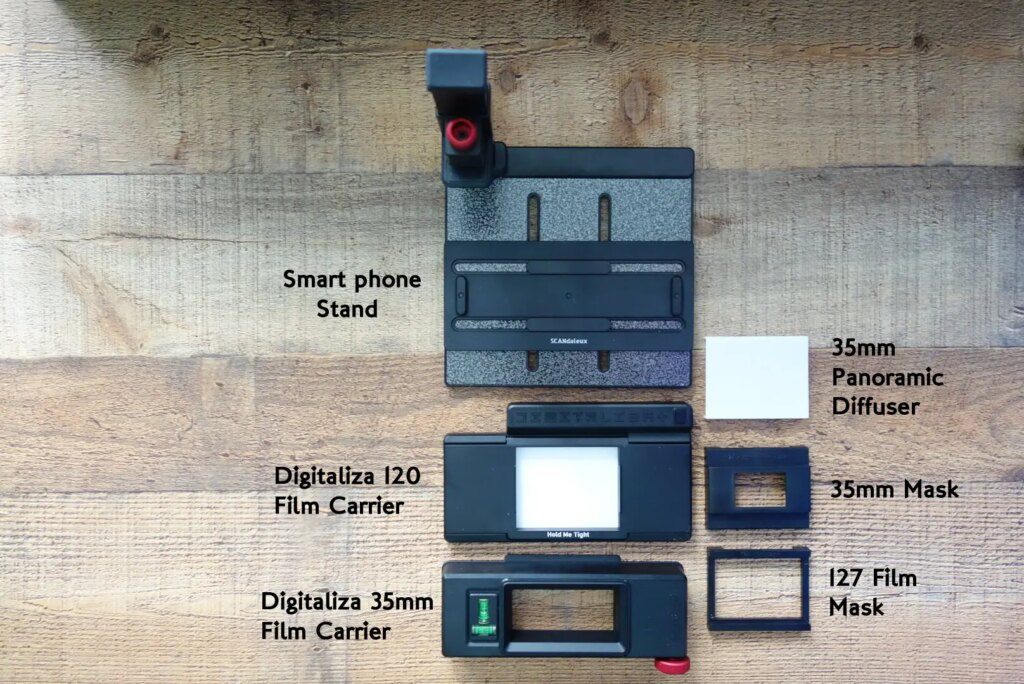
Each part of the system sits upon each other depending on which film format you are scanning.
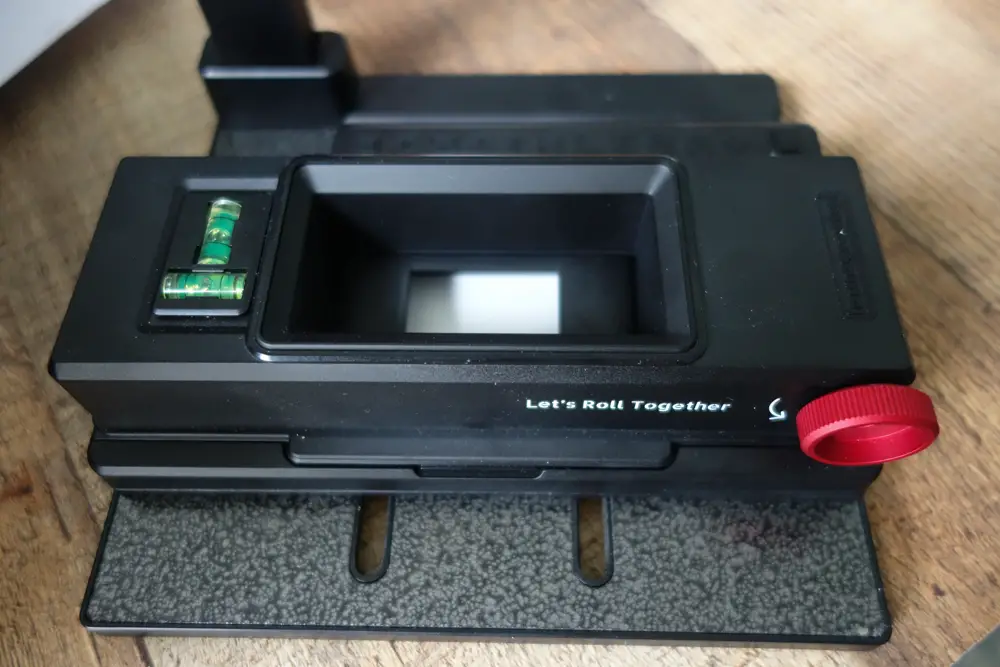
Copy Stand
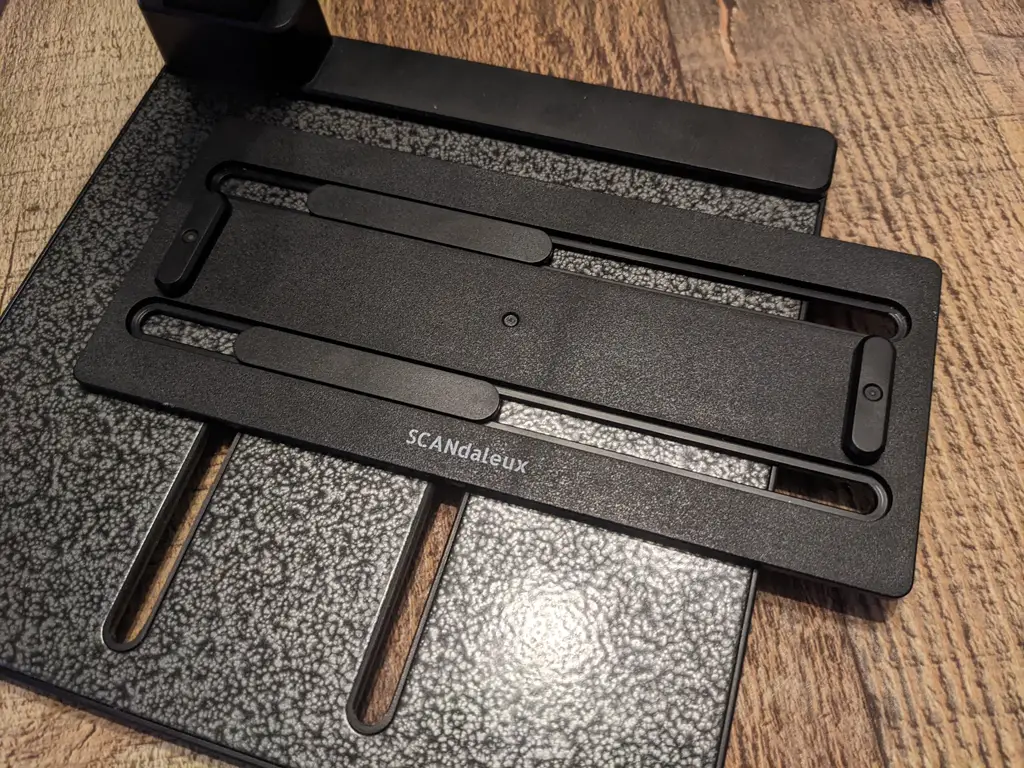
The copy stand is the biggest part of the system, measuring 17cm x 17cm for the base and 21cm tall with the copy arm attached. The arm is held to the base via a channel for it to slip into and is held in place with a screw. The arm is removable, this makes it easy to pack away, which then only makes the stand 3cm tall.
The stand has a sliding plate that moves vertically and horizontally, so you can position the frame centrally to the phone’s camera. The stand arm holds the adjustable phone clamp, this clamp has two screws, one to hold it to the arm and to provide the adjusting height on the arm and the other is to hold the phone. This piece has two rubber pads to protect the phone and hold the phone above the film holder. With my Google Pixel 4a, I have the height set roughly 9cm for focus and zoom in around 3x factor.
120 film holder
The 120 film holder sits on the sliding bar on the stand and is held in place via a couple of cutouts on the base of the film holder. The 120 holder not only holds the 120 film but is the light source for the whole system. It can be powered by either 2AA batteries or by a micro USB power socket on the side of the holder. The batteries go in the underside of the holder. There is a power button on the top side of the holder, which is depressed to switch on/off.
I find that because the button is slightly recessed it can take a couple of presses for the light to actually come on, I would prefer a flick-type switch.
The light shines up through a white diffused panel, this panel is slightly recessed to fit the masks. The lid to the holder is hinged to allow insertion of the film and to clamp the film down and to be held flat. There are two magnets to hold the lid down and in position.
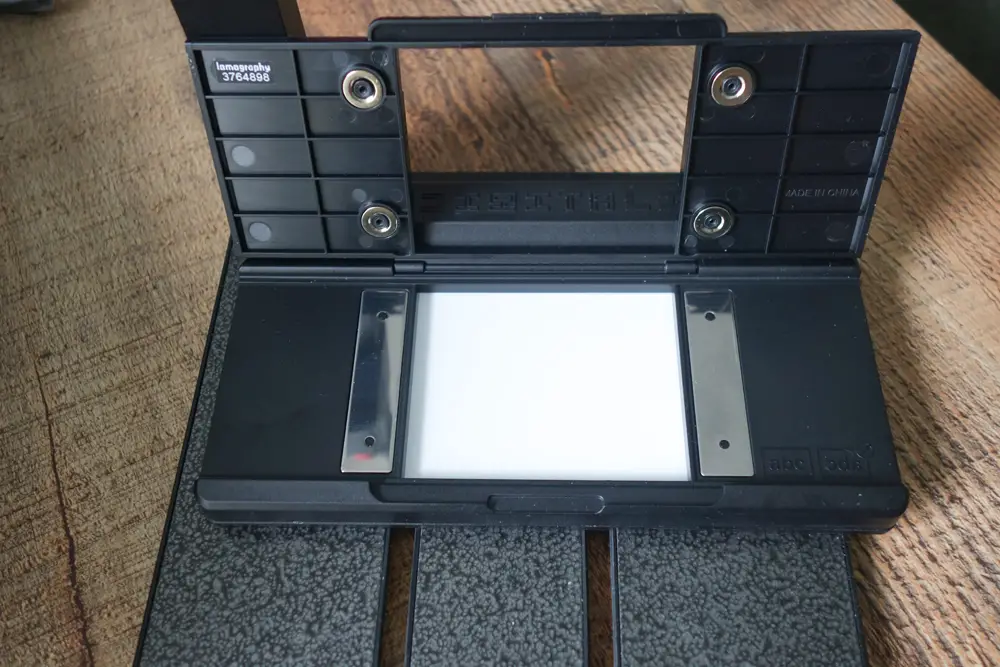
35mm film holder
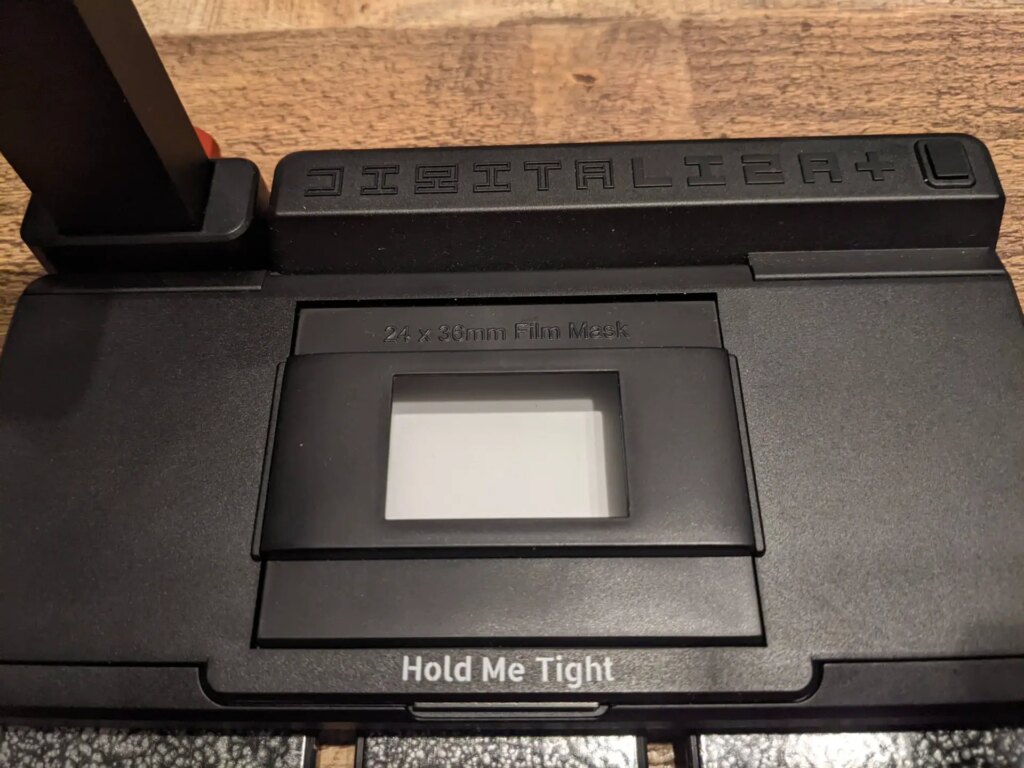
The 35mm holder is the final part of the system and this sits atop the 120 holder and again is held in place via magnets. Before using the 35mm holder, you have to insert either the 35mm mask or 35mm panoramic mask into the recess on the 120 holder to mask off light for standard 35mm frames.
The 35mm holder has a removable horizontal/vertical spirit level mounted into it, although if the base isn’t level there is no physical way to level it up.
There is also a transportation wheel to move the film through the holder.
Set up & use
The setup is pretty quick and simple, once the arm and clamp are attached to the base you are more or less ready to go. I have found that the correct distance for my phone is about 9cm, any closer and I couldn’t focus, this did mean I had to zoom to around 3x for a 35mm image to fill the whole of the camera frame and get the most pixels, the zoom is slightly less for a 120 image.
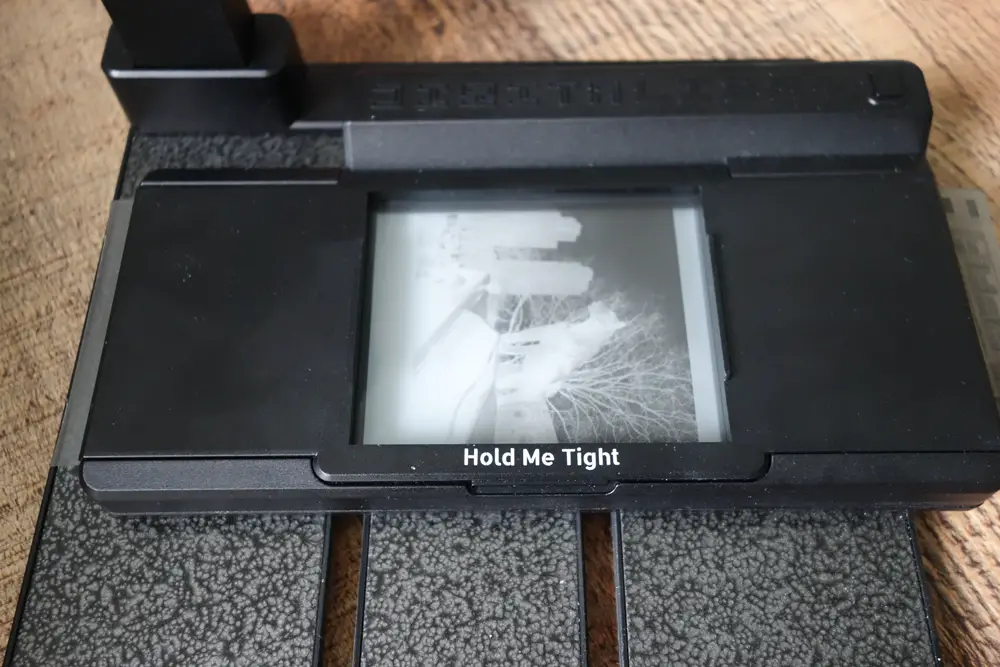
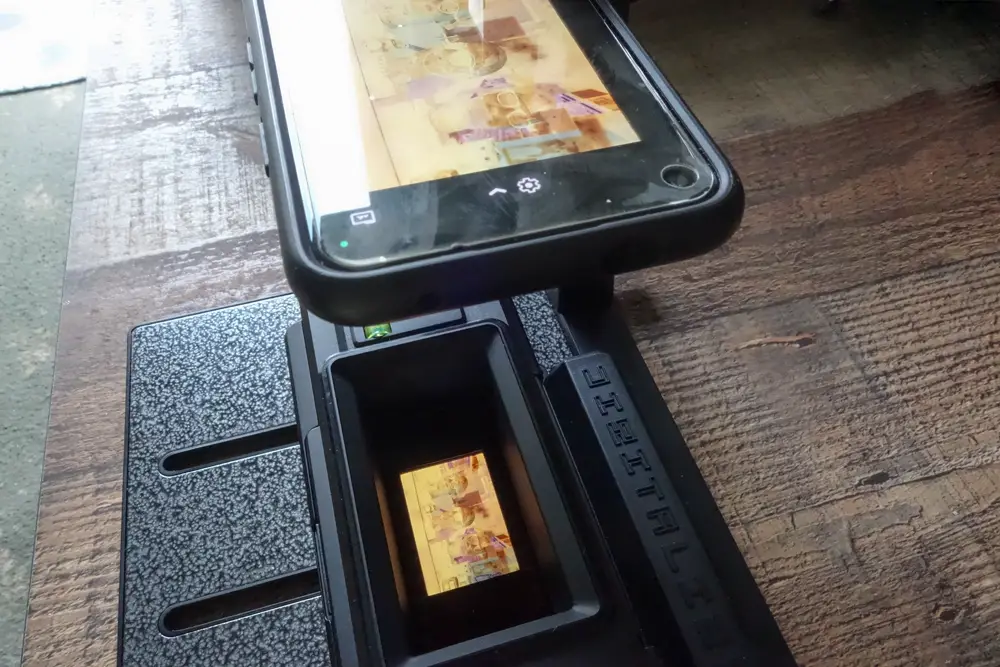
Using the 120 holder is just a matter of placing it on the sliding frame on the base, lifting the lid and placing the film strip across the light area then closing the lid. The film is held quite well and lays pretty flat. Once this is done I mount the phone into the clamp and tighten the clamp down onto it. My phone has two +’s which you need to line up to show that the x/y axis is straight. So far they have lined up no problem when in the clamp, and there has been no need for any other adjustment of the base or phone.
Finally, it’s just a matter of switching the light on and making the final adjustments to get the images filling the phone camera frame.
There are a couple of drawbacks when capturing 120 film, first, the lid is so tight holding the film, that there is no way you would want to pull the film through the holder. So this means you have to open the lid to move to the next frame. This isn’t major but it does add extra time opening/closing to capture each image. The second is that it only captures 6×6 images. So if you shoot a lot of 6×9 or 6×12 images then the digitaLIZA Max probably isn’t for you. Although there are ways around this, by taking a top and bottom scan of an image and stitching them together in a software program.
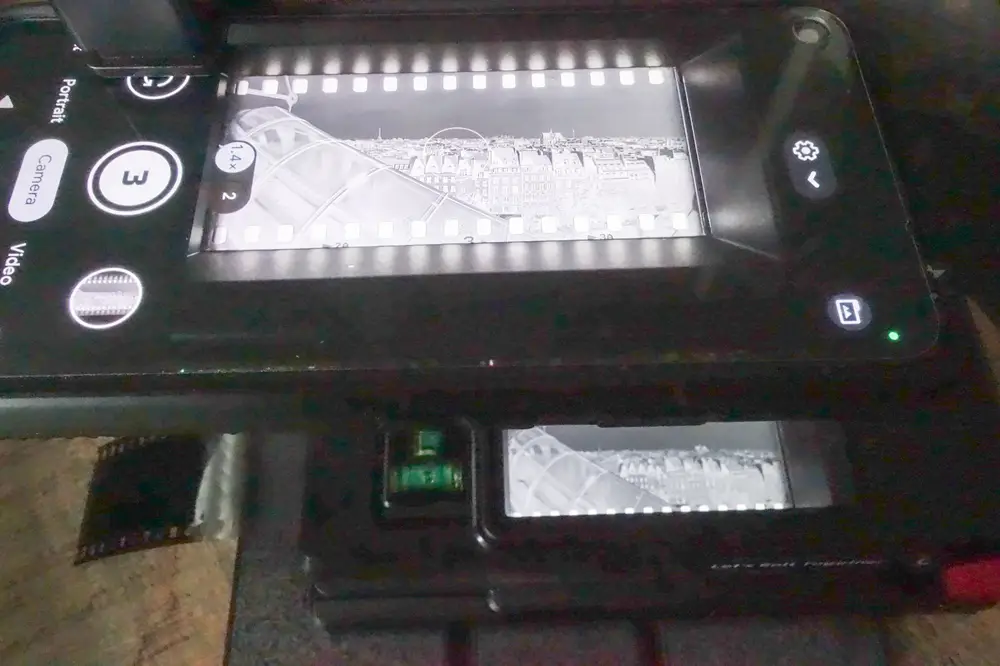
Moving on to the 35mm holder. Before using you have to insert the 35mm mask into the 120 holder, this just slots into the light area and helps to mask off the extra light. Once the mask is in place the 35mm holder is placed on top of the 120 holder. This is also held in place with magnets and slots that engage with the bottom 120 holder.
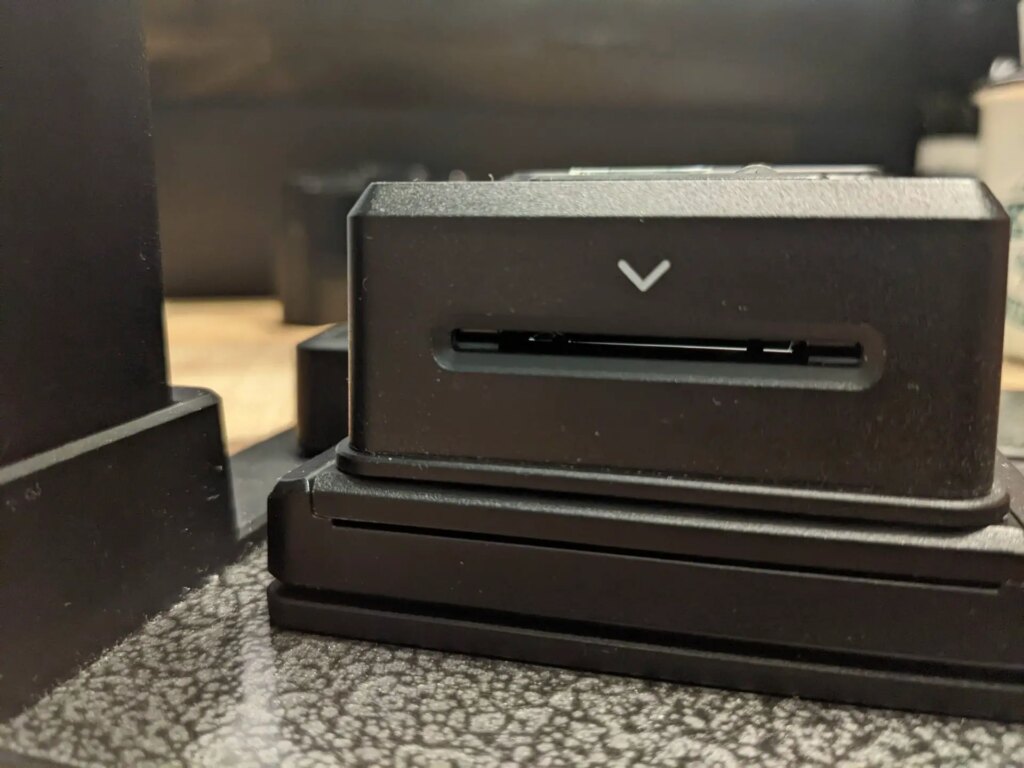
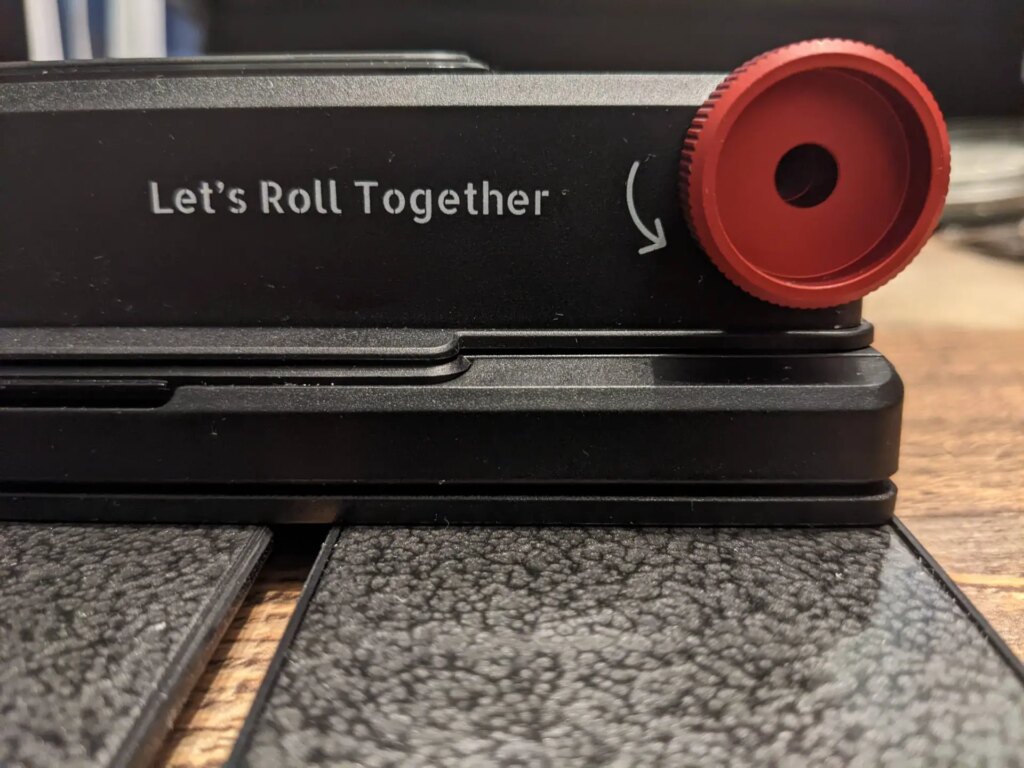
The holder has a slot running the length of it for the film to be inserted into and advance the film through. To help advance the film there is a transportation wheel. Lomography has the wheel set with an arrow to indicate the direction of travel, this is from left to right and turning the wheel anti-clockwise. For some reason, I find this awkward and feed from the right and turn the wheel clockwise. The advancement is fairly smooth and a cut strip of 6 images moves through easy enough. There have been a couple of strips that have been a bit curly and have had difficulty moving through but a little bit of pressure on the film helped to realign it with the slot.
The spirit levels work OK and so far any surface I have used the digitaLIZA Max on the levels have shown it to be flat and level. These are supposedly removable, so you can use them on a DSLR if you are scanning that way but I have found them to be quite tight in the holder and haven’t tried to remove them, in case I break them.
You can also scan panoramic/sprocket images by replacing the 35mm mask with the 35 panoramic mask.
Using this setup I can scan 6×6 strips of 35mm film in less than 10 minutes and could probably do it in less time if the roll wasn’t cut.
If you are someone who scans using a DSLR this setup can be used by either removing the holder from the copy stand and using them as stand-alone pieces or the way I tried it was just to remove the copy arm, so I still have the flexibility of using the sliding bracket. Obviously doing it the DSLR way takes more time to set up but will produce a better scanned image.

Pros
- The footprint of the whole system is quite small and can easily be left on a desktop.
- Although mainly plastic it is pretty sturdy.
- With the copy arm removed it packs down small and if you were travelling and wanted to scan on the go, it will fit in a backpack.
- Can run on either batteries or plug-in power.
- It doesn’t need an external light source.
- Can easily scan 36 frames in less than 10 minutes
Cons
- The on/off switch isn’t the greatest and a more physical switch would be better.
- Although it does 120, it is only 6×6 unless you want to scan sections of 6×9 and 6×12 to reassemble in a software program.
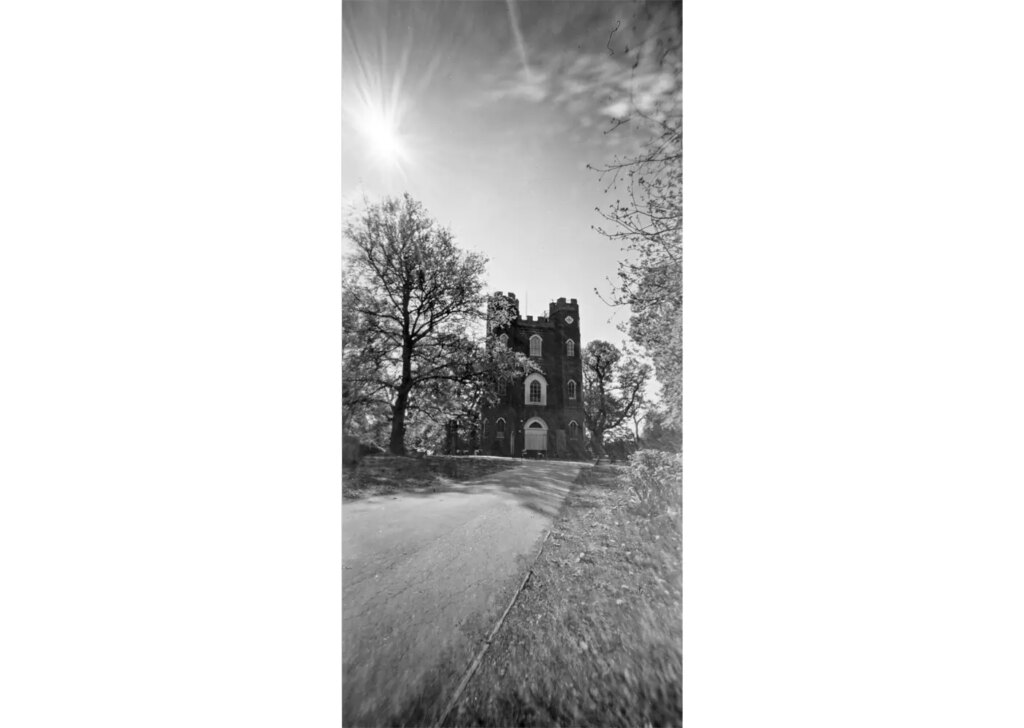
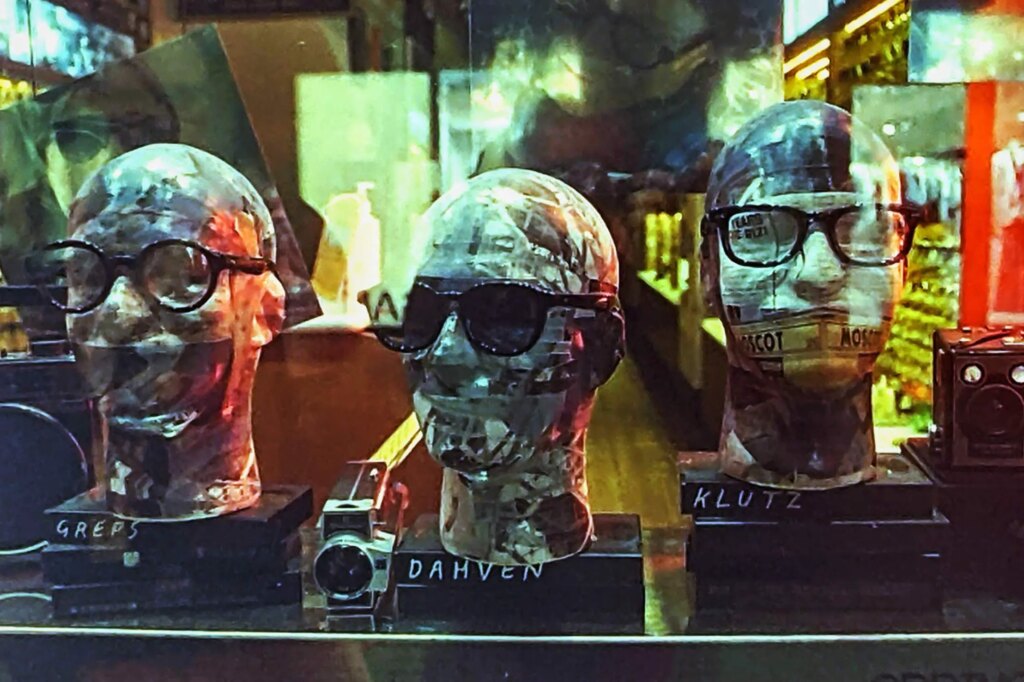
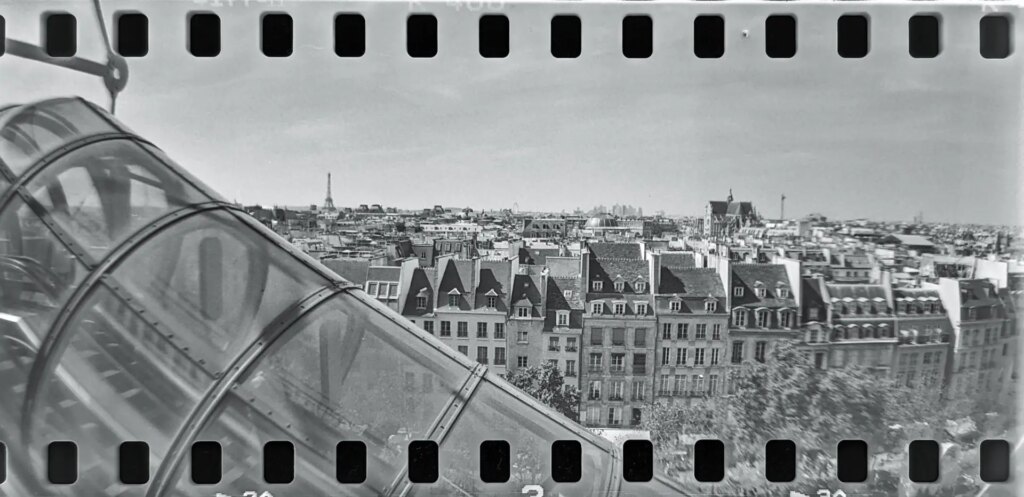
Obviously scanning this way does have its drawbacks, in that the images still have to be converted into positives. And we all know that phone cameras do not have big sensors and can lack dynamic range but I think the images captured using this unit and a phone are good enough for posting to most social media sites.
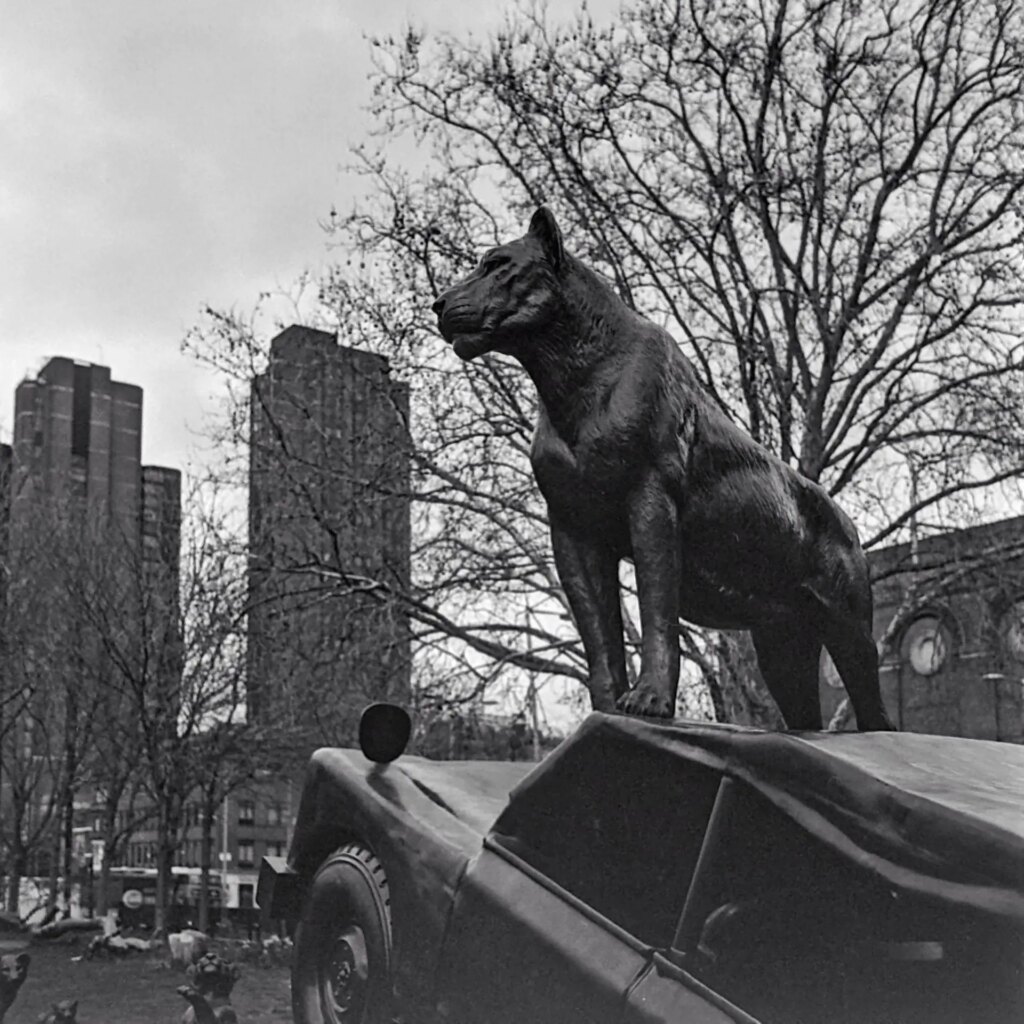
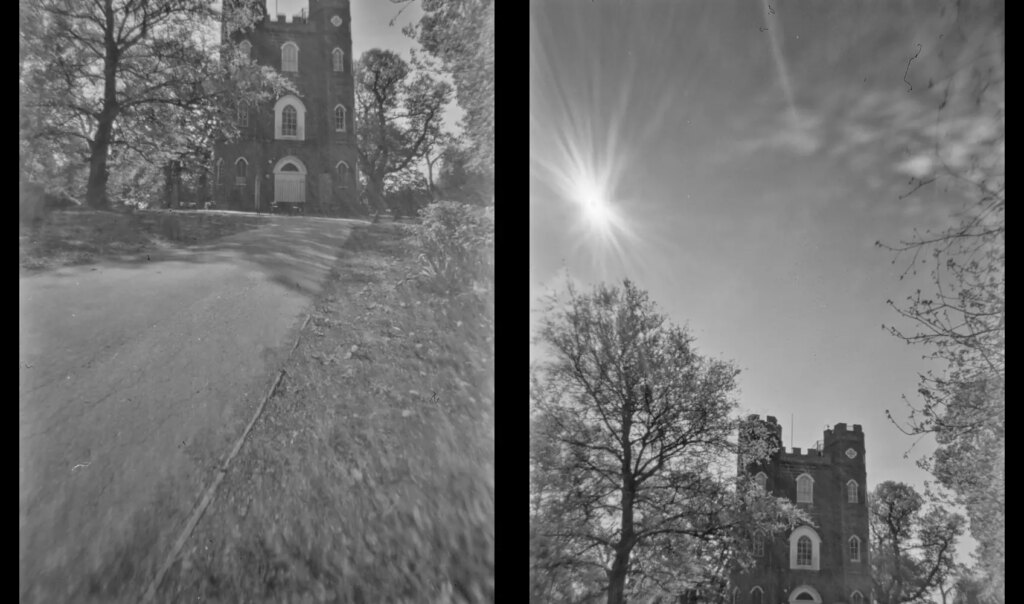
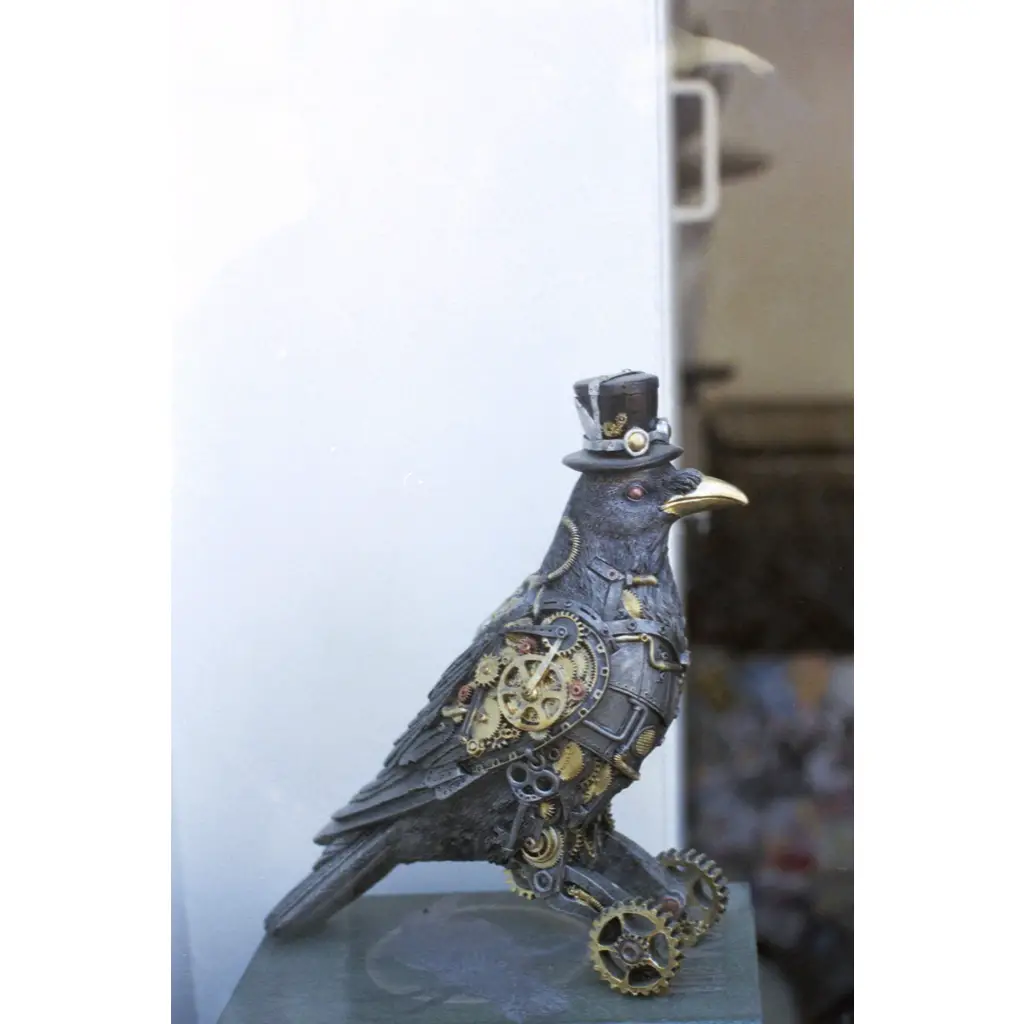
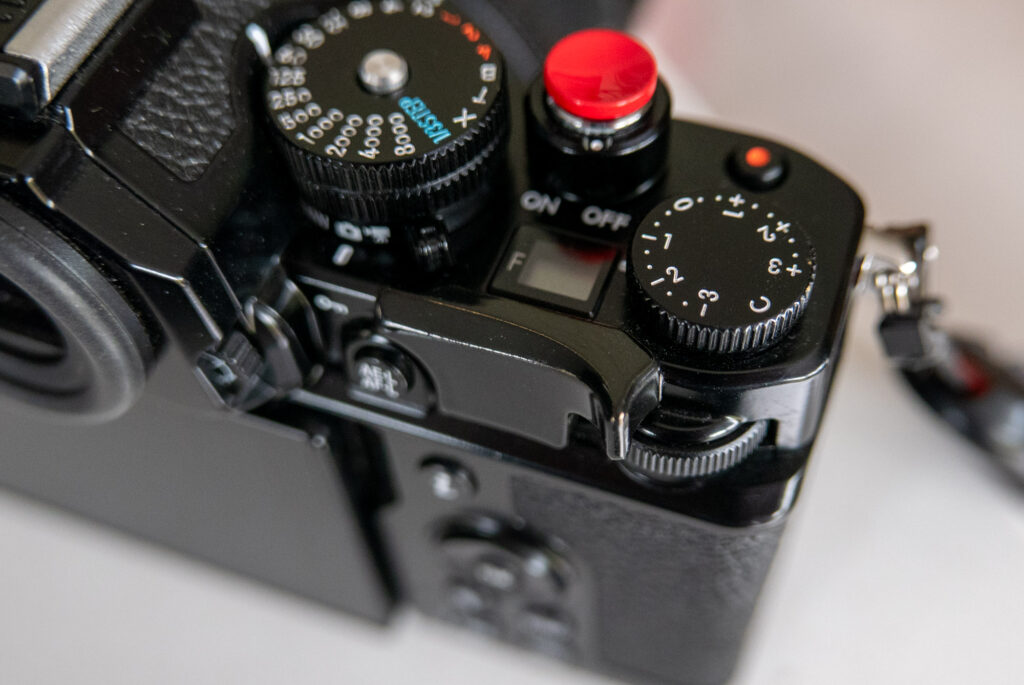
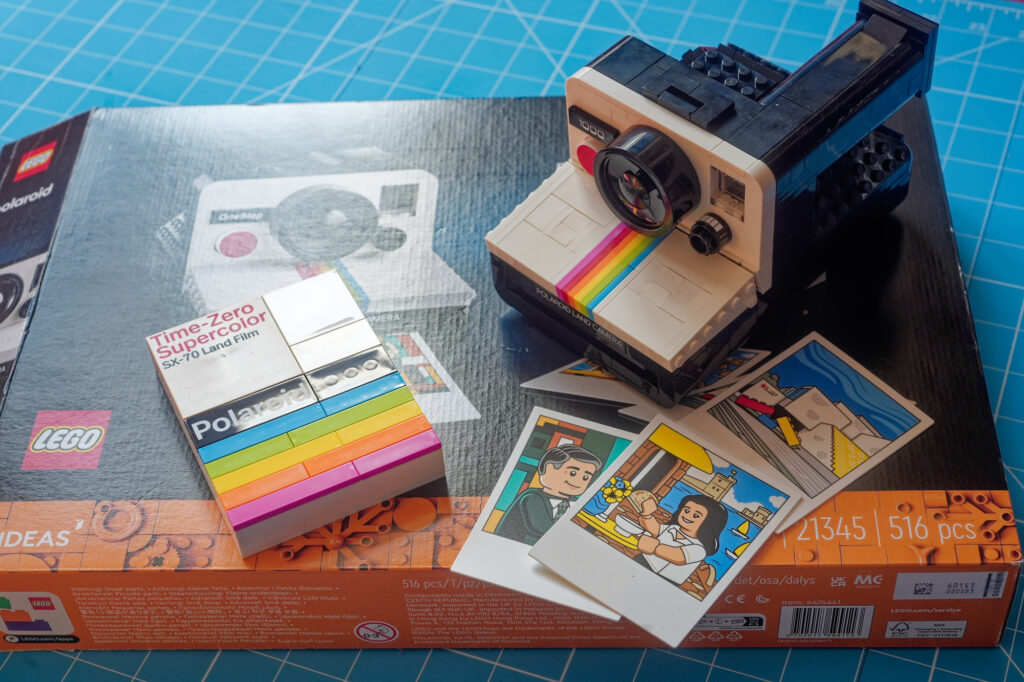
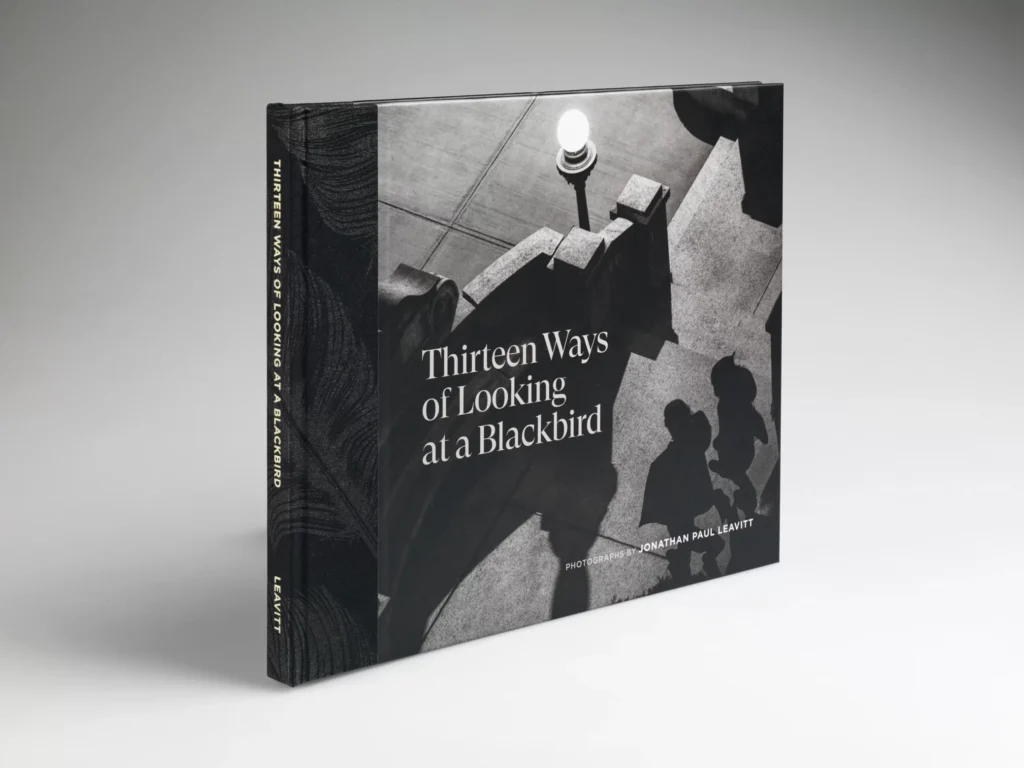
All the images in this article have been scanned using the DigitaLIZA Max and a mobile phone and processed in my favourite App, Snapseed – read how I do the conversion here. You can find more about the DigitaLIZA Max here.
Share this post:


Comments
Martin on Lomography DigitaLIZA Max Review – By George Griffin
Comment posted: 18/07/2022
Comment posted: 18/07/2022
Don Goodman-Wilson on Lomography DigitaLIZA Max Review – By George Griffin
Comment posted: 18/07/2022
Comment posted: 18/07/2022
Comment posted: 18/07/2022
Anthony Conroy on Lomography DigitaLIZA Max Review – By George Griffin
Comment posted: 18/07/2022
My preference would be to use a digital camera but the kit price could be a consideration .
Comment posted: 18/07/2022
James on Lomography DigitaLIZA Max Review – By George Griffin
Comment posted: 18/07/2022
There are better options out there but they cost alot more.
Only issue with the one I have is there is a hot spot on the led panel. Doesn't really cause much of an issue but still a little annoying it made it through QA.
Comment posted: 18/07/2022
Devlin Cook on Lomography DigitaLIZA Max Review – By George Griffin
Comment posted: 25/08/2022
Comment posted: 25/08/2022
Devlin Cook on Lomography DigitaLIZA Max Review – By George Griffin
Comment posted: 25/08/2022
Alexander on Lomography DigitaLIZA Max Review – By George Griffin
Comment posted: 04/01/2023
Esben Høg on Lomography DigitaLIZA Max Review – By George Griffin
Comment posted: 31/07/2025