I have praised the unique design of the Kalloflex in the past but I never expected to get my hands on one. I was pleasantly surprised therefore when I came across one of these relatively rare cameras here in New Zealand. They were only made between 1954 and 1958 and this particular model, the second version, somewhere between ’56 and ’58.
The seller had described the camera really clearly and honestly with some very good examples. It was posted to me well packed and very promptly with one or two extras that I hadn’t expected.
Kowa
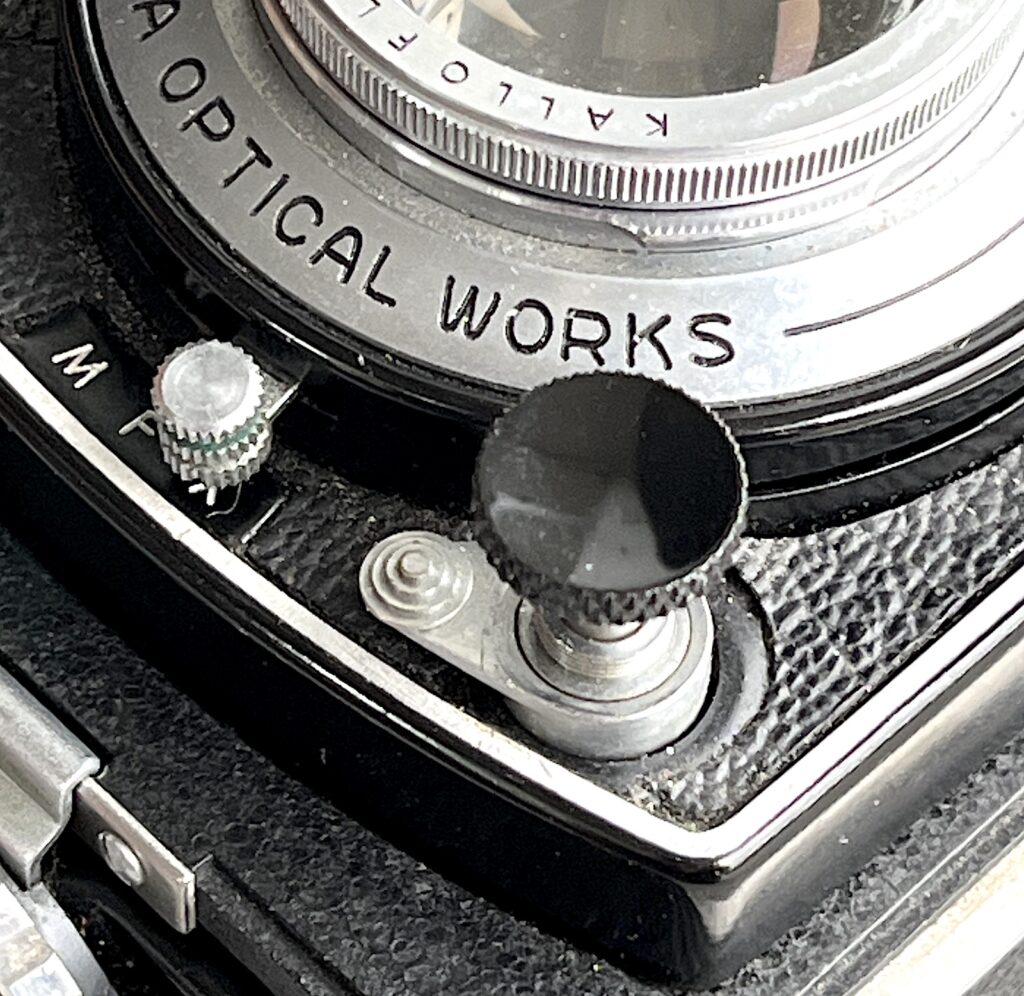
Kowa is one of the many smaller players in the Japanese optical industry but one of the oldest, producing cameras for a relatively short time from the ’50s to the ’80s. The company started out in the late 19th century and produced a range of goods over the years, including optical devices, and the later camera phase. They still produce quality optical devices even though cameras are now in the past.
They are possibly best known for their 120 SLRs, the 6 and 66 models. They produced 35mm models also and a 127 SLR.
The camera
There was an earlier, similar version to this K2 and a different post ’58 model, called the Kallovex, that has conventional, separate wind and focus knobs. These were the only TLRs they produced.
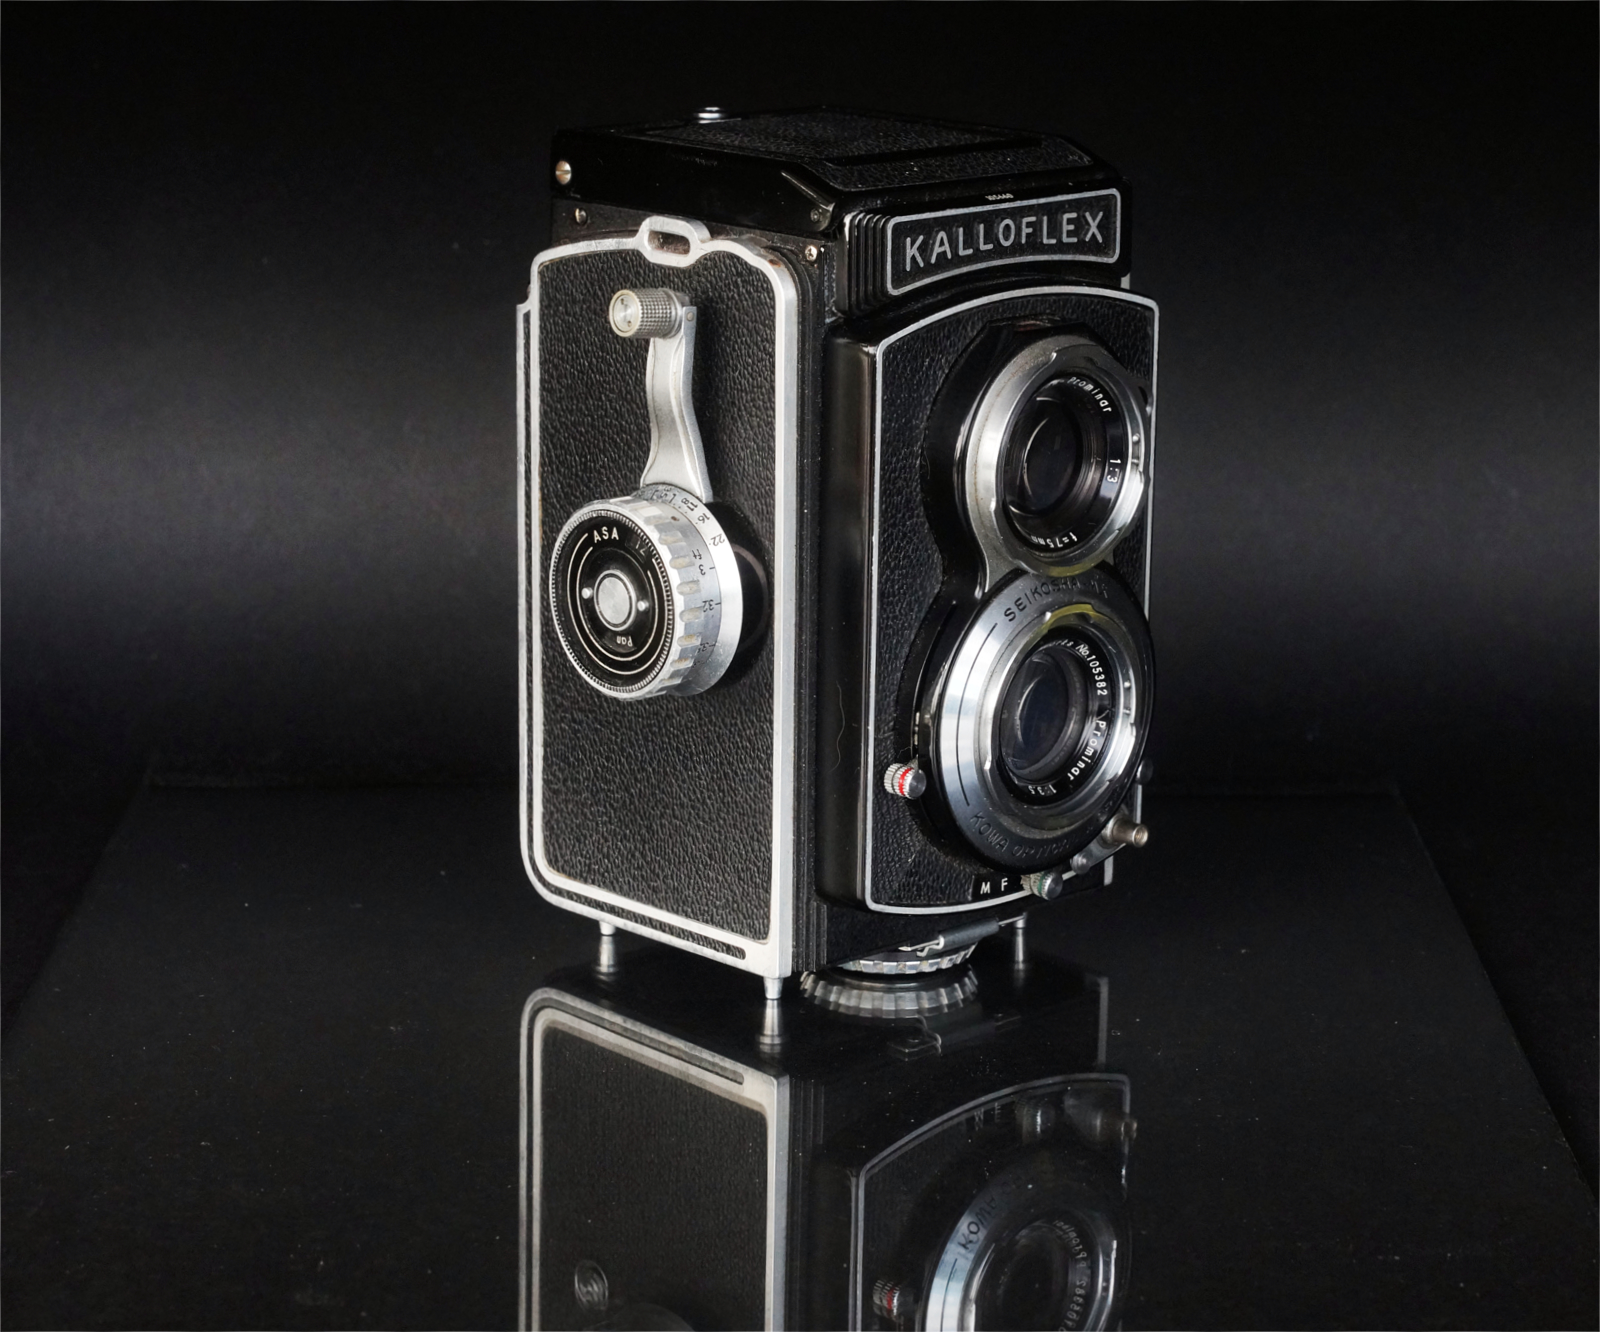
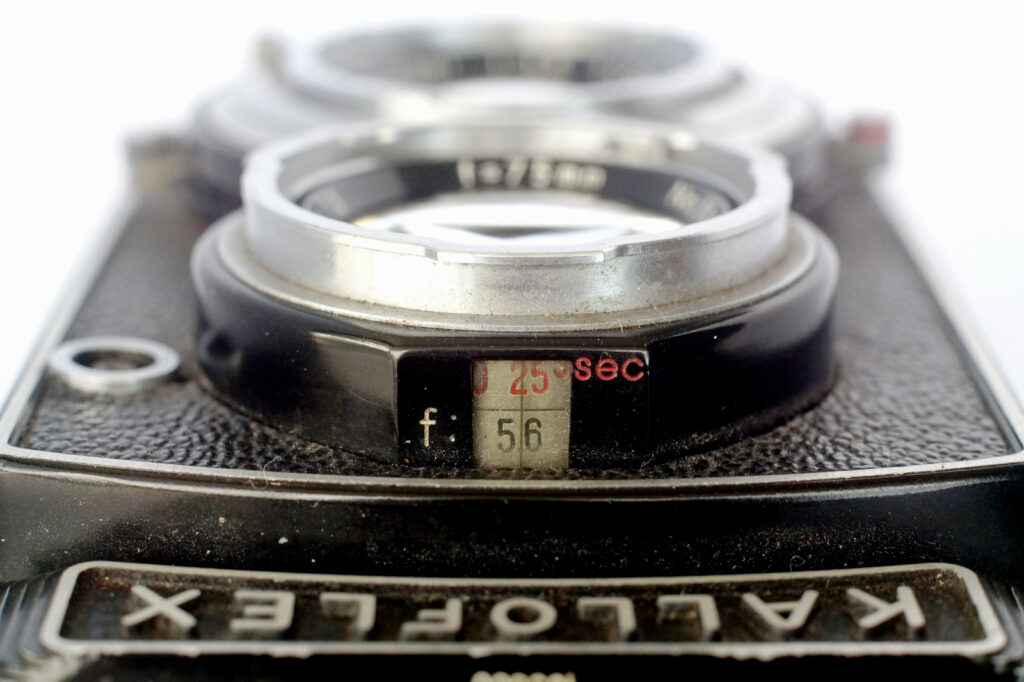
I have come across a suggestion that Kowa originally aimed this camera at the Japanese press corp, explaining a lot about its design. It was also referred to as “the poor man’s Rolleiflex”, justified by its very solid, quality engineering. Its signature feature is the combined focus and wind lever assembly, which, combined with the lever adjusted exposure settings visible in a window from above, allows continuous operation without removing the camera from the shooting position. A definite plus for a photo-journalist I imagine.
It is a little heavier than other makes apart from Mamiya, some 200 grams/7ozs or so more than the Rolleiflex Automat I once had and enough to feel very solid.
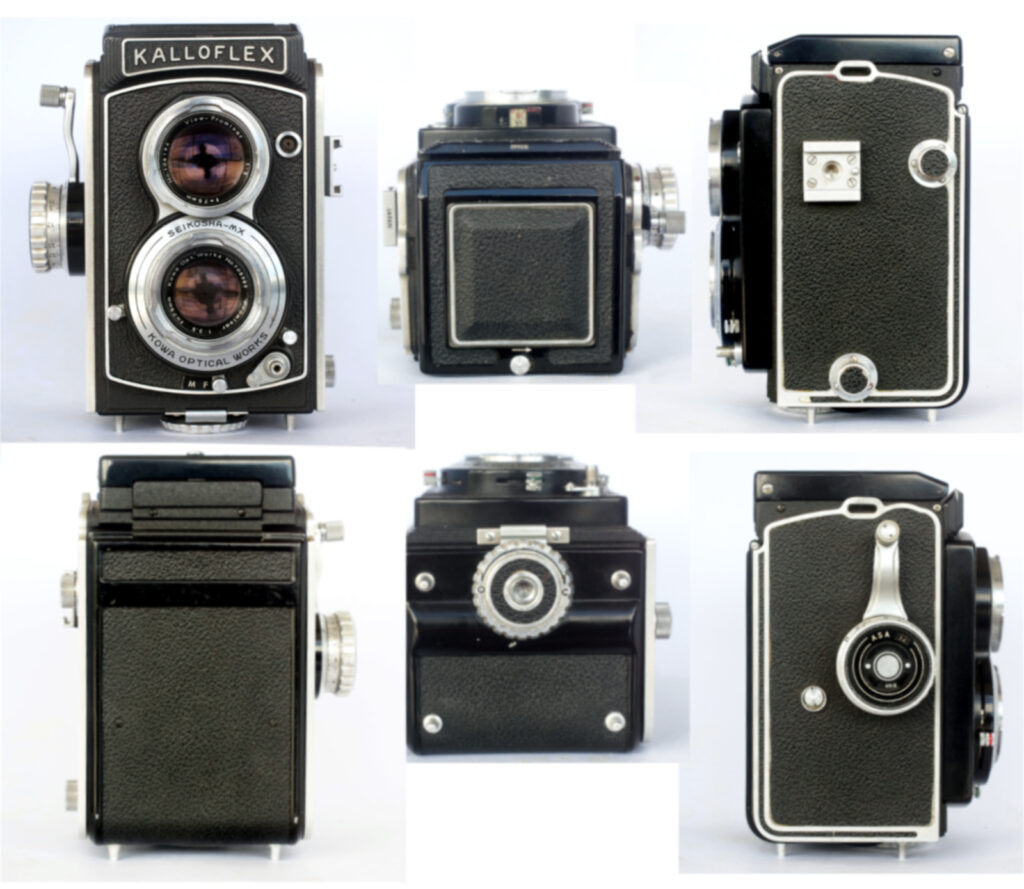
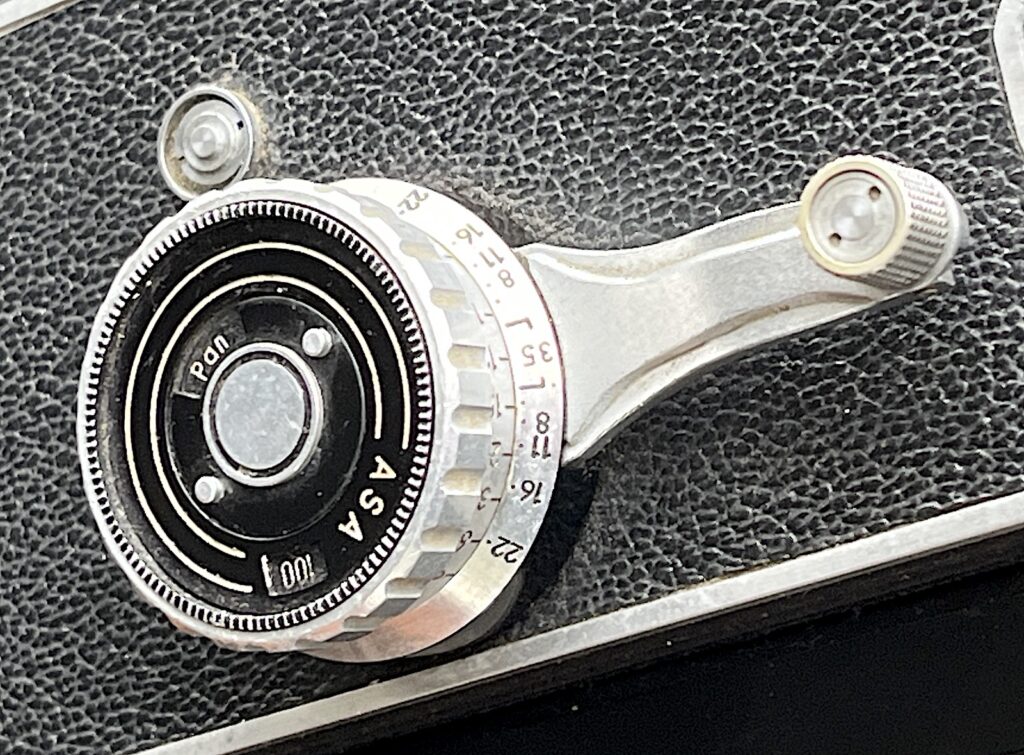
The exposure counter is one of the smallest I have seen on a TLR and is tucked away in an unexpected location in the channel between the side panel and the hood. I guess this also comes from the press-centric design, another control visible from the shooting position rather than adjacent to the winder on the side, the usual location, here occupied by the multiple exposure release.
As something manufactured nearly 70 years ago, it is in exceptionally good condition, a solid camera in the hand, very like a Rollei in many details but feeling more rugged, less delicate in detail. A tribute in a way to the basic soundness of the original Franke and Heidecke design.
The lens
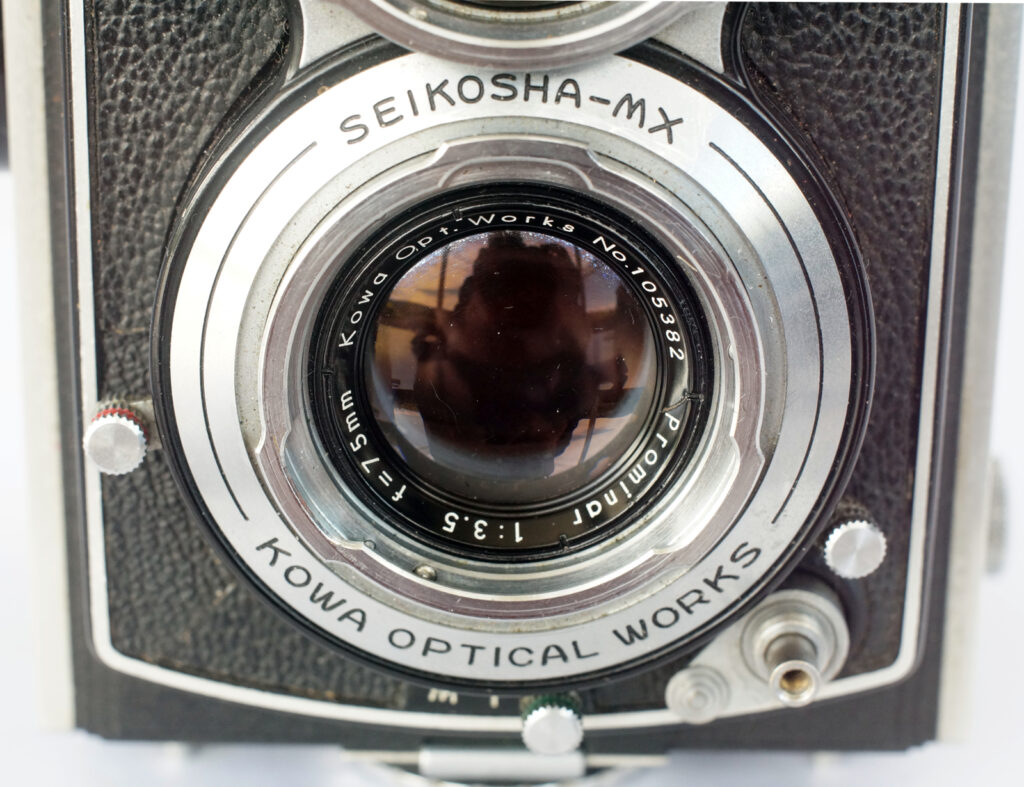
The Tessar type 4-element Prominar taking lens is claimed to be exceptionally sharp, even wide open, at 125 lpm. Optically everything is clean and free from blemishes. The results so far show it is no slouch.
The shutter
The shutter is a Seikosha MX with speeds of 1-1/500 plus B. Like many contemporary shutters with a 1/500 speed this must be set before winding on. This is very important to avoid damage while tensioning the extra strong spring needed for the fastest speed. It doesn’t have a delayed action but has the less common ‘F’ flash setting (for focal plane bulbs). I don’t miss the DA since it is a potential problem avoided, the DA often seizing up and rendering the shutter inoperable. The Rollei style locking lever allows time exposures if needed.
The shutter is wound with a backwards turn on the wind lever after winding on in the same way as most lever wind TLRs. It works well on all speeds and sounds fairly accurate at the slower speeds.
There is also a very easy to use double/multi exposure facility. A catch close to the wind lever is pressed down. A very positive click accompanies the lever moving counter-clockwise a little when it is possible to wind it back one turn to cock the shutter for another exposure. This can be done as many times as desired.
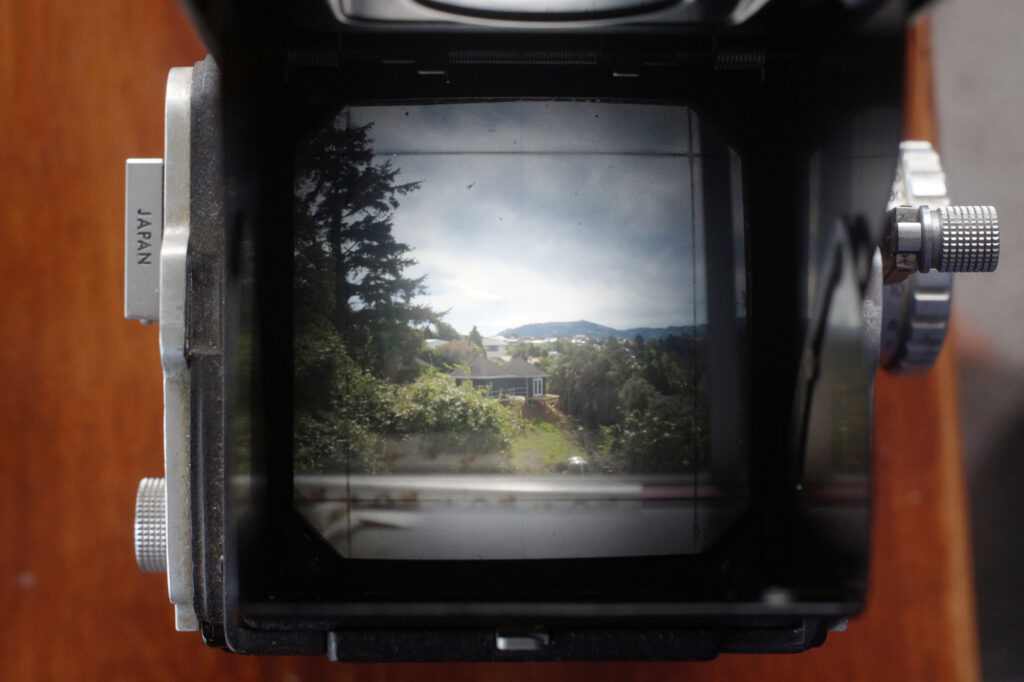
Viewfinder
The finder screen has a condenser lens above instead of the usual fresnel below it. This feature does lead to some vignetting of the finder image but is balanced by the noticeable increase in brightness and ease of focusing.
The screen is one of the brightest I have used though a Rick Olsen was brighter and had a microprism centre patch. Whilst not as bright as that one from memory, this screen is brighter than many and not having the fresnel rings makes focus clearer and any part of the screen can be used. The engraved lines indicate the framing for 4×4 transparencies. The clean, Fresnel-free screen is surprisingly nice to use, rather like focussing a 5×4 ground glass.
The manual says that the engraved lines indicate 4×4 transparency framing and help to visualise portrait or landscape cropping if needed. They are fine enough not to be intrusive.
It doesn’t have the usual moving mask coupled to the focus to adjust for parallax at close distances, instead the top of the screen image is trimmed down. A surprising simplification in light of the overall quality.
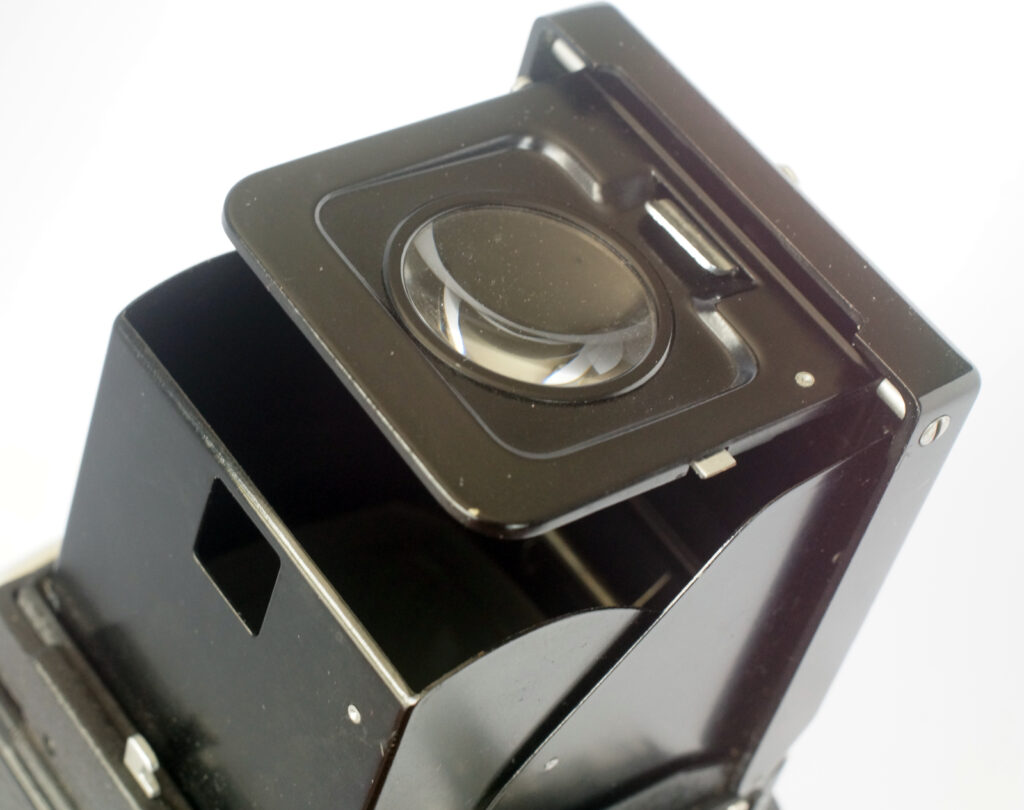
The magnifier is pretty large so, even held at waist level, it covers quite a bit of the image.
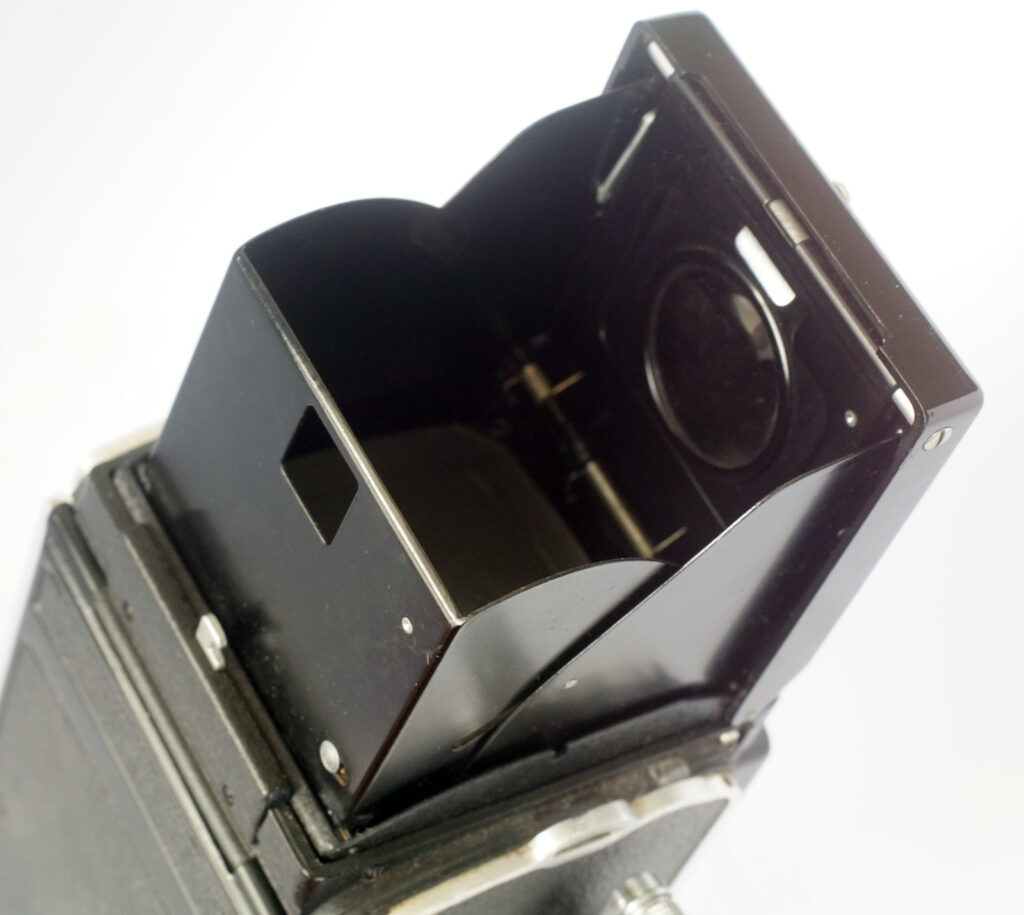
The focussing hood is well made and excludes light effectively at waist level and when the magnifier is raised. It has the usual direct vision arrangement.
Shutter release.
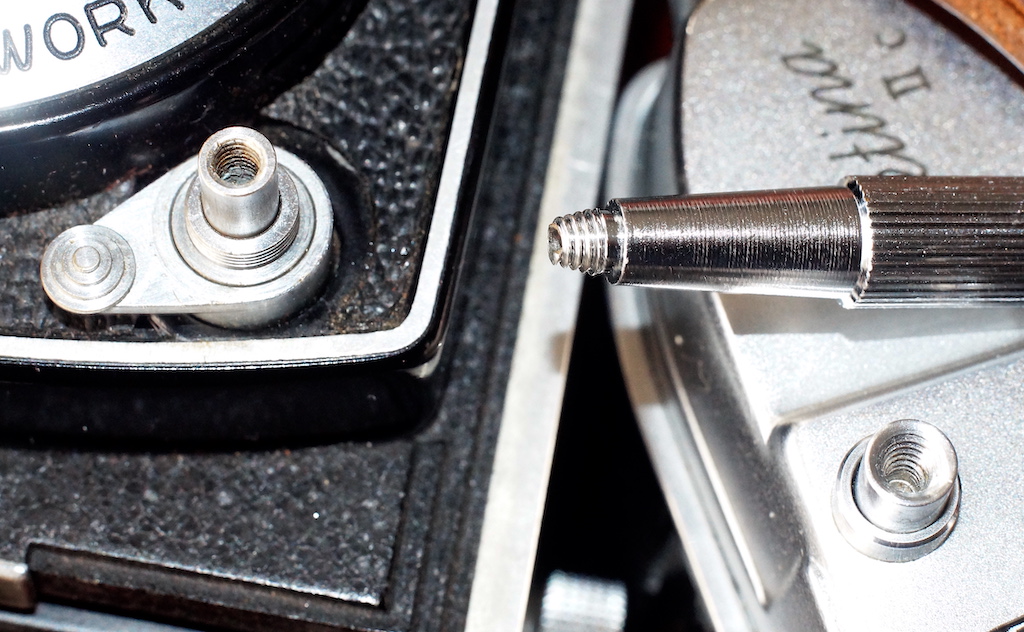
The main thing it is missing is the cap that screws into the release which is narrower than usual and needs a firm press so it is a little uncomfortable to use. The cable release needs the screw over, Leica type connection but my adapter doesn’t fit so it must need a bespoke one. I have fitted an accessory button since I am unlikely to find replacements for release or cable.
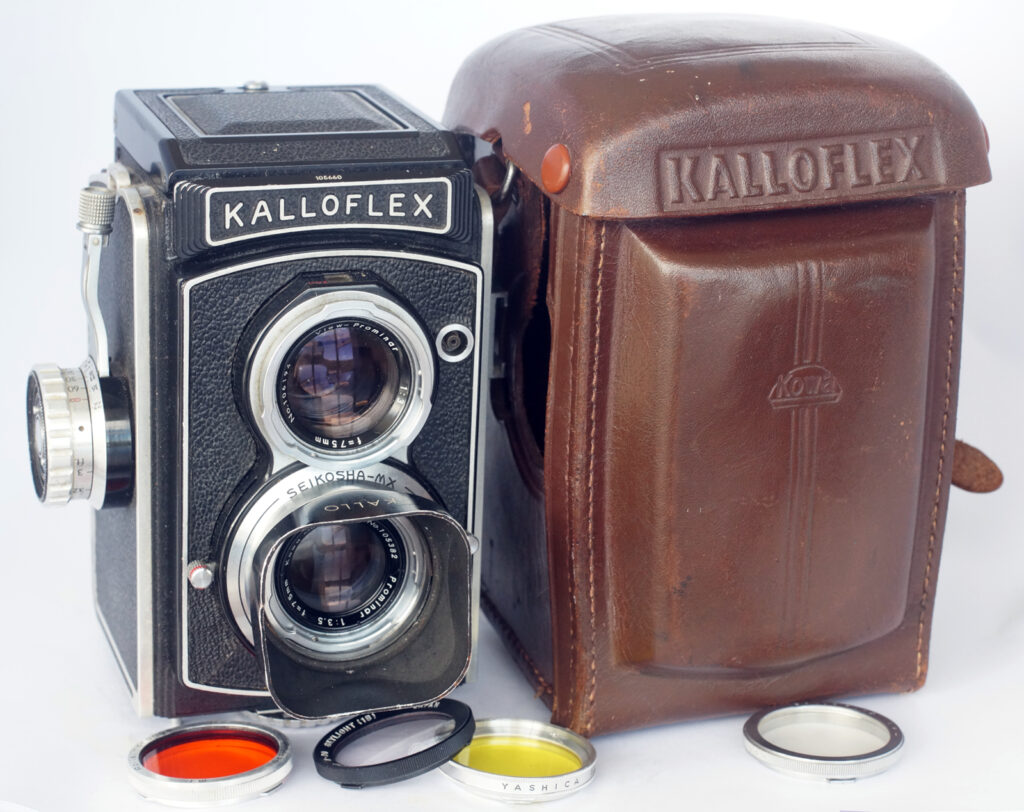
Bayonet 1 accessories.

Filters and lens hood are Bayonet 1 so any number of makes can be used.
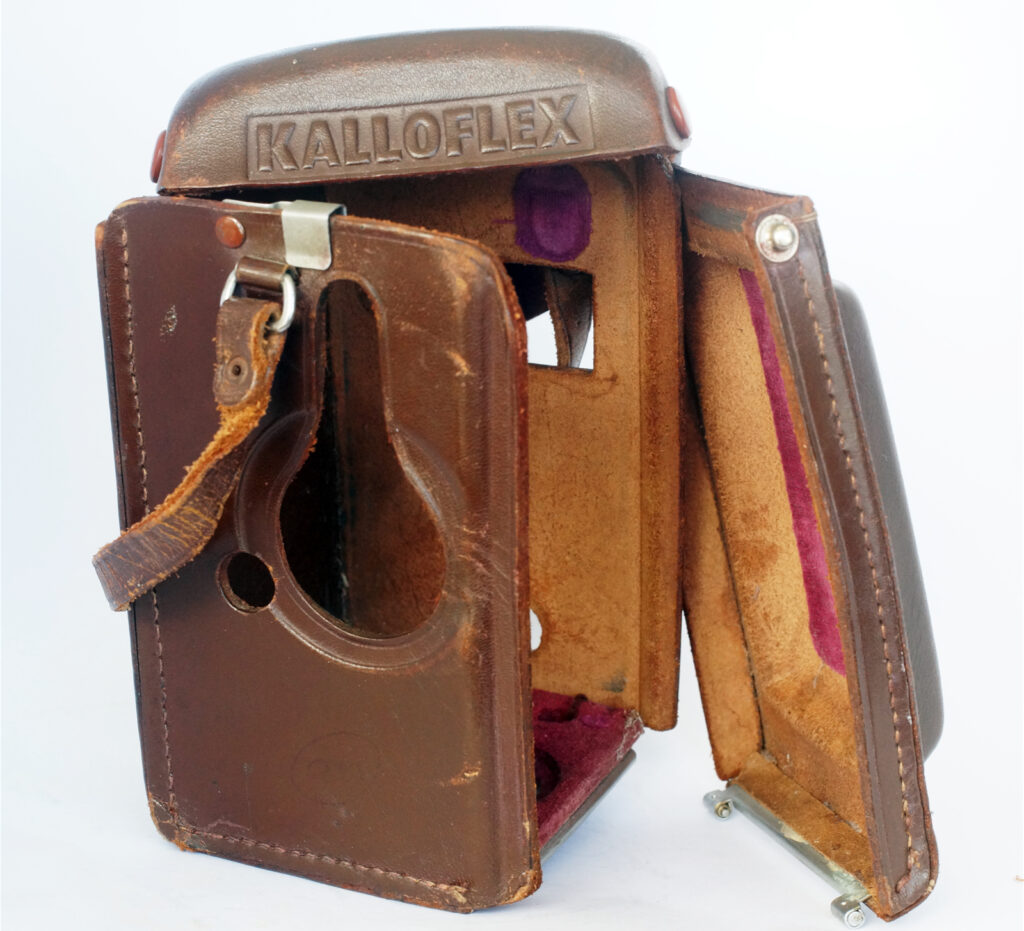
The ERC
Most TLR ERCs tend to get in the way and I haven’t used them other than for storage but this one is better than most. It comes apart in three detachable sections, the body, the front and the top. The body is a snug fit, like a second skin and would only be noticed when a film had to be changed. It helps the grip on the camera and protects the camera in use. The top and front are two seperate parts and could be stowed away in pockets unlike the more usual “L”-shape. It needs a shoulder strap which I am having made.
Examples
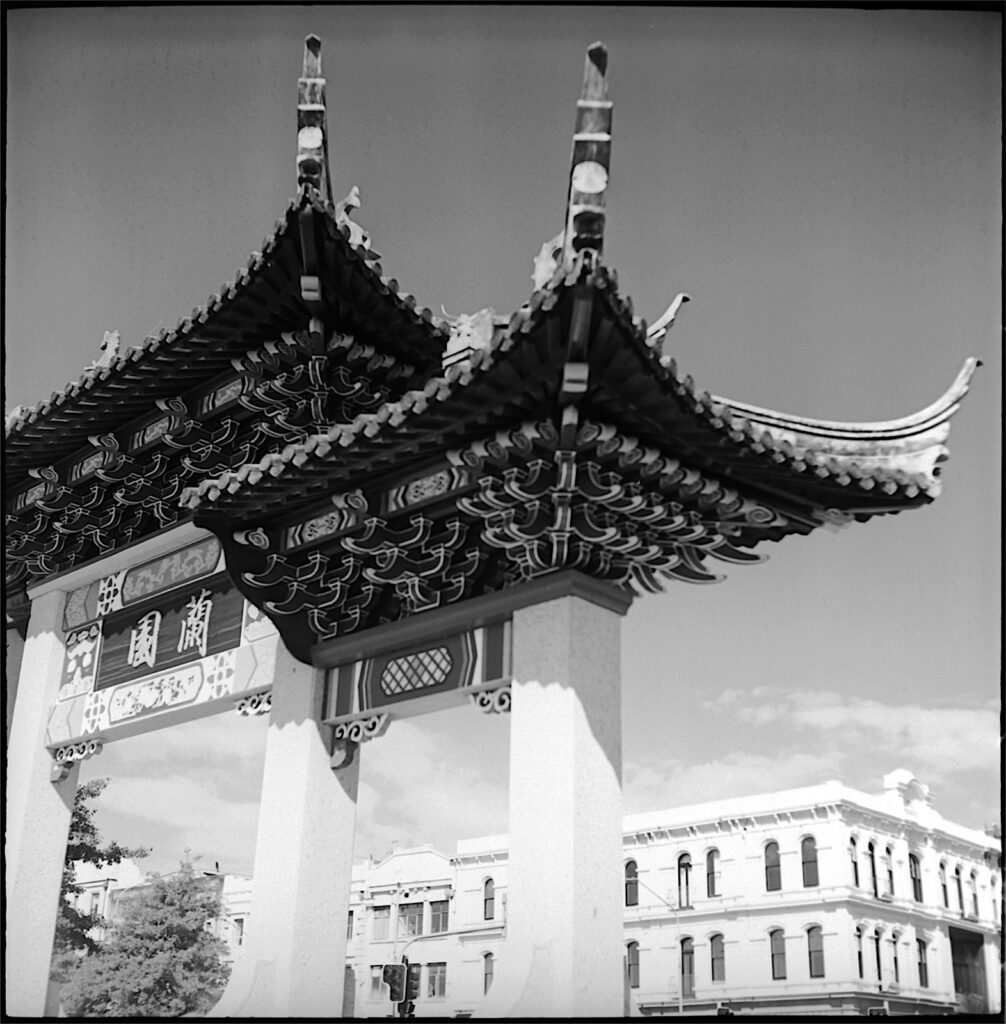
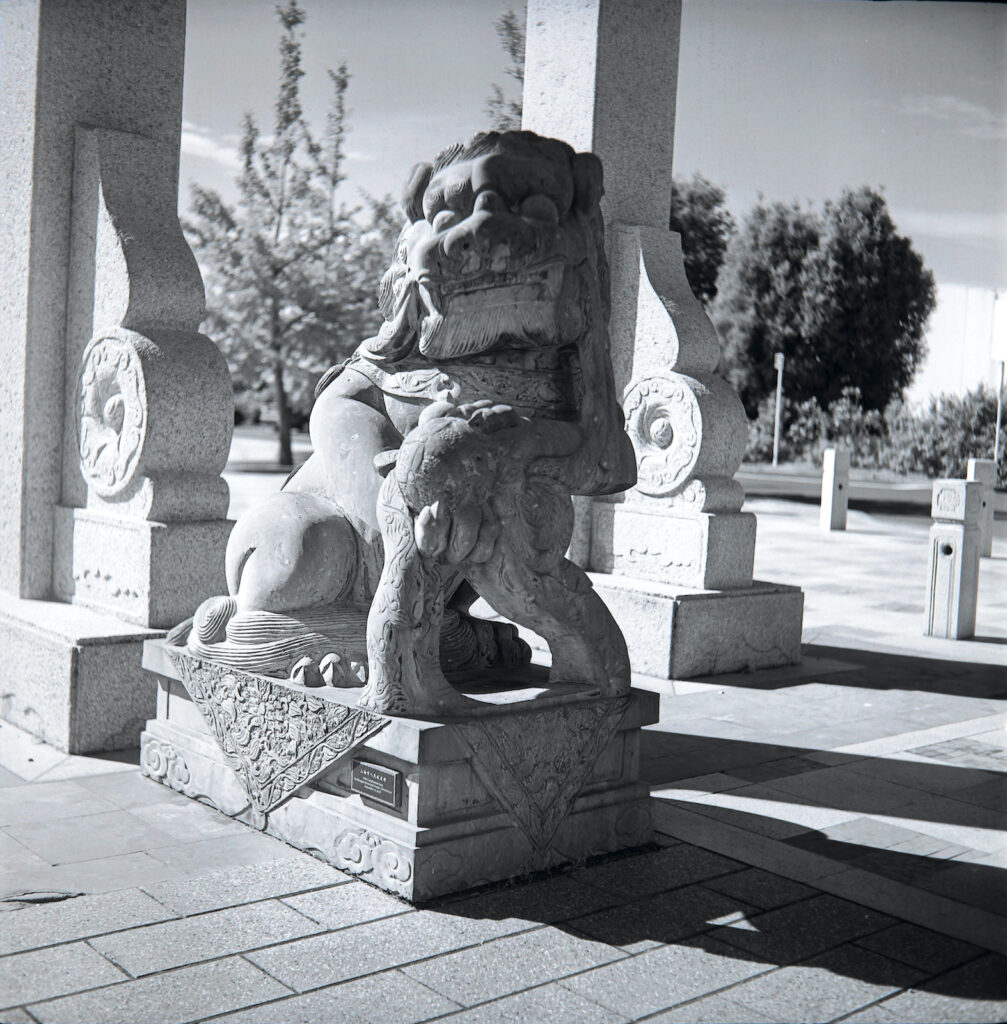
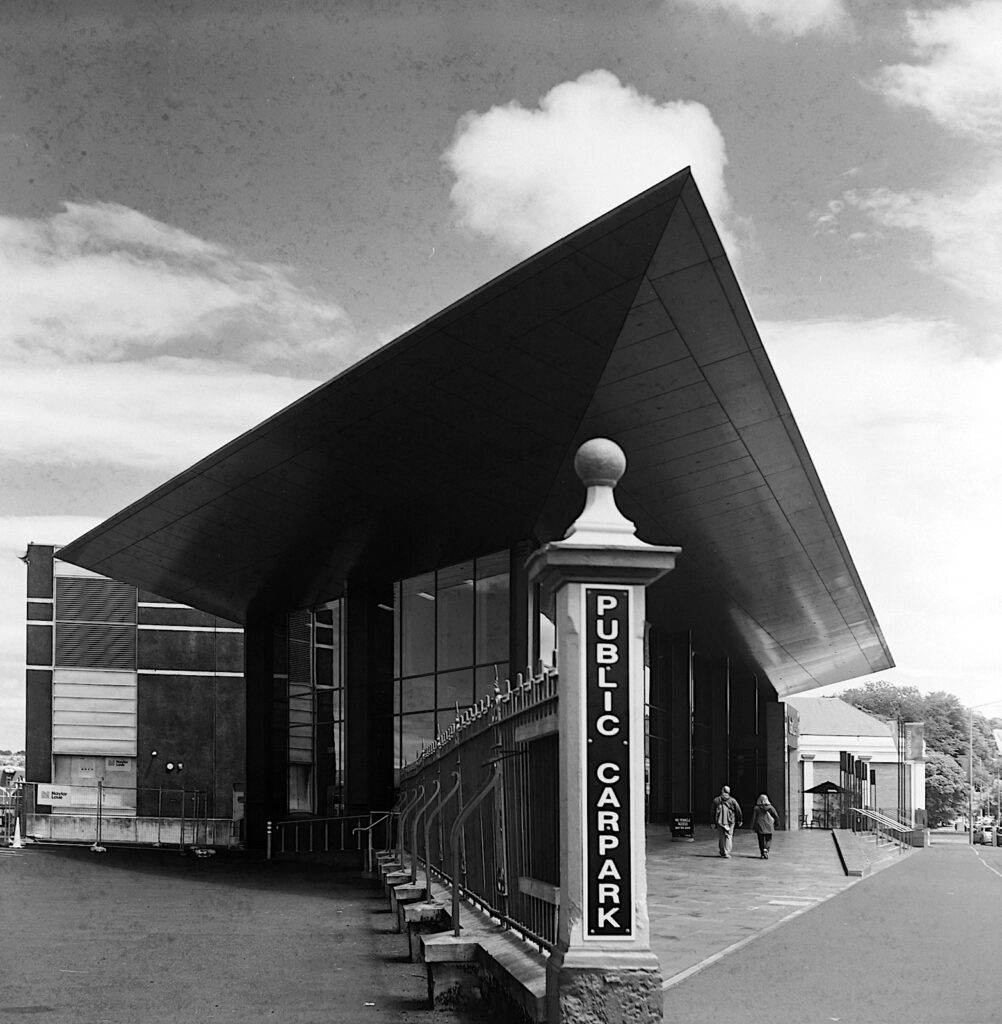
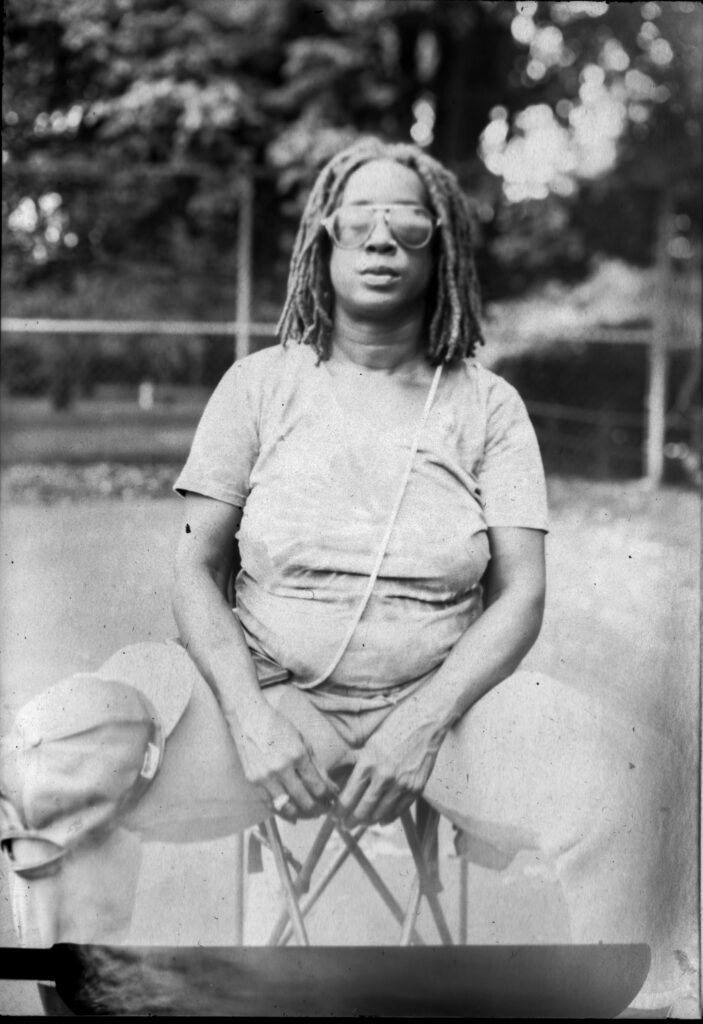
My first film was a Rollei RPX 25 so that I could shoot at wide apertures to see whether the advertising blurb was exaggerating.
RPX is one heck of a contrasty film in Rodinal/RO9! It was almost the last drop of my previously favourite brew. I am on the hunt locally for its Adonal replacement. I now have some Neofin Blue and have added some results with that on Rollei Retro 80S. I need to get to know this brew much better though and get used to the fearsomely short development times. I had quite a bit of uneven development.

Conclusion
The much copied Rolleiflex Automat and its many imitators, are refined, well designed and manufactured, quality cameras aimed at the general photographic market as well as professionals. The Kalloflex on the other hand was apparently designed to appeal to press professionals in particular who would require cameras that allowed them to follow action with the least distraction.
In use it operates very much like a single lens reflex when using the magnifier and it is these cameras that probably contributed to its short time in the sun as a pressman’s tool, not helped by its high price at the time without having the reputation of other brands. The Kallovex took it into the mainstream.
I am looking forward to putting more film through it.
Share this post:


Comments
Martin Siegel on Kowa Kalloflex Automat K2 Review
Comment posted: 23/02/2026
Best regards from Austria
Comment posted: 23/02/2026
Comment posted: 23/02/2026
Adrian Riu on Kowa Kalloflex Automat K2 Review
Comment posted: 23/02/2026
Comment posted: 23/02/2026
Walter Reumkens on Kowa Kalloflex Automat K2 Review
Comment posted: 23/02/2026
Comment posted: 23/02/2026
Michael Flory on Kowa Kalloflex Automat K2 Review
Comment posted: 23/02/2026
I quite agree on the quality of the Prominar 75/3.5. Years ago I ran test rolls vs. my Rolleiflex (Tessar 75/3.5). The Rollei was, as I recall, very slightly sharper than the Kowa (and a Yashica TLR). All three of them produced fine images, though. My Kalloflex operates smoothly and I find it a very comfortable camera to use.
I just pulled the TLRs off the shelf the other day after noticing the TLR-related error in Richard Linklater's really delightful new film, "Nouvelle Vague," recreating the shooting of Godard's "Breathless." Hint: the error is corrected the second time the Rolleiflex appears!
Comment posted: 23/02/2026
Comment posted: 23/02/2026
Comment posted: 23/02/2026
Gary Smith on Kowa Kalloflex Automat K2 Review
Comment posted: 23/02/2026
Comment posted: 23/02/2026
Comment posted: 23/02/2026
Comment posted: 23/02/2026
Comment posted: 23/02/2026
Alastair Bell on Kowa Kalloflex Automat K2 Review
Comment posted: 23/02/2026
Great to read about this Kowa.
Comment posted: 23/02/2026
Ibraar Hussain on Kowa Kalloflex Automat K2 Review
Comment posted: 24/02/2026
I’m itching to buy a MPP Microflex - I had the micro cord and a Rolleiflex 3.5F but your review has made me want to look for this model
And gorgeous black and white work - one can tell you’ve not only experience and technique but so much flair.
And I never before remembered to comment on your review camera photography - splendid.
I think your reviews are the Best on the site
Comment posted: 24/02/2026
Comment posted: 24/02/2026
Comment posted: 24/02/2026
Comment posted: 24/02/2026
Geoff Chaplin on Kowa Kalloflex Automat K2 Review
Comment posted: 24/02/2026
Comment posted: 24/02/2026