Over the years, many people have asked online how to do macro photography with vintage Zeiss Ikon Contaflex SLRs. Here’s a 2005 thread on the subject.
Common wisdom says that Contaflex SLRs can capture macros if one adds the manufacturer’s “Proxar” screw-on lens adapters (or attaches similar adapters to the lens fronts). But with close-focusing distances of from 10 to 40 inches, the Proxars are limited to lower magnifications. Or, one can reach 1:1 (“life-size”) images with a special Pro-Tessar 1:1 Macro Lens. But it can cost into the hundreds.
Nobody though (as far as I know) has asked about shooting “super-macros”– photos with magnifications greater than 1:1. These images (when measured on film or digital sensors) are bigger than their real-life subjects. Common wisdom might say they’re impossible with this camera.
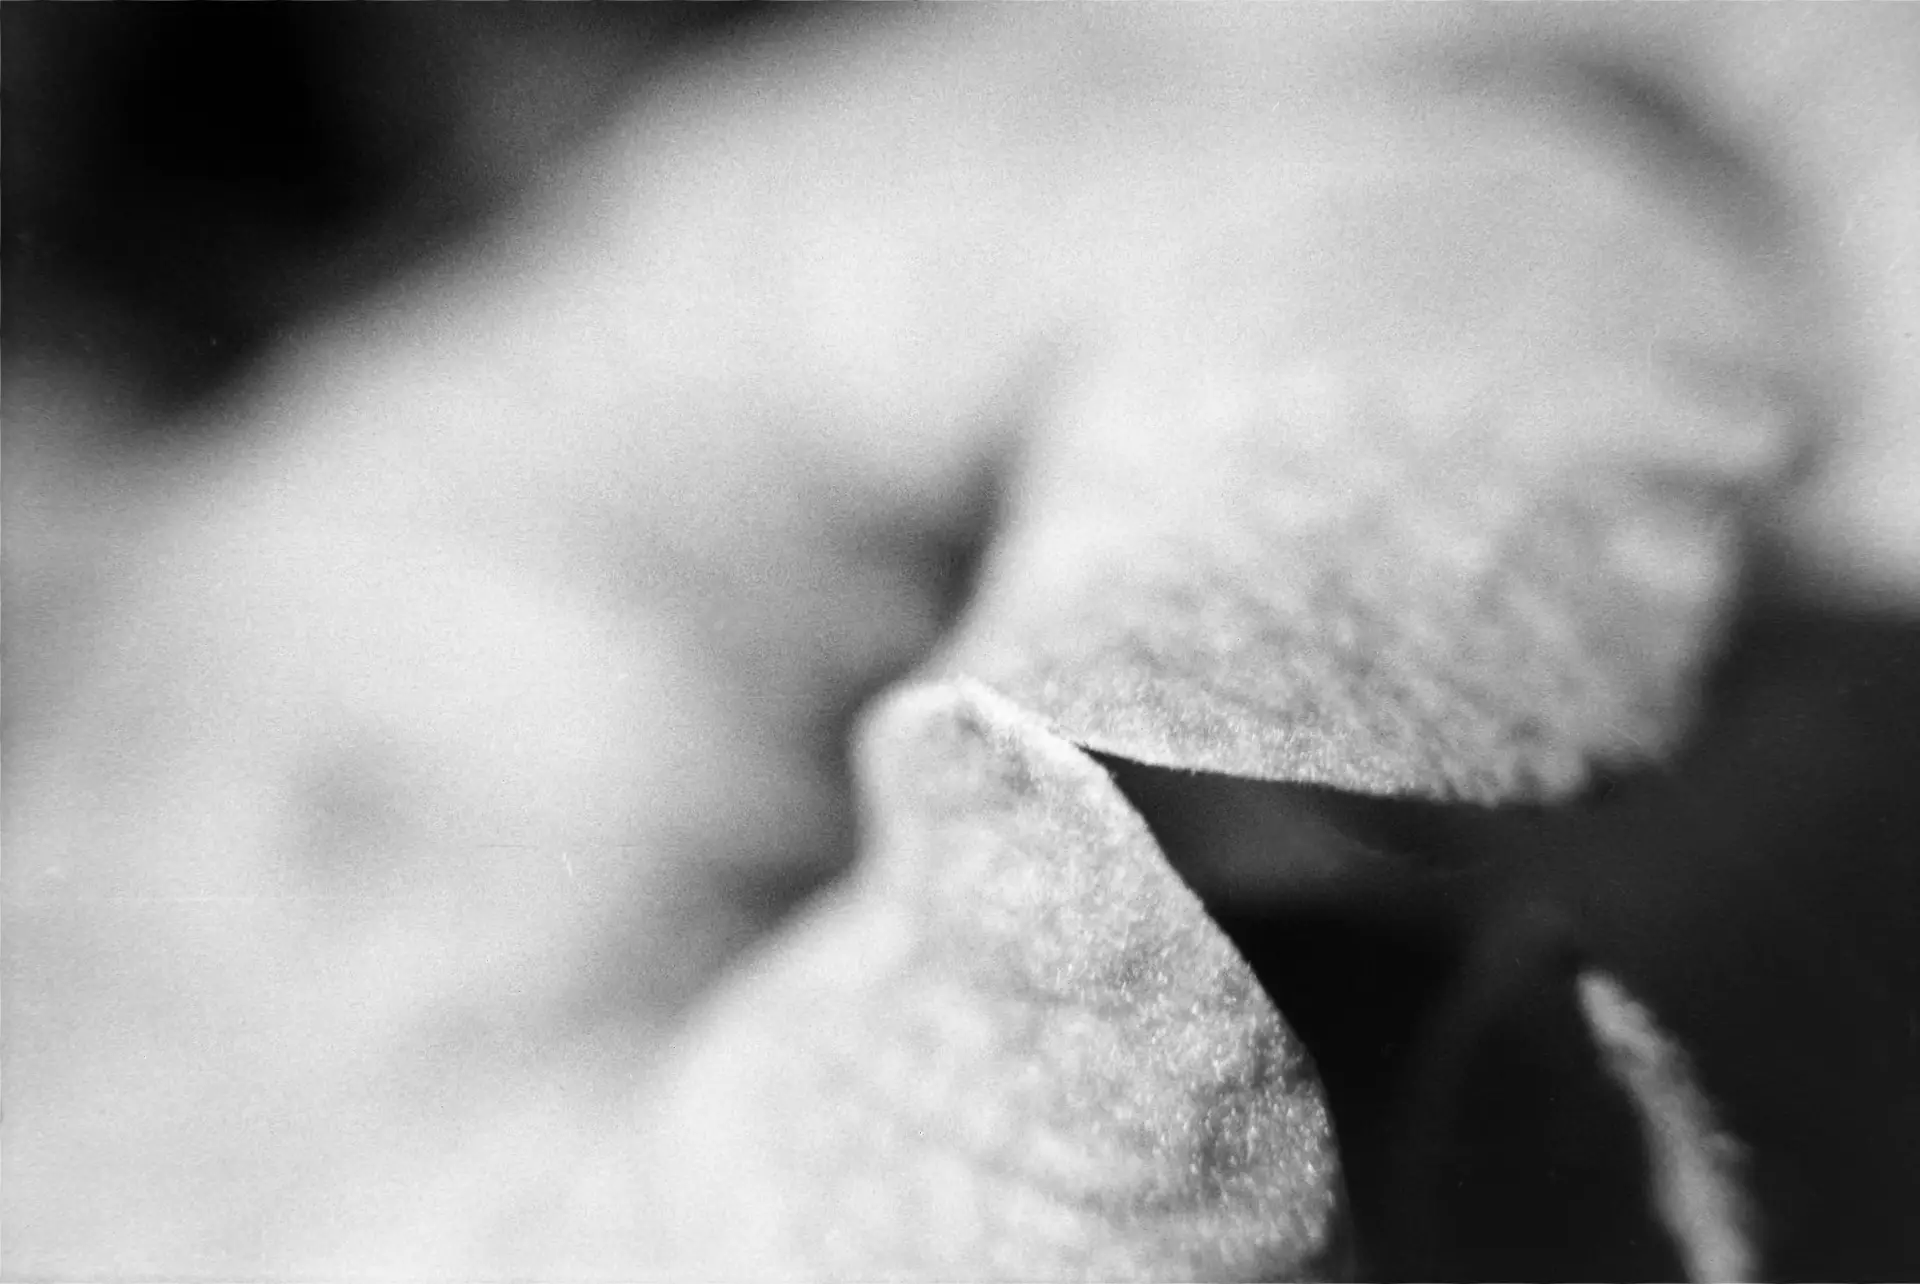
They’re not! My Contaflex Super B’s Pro-Tessar 1:4 115mm lens captured the above (estimated “life-size”) image of a small flower without using screw-on adapters or the company’s Pro-Tessar 1:1 Macro. And the Tessar 2.8/50mm reaches still higher magnifications. The technique also costs nothing, can be used with any standard Super B lens, and was discovered on a whim.
It Started with a Second “Fix”
A while back, this article described how I fixed the camera’s sticky leaf shutter. But soon after the piece appeared, the shutter slowed again. And about a year later, I decided to give it a more thorough cleaning.
I again cleaned the shutter blades with acetone, as described in the article. But I also decided to clean the drive mechanisms hidden inside the camera around the shutter. To do this (without disassembling the camera or endangering its lens elements and mirror) I:
- Set the camera on its baseplate.
- Ran an acetone-dampened cotton bud along the place where the lower shutter blades disappeared into the camera body.
- Exercised the shutter, to help gravity pull the acetone down into the hidden mechanisms.
- Rotated the camera 90 degrees to stand it on its edge.
- Repeated the above swab/exercising.
- Repeated all the above with the camera sitting on its top… and then on its other edge.
After a couple such cycles, the shutter worked snappier than before. And it continues to work nicely months later. (Who knows how long that will last!)
But Then I Asked “What If?”
The glass elements in Contaflex “lenses” are divided into three independently housed groups (so that the shutter can sit at their optical center):
- What I’ll call Group1 is built into the camera behind the leaf shutter.
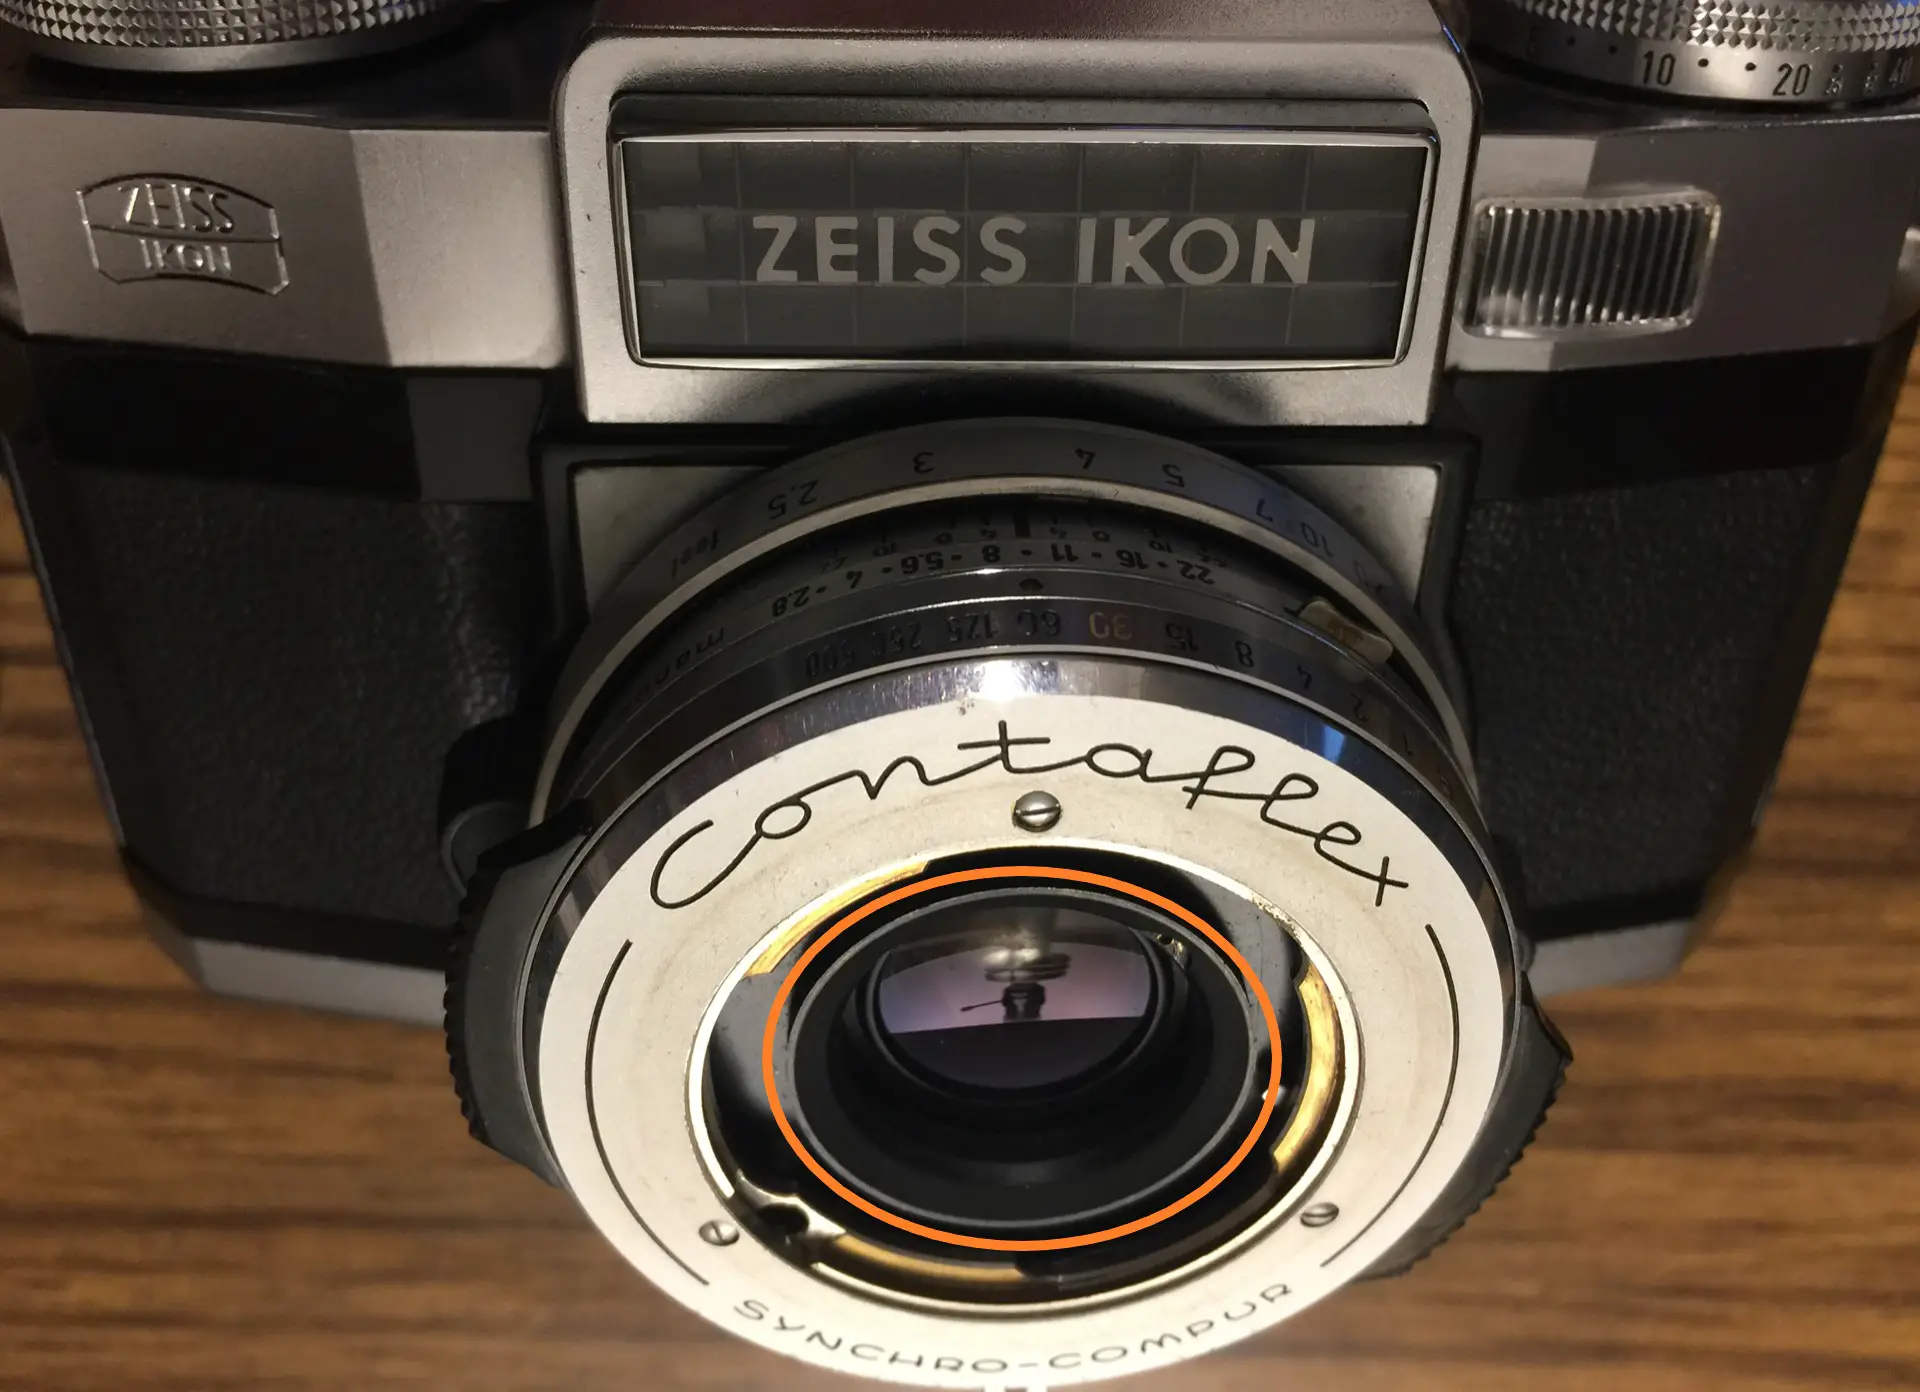
- Group2 (the “middle” group of the Contaflex lenses) screws clockwise into the camera in front of the shutter. The front edge of this group is outlined in orange below. One can remove this group with careful counter-clockwise turns of needle-nosed pliers or (if you’re lucky) a large rubber cork pressed into the group’s front edge:
- And Group3 is an “attachment” that bayonets to the camera front to complete the different lenses. This group contains differing numbers of elements for the different lenses (and the attachments I have are for the Tessar 2.8/50mm, Pro-Tessar 1:3.2 35mm and Pro-Tessar 1:4 115mm). NOTE: Tolerances are so precise in this camera that Group2 must be pretty firmly screwed in for Group3 to attach.
To clean the shutter, I detached Group3 and unscrewed Group2. And after cleaning, I asked myself “What would happen if I reassembled the camera without Group2?”
Surprising Macros
I’d already been playing with the Pro-Tessar 1:4 115mm lens. So with Group2 removed, I re-bayoneted the 115mm attachment, pointed the camera sideways along the top of a small flower, moved in closer and closer, and when the lens almost touched the nearest petals, this article’s opening image appeared in the viewfinder. When compared with the actual flower, the negative seems to have a magnification of “life-sized” 1:1.
Curious, I replaced the 115mm attachment with the one for the Tessar 2.8/50mm “normal” lens, again moved in on the flower, and got what I think is around 2:1 magnification. (More about that later.):
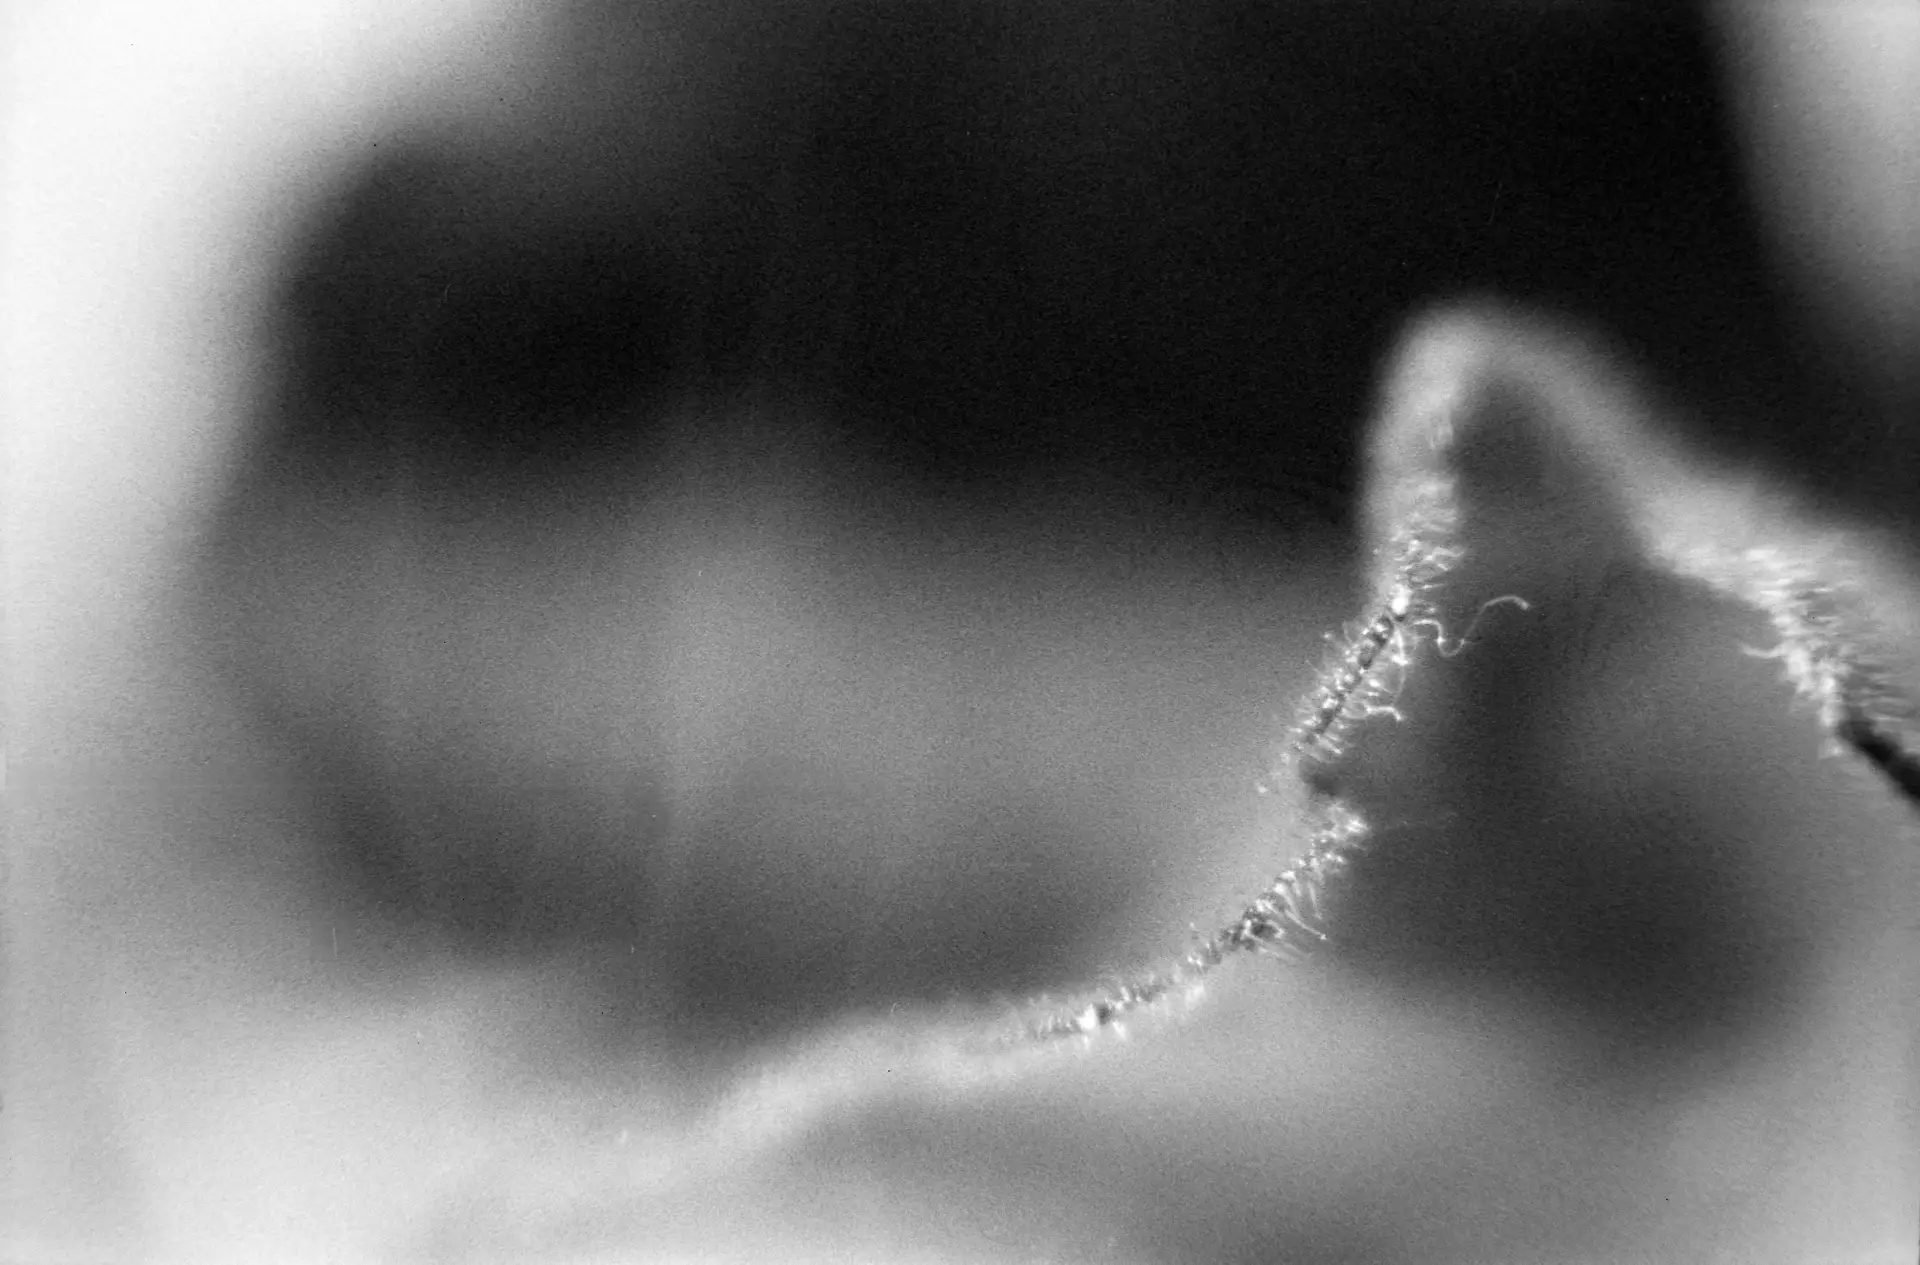
I’d focused on the tiny hairs along a petal tip. NOTE: Since I was shooting hand-held on a breezy day, the above images could be sharper. And as with all macro photos, depth-of-field was very shallow.
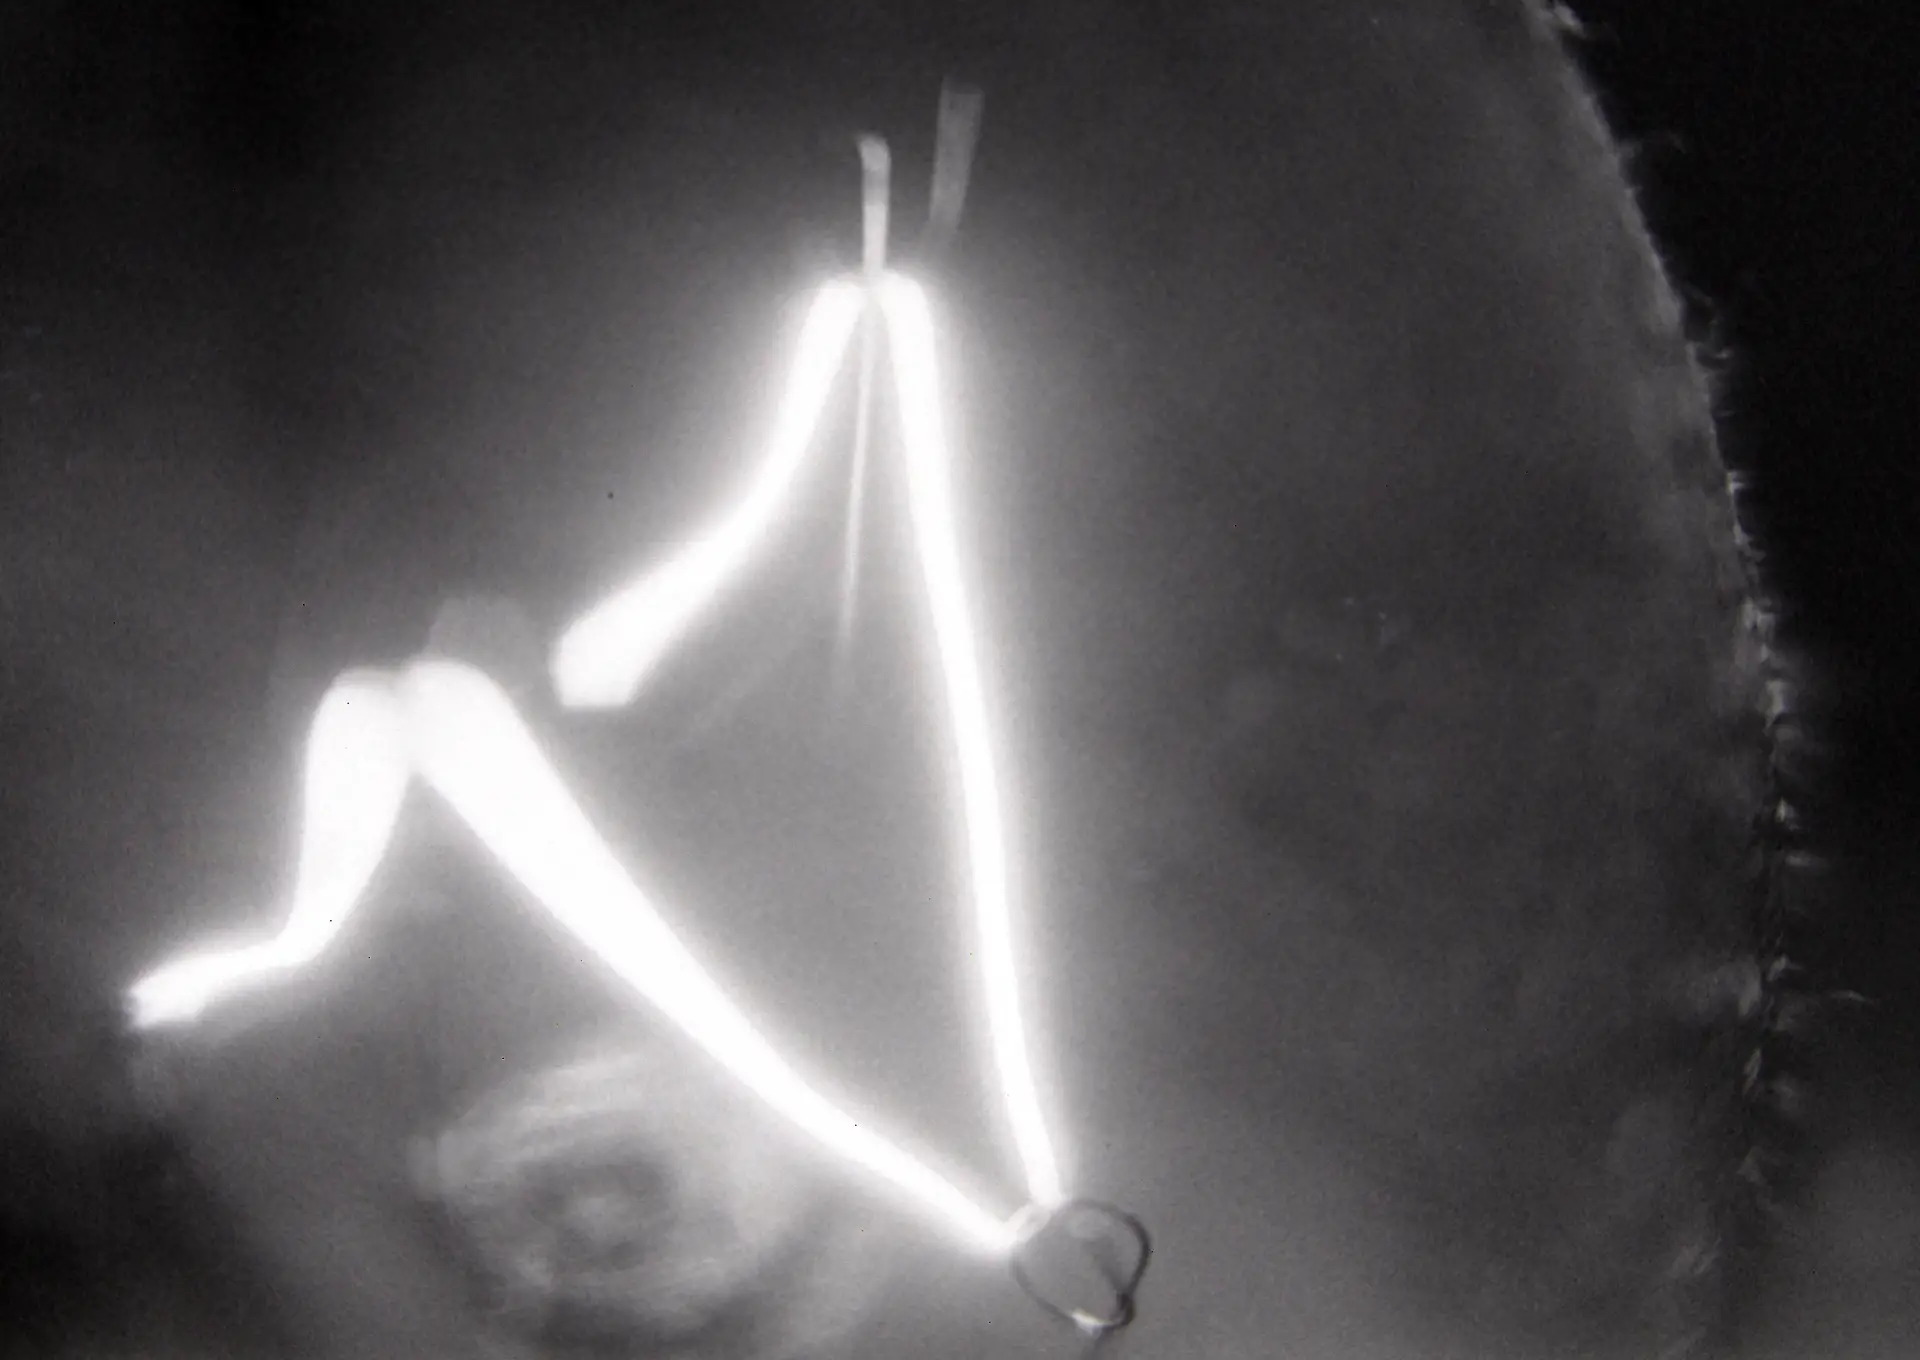
Here’s a third super-macro– taken hand-held at night, with the Tessar 2.8/50mm lens, and focused on an electric-candle filament:
Then a Few Non-Macros
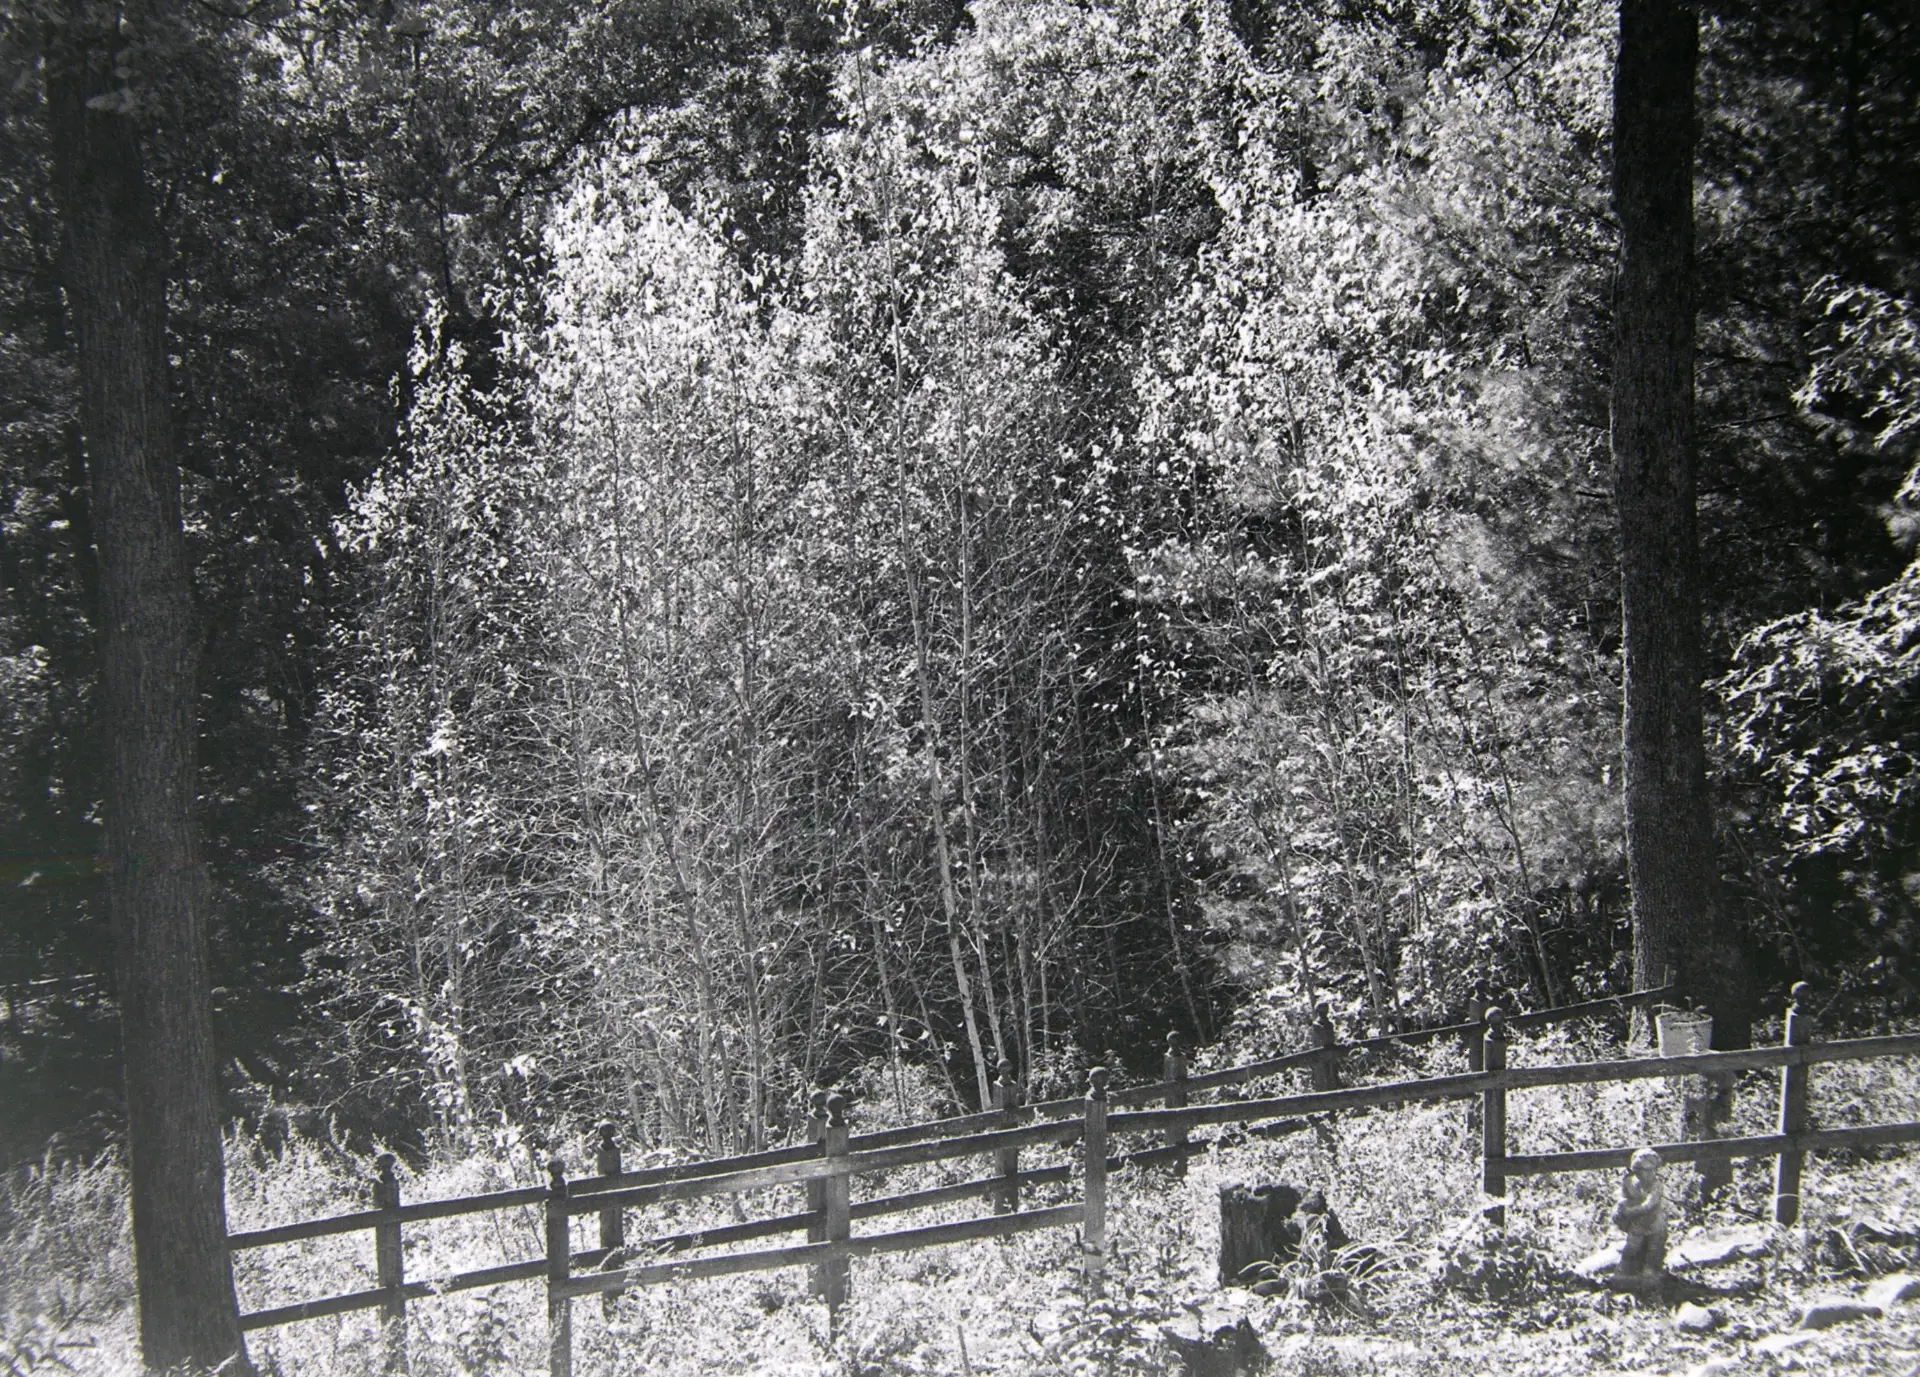
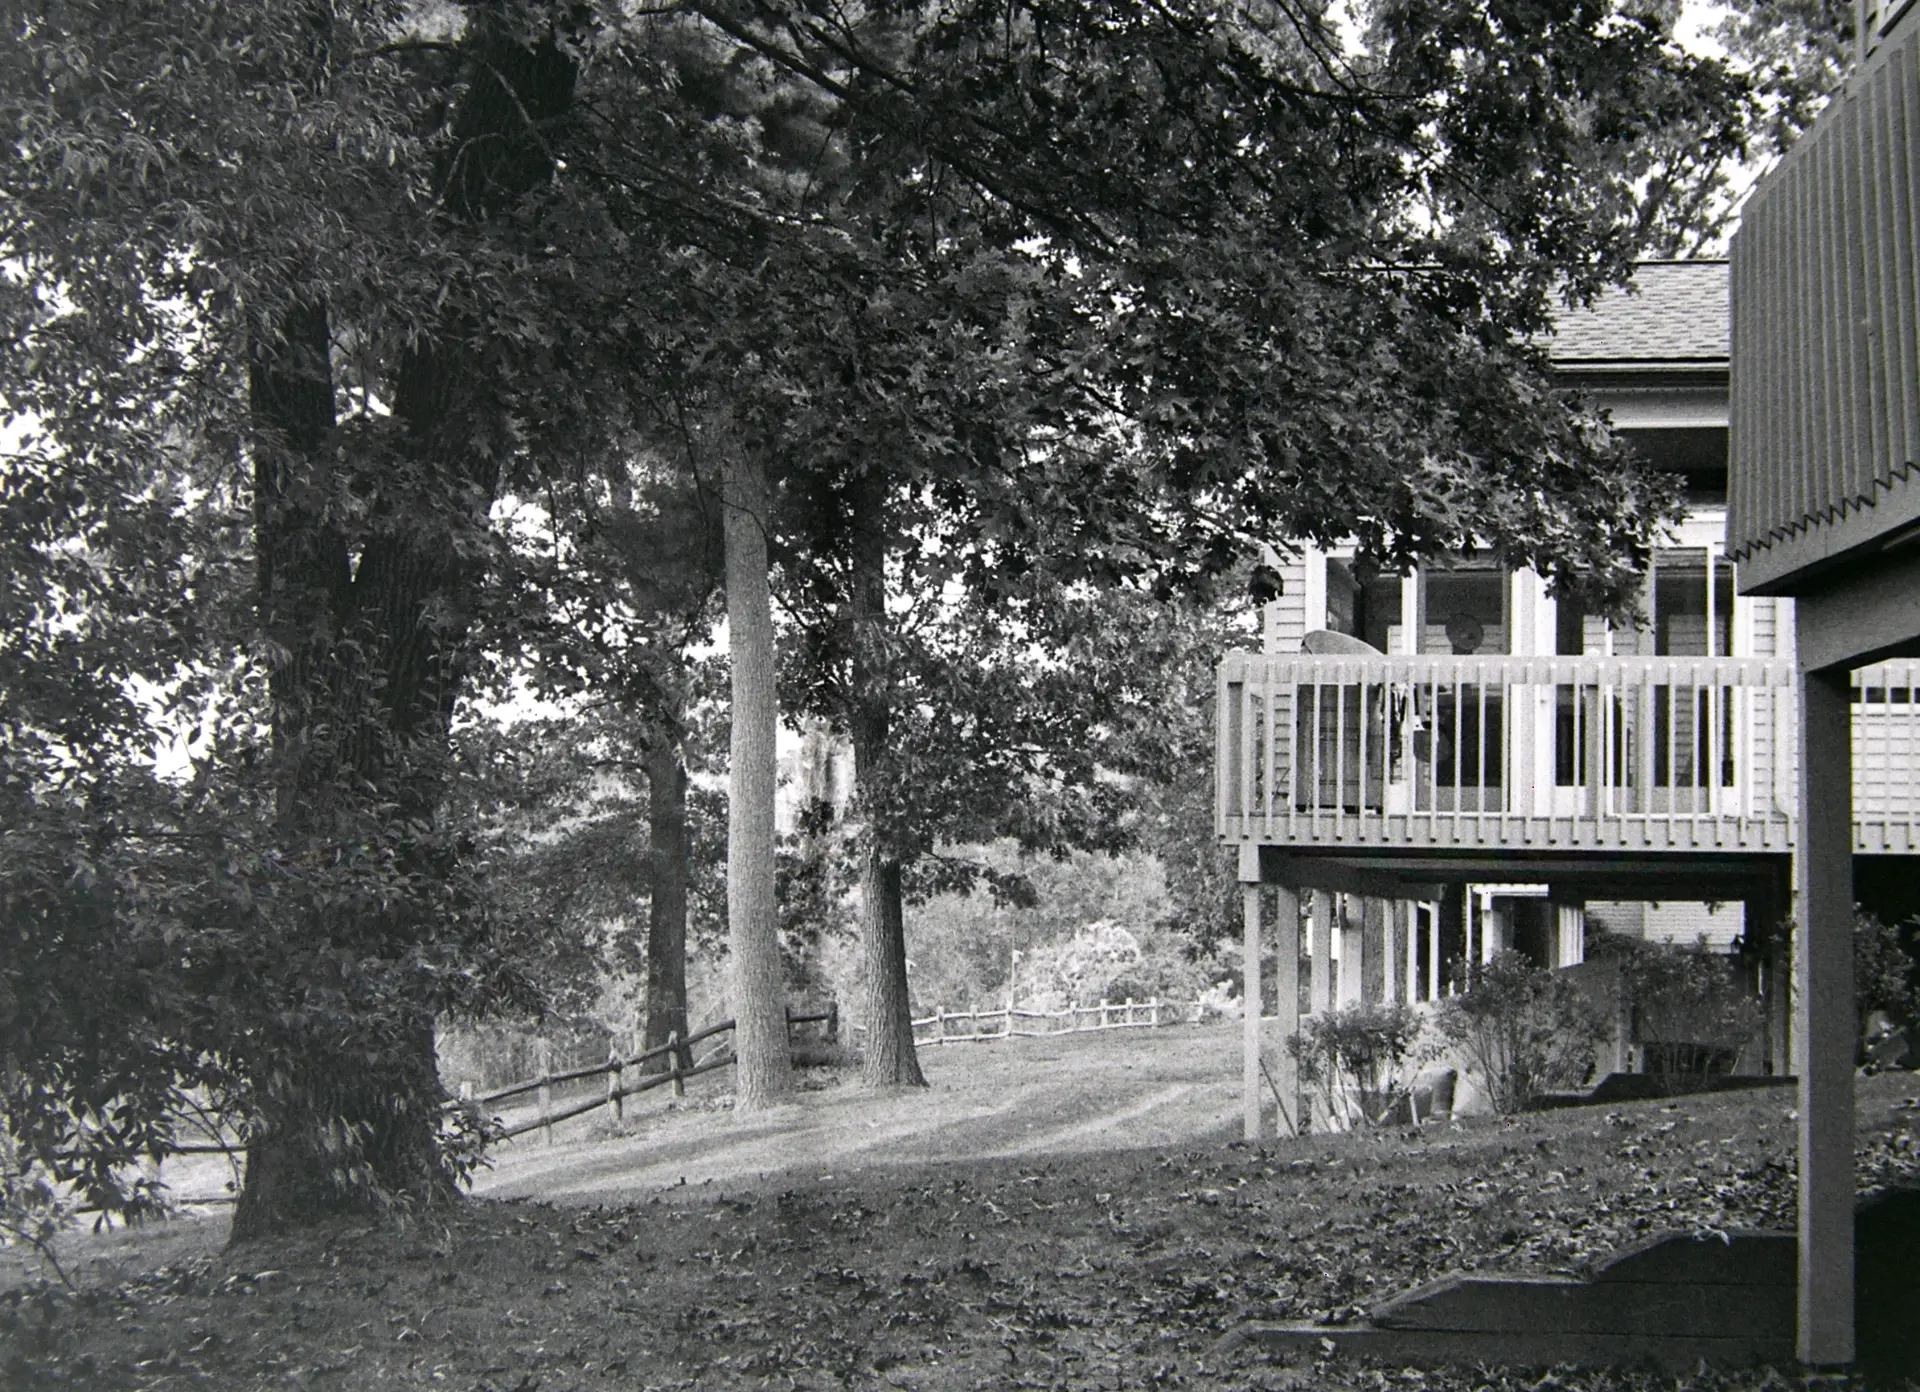
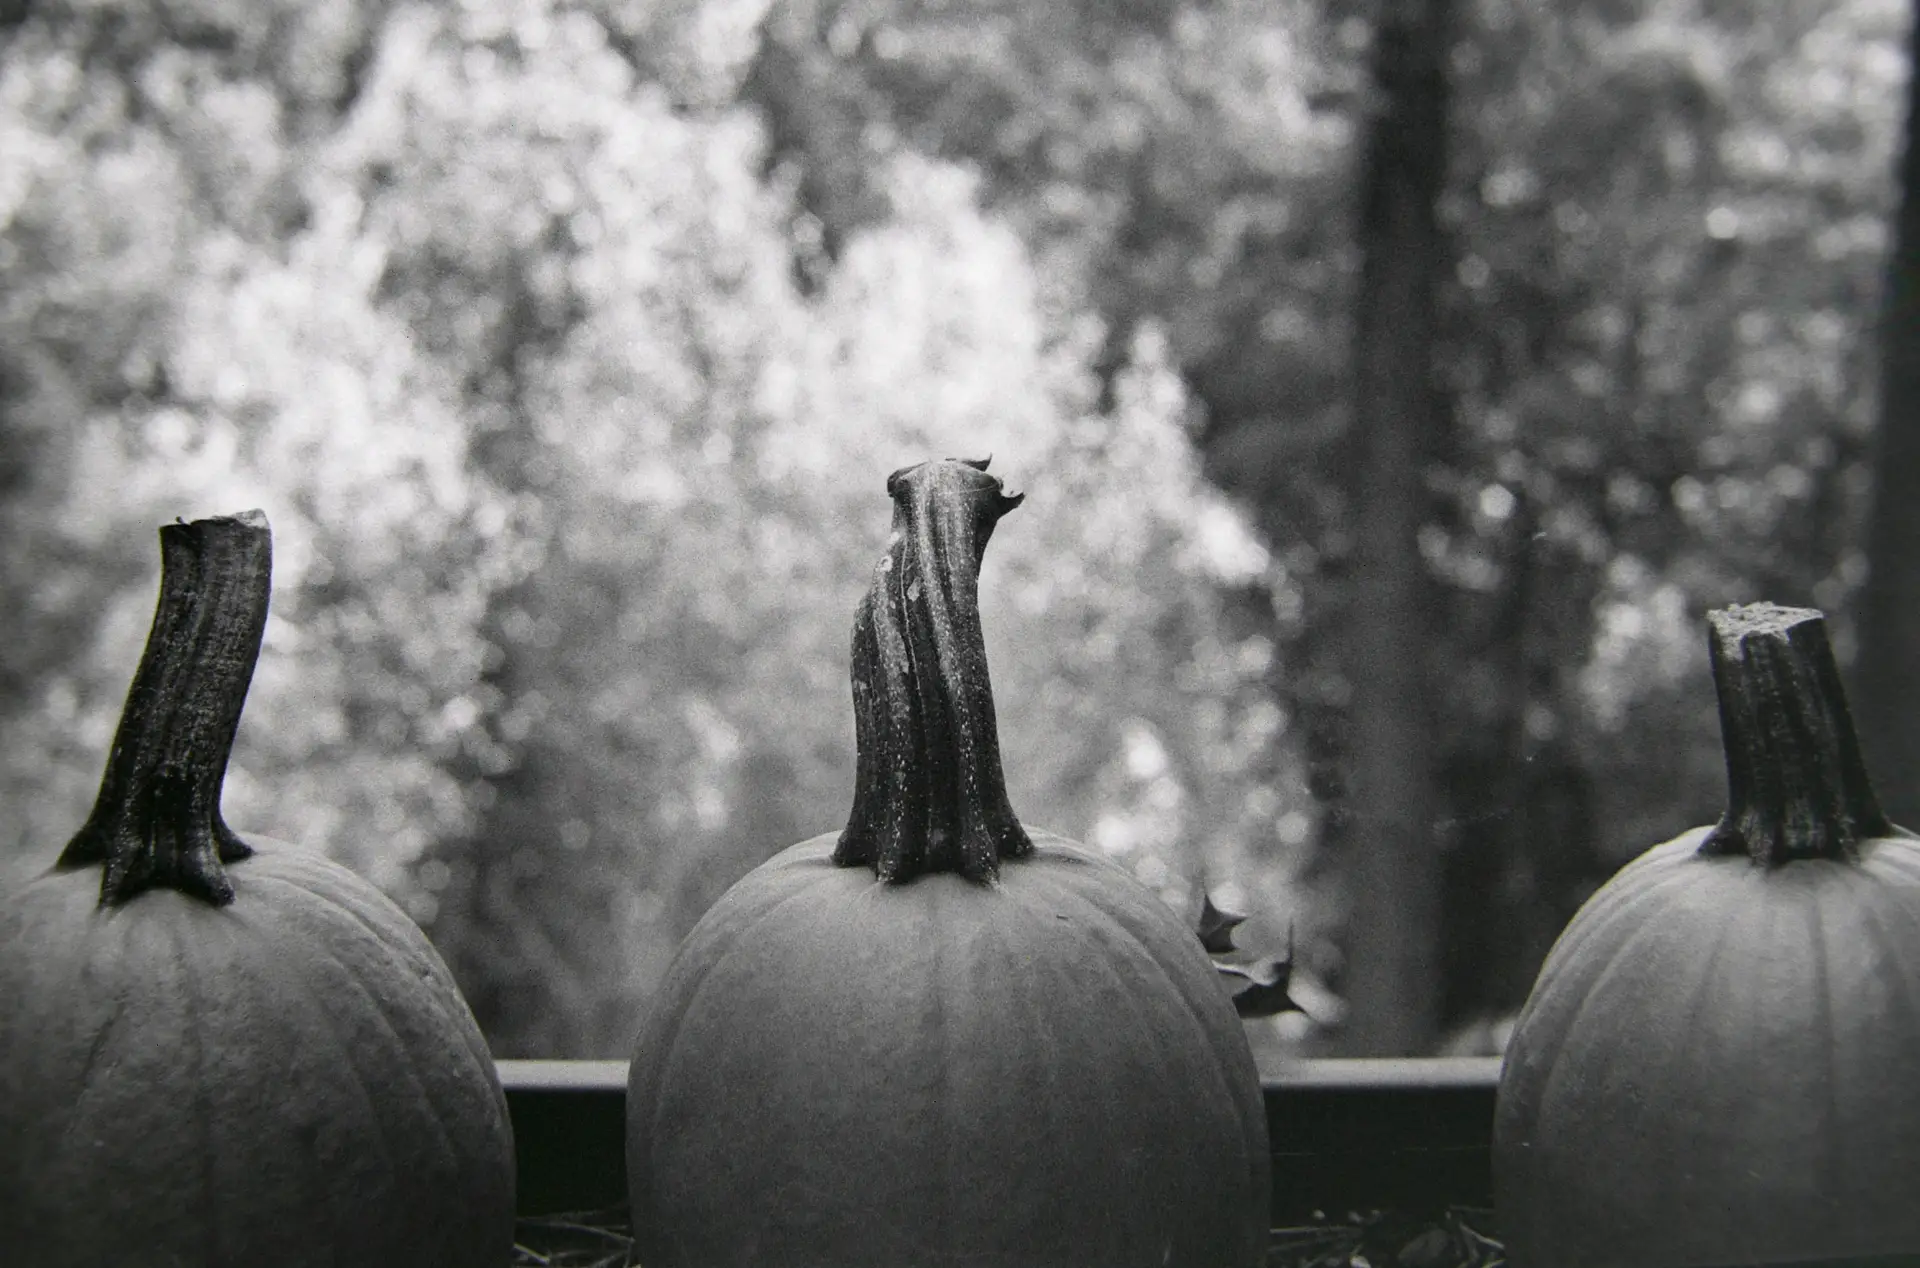
With some film left, I then restored Group2 to the camera and captured these non-macro 50mm images on a crisp autumn afternoon:
Some Technical Notes
- This was my first outing with Kodak 5222 Double-X “movie film.” Kodak says it designed the film “for production use in dim light – outdoors and in the studio – and anywhere you need greater depth of field without increased illumination.” It did seem to handle the dim lighting in my flower shots fairly well. And it certainly added some cinematic drama to those pumpkins!
- I exposed it at ISO 250 “box speed” using Sunny-16 settings for the non-macro shots. And since the exposure meter in my Contaflex is a bit off, I used an Olympus C-8080 WZ (in its own super-macro mode) to estimate exposures.
- The Super B’s tiny split-screen and Fresnel focusing areas were hard to use for macros. But the viewfinder’s bright viewfinder surround made it easy to see when and where focus was achieved. The viewfinder also seems to have a narrow angle of optimal viewing. So I had to keep my eye well centered.
- The Super B lacks a capability that became useful in later SLRs. Yes, one can review live framing in the Contaflex viewfinder. But the shutter’s complex mechanical “ballet” keeps one from seeing the effects of aperture changes. If one could see them, a light meter wouldn’t be necessary.
- I developed the film with the Caffenol recipe and procedure described at the end of this article. But the Kodak 5222 negatives were slightly dense. So I’ll try Double-X agitation times of 13 minutes in Part 2.
- I think the film may have a thicker plastic base than Tri-X or T-Max (perhaps to survive the stresses inside hot movie projectors). When I’ve loaded Tri-X and T-Max into my reusable canister, the Contaflex had no issues. But when I loaded 5222, the camera’s sliding back resisted closing. And film advance felt tighter.
- I wondered why the 50mm attachment produced higher magnifications than the 115mm attachment. I believe that the optical center of both “lenses” is at the camera’s built-in leaf shutter. So the larger 50mm magnification might result from its more-spread-out light cone to cover the 35mm frame. (But I’m not sure about that.)
- One drawback of this super-macro technique is that the lens must almost touch the subject. Shy bugs won’t like it!
- Sadly, I did NOT try the camera’s wide-angle Pro-Tessar 1:3.2 35mm lens attachment. Its previous owner left it in a humid Florida closet and it’s now infected with so much fungus that it’d be soft-focus only (if I were foolish enough to bring it near the camera). So the lens is currently in isolation, and if anyone knows how to open it for cleaning, please let me know in a comment!!!
And Final Thoughts (For Now)
- Please correct me if I’m wrong, but I think this may be the first time anyone has ever tried this “super-macro” technique with a Contaflex SLR.
- I converted the camera to super-macro mode NOT by adding something, but instead, by taking something away. The conversion, therefore, cost nothing.
- While I don’t own the Pro-Tessar 1:1 Macro Lens, it appears that the “modified” 115mm comes close to its magnification. And I have to think that this trick might even push the 1:1 Macro itself beyond 1:1. If someone owns the Pro-Tessar 1:1 Macro, consider trying it… and let us know in a comment or separate article.
- One wonders if Zeiss Ikon ever realized what was possible with the middle lens group removed?
- This 2007 photo.net thread describes quite a few other vintage, in-lens, leaf-shutter SLRs. Could a similar super-macro technique work for them? If anyone owns a non-Contaflex leaf-shutter SLR (or a different Contaflex model!), consider trying it… and updating us!
This article’s macros were all hand-held, and admittedly, a tad unsharp. In Part 2, I’ll use a more controlled indoor setup to better gauge the magnifications, image characteristics and quality of Contaflex super-macros. [SPOILER ALERT: Having just completed the second installment, I can say that the results were very nice. There may also be some more technical tips and surprises.]
But returning to past user questions, Contaflex SLRs can capture macro images. The company’s “Proxar” screw-on lens adapters (or any similar adapters that can attach to Contaflex lenses) and their special “Pro-Tessar 1:1 Macro Lens” handle magnifications up to “life-size” 1:1. But it costs nothing to push on from there into “super-macro” realms– just remove the camera’s middle lens group!
A 1.5-Year Update!
This article’s unusual “deep cleaning” of a notoriously sticky Contaflex shutter has worked wonders. One and a half years on, its dual-leaf mechanism still hasn’t shown any signs of gumming up.
–Dave Powell is a Westford, Mass. writer and avid amateur photographer.
Share this post:


Comments
Bob Janes on Shooting “Super-Macros” with a Contaflex Super B SLR (Part 1)
Comment posted: 24/01/2024
Comment posted: 24/01/2024