For a good while now I have been fascinated by the idea of hacking compact camera lenses to work on my Leica cameras. So far this has taken me down a few paths, with one end of the spectrum involving MS-Optics, and more recently an independent lens manufacturer in the states (more on that another time). At the other end of the spectrum I’ve been having some fun mounting lenses extracted from compact cameras (such as the Yashica T4) into dumb mounts made out of 3d printed or hacked body caps – which is exactly what I did to the lens out of the very basic, yet not-without-charm Canon AF-10.
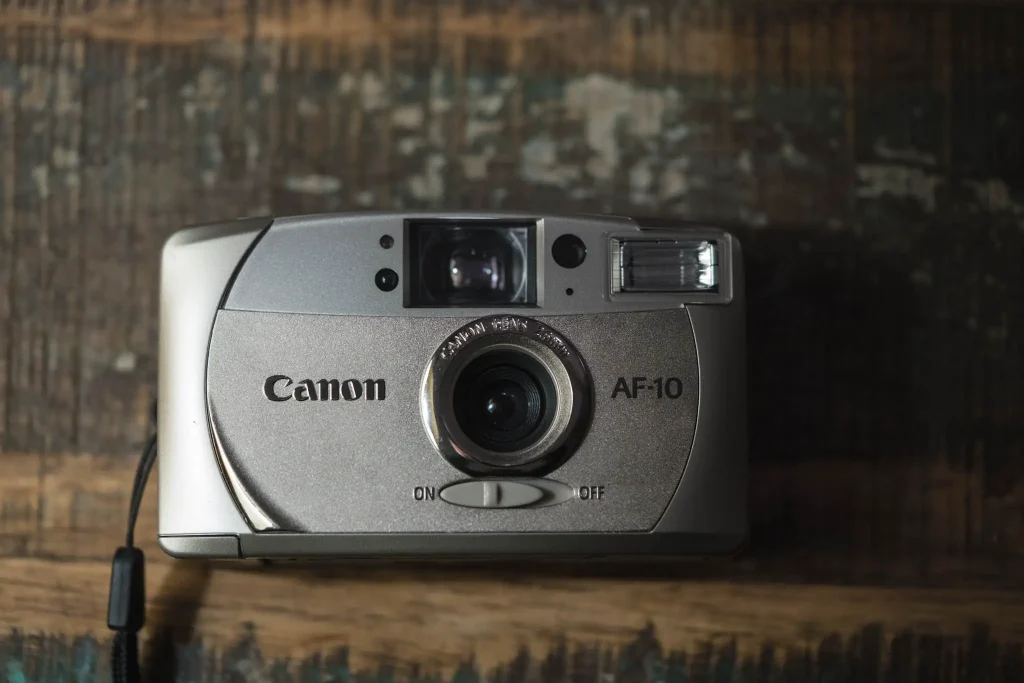
The Canon AF-10
The Canon AF-10 is a fairly inconsequential little point & poke camera. It has a basic AF system, and I suspect actually relies mostly on its f/6 26mm lens to obtain good focus purely through broad depth of field.
My initial interest in this camera as a donor for a lens hack was just based on this focal length and fixed aperture. The specs as they are would mean I could mount it in some sort of none-focusing dumb mount, set it at its hyperfocal distance and just use is as a daylight snaps lens.
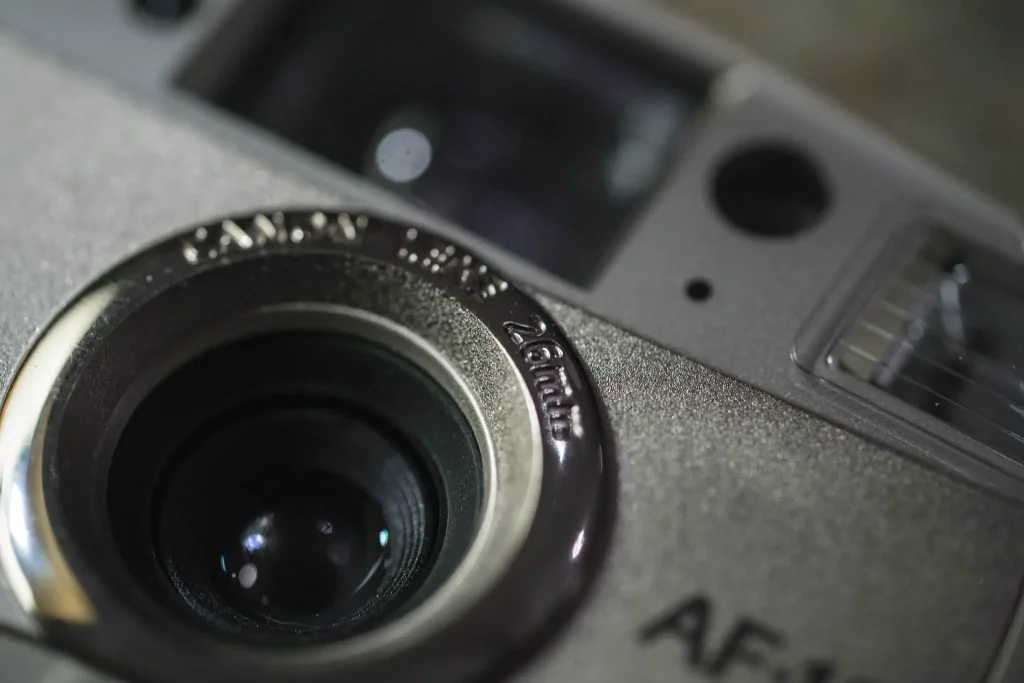
After I took the camera apart a realised something else of interest. The lens appears to be made out of coated glass rather than plastic as I had originally expected. Since the time I started this project (it’s taken a while) I’ve grown to realise that there might well be a place for plastic lenses in my life (see here). I haven’t always felt this way though – at the time I started the project I had a little bit of a phobia of the sort of flare they invariably create, so in finding the Canon AF-10 lens was glass made the idea of the project a lot more interesting.
Extracting the lens
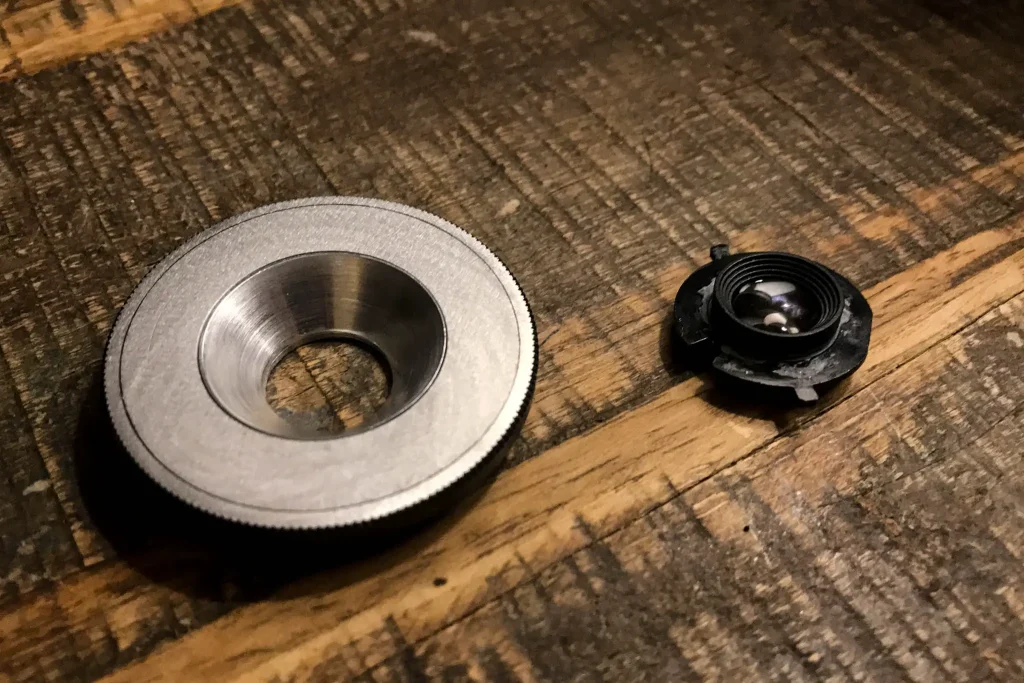
Extracting the lens was remarkably simple. This sort of process is very easy when you don’t care about smashing the crap out of the camera’s poor worthless body.
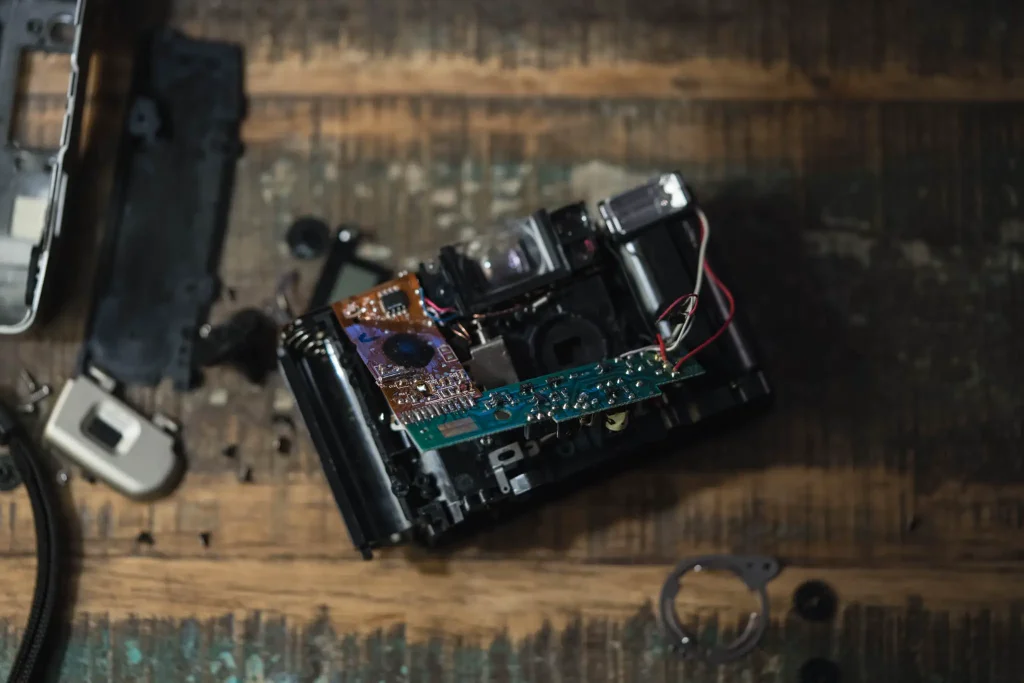

Of course, no post that involves showing taking a compact camera a part would be complete without a warning about the flash capacitor. Those things will give you a very nasty shock if you touch them, so please be careful! (…says the guy who once punched himself in the face through a shock from the 240v uk mains supply – don’t ask!)
Remounting the lens
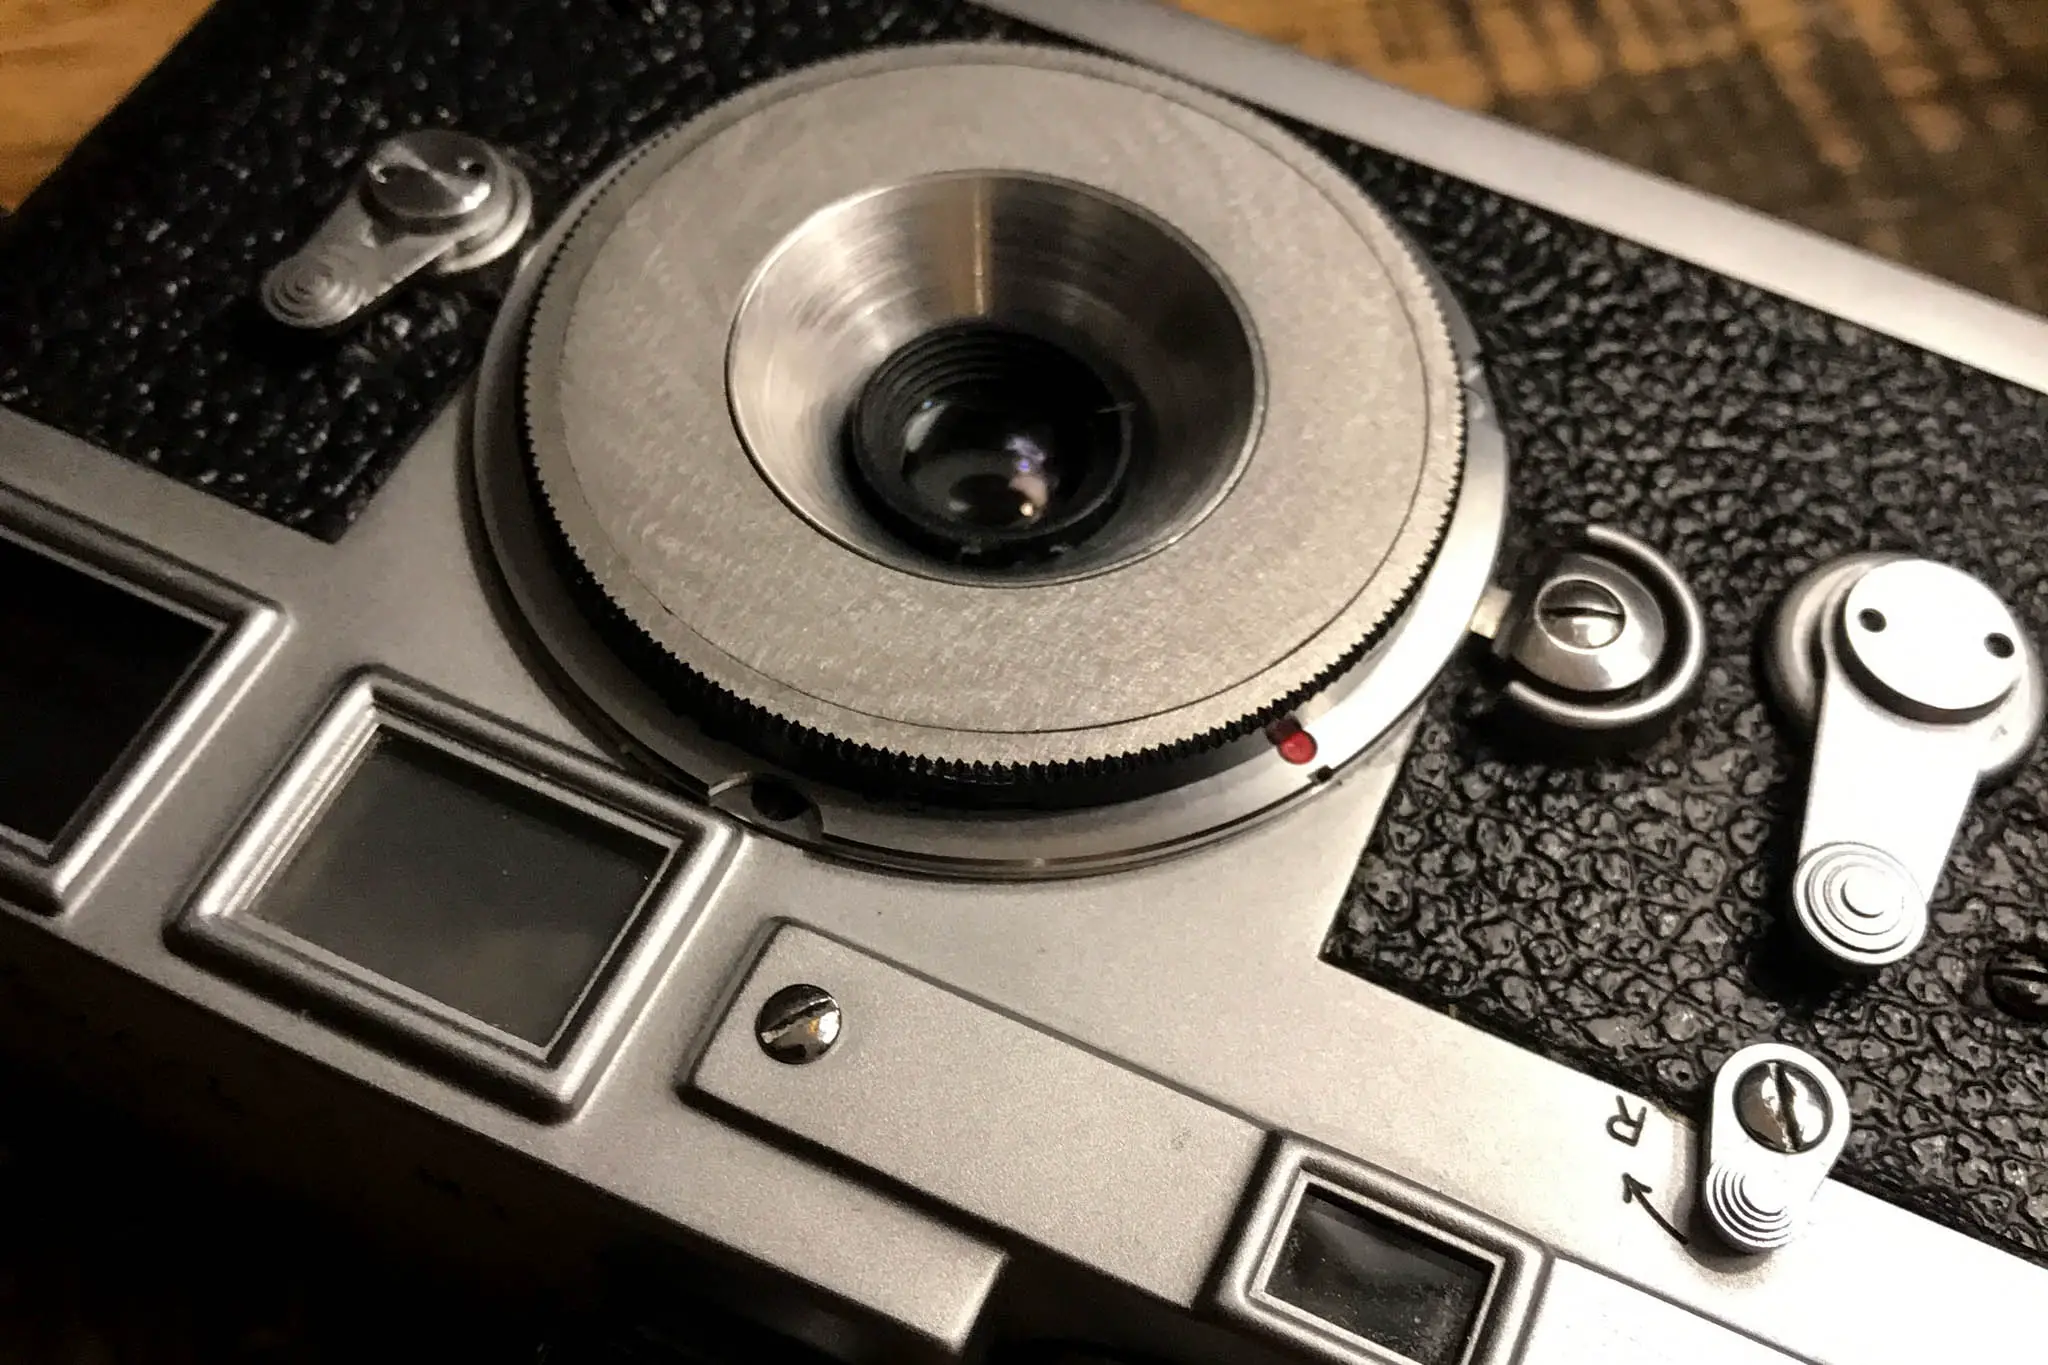
Once I had the blighter out I decided that rather than make something out of plastic, I would have a chat with my mate Tom who at the time had access to a lathe. Between us we figured we could drill a hole in a metal thread mount body cap, and then he could turn a little piece of aluminium to hold the lens in place. After a bit of too and fro working out the back focal distance for hyperfocal focusing this is what he came up with.
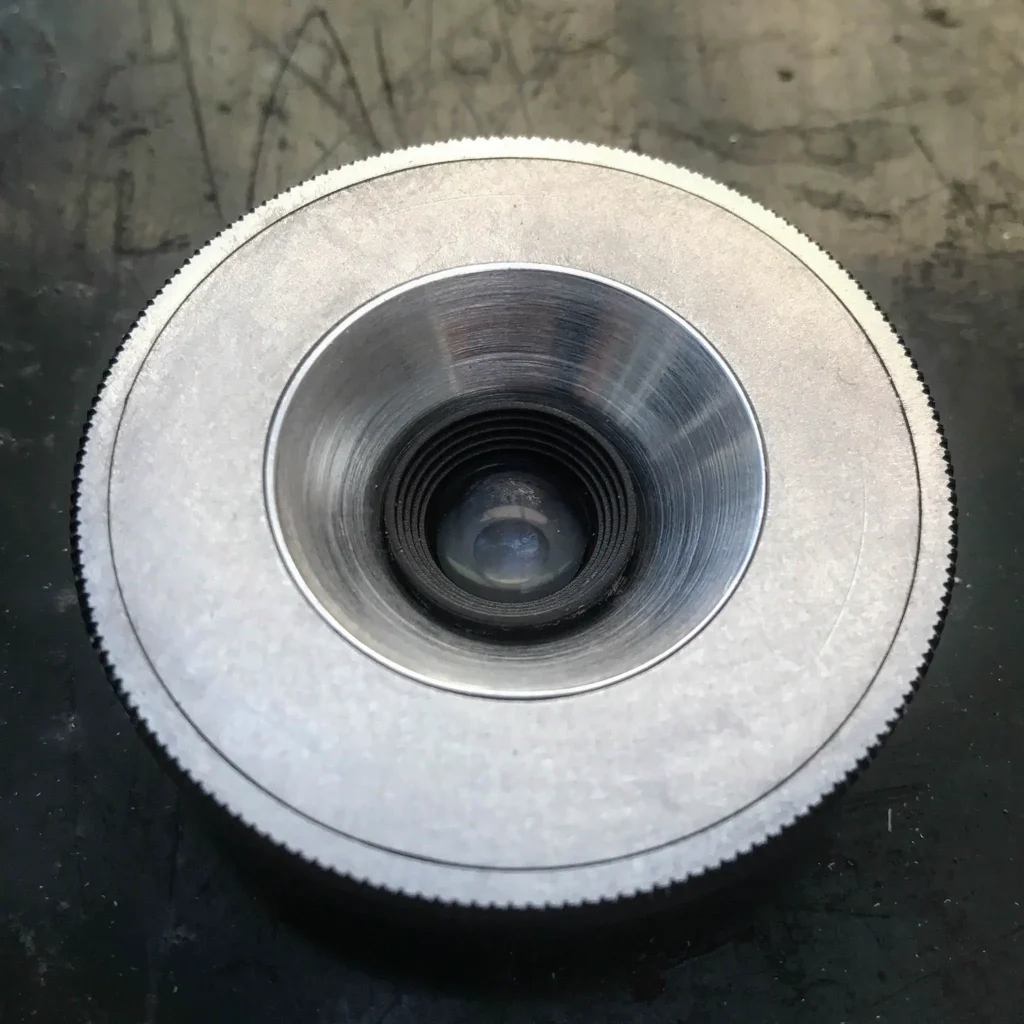
Actually, in the picture above, the lens element, drilled body cap and turned bit of aluminium are still all lose. To fix them together a applied a not insignificant amount of Sugru.
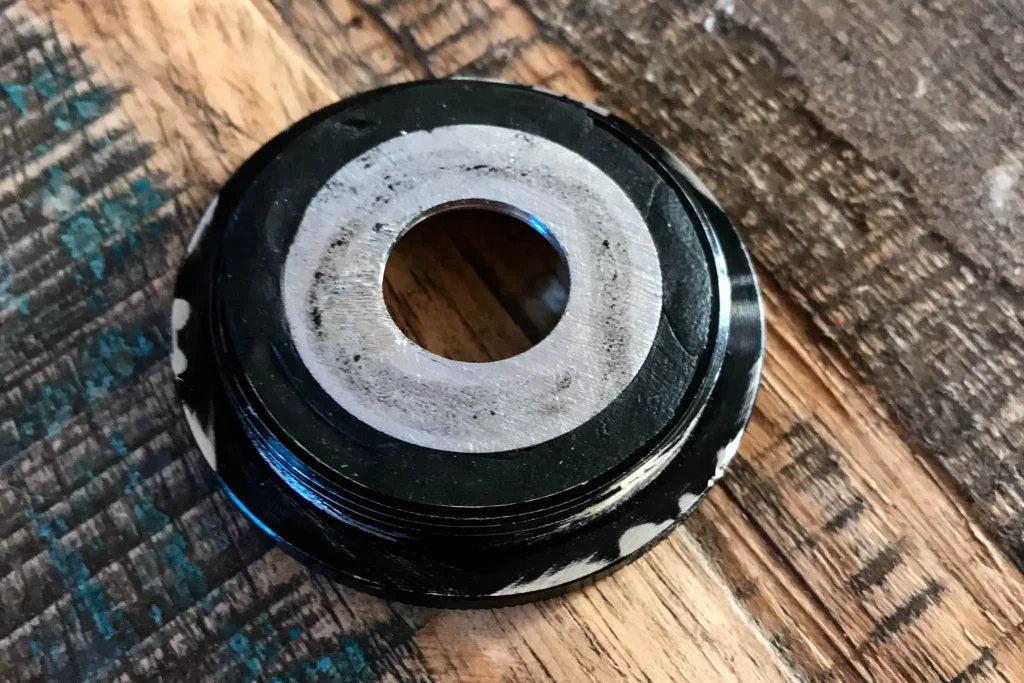
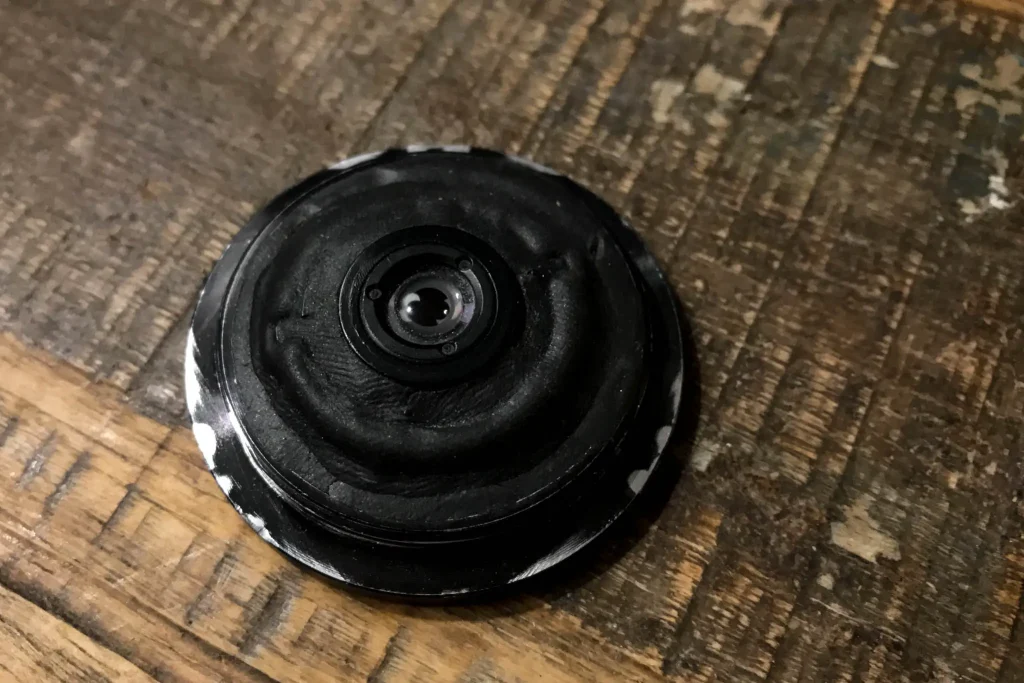
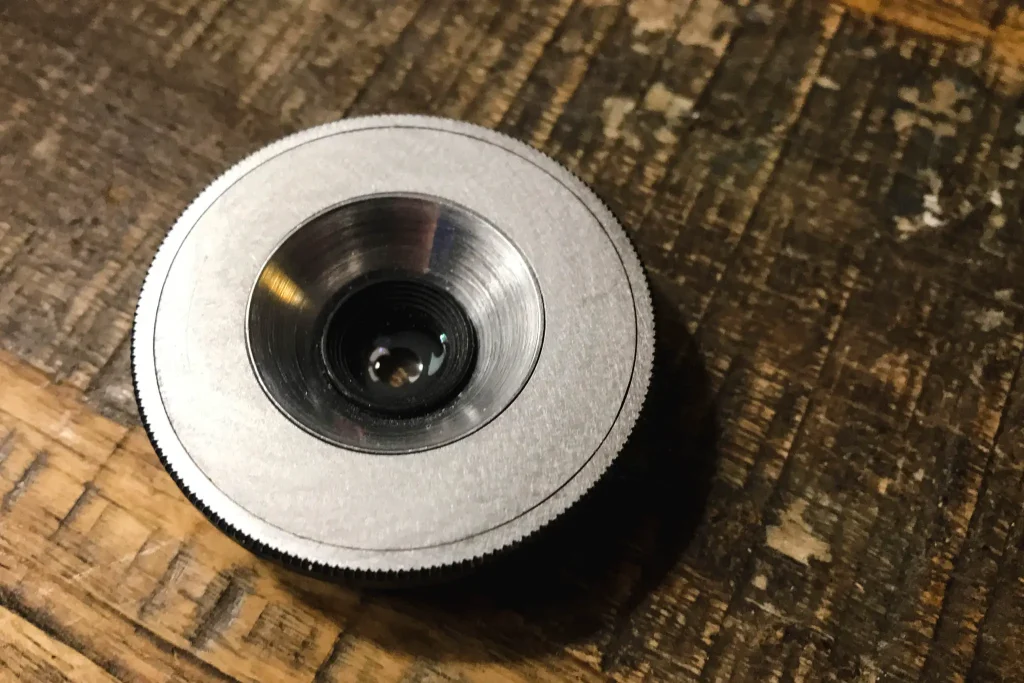
It’s fair to say that this is a very basic chunk of metal, glass, plastic and Sugru, but actually it works pretty well.
The results
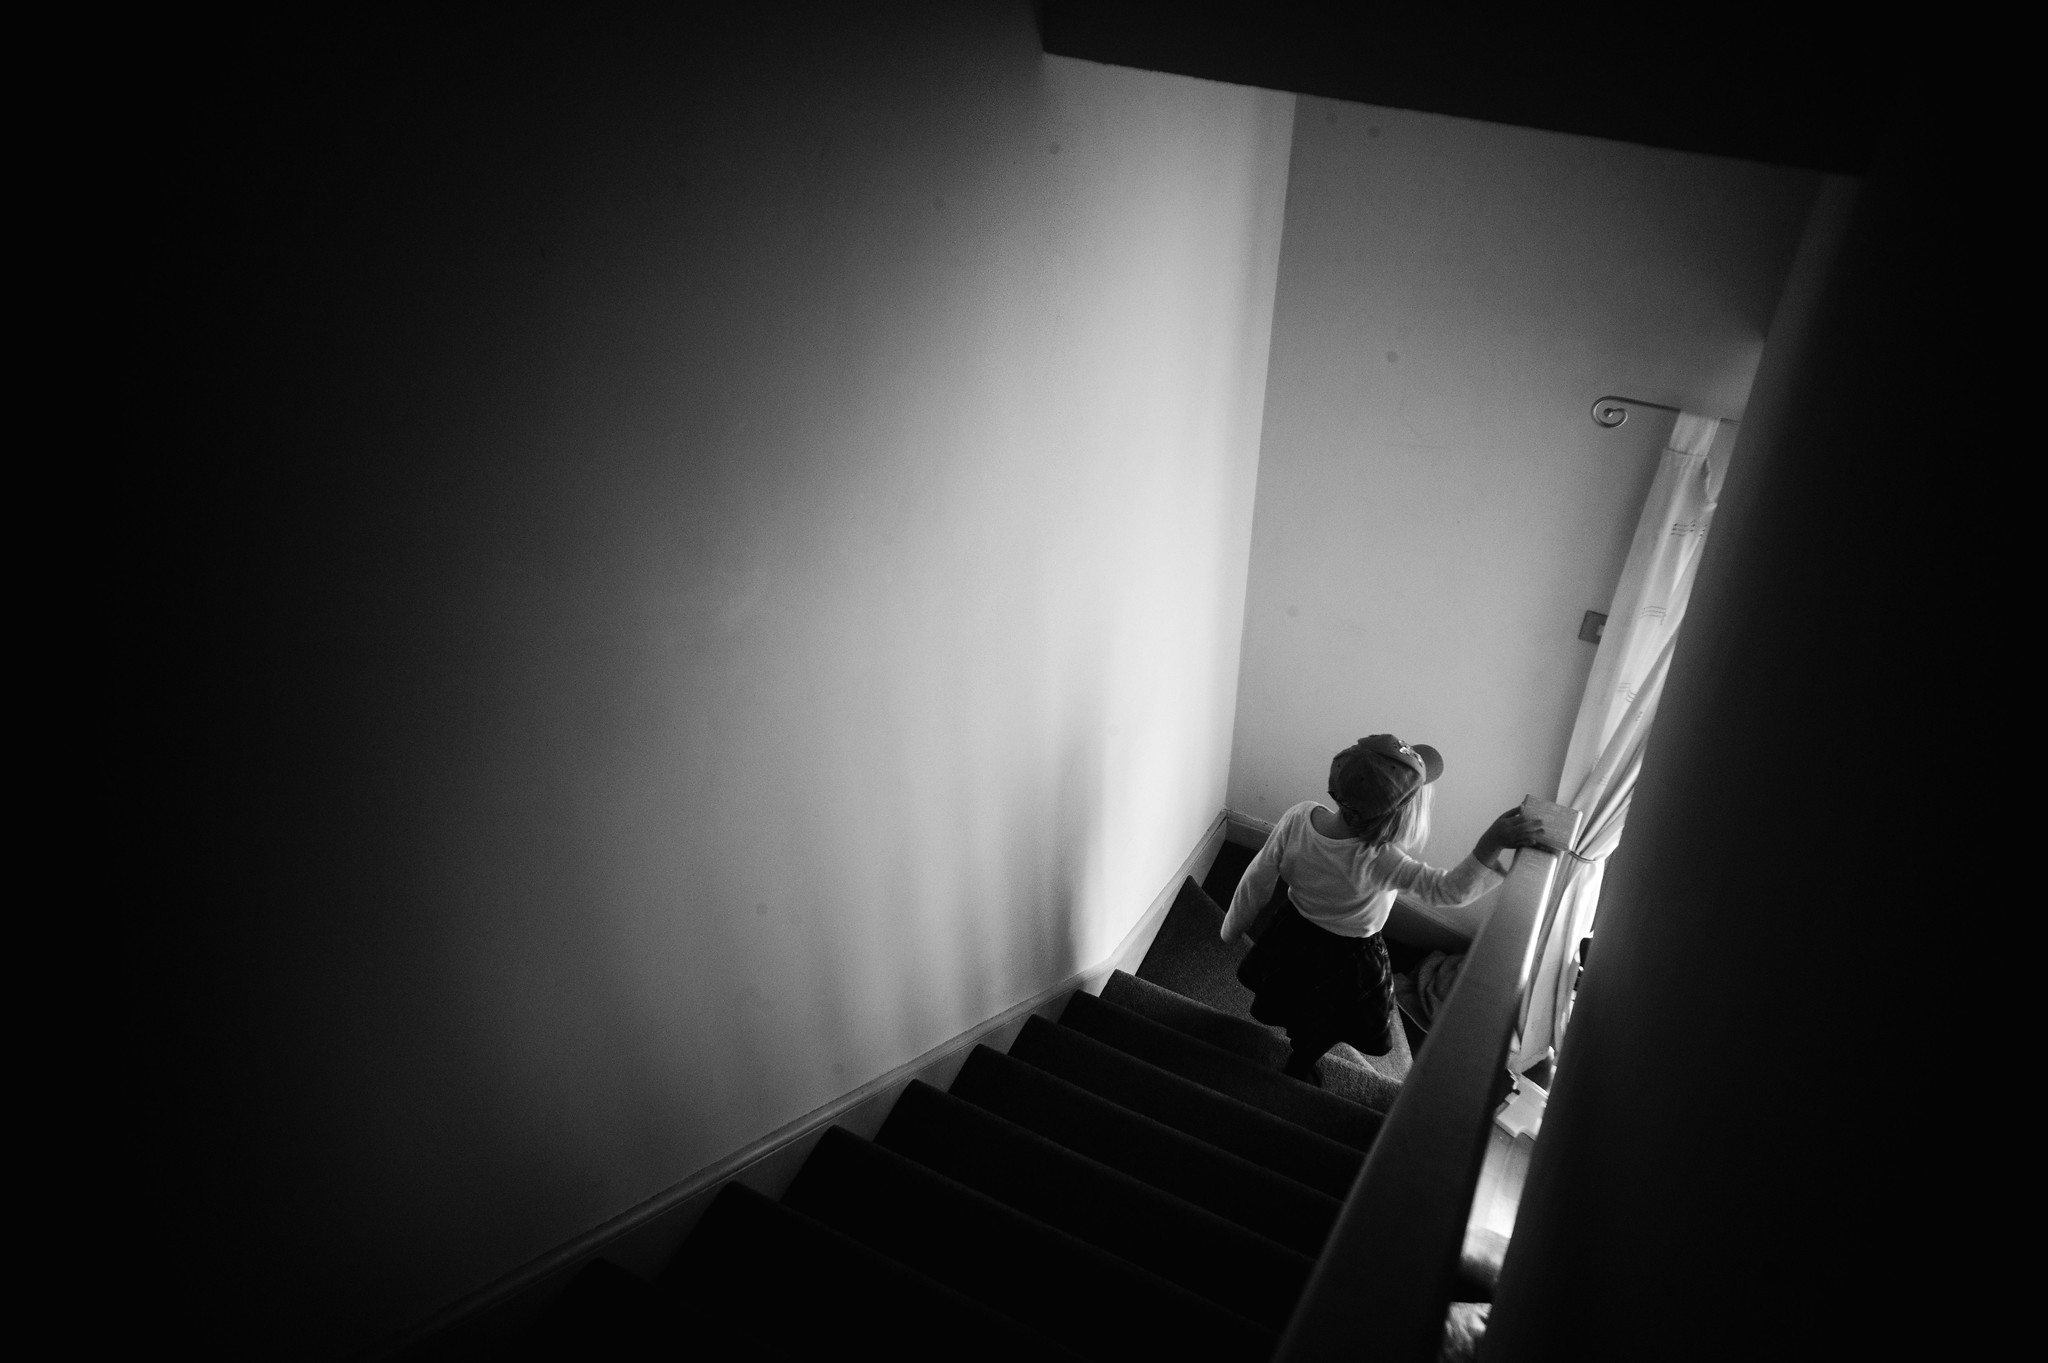
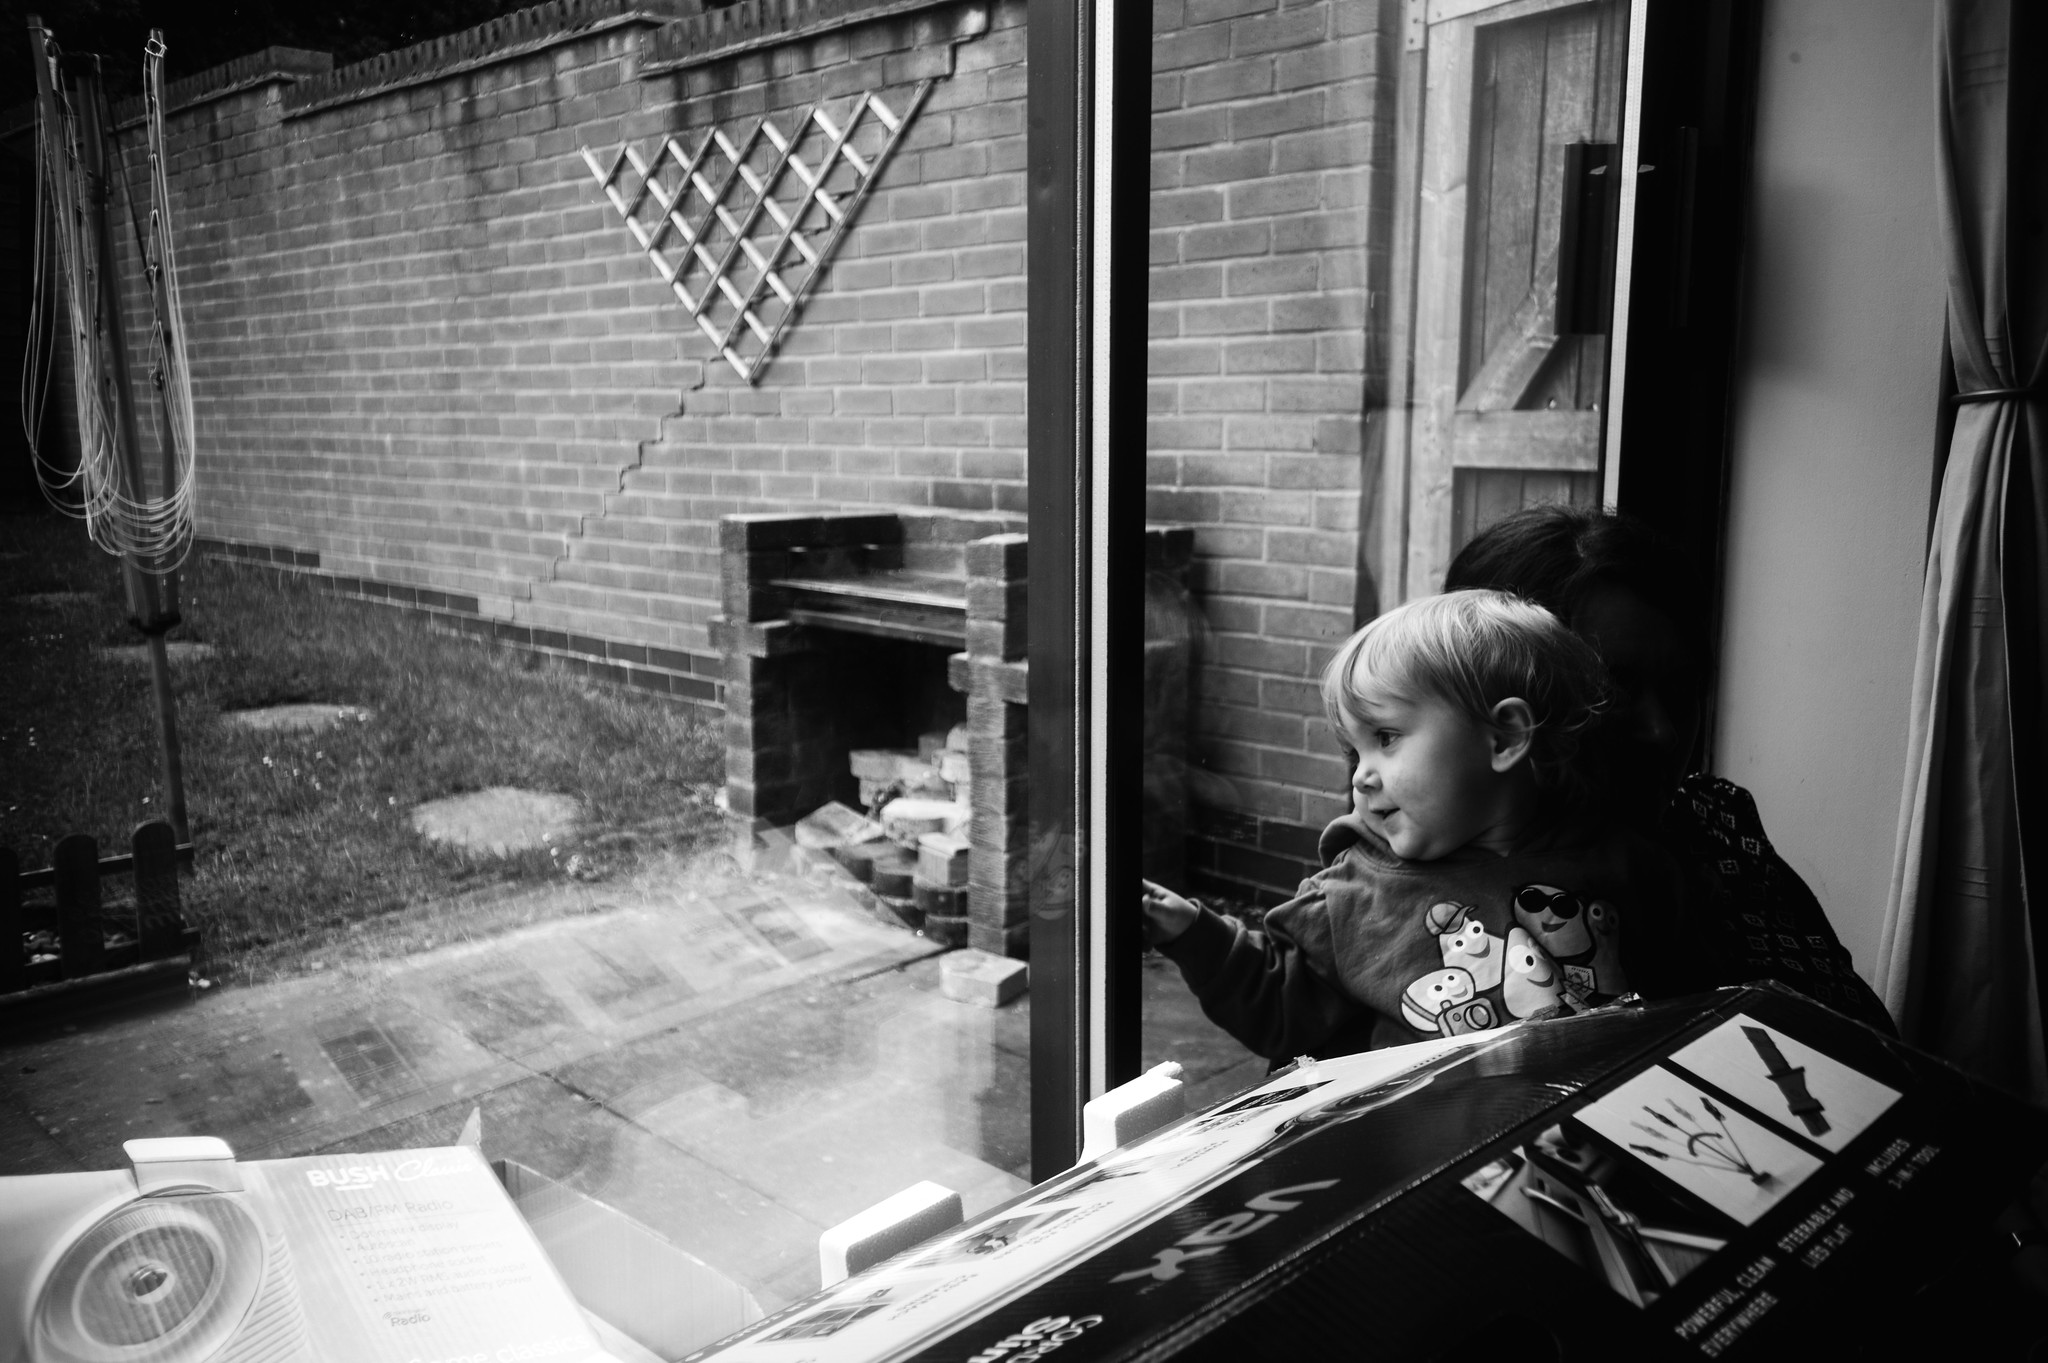
Shot on the M9, needless to say, it creates a big chunk of vignetting and colour shifting toward the edge of the frame. But it’s nothing that a black and white conversion doesn’t fix. In fact, combined with something close to my normal process of converting to black & white I found myself with some quite atmospheric shots.


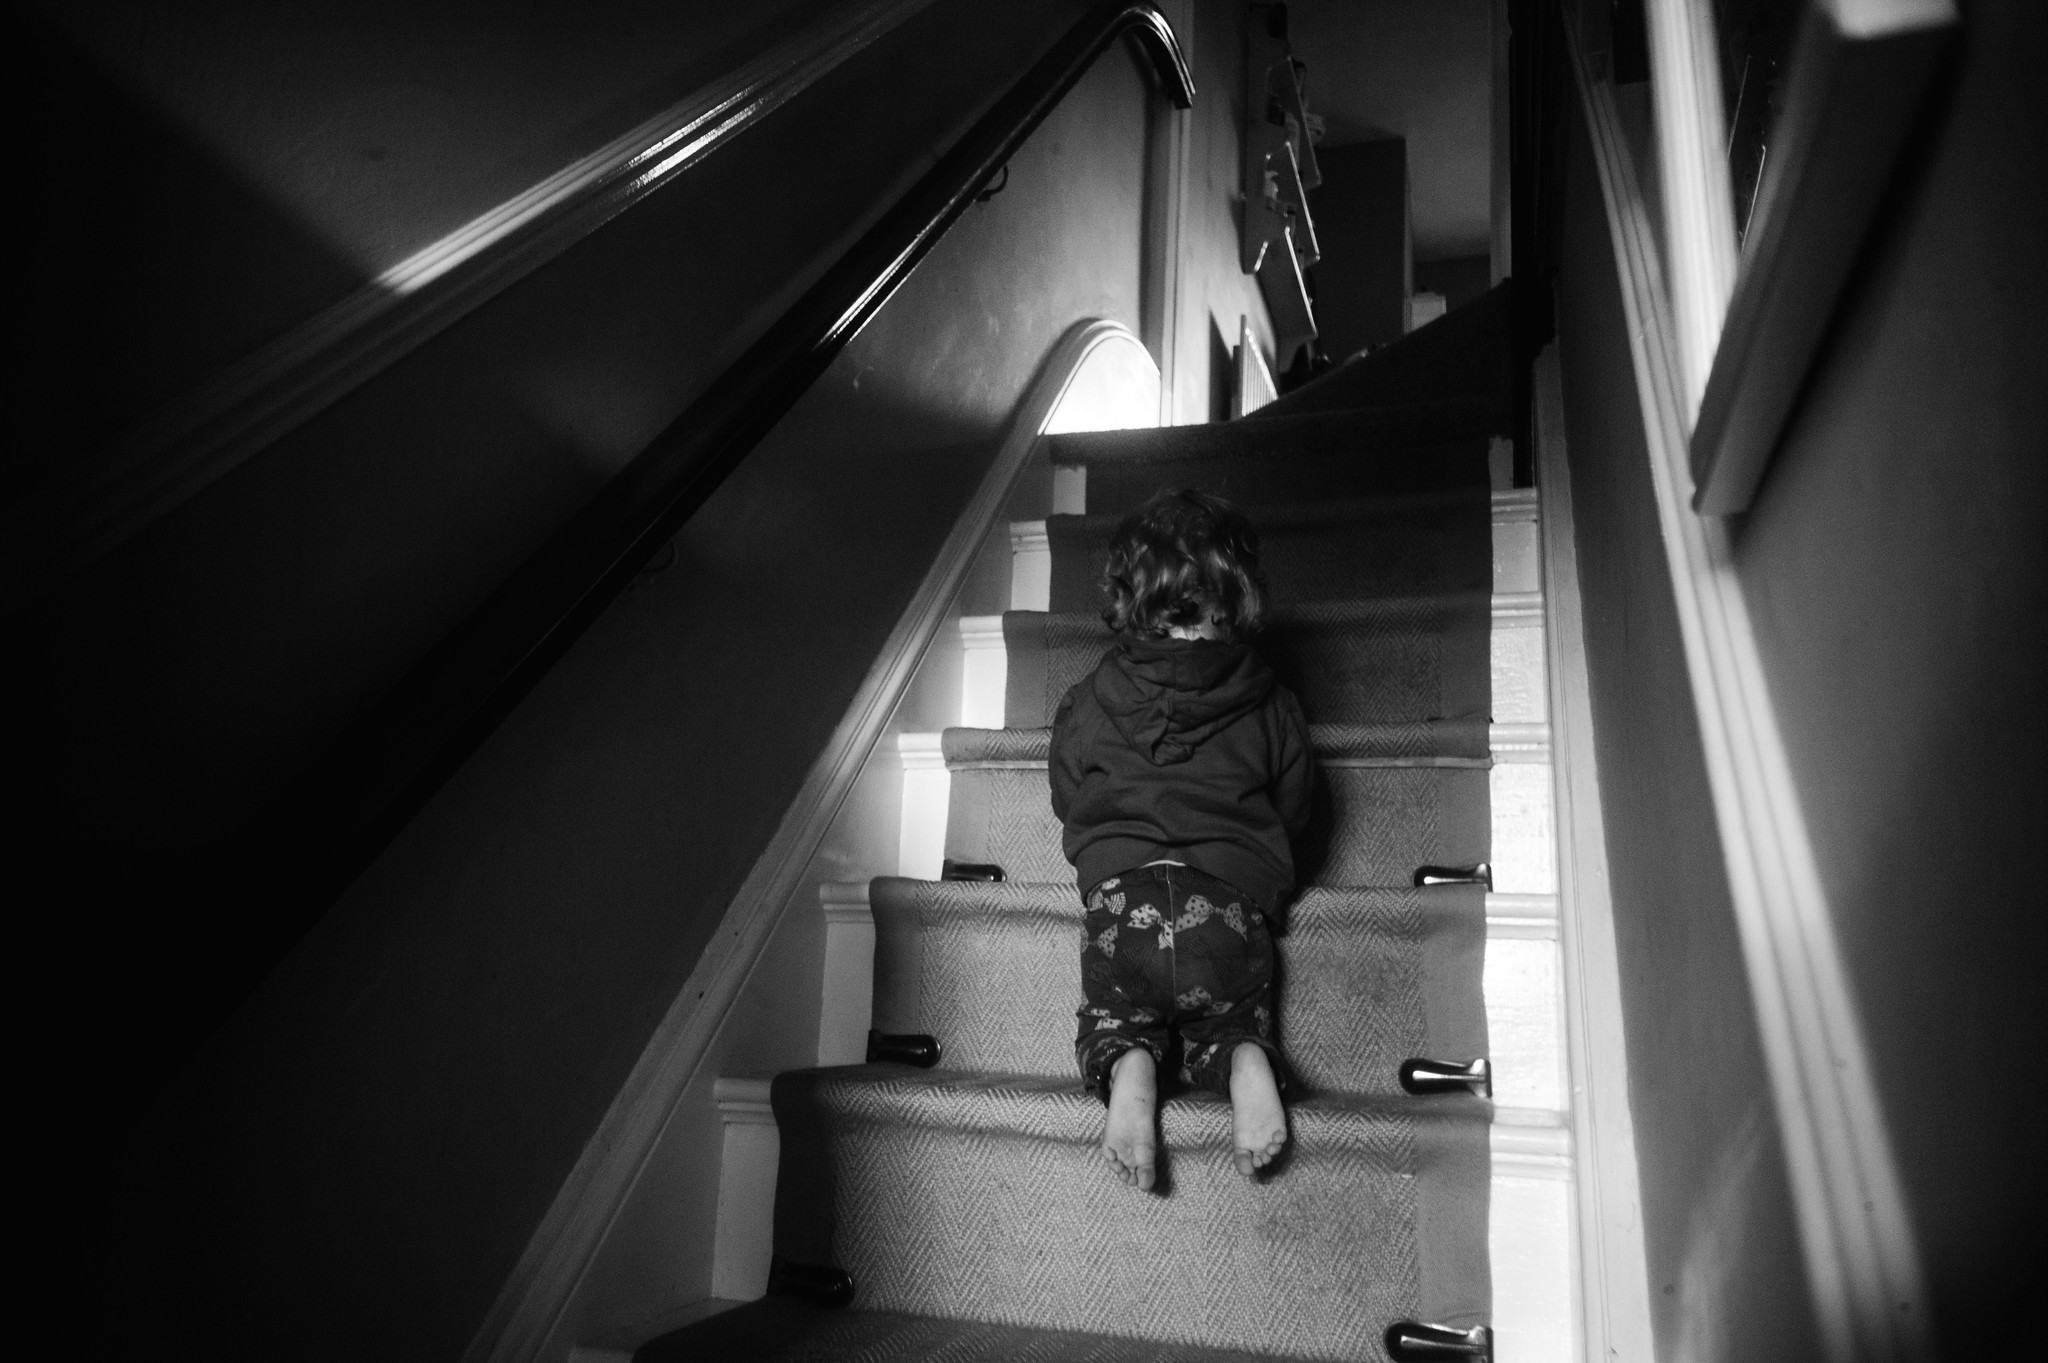
Closer focusing
Obviously with lens lens being fixed at a hyperfocal distance closer focusing isn’t possible… Unless – as I soon realised – I unscrew the lens from the mount a bit. It took very little practice to work out just how much unscrewing of the lens would be needed to get a half decent closer-up shot.


Final thoughts
These sorts of conversions might seem pretty inane to some, especially since they result in such simple lenses, but I find the whole process very satisfying, and the results just as pleasing.
Of course it is fair to say that this little Canon Af-10 lens conversion isn’t going to replace my Zeiss 28mm ZM Biogon as my now-default wide lens choice. But, more often than not when I go out with a Leica I just take a single lens, and quite often, that single lens is my 50mm Sonnar rather than the 28mm. On those occasions having this little DIY very pocketable wide angle “pancake” lens adds nothing to the weight of what I am carrying. In fact, since me and Tom made this, I haven’t seen any reason not to chuck it in my pocket any time I go out with the Leica. In short, I’m really pleased with it!
I shall share some film shots when I finish the roll that’s currently in my M3.
Cheers,
Hamish
If you are interested in what the Canon AF-10 can do when it’s still intact, you can see some shots here
My flickr album of images taken with this lens is here
Share this post:


Comments
Ted on Canon AF-10 DIY LTM lens conversion
Comment posted: 27/05/2017
Comment posted: 27/05/2017
Mick on Canon AF-10 DIY LTM lens conversion
Comment posted: 27/05/2017
jeremy north on Canon AF-10 DIY LTM lens conversion
Comment posted: 27/05/2017
Comment posted: 27/05/2017
George Appletree on Canon AF-10 DIY LTM lens conversion
Comment posted: 28/05/2017
Maybe you also can keep on using the Canon if placing a pinhole in it
Comment posted: 28/05/2017
karellen on Canon AF-10 DIY LTM lens conversion
Comment posted: 30/05/2017
Comment posted: 30/05/2017
Comment posted: 30/05/2017
Comment posted: 30/05/2017
Comment posted: 30/05/2017
Comment posted: 30/05/2017
Michael on Canon AF-10 DIY LTM lens conversion
Comment posted: 21/08/2017
Comment posted: 21/08/2017
Trastic Origins - Trastic on Canon AF-10 DIY LTM lens conversion
Comment posted: 27/09/2019
ZHENWEI XIE on Canon AF-10 DIY LTM lens conversion
Comment posted: 27/06/2024
Comment posted: 27/06/2024