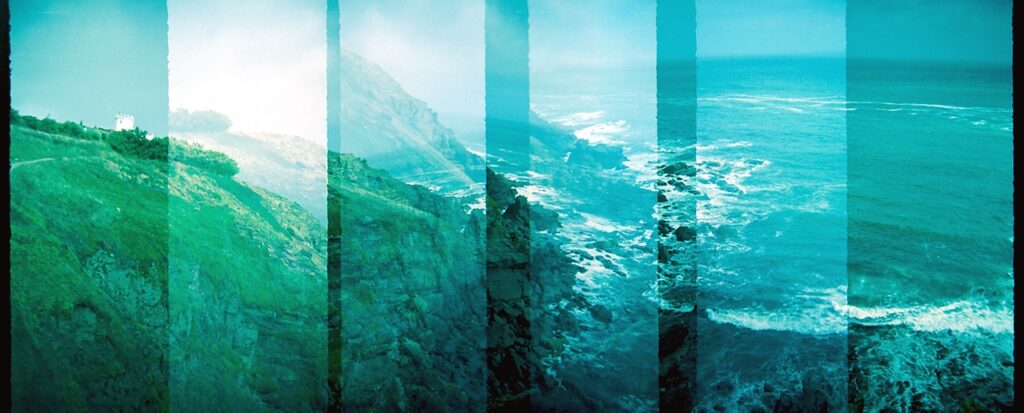
I recently wrote about my adventures in RA4 colour reversal and the Pinsta pinhole camera. Once I had a workable method, I got to wondering about how difficult it might be to perform black and white reversal as well.
Background
The usual paper to use in the Pinsta camera is traditionally Harman Direct Positive. This, as the name suggests, gives a positive image when processed in normal B&W paper developer and can produce some really beautiful results. However, there are some downsides:
- Cost – Although lovely, the Direct Positive paper is not cheap. It is also quite sensitive to small changes in exposure, so it may take a few sheets of paper to get the desired result (see Exposure latitude). In 10×8, this problem is even more serious!
- Fibre-Based – the Harman paper is fibre-based, which gives glorious rich black tones, but which takes much longer to wash and dry than resin-coated paper. It is also more fragile when wet and can be difficult to dry flat.
- Availability – The Harman paper is not always in stock and can sometimes be on quite a long back-order when it’s unavailable.
- Exposure latitude – The sweet spot for a “good” exposure on Harman Direct Positive paper is surprisingly narrow, and the ISO changes depending on the amount of UV light in the scene. As such, the “speed” is defined as ISO 1-3. Experience can help a lot but it can get expensive to develop this experience (see Cost).
- Contrast – Out of the box, DPP is very contrasty. This is a look that a lot of people enjoy, but it’s not for everybody all the time. It can be tamed a little by pre-flashing, but that’s another discipline to learn that may be costly to dial in.
Theory
The idea of reversal-processing standard negative darkroom paper is not a new one. In fact, B&W photo booths used to do exactly that for many years (and still do in some places!).
One way I like to think about how it works is similar to carving a relief image from a solid block. The block starts off square and uniform and, by removing the negative parts of the image, the positive image is left behind. In the same way, the paper contains a certain amount of “blackness” available across the sheet. By removing the blackness that doesn’t form part of our image, we leave the positive behind.
What this means in practice is that the paper is exposed in the camera, then developed as normal to produce a black and white negative image. This negative image is bleached away without fixing the paper, then the paper is re-exposed to light and re-developed to reveal the positive image that is left behind. Parts that saw the most light in the camera will be blackest in the negative stage, leaving the least black remaining for the positive stage. Parts that saw the least light in the camera will be whitest in the negative stage, and consequently blackest in the positive stage.
First attempts with Peroxide
I had actually tried this process out once before, with mixed results. Following tutorials by Ethan Moses (@Cameradactyl), I had mixed up a 12% peroxide-based bleach and alternated this with a citric acid bath until the image disappeared. This did take rather a long time – possibly because I was using fibre-based paper, but also because the hydrogen peroxide available off the shelf in the UK apparently isn’t particularly potent!
I filed this experiment under “interesting, but not practical” and moved on with my life.
Finding a better method
Following the success of the RA4 reversal, I became more interested in B&W reversal again and had seen James Skelton (@hackaninstant) produce some lovely results on his Instagram page. I asked what he was using for bleach and he gave me the recipe for a potassium dichromate & sulphuric acid bleach.
Before I go any further…
IMPORTANT NOTICE:
Although it can produce beautiful results, I do not personally recommend the use of Potassium Dichromate bleach because of its very high toxicity for people and the environment. If you’re hell-bent on trying it then the recipes are available online, but please continue reading this article for something much safer!
Beautiful Dichromate
The dichromate bleach worked very quickly and effectively, and transformed the process from being incredibly tedious to being very simple. However, it is a very unpleasant chemical to have around the house, especially with children, so I went on the search for something less dangerous to use.
Peroxide take 2
As I posted some of my experimental results on Instagram, I got talking with Nicole Small (@altprocessbynicolesmall) and she recommended her own formula for a peroxide-based bleach, which is outlined in her video: here . It consists of 3% Hydrogen Peroxide, EDTA Disodium Salt, baking soda, and citric acid.
I have seen Nicole’s results and she has had some good success, but I wasn’t able to make it work satisfactorily with the paper I had (It just wasn’t bleaching out the image, and seemed to have a very short shelf-life), so I carried on looking for alternatives.
Ilford to the rescue
I remembered that in a previous conversation with James S, he had mentioned an Ilford-supplied recipe for a reversal bleach. I searched for the document and found this.
The instructions are for reversal-processing film, rather than paper, but I wanted to try the bleach and see how it performed. It is a very simple recipe, consisting of potassium permanganate solution and dilute sulphuric acid, which you mix together at the time of use.
I purchased the chemicals (feel free to contact me if you struggle to find a source) and mixed up my component parts. The potassium permanganate is a stunning purple colour, which just adds to the theatre of the process.
From the first test, I already knew I had an excellent alternative to dichromate. It worked very quickly and effectively, and bleached the negative just as well as the more toxic bleach. Following the bleach stage, it is required to use a clearing bath, to remove any staining from the paper. Ilford suggest two alternatives, but I already had sodium sulphite from my dichromate experiments and it turns out that this works very well indeed (and is also a food additive, so not dangerous). The Sodium Sulphite clearing bath is 5% by weight, so use 5g per 100ml water. By the time the negative has been bleached and cleared, it is completely white again and ready for re-exposure and the second development.
Method in full:
- Load standard photo paper into the camera – I use Kentmere VC Select Glossy RC as it is cheap and excellent!
- Expose the paper in the camera (I find that the ISO is approximately 2x that of Harman Direct Positive paper, so around 2-6 depending on lighting conditions).
- Develop the paper (in the dark, or under safelight) in standard paper developer for 2 minutes. I use Champion Suprol 1+9 because I have it from my RA4 work, but I hear Ilford Multigrade works well, too.
- Acid stop (1+19) for 30 seconds.
- Rinse.
- Bleach for 2 minutes (or less if you’re in a darkroom with a safelight and can see that it has completed).
- Clear for 1 minute in 5% Sodium Sulphite solution.
- Rinse.
- Switch on the lights and re-expose fully for 30s or so, being aware not to expose to direct sunlight as this may “print out” the silver, causing some odd effects.
- Develop again for 2 minutes.
- Rinse & Dry.
There is no need to fix the image, as all of the light-sensitive materials have been completely developed out by the end of the process.
Check your local chemical disposal regulations for how best to deal with used chemistry. The Potassium Permanganate & Sulphuric Acid components will last indefinitely before you mix them together, but have a working life of just a couple of hours once mixed. The clearing bath can be reused until it stops working, and you can add a little of it to the used bleach to neutralise it before disposal.
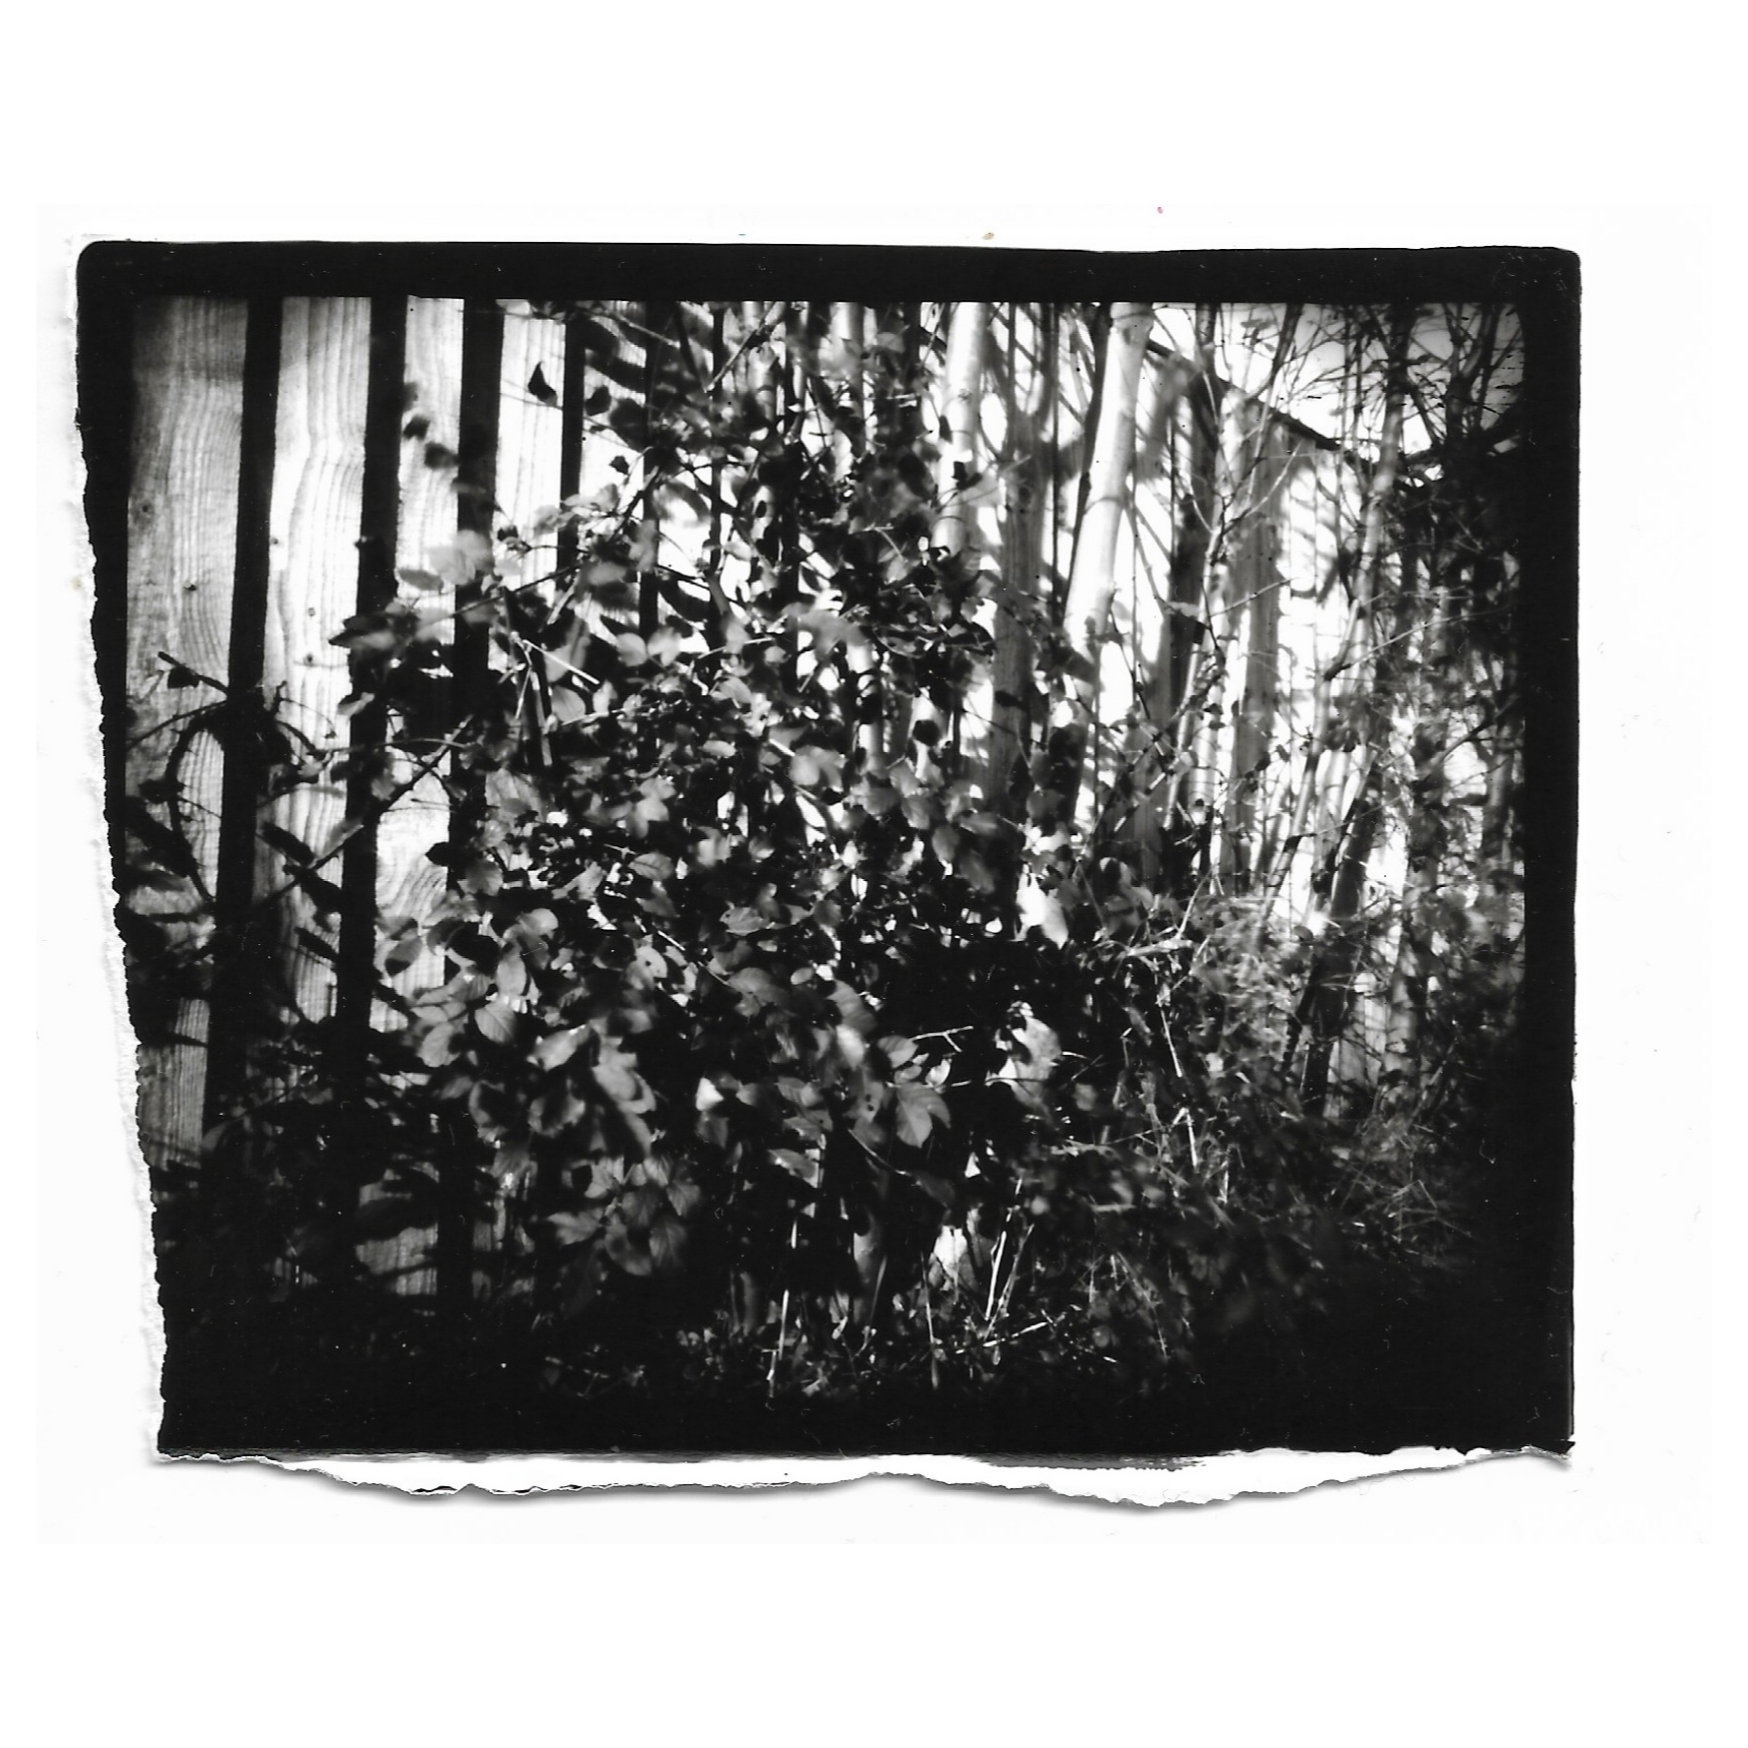
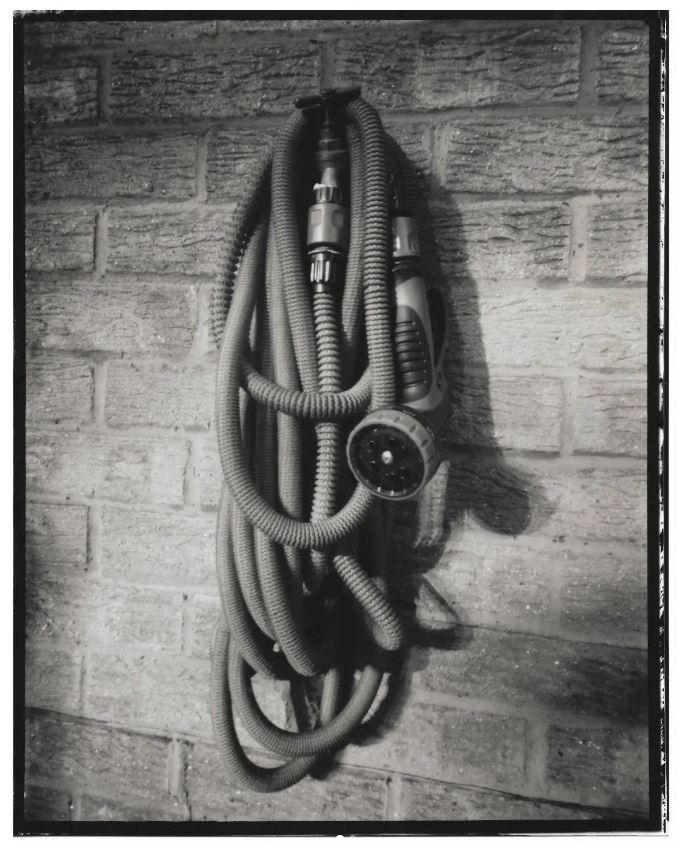
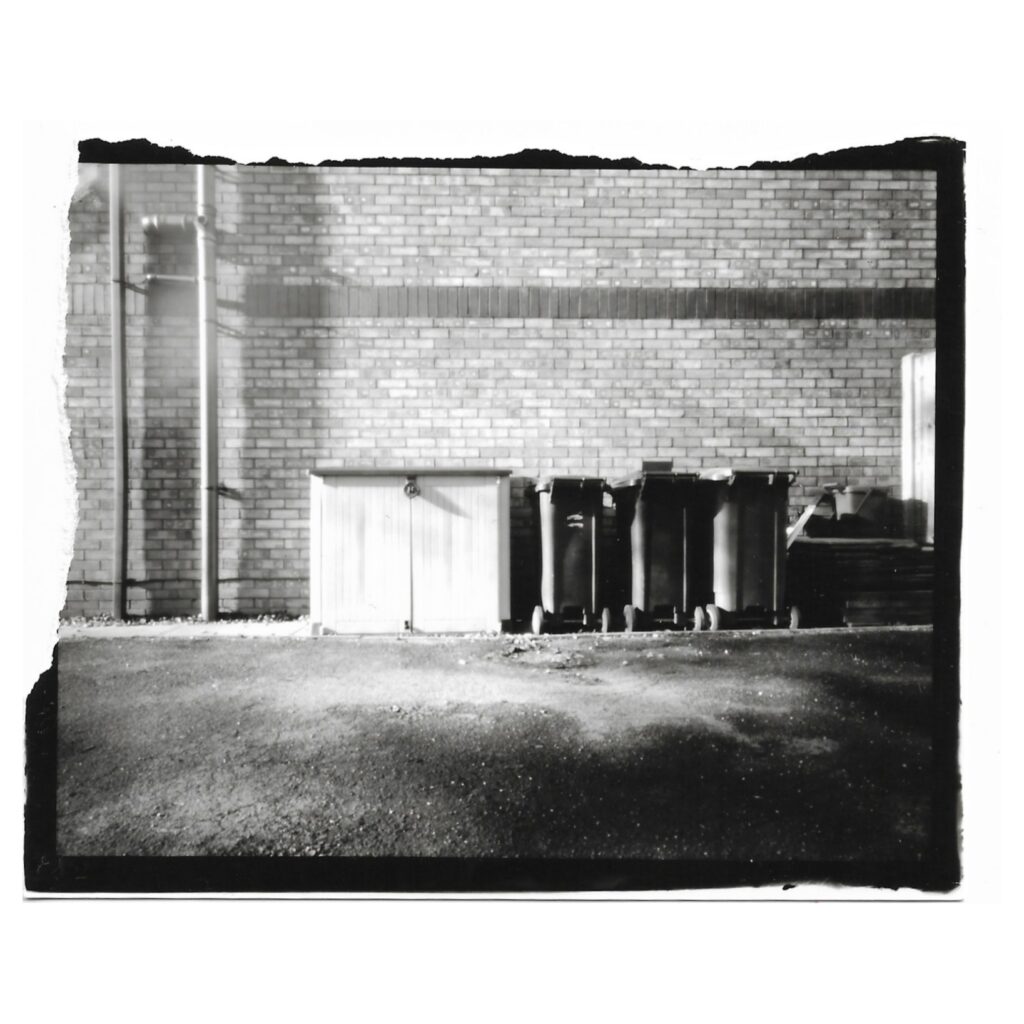
Results
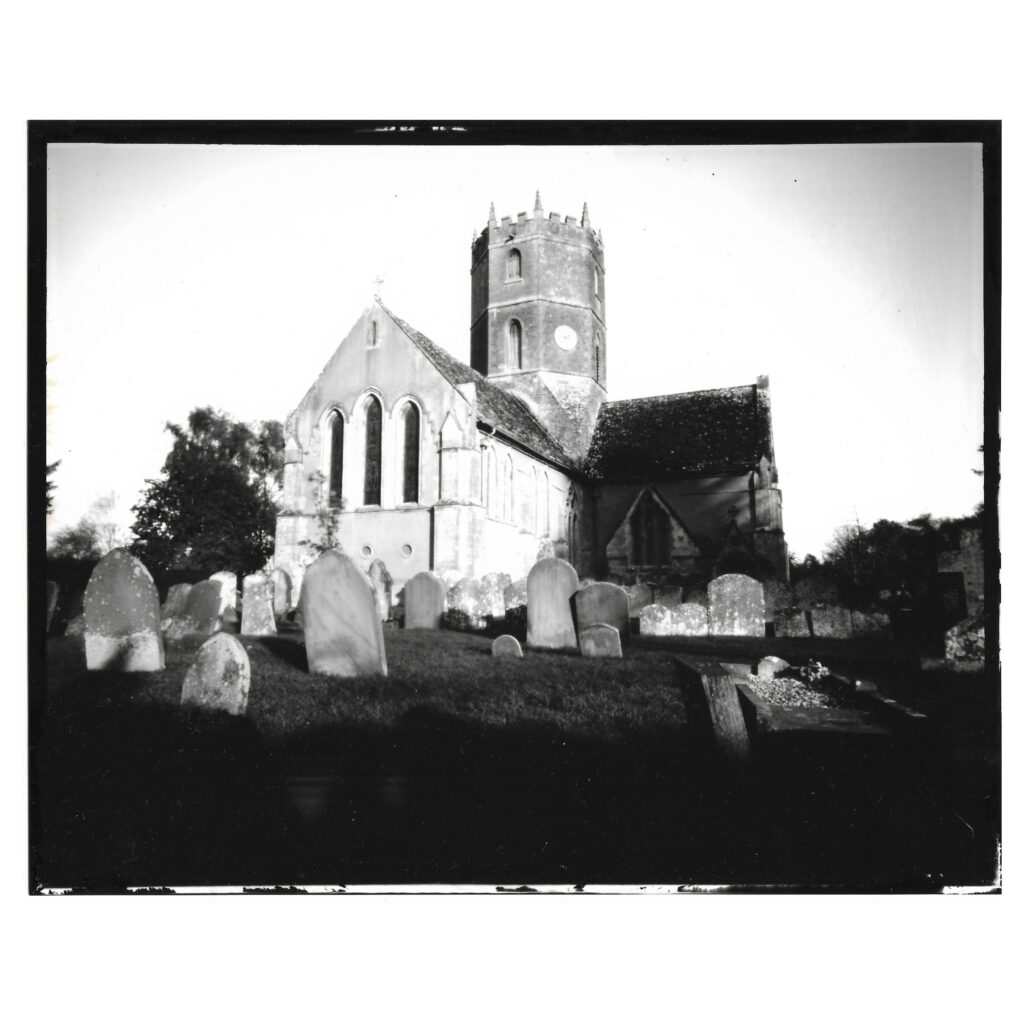
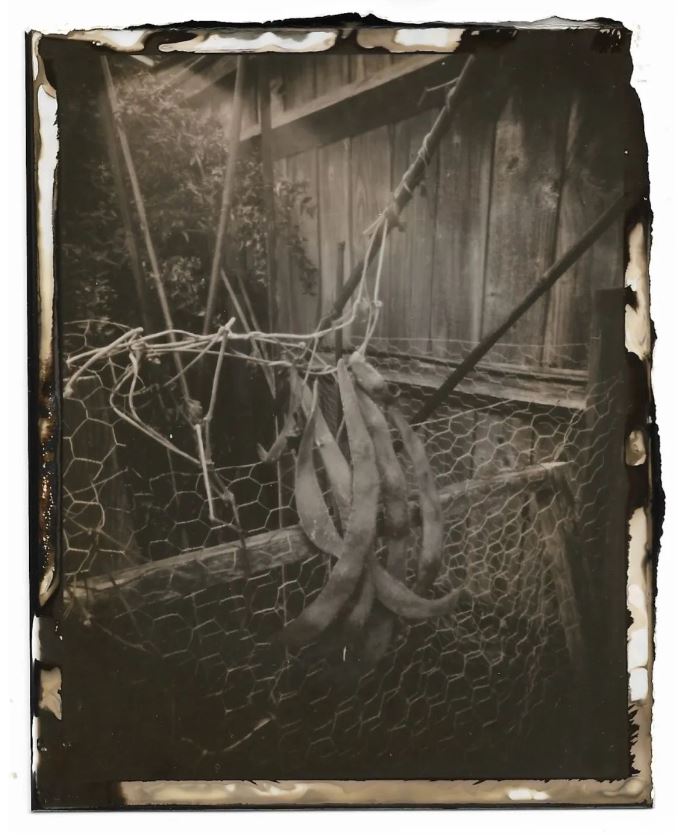
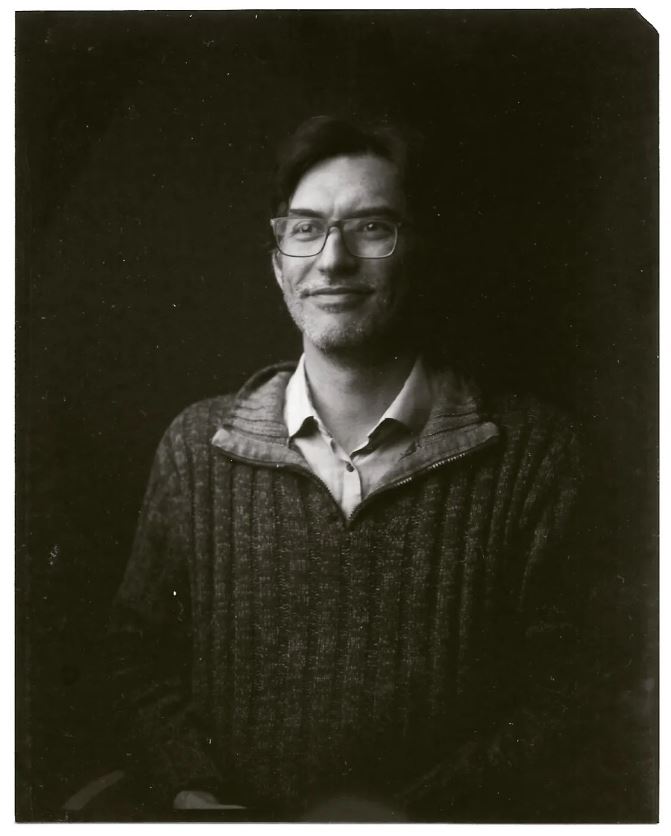
The images that appear from these methods are uniquely beautiful, in my opinion. In the same way as Direct Positive images, they are a mirror-image of the subject, but the tonal range of the reversal method seems much more subtle than DPP. Watching the image appear in daylight is a particular thrill that never gets old.
Photo-booth toner
As I got further into this process, I was chatting to Marco Ferrari (@pplinphotobooth) and he mentioned that photobooths use a fogging developer instead of re-exposing to light after the bleach (this is to prevent accidental fogging of the fresh paper within the booth). I had actually heard this once before from Don Froula (@donfroula), who uses “Iron Out” as a fogging second developer, with good results: https://projectmf.org/Basic_Paper_Reversal_Processing_Steps_v2.pdf
However, “Iron Out” is not easily available in the UK and Marco was understandably not at liberty to divulge the formula used in their booths, so I found a recipe online here, that consists of Thiourea and Sodium Hydroxide. This means that the entire process can be carried out in the dark, and the results are not dependent on the quality and intensity of the ambient light available for the re-exposure step. I have tried it out with good results. Though I do sometimes miss the theatre of watching the image appear on the paper, there’s also a thrill to a big reveal all at once of a finished image at the end of the process.
Conclusions & further work
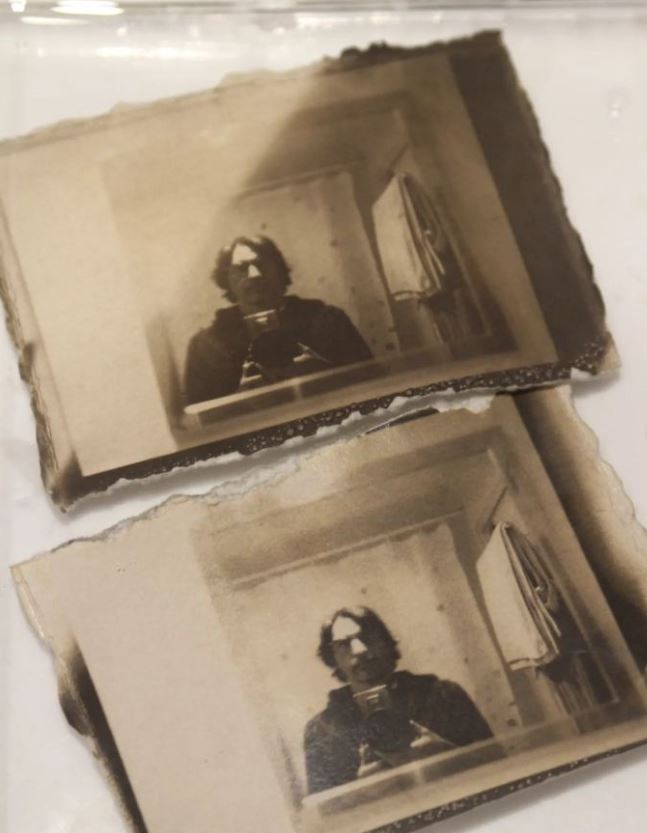
Just a year ago, I couldn’t imagine that I would have been buying chemical powders and mixing my own formulae to develop photographs, but I have fallen in love with the B&W paper reversal process. It is much cheaper than Direct Positive and can be carried out on almost any darkroom paper, so there should always be materials available. The chemistry goes a long way and keeps well until mixed, so that is very cost-effective as well. More importantly, though, I think the images themselves have a quality about them that is hard to achieve in other ways. Being able to make unique “instant” positive prints in large sizes, using standard darkroom paper is delightful to me and it’s so exciting to see what I’m going to get when the image appears on the blank paper.
Occasionally, I find there is some sepia-staining to the images that I haven’t totally nailed down yet, but I hear that fixing may reduce this. On the other hand, I do find it quite attractive!
I’d love to hear from anybody else who tries this out, to compare notes 🙂
Share this post:


Comments
Michael on The Black and White Paper Reversal Process
Comment posted: 14/02/2024
Comment posted: 14/02/2024
Geoff Chaplin on The Black and White Paper Reversal Process
Comment posted: 14/02/2024
Comment posted: 14/02/2024
Eduardo on The Black and White Paper Reversal Process
Comment posted: 22/02/2026