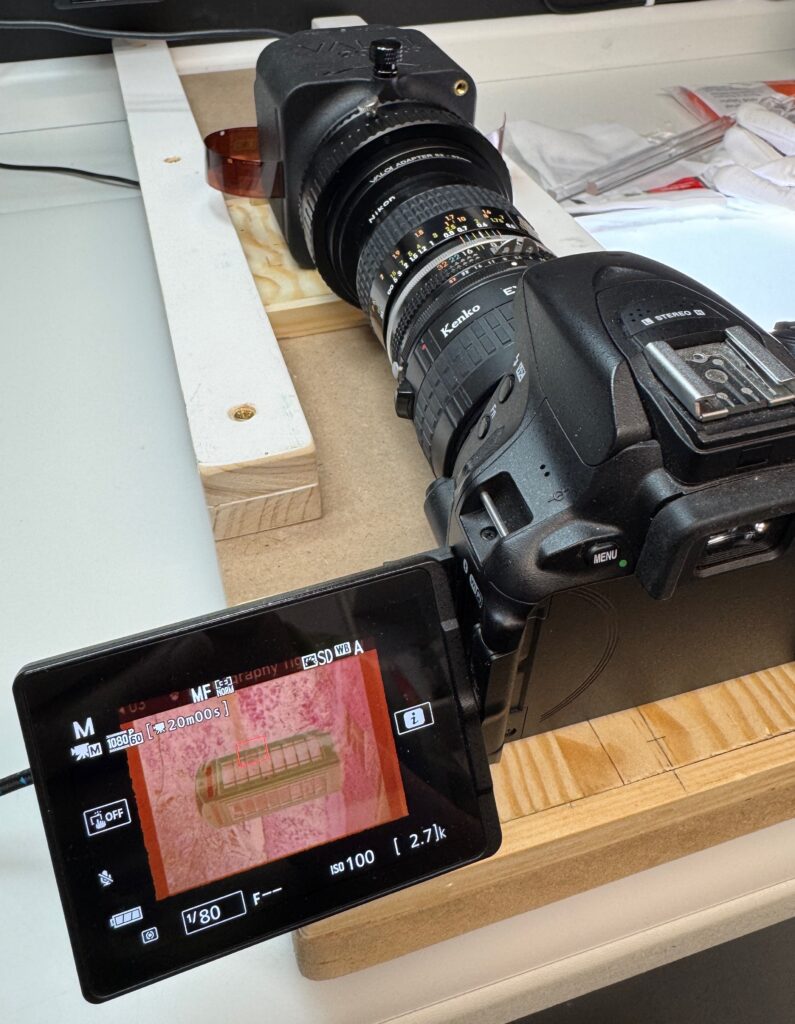
I admit I am lazy, and that is precisely why I have been looking for a simple horizontal camera scanning setup. For vertical scanning I would need to assemble a copy stand, connect the camera to an external monitor or laptop, and sort out a remote trigger. A horizontal slide copier style setup just sits on the desk and gets on with it — which suits me much better.
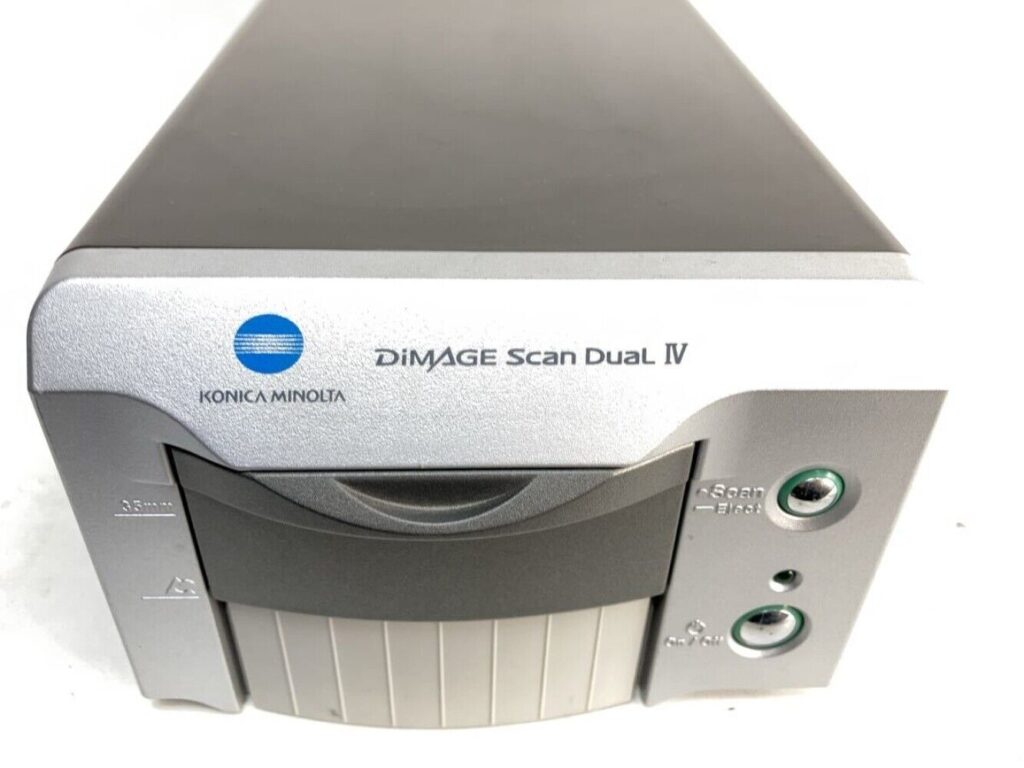
I have had a Minolta DiMAGE Scan Dual IV sitting around for years, but the last time I actually used it was ages ago. Meanwhile I moved to macOS, and while I still have my original VueScan licence, it was for Windows — and the computer it lives on can’t be upgraded to Windows 11. On top of that, I was never really happy with the scans it produced anyway.
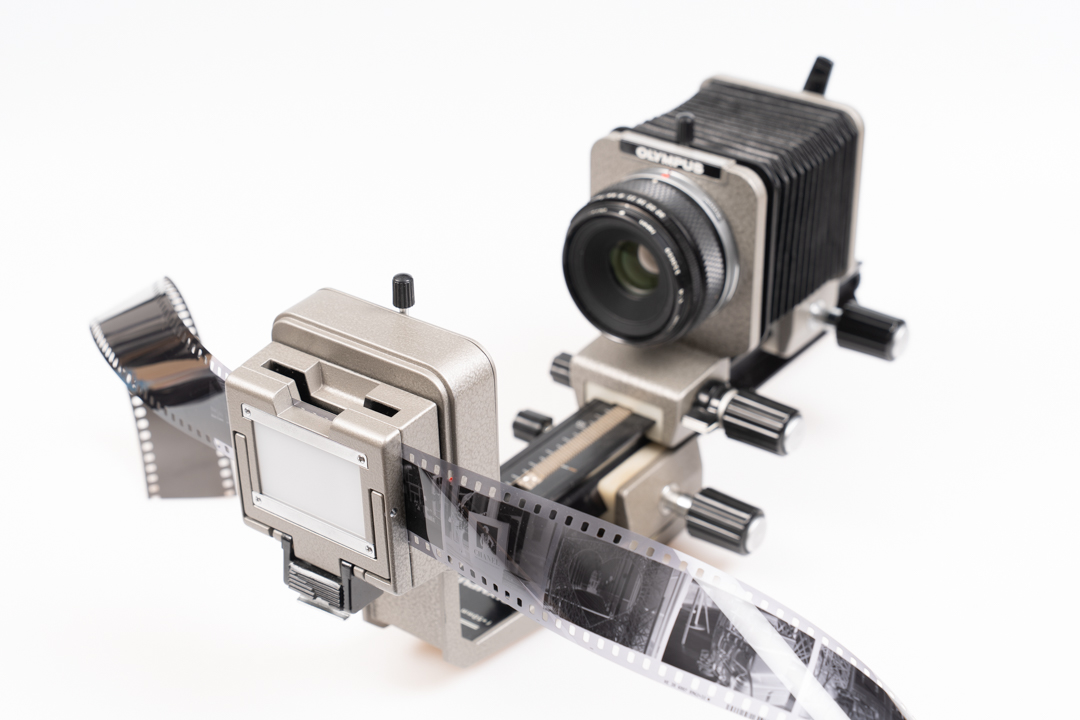
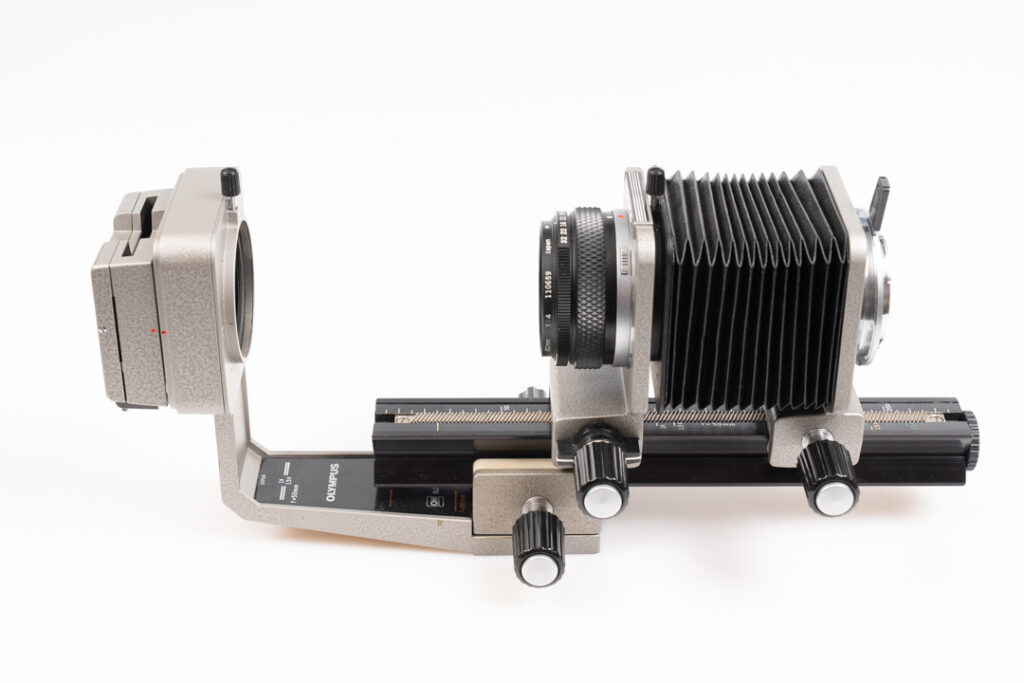
So I switched to camera scanning, using a couple of older slide and film copying devices. Mostly an Olympus slide copier with bellows, since I have a bunch of Olympus macro lenses.
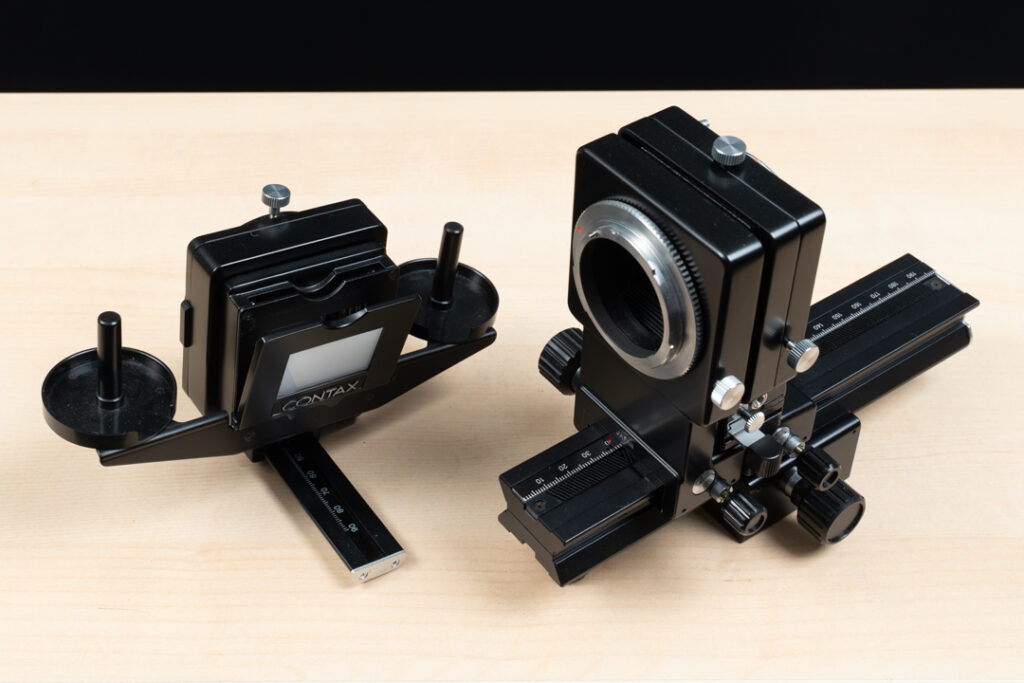
More recently I bought a Contax slide copier with bellows for an attractive price — though I still need a step-up ring before I can use the Zeiss 60/2.8 macro with it.
The old slide copier set-ups are fine, but they limit me to 35mm. For anything larger I need to pay the lab. Film strip in these slide copiers doesn’t hold perfectly steady either, so there’s a bit of a learning curve when advancing between frames. On the positive side, alignment is straightforward — the camera and film sit on the same platform, so you’re only dealing with X and Y axes.

One thing that consistently put me off buying larger film masks was their vertical stand orientation. I simply don’t have the space in my small basement studio for that kind of setup, so I kept looking for horizontal camera scanning solutions. When they invented slide copiers, they really knew what they were doing. Don’t get me wrong — if someone wants to buy me a Filmomat scanning system, I will happily find the space.
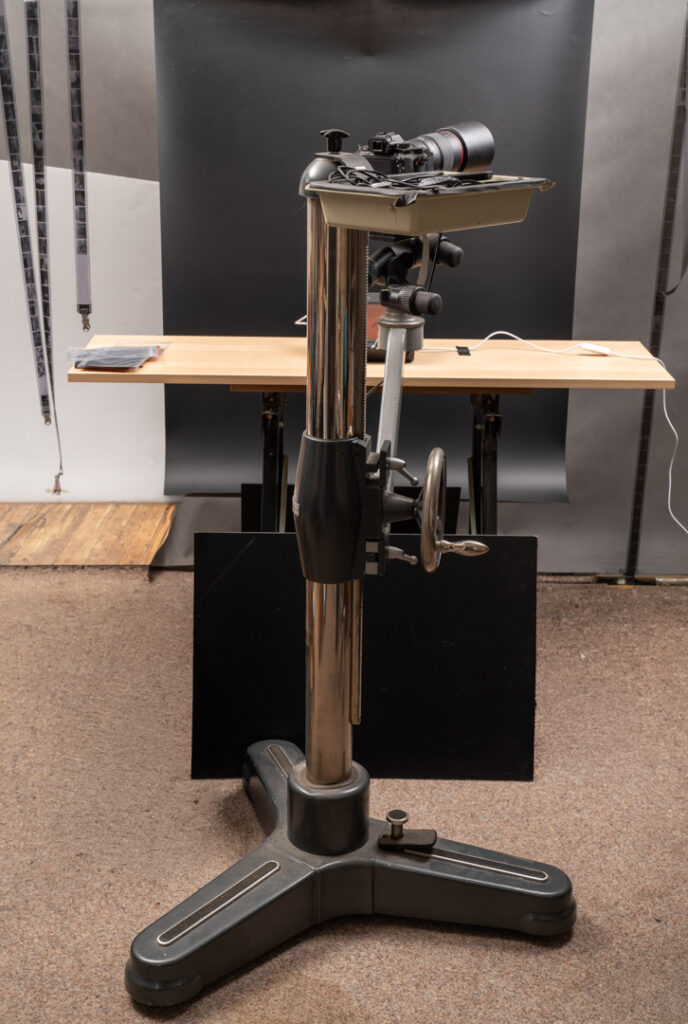
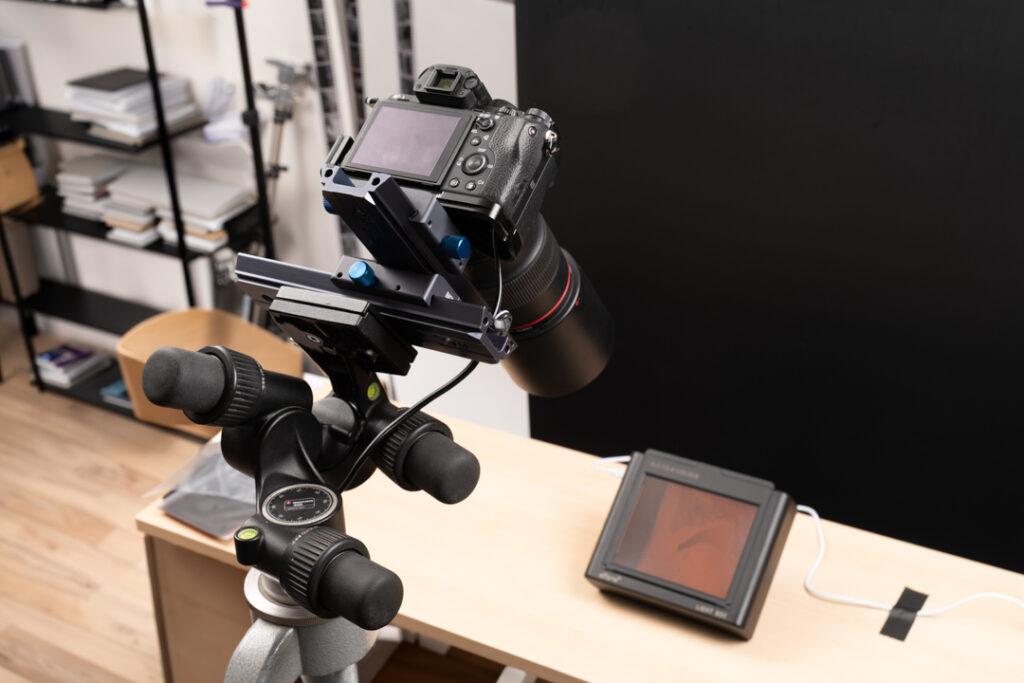
There’s another practical reason I prefer a horizontal scanning path: distance from the light source. I have some older LED panels with adjustable colour temperature, but their diodes are large, so vertical scanning would require heavy diffusion that would kill the already modest output. I’ve also had good results with strobes bounced off a white board from over a metre away. A horizontal setup simply gives me more freedom in choosing a light source and controlling the distance from the film plane. Finally, a few years ago I bought an old Plaubel studio stand. I had to drive 500 kilometres to Germany to pick it up, but it is probably one of my best purchases ever — and with a classic piece of kit like that, you simply want to keep everything straight forward.
I had been considering Valoi — it looks like a very nice solution, but the price for a universal system covering 35mm through 4×5 felt like a stretch. So I started looking at vertical masks combined with a dedicated light source like the Cinestill CS-Lite. I came across a small local company called Lobster Holder, who make a very interesting range of masks at quite reasonable prices. I ordered their Lobster Holder without the light, thinking I might find another lighting solution separately.
Around the same time I spotted a system on the Asian market — I believe it’s called eTone — which includes a light and a variety of masks, and since I had some store credit sitting around, I ordered that one too. My thinking was that if the eTone did the job, I could return the Lobster Holder, or at worst use the eTone light with the LH masks.

Before any of it arrived, I found out that Lobster Holder runs a very generous education support programme, and they had just introduced a new product — the All In One Holder. I wrote to ask whether I could exchange my LH for the All In One, and they actually sent me one to try first, letting me return whichever I didn’t want to keep. That was genuinely generous, thank you LH.
So I ended up with three systems and only one light source. The eTone isn’t compatible with the LH masks, which I probably should have anticipated. A trip to my local photo store solved that — I picked up a brand new Cinestill CS-Lite+. At that point I was getting closer to Valoi territory in terms of total spend, though still roughly halfway there.
One nice morning, after a few coffee cups and my usual senior breakfast pills, I headed downstairs to see which of these would actually suit my scanning needs. Here’s what I found.
Cinestill CS-Lite+
The product itself is very good, much better than the eTone, it has stronger and more evenly distributed light output, and a tripod mount. That said, unless you specifically need finer colour control for particular film stocks, go with the original version. On the original, you can simply switch colour temperature for negatives or positives, and you will save some money. The light output of the Plus version is also lower than the original, by roughly one stop.
The new version uses their Spectra+ technology — essentially blue and orange colour gels that you place on top of the light. The idea is that these improve colour accuracy when using Cinestill’s free conversion presets, by compensating for the film base color (for negatives) and adjusting the temperature toward the warmer end for positives (as an old projector lamp would). In my experience they don’t deliver on that promise, because their free conversion software is still producing results far from ideal. Cinestill does at least provide software for free, which is appreciated.
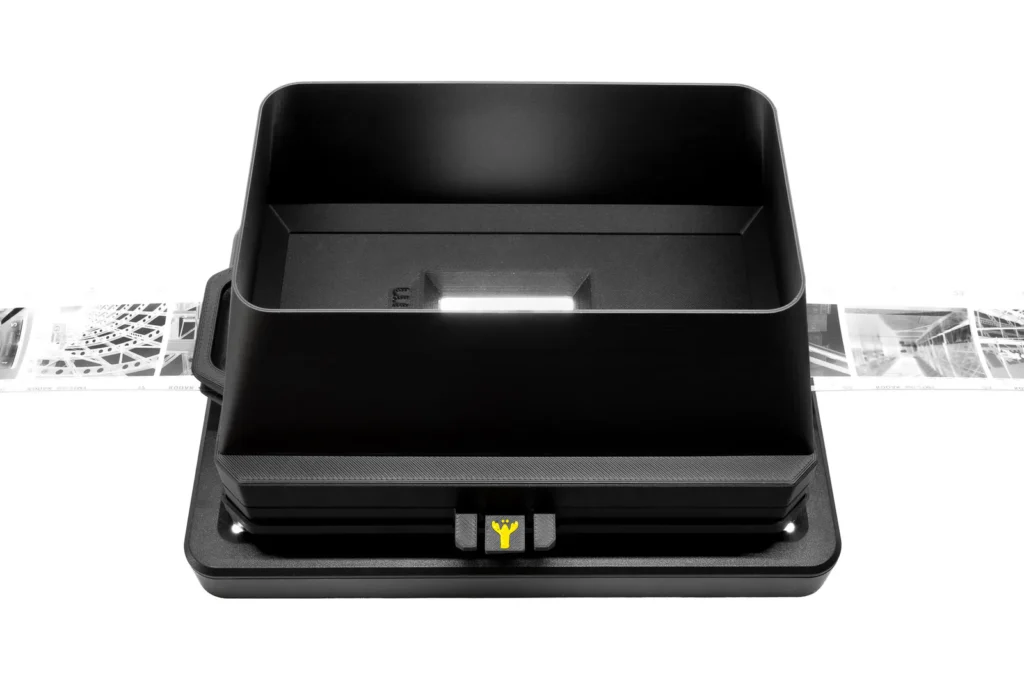
eTone
This is a primitive device, and I mean that as neutrally as I can.
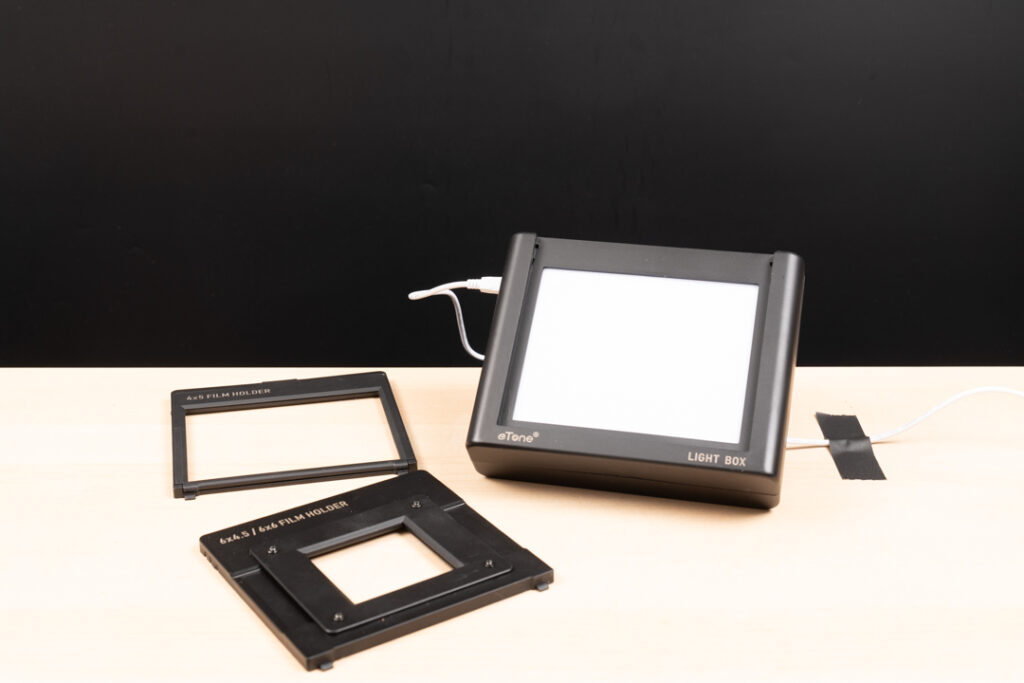
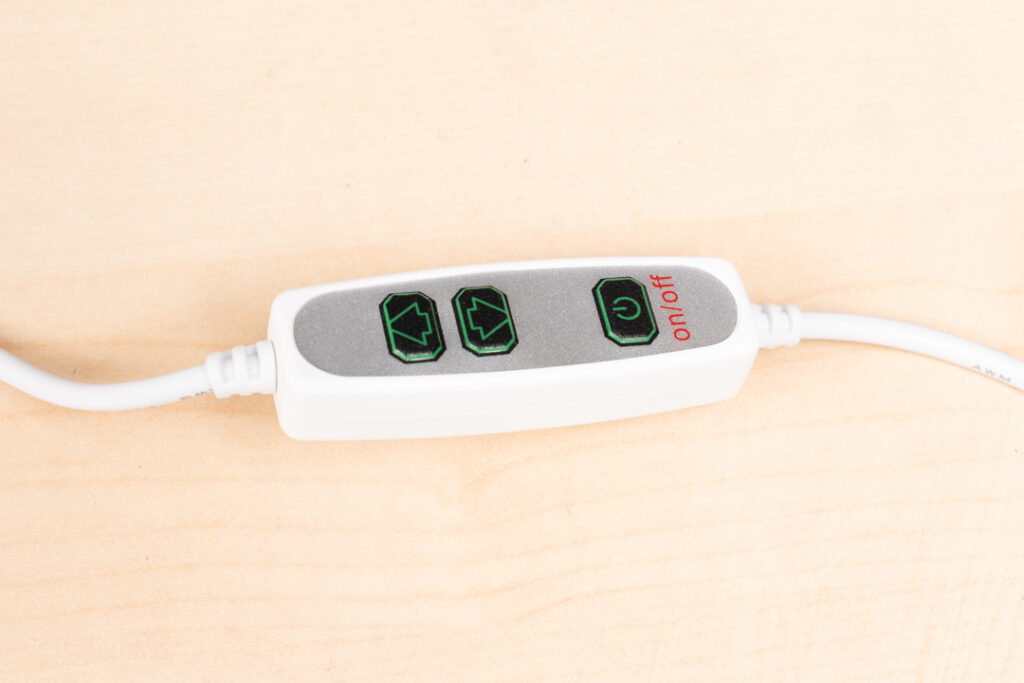
It does have brightness controls, but the maximum output is still nothing to write home about.
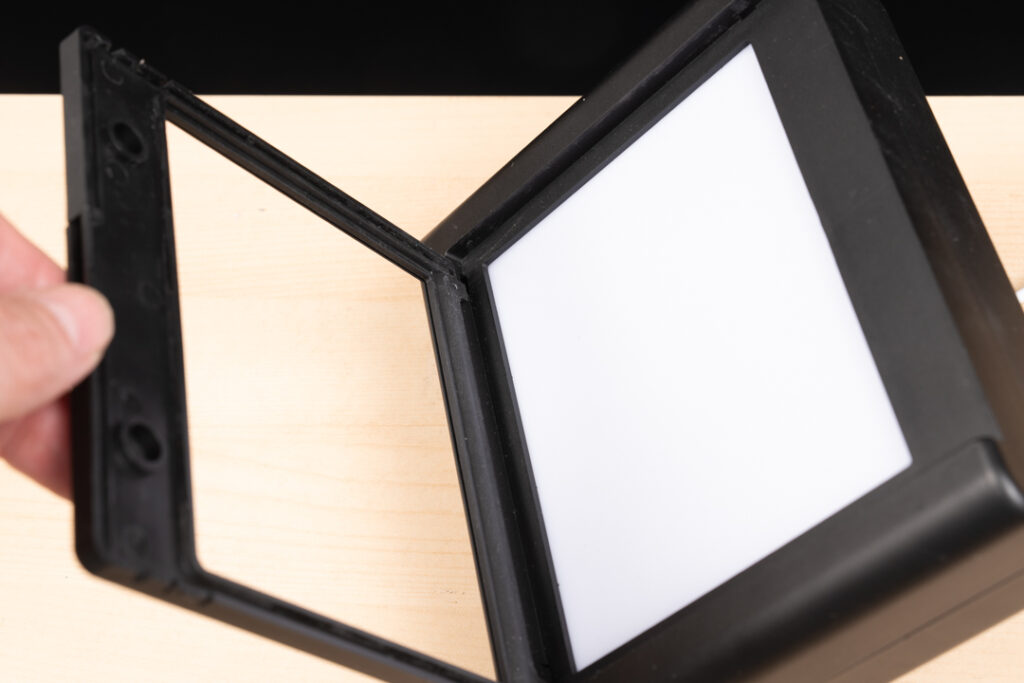
It has a few things going for it: the locking system for masks onto the light source is clever and easy to use — two tabs on the mask slot into the base and click into place.
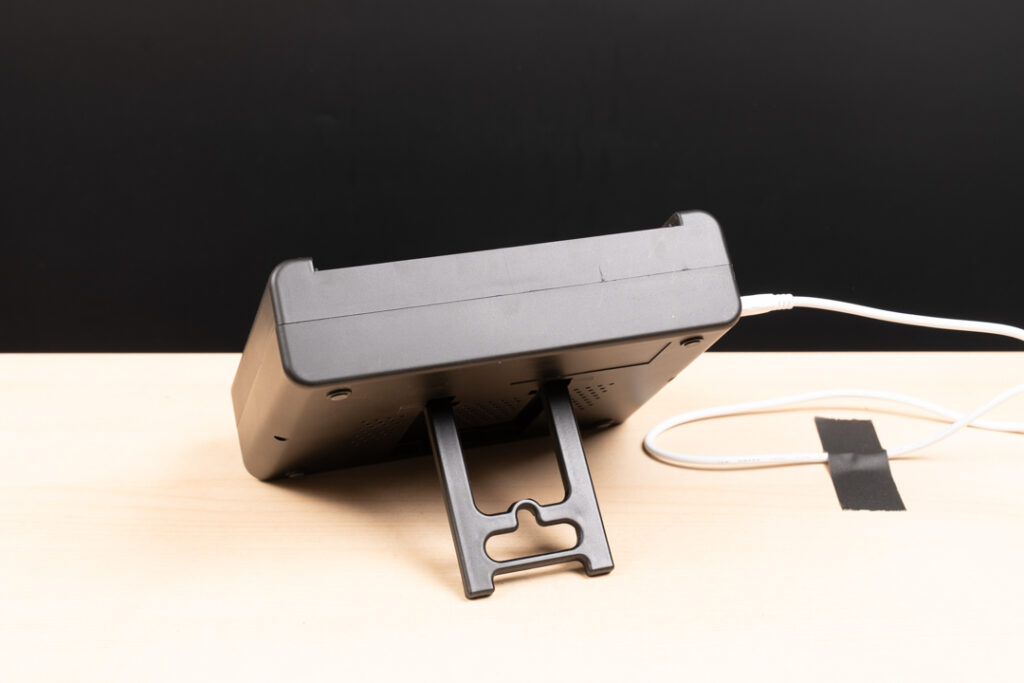
There’s also a small integrated stand on the rear that props the light at roughly 45 degrees, which is actually easier to work with from a regular tripod than a full 90 degrees. The base is wide enough to stand the unit vertically on its own, which has some potential.
That’s about where the positives end. The light itself offers no colour temperature adjustment and is noticeably dimmer than the Cinestill CS-Lite+. The whole thing feels extremely light and fragile, and with every single frame advance it shifts position, meaning you’re realigning after every shot. You can work around this by gluing rubber feet to the base, but out of the box it’s barely workable for any kind of volume scanning. The film masks are very simple — you push the film through two slots, and if you’re patient enough to thread both slots correctly, you’re in business. The bigger problem is uneven light distribution, which causes vignetting. On 35mm you might not notice it much, but on 120 and especially 4×5 it’s a real issue.
My honest advice is to skip eTone unless you’re only occasionally scanning a roll or two in 35mm.
On the subject of film flatness — the larger the format, the harder it is to keep film flat, and most systems struggle with this. Negative Supply now offers a Pro Film Carrier 4×5 with anti-Newton ring glass to sandwich the film, which looks promising but costs around a thousand dollars. I’ve also considered wet mounting, but the chemicals are expensive and the process is unforgiving.
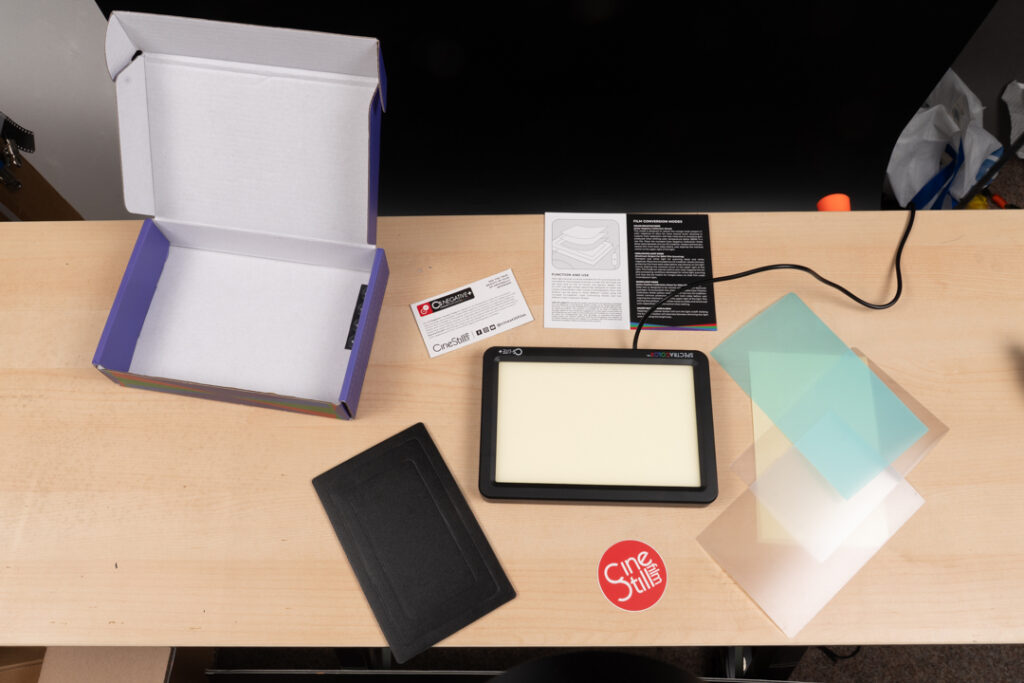
Lobster Holder
This is a good system, and in some ways a very clever one, though it has its quirks. It arrives in plain cardboard with no fancy branding, just a basic photocopied instruction sheet. I actually appreciate that — it feels like you’re paying for what’s inside the box rather than the packaging around it.
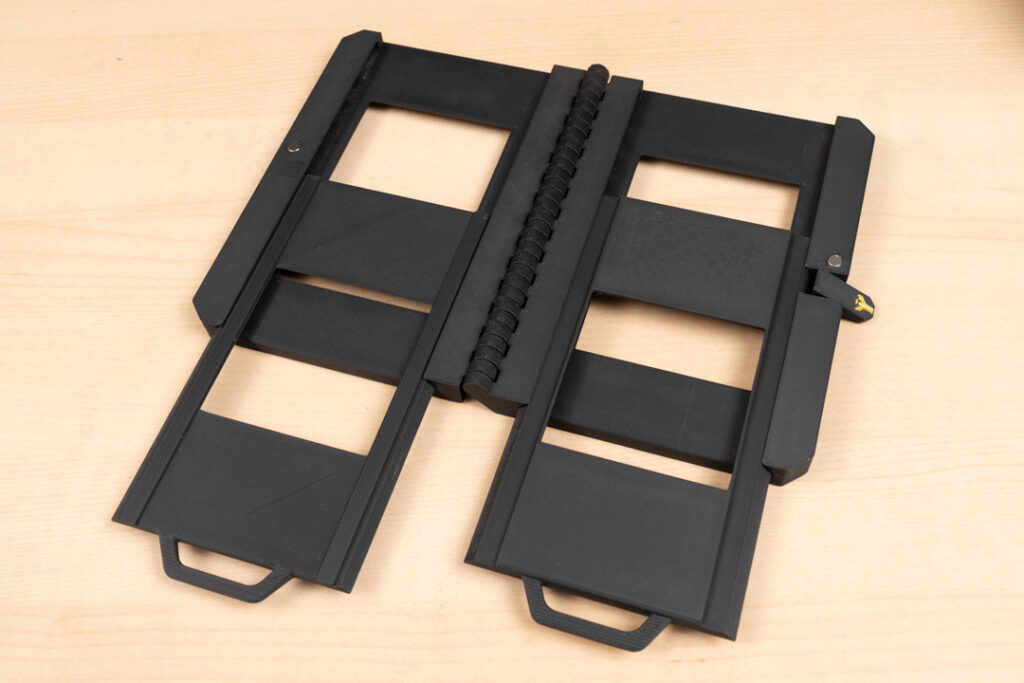
The mask design is genuinely smart. Each mask has a positive and negative side that create a shaped channel for the film, so it sits like a river in its bed.
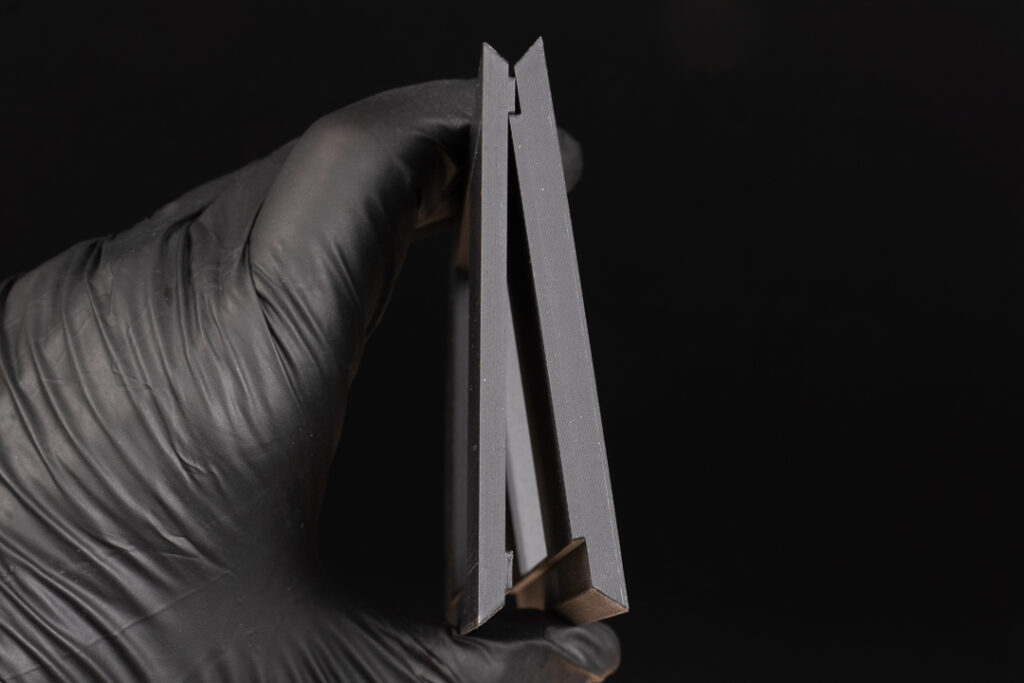
The two halves are held together with magnets, and when closed, the film has no free movement in any direction. A small tab — the one with the Lobster Holder logo — lets you press and open the holder just enough to advance the film to the next frame. It’s elegant.
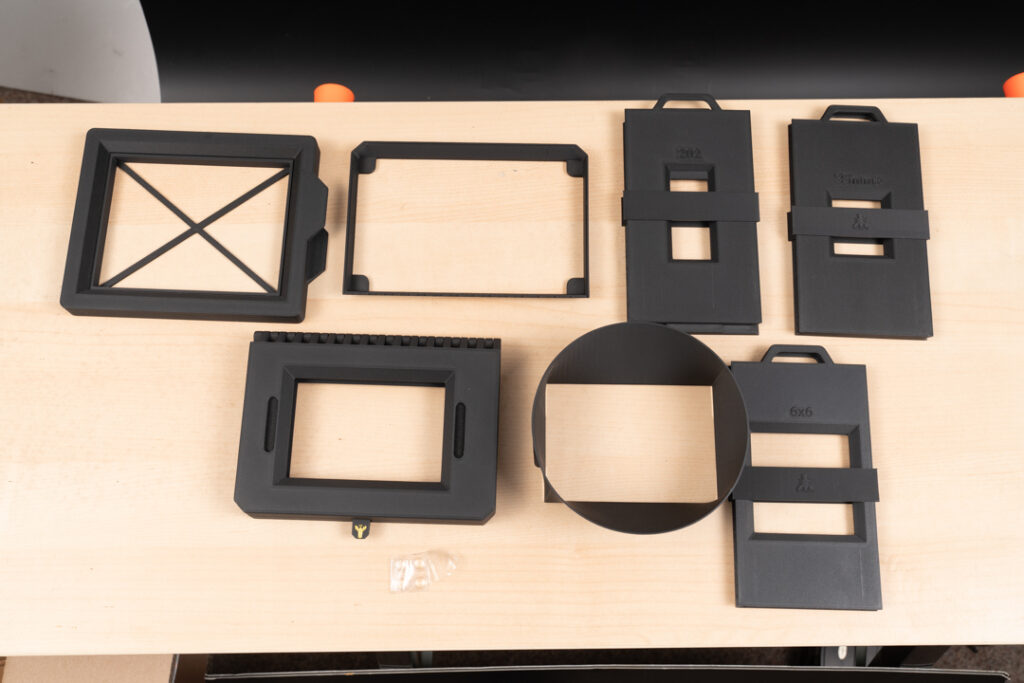
Tolerances are tight, there is no play in the film path, and the whole thing feels well built despite being 3D printed. They offer masks for an impressive range of formats, covering pretty much any camera format you might find in your grandfather’s attic.
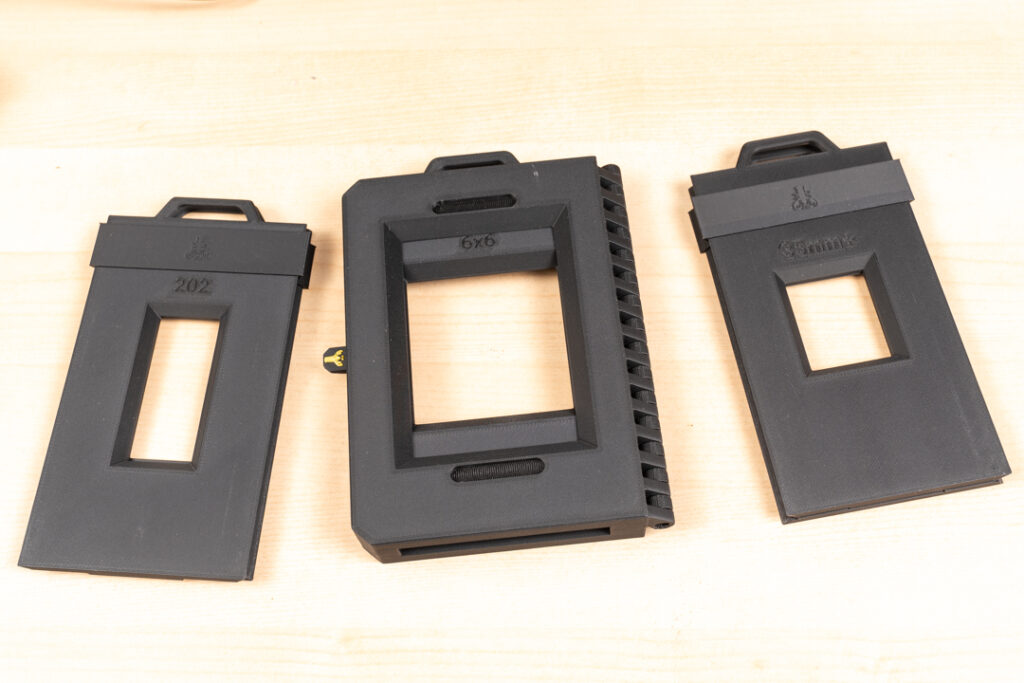
On the less positive side, installing each mask requires sliding both halves separately into the holder body. It’s more fiddly than the simple click-in system on the eTone, and if you change formats as frequently as I do, I do wonder how the material will hold up to repeated use over time.
Also, the 4×5 mask doesn’t fit the Cinestill CS-Lite adapter, so it effectively becomes a standalone holder for use on a larger lightbox — my iPad might work fine for this.
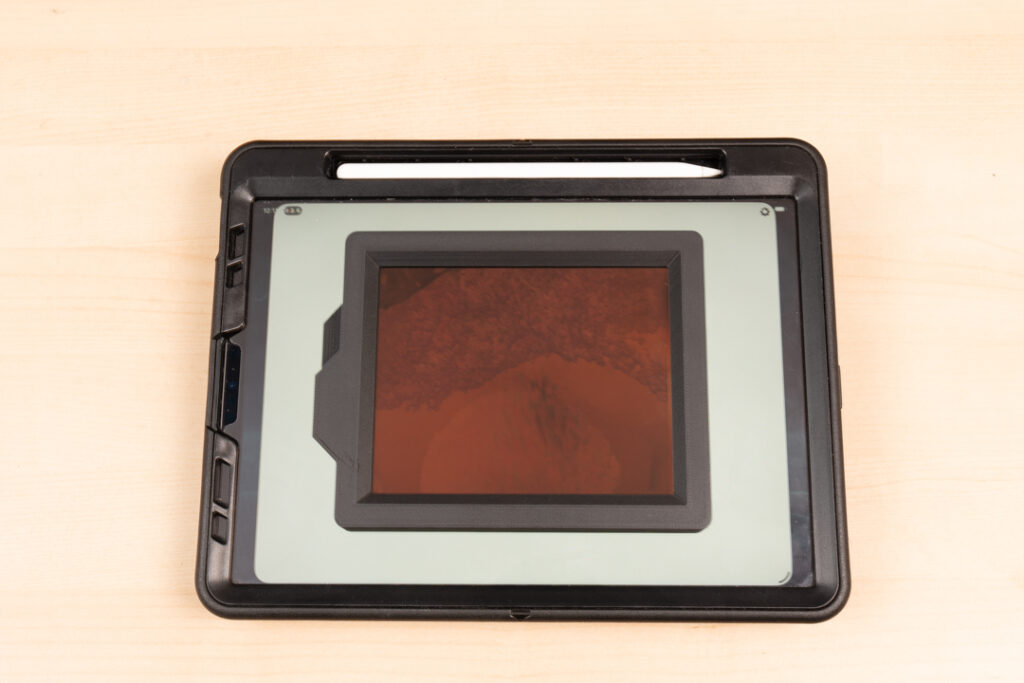
Lobster Holder did mention they’re aware of this and working on a solution.
The system is designed for vertical scanning from a camera copy stand. Being the stubborn photographer that I am, I rigged it horizontally on a mini stand using some hair ties, and it works well enough, but it’s clearly a workaround.
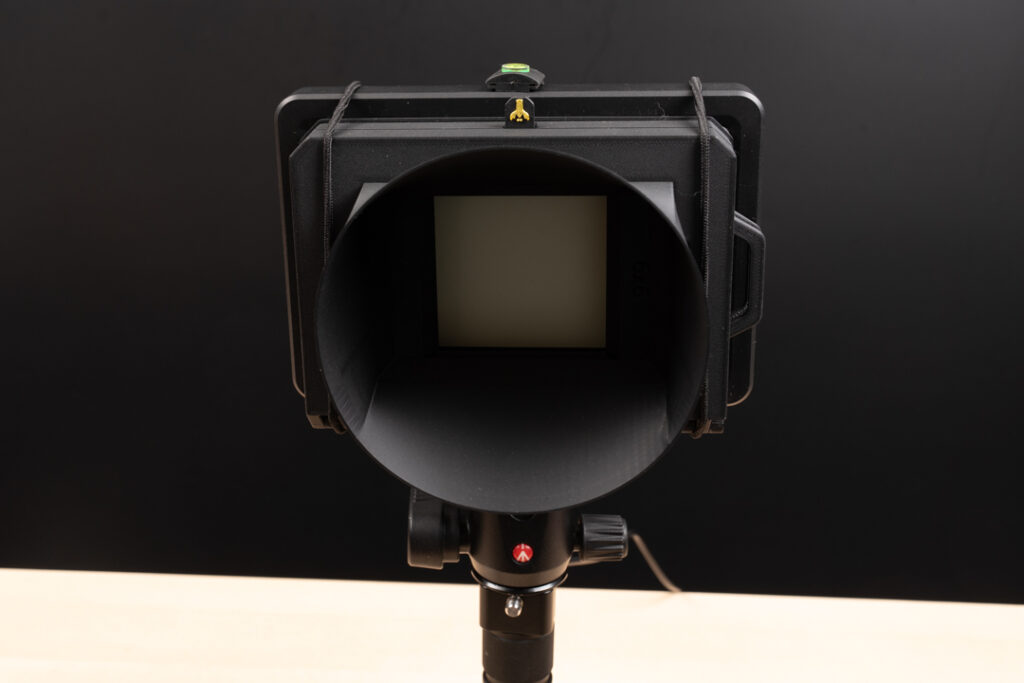
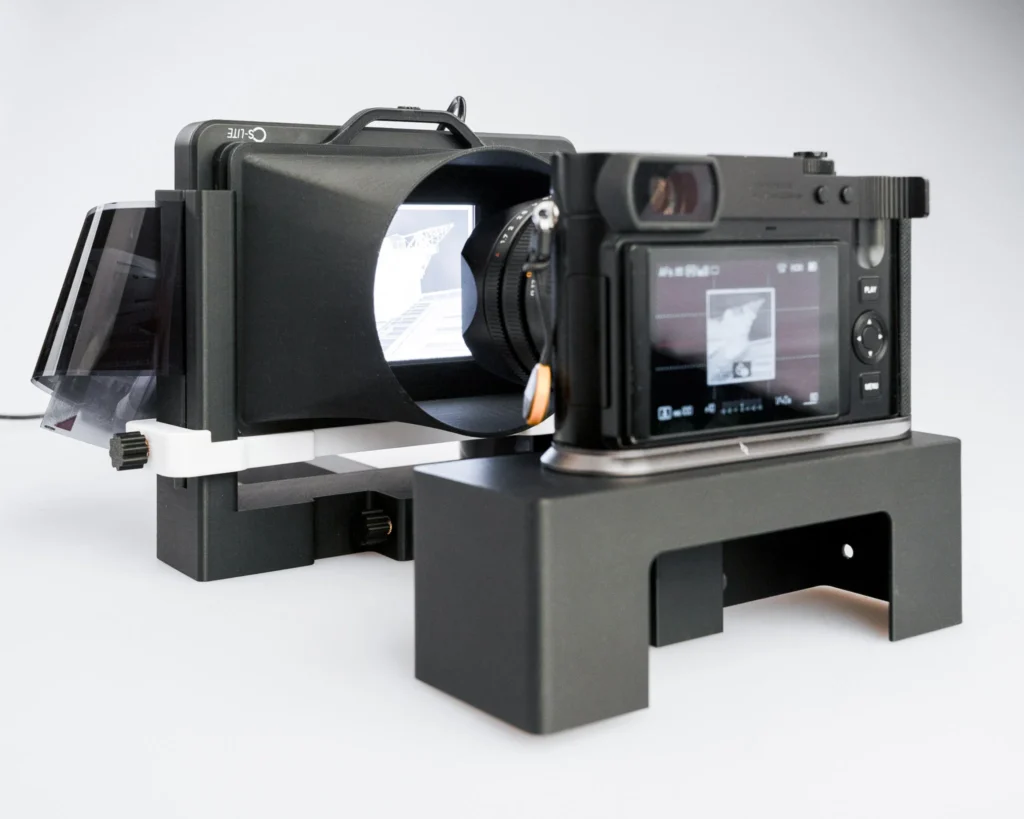
Lobster Holder All In One
This is the one that comes closest to what I was actually looking for: a simple, functional horizontal scanning system that handles multiple formats. It consists of a metal rod with a camera platform on one end and a combined light and mask platform on the other. That second end has a vertically adjustable platform — a little like the front standard of a 4×5 studio camera — which makes levelling straightforward.
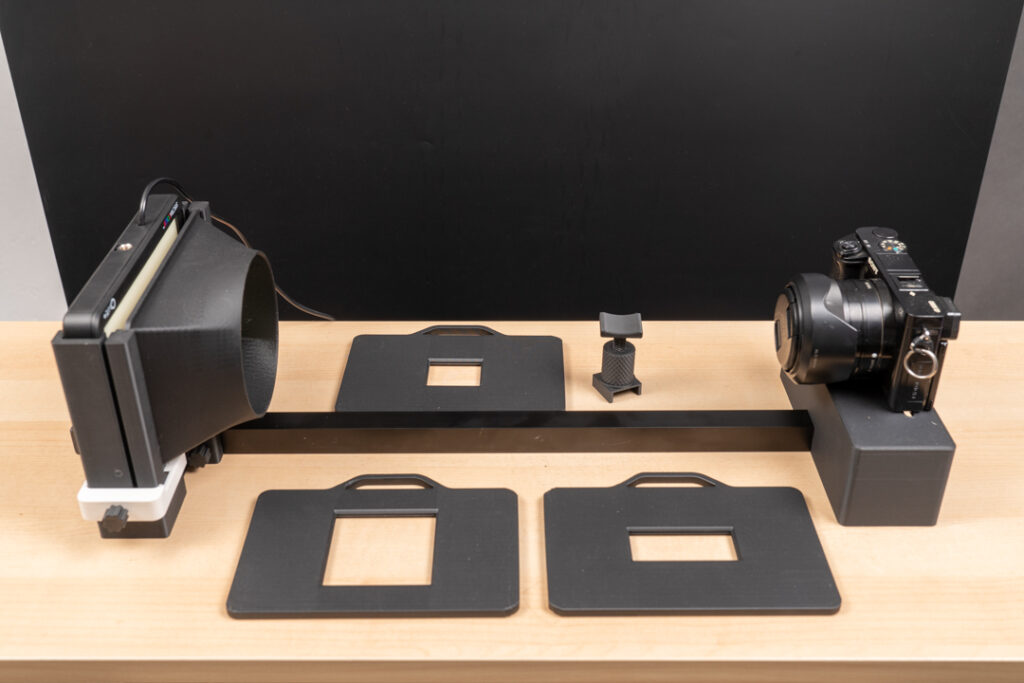
The whole thing is simple to assemble, easy to set up, and genuinely pleasant to use. There’s a small support for longer lenses — my Canon EF 100mm L IS Macro sits on it comfortably.
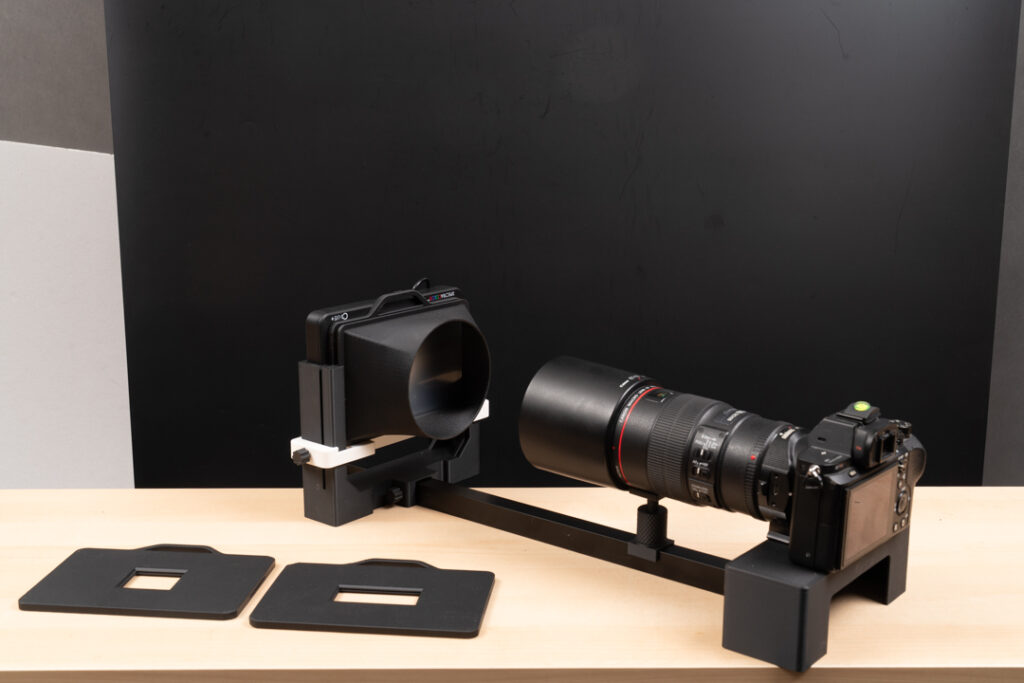
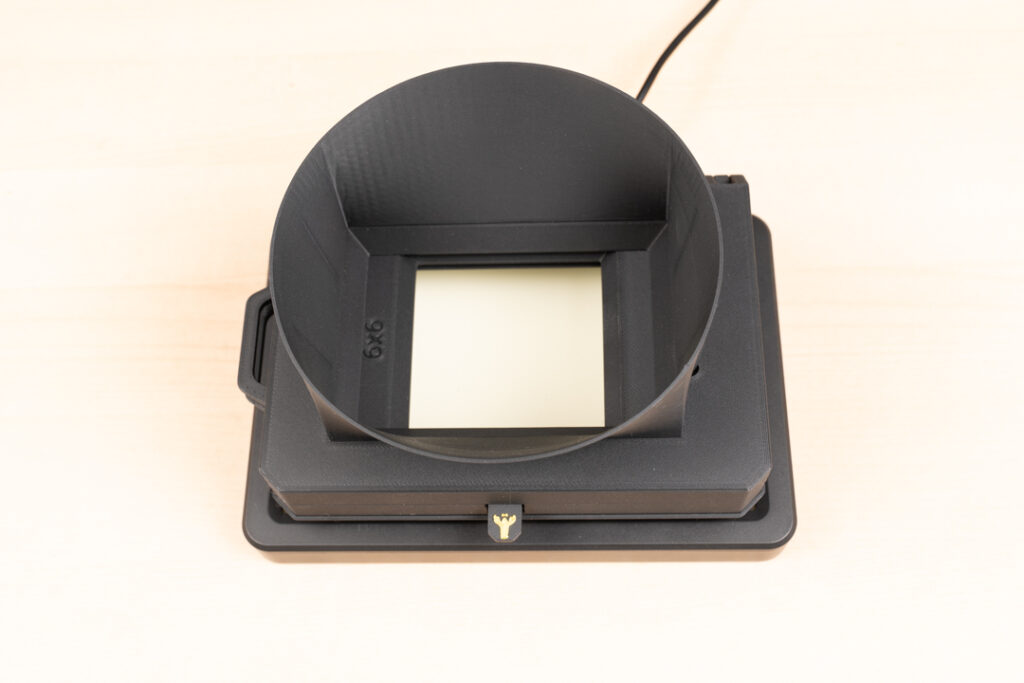
An integrated sunshade reduces stray light, and inserting the light and mask is as simple as dropping a filter into a holder.
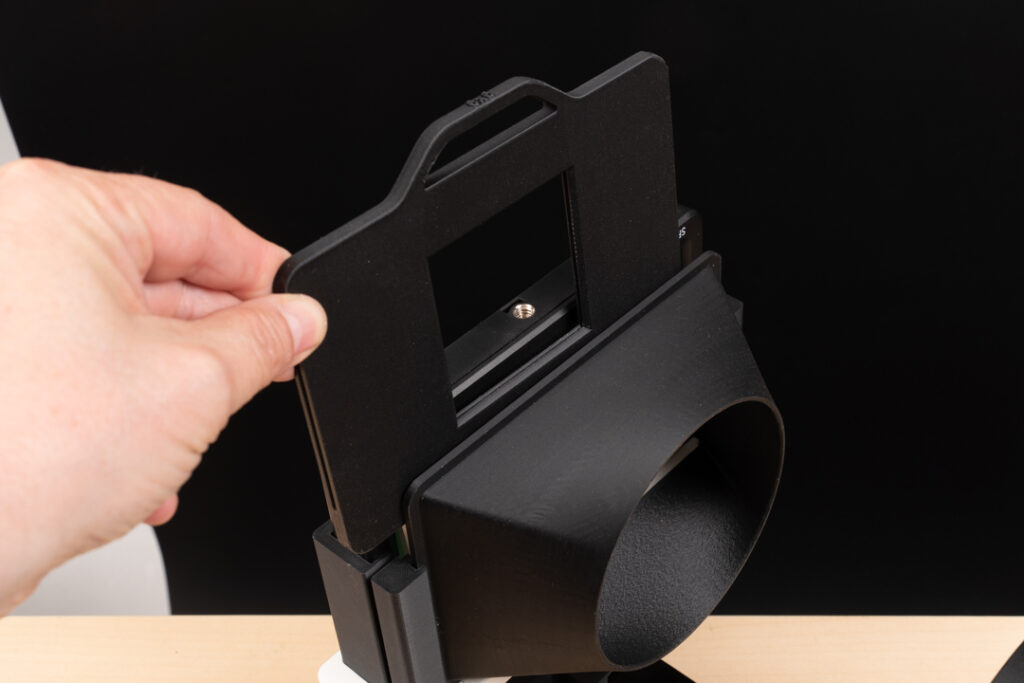
As Lobster Holder show on their site, the whole system stores neatly assembled, so next time you need it, you’re just connecting the camera.
On the downside, being lightweight is a double-edged sword — it’s easy to nudge. Because the camera and film platform are integrated, at least you don’t need to realign after every shift, but I’d still prefer it to be more stable overall. Fixing the camera to its platform is a bit fiddly due to limited finger space, and the side rail on the camera base could benefit from a metal reinforcement for smoother adjustment. The levelling base on the film side would be better with a geared mechanism. I’d also suggest adding a tripod screw mount somewhere on the rod so the whole system can be fixed to a tripod, and possibly offering an open frame option to use the masks without the Cinestill light, allowing for a more distant or flexible light source.
There are many other solutions out there I haven’t tried. I just thought it might be useful to share my experience of looking for the horizontal scanning setup. This overview is focused on the handling and ease of use. The quality of the scans will depend on other factors, mainly the inversion processing, but that’s for another time.
If you have specific questions, please ask — I’ve already written far too much and still left plenty out.
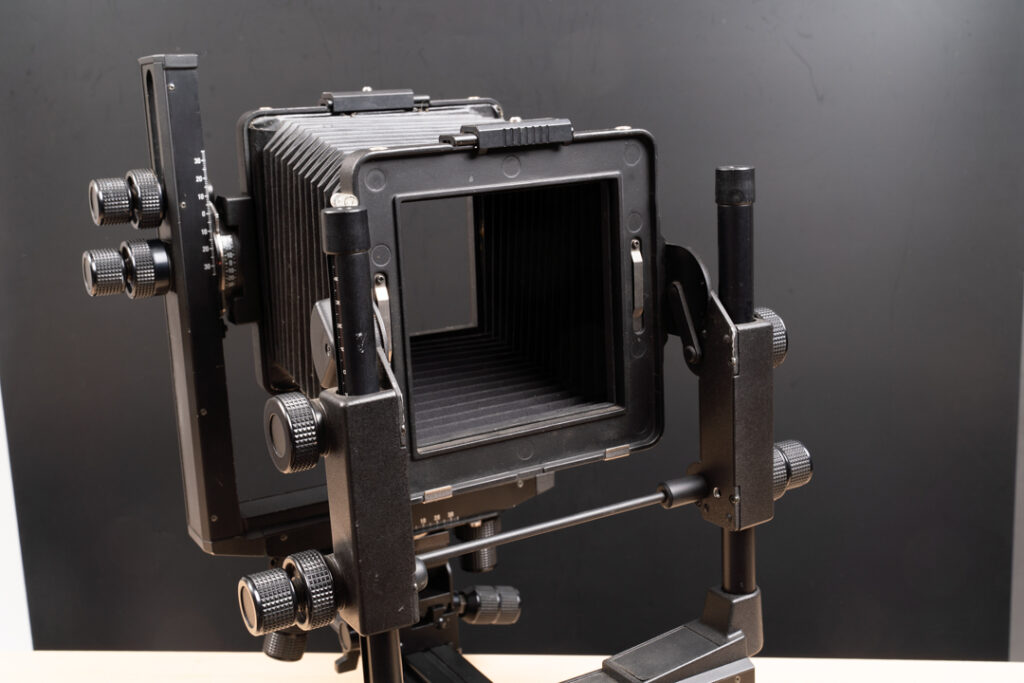
Note: I have no relation to any of the mentioned companies, though I did exchange a few emails with the guys from Lobster Holder. I have promised to send them my notes, findings and suggestions from using their products. I proposed them to consider creating a simple front standard holder for the 4×5 cameras, such as Cambo, Toyo, Linhof and co.
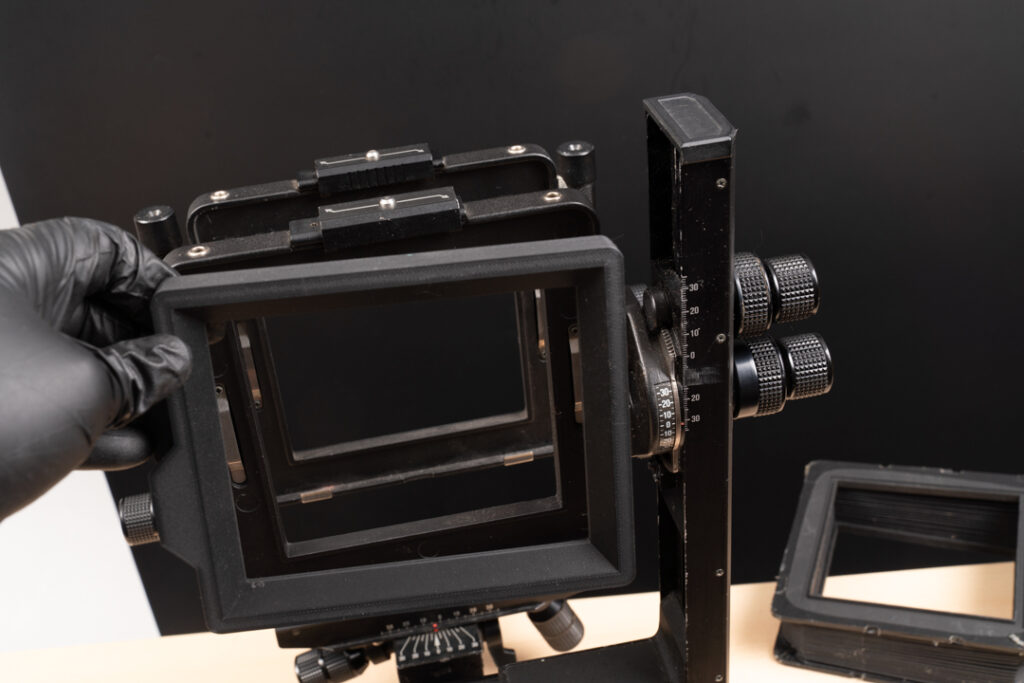
By removing the rear standard, I can mount a bellows and attach the camera and lens directly to it. This allows me to use any light source at any distance from behind, and — most importantly — to use the front standard for precise alignment. It would also help when a very high resolution scan is needed, since individual sections of the image can be scanned separately and stitched together in post.
So, that is where I am standing now. I still have to scan a few rolls to decide which system to keep — so far I think the LH All In One might be my favourite, but I might also pursue the large format camera path.
If you have specific questions, please ask — I’ve already written far too much and still left plenty out.
Share this post:


Comments
Gary Smith on Exploring horizontal camera scanning solutions
Comment posted: 24/06/2026
I have to say, you certainly have most all of the variations for scanning! I like the look of that Olympus rig. It seems that dialing in the right distance and focus would be easier than trying to select the right set of extension tubes with the Valoi.
Thanks for a look at the other options!