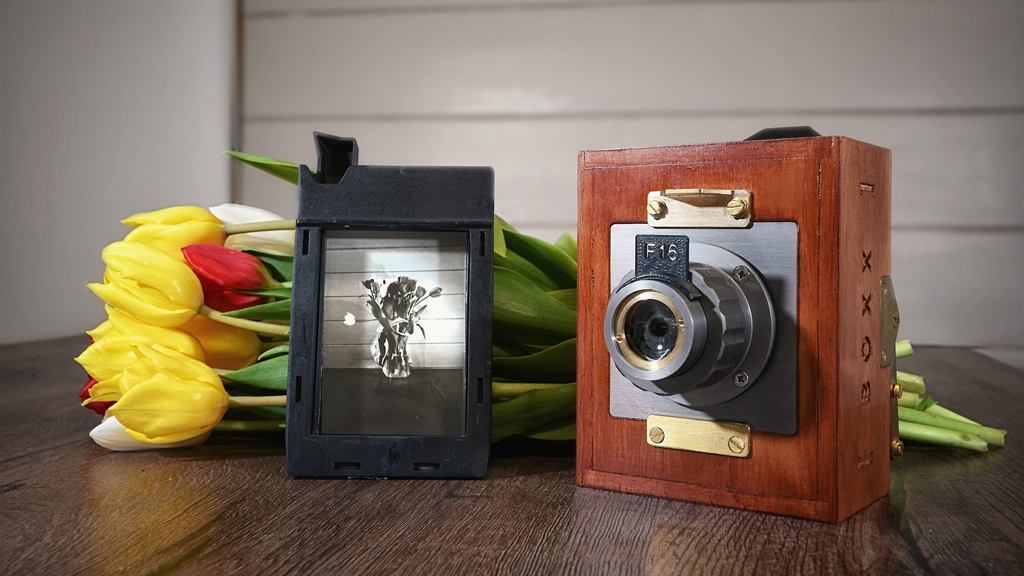
After Hamish’s review of our new [BOXX] camera, there was a lot of interest in the Black and White reversal process we are using. With only a few days to go before the [BOXX] Kickstarter closes, I wanted to do a deep dive about why we chose the process, what actually happens during the different stages and how I have gone about streamlining things to improve the experience.
Choosing the Chemistry
It was 4 years ago I had the idea of making a vintage style camera, that would allow users to do the entire photographic process themselves.
It was important that the camera would be engaging to use, and not too complicated to get good results. I toyed with doing a Polaroid / Instax style camera but really wanted something that immersed users in the chemistry process. I looked carefully at cyanotypes, but quickly established exposure times were likely to be hours long, so not that engaging. The idea went on a backburner until…
Last year I stumbled across the work of Nick Davis (the120ist on youtube) and went down the rabbit hole of black and white reversal.
The process appeared quite simple; the results Nick was getting looked great. This could be it!
Black and White Reversal
Photographic paper has silver halide salt crystals coating it’s surface.
When light (photons) hit the silver halide crystals, it frees electrons. These electrons combine with silver ions to create tiny specks of metallic silver on the crystal.
When the developing solution is added, it searches for the crystals that already contain tiny silver specks and converts the entire crystal into dark, solid metallic silver. The developer converts the silver specks into solid silver much more quickly than it converts the silver halides. The more light that has hit a particular area of the paper the darker it will go in this area. If however you leave the developer in for a long time, ultimately the whole photographic paper will go black.
Normally you would now put in a fixer, which would dissolve any un-developed silver halides, giving you a negative image. In black and white reversal we do the opposite. We put bleach in, which dissolves the black solid metal and leaves the remaining silver halides in place.
You then re-expose the paper to light. Exciting the electrons in the silver halides and forming new specks of metallic silver.
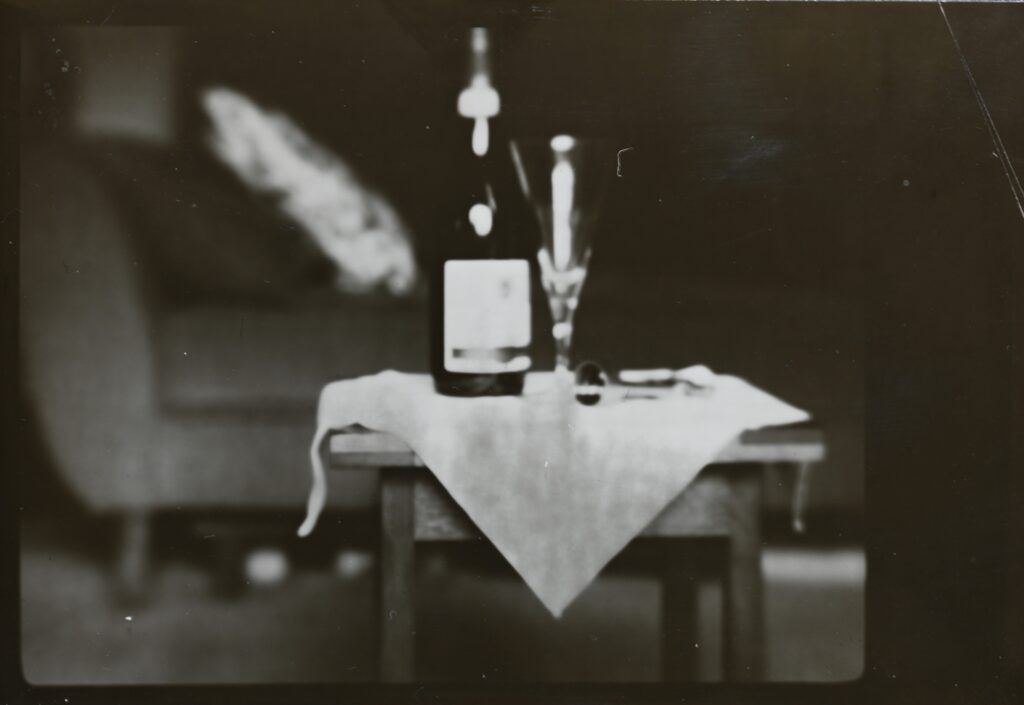
Finally you add developer again and you are left with a positive print.
You should be careful not to allow your chemistry to mix, so a bit of washing is required. Also the bleach can leave staining on the paper, so it is common to use a clarifier solution after the bleach to clean things up a bit.
Streamlining the Process
Initially on Nick’s recommendation I started working with the Bellini paper reversal kit. This is a fantastic kit, which comes with everything you need to successfully create great looking black and white reversal prints. A lot of trial and error led me to a process that was taking me approximately 10 minutes to complete a print with. There were a lot of steps involved as whilst you only needed to use 3 different solutions, the washes in between each solution were adding considerable time.
The bigger challenge however was that the Bellini kit was not readily available globally and worse still it was tricky (or impossible) to ship to some overseas destinations. Not ideal for a global Kickstarter.
Enter Adox! I was aware of a reversal kit from Adox that had the distinction of being globally shippable. The kit was designed for film reversal, but careful inspection of the Safety Data Sheets suggested it had enough similarities with the Bellini kit, that it could work. A Google search supported this theory so I placed an order with Adox in Germany and eagerly awaited the arrival of my 1st kit.
During this same period I had been working on some improvements to the Pocket Darkroom. These needed to be prototyped and tested ahead of the Kickstarter launch. Thanks to speedy international shipping, both Adox chemistry and design prototypes aligned and testing could re-start. Trialling the kit was a bit nerve-racking as I was still learning the paper sensitivity and how to get the best out of the camera design, but the chemistry did appear to work. There was however one major problem…. The time to complete the bleach step had gone up!
In order to formulate a less hazardous bleach solution Adox had obviously reduced the solutions potency in bleaching the negative image. The challenge was on, what could a non-chemist do to speed up the whole process.
Well whilst I might not be a chemist I have done plenty of scientific experiments. It was time to science the shit out of this! This involved many hours of testing as well as many failed prints. I won’t discuss all the details here, but focus on a few of the key breakthroughs.
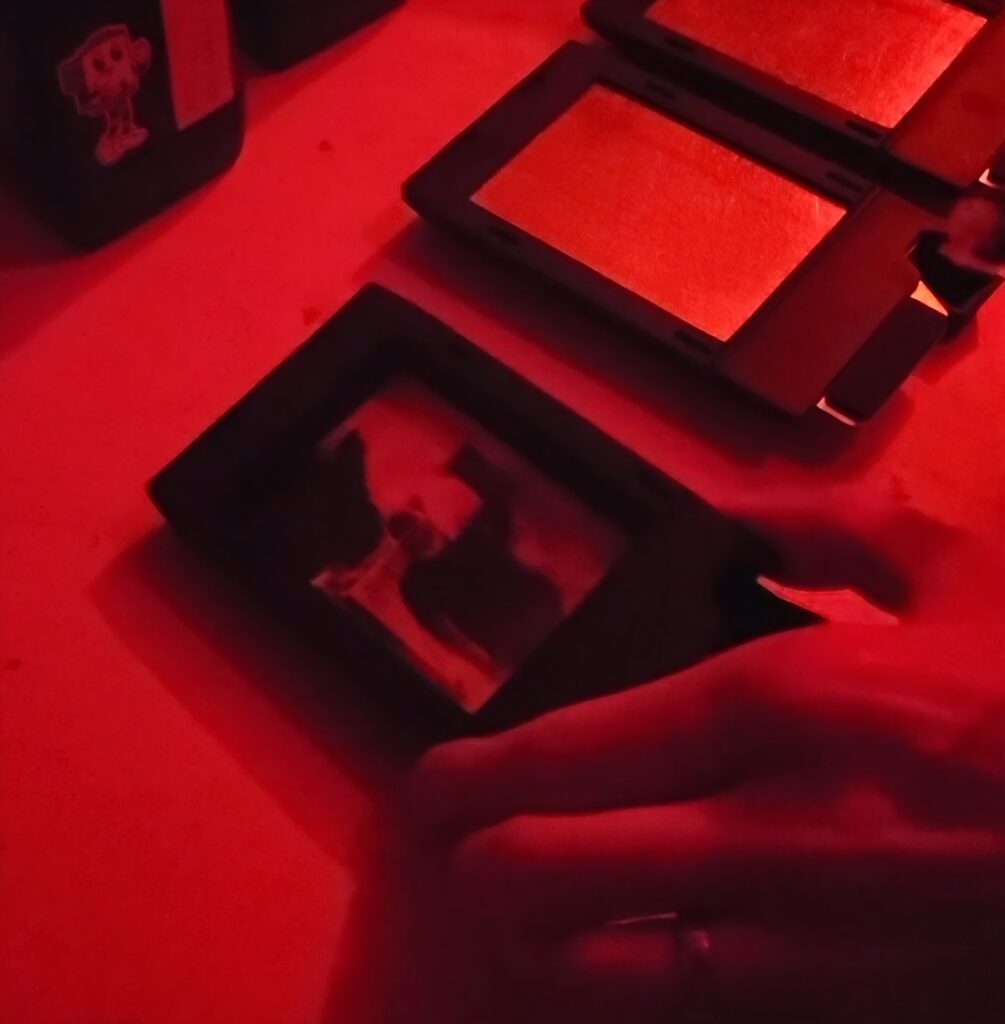
- You can learn a lot from the Darkroom
By getting in the darkroom (thanks to Tom Warland @tombobwarland on YouTube). I was able to see exactly what was going on at each step of the developing process. This helped understand how quickly the 1st developer stage was completed and provided some accurate timings for other steps in the process.
- Concentration can have a dramatic impact on the time it takes to do some steps
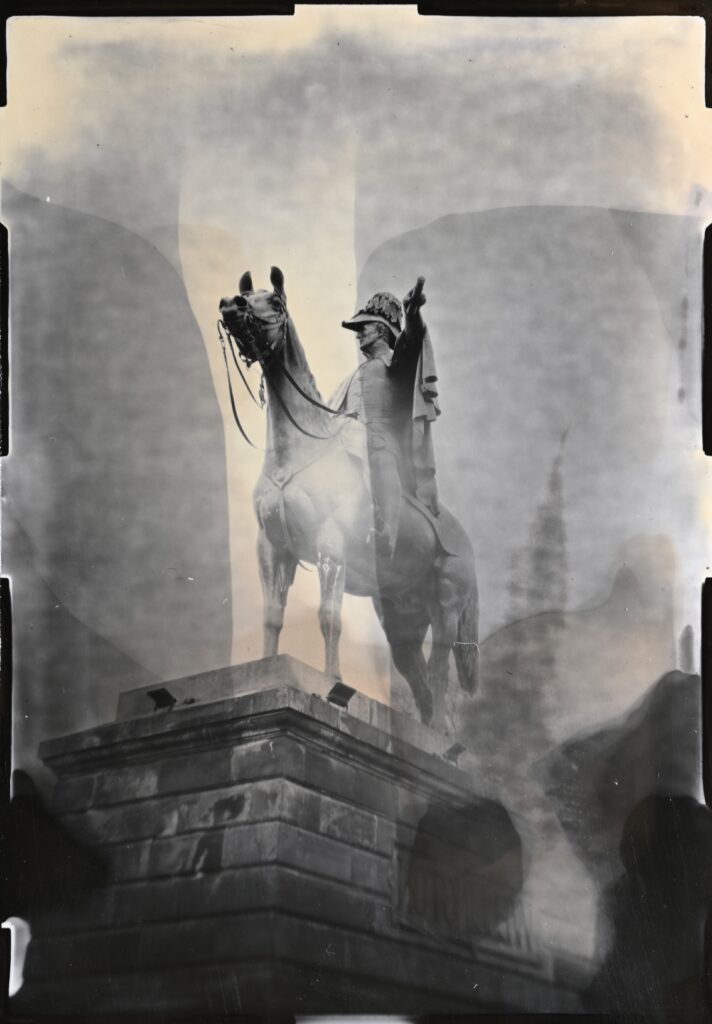
The weaker bleach solution was the single longest step in the process. I had up until now been waiting 5 minutes for this step to complete. Not without good reason, I was frequently seeing poor bleaching as the biggest cause of “murky” results. If the Adox bleach solution is used at a higher concentration, bleaching can be achieved in less than 1 minute!
- Not all washes are the same
Turns out you don’t necessarily need to do as many washes as I had been doing. The most important washing step is after the 1st development. Failing to clear out developer from the film holder would have a negative impact on the bleaching step. The wash step after bleaching was almost pointless. The clarifier solution was so potent at neutralising the bleach that you could completely miss the wash step out after clarifying and still get a good result.
All this work has given a process that can be carried out much more quickly than the 10 minutes I was originally achieving with the Bellini kit. I think if you are doing a small batch of say 6 prints at the same time. With a bit of practice, you can easily complete the process in under 30minutes, which gives a very respectable average of 5 minutes per print. Most of the time is taken with getting set up and managing the chemistry so you don’t have any mix ups.
Whats next?
There are still improvements that can be made, but we are in the space of diminishing returns. At some point the effort required to shave time off the process becomes too great for the benefit achieved. I think we are pretty much there.
In fact there may be some benefits to going the other way. For example the Adox developer produces quite high contrast images. If less contrast could be achieved, even at the expense of taking a little longer, this might give more tonality to the prints. Perhaps however I am not the best person to explore these options.
The [BOXX] camera is all about experimentation and alternative process. It may be time for me to hang up my Lab coat on this part of the challenge and let the photographic community take over. I have after all got a new camera to build and deliver to backers.
The [BOXX] Camera Kickstarter project closes on the 18th June. Check it out if you fancy a hands-on photography experience.
Share this post:


Comments
Erik Brammer on The Science Behind the [BOXX] Black & White Reversal Process
Comment posted: 16/06/2026
Cheers,
Erik
Comment posted: 16/06/2026
Comment posted: 16/06/2026
Comment posted: 16/06/2026
Roger on The Science Behind the [BOXX] Black & White Reversal Process
Comment posted: 16/06/2026
Good luck.
Comment posted: 16/06/2026
Bob Janes on The Science Behind the [BOXX] Black & White Reversal Process
Comment posted: 16/06/2026
Comment posted: 16/06/2026