

I don’t ‘collect’ old cameras, it is the process of using an old machine for the purpose it was made that I enjoy.
My family may disagree with the first part of this statement.
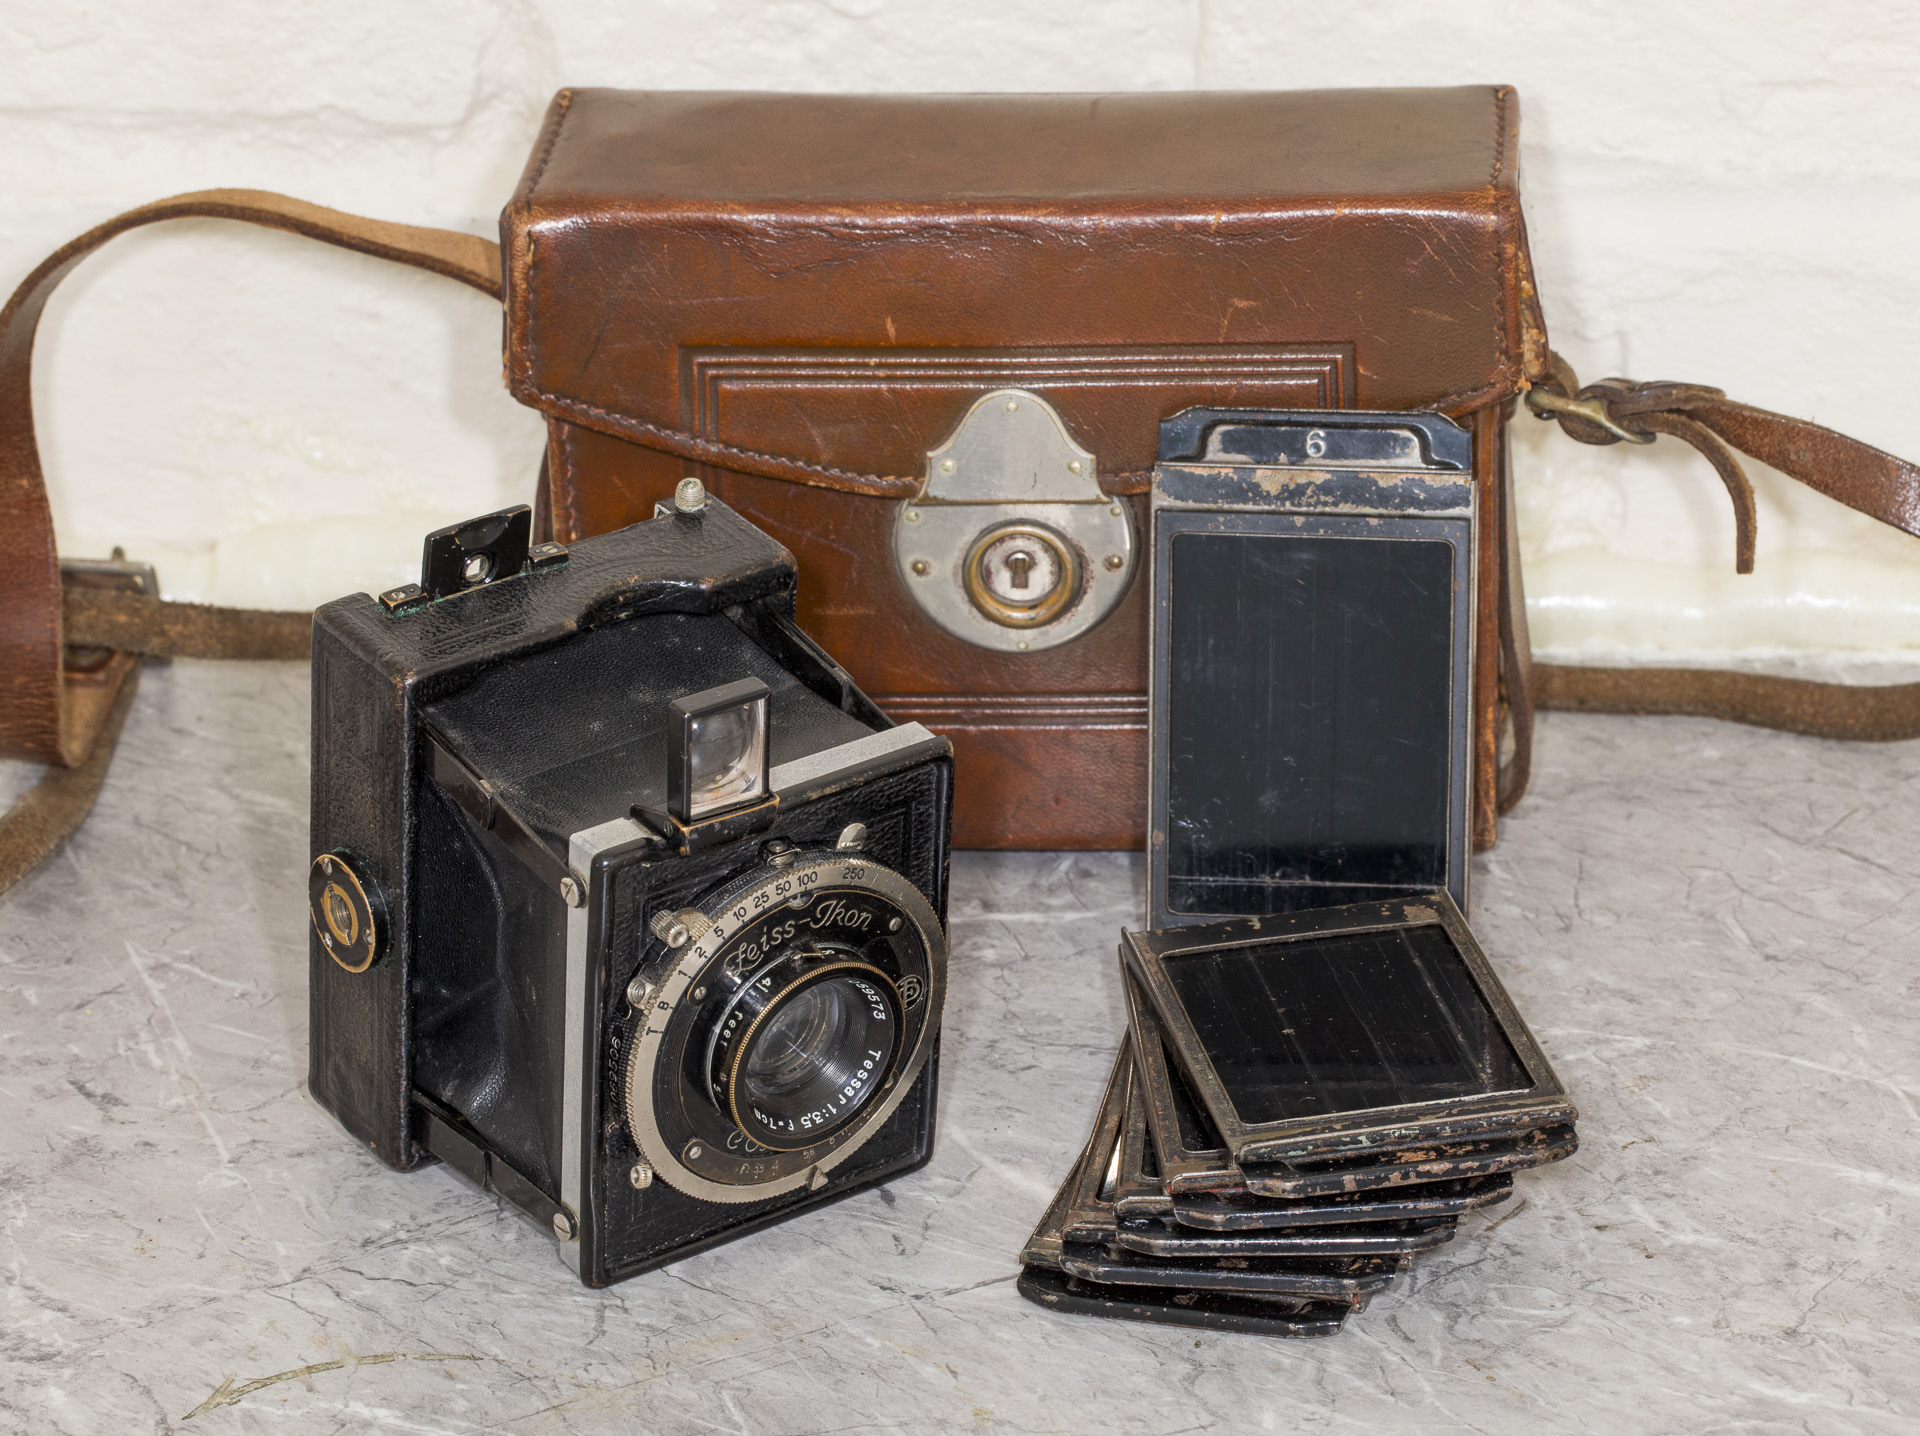
So when a 1930 Zeiss Ikon 342 Bébé came unexpectedly in a box of cameras bought unseen from a local auction house I wanted to take photos with it, not put it in a drawer or sell it.
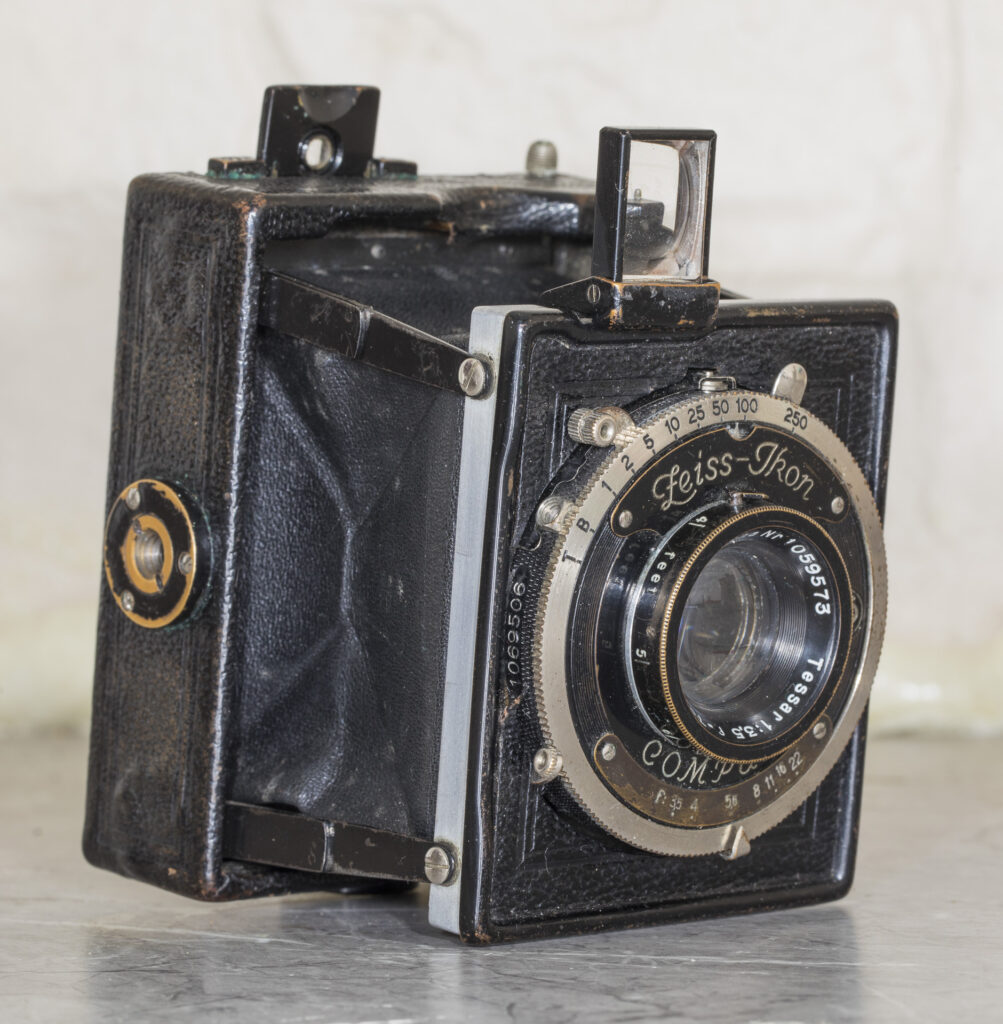
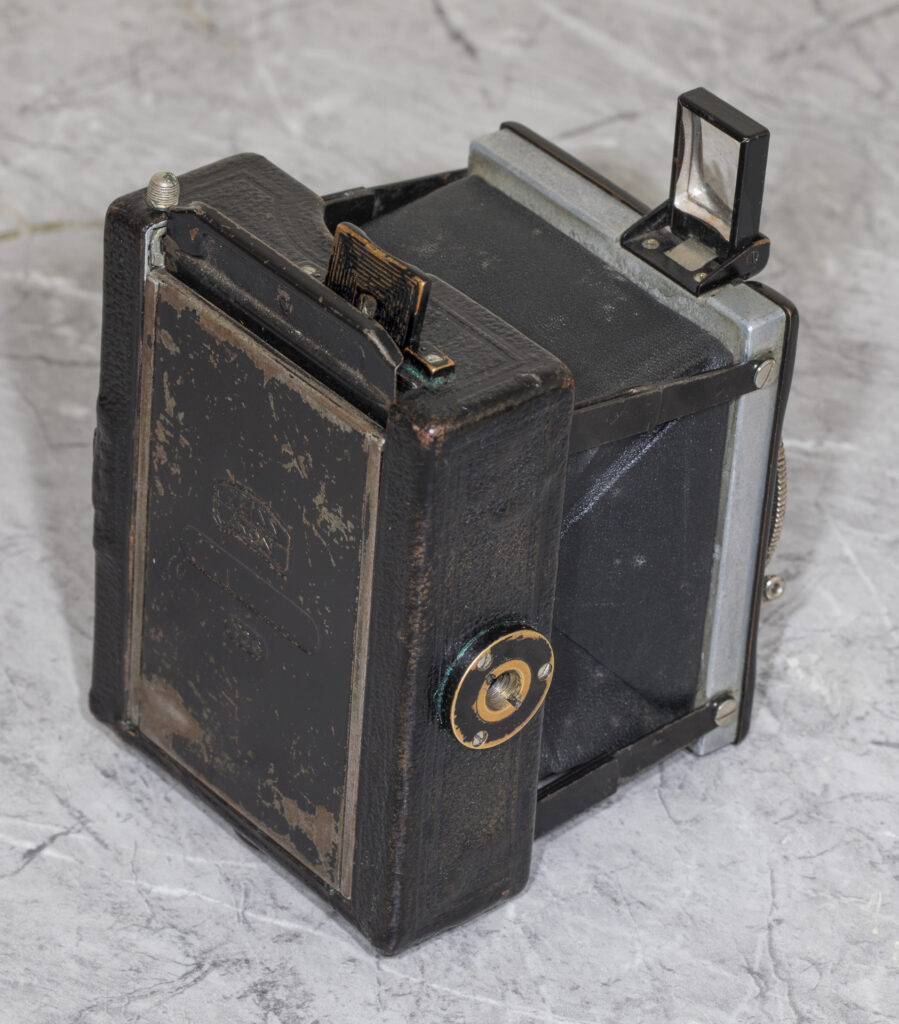
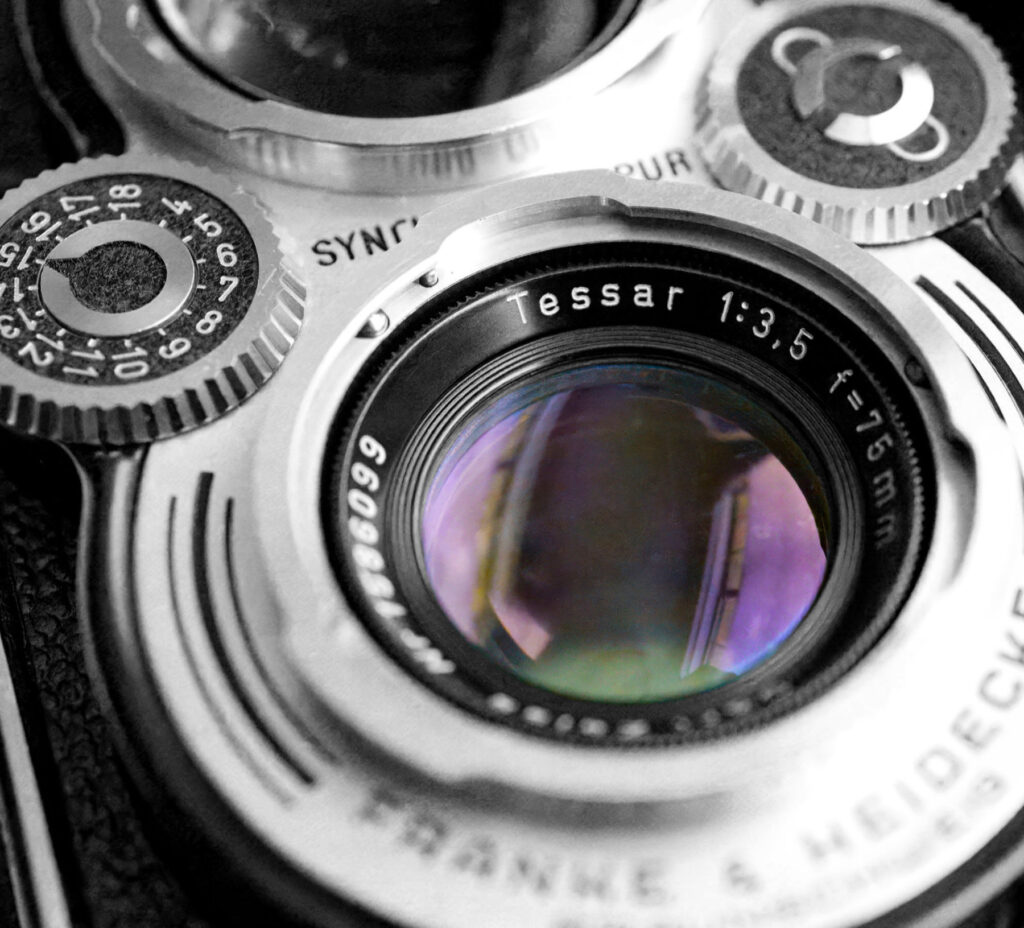
The Bébé is one of the cameras carried over from the merger that created Zeiss Ikon, in this case a camera range from ICA; small strut-folding plate cameras in 6.5X9, 6X6 and 6X4.5 cm sizes. This one is a 6X4.5 and came in it’s original case along with 6 plate holders and all in good order. The camera has a rim-set Compur shutter and a f/3.5 7cm Tessar lens. Along with the ground glass back there is a wire ‘sports’ finder and a folding reverse-Galilean one as well, so there should be no excuse for messing up the framing. I have been using the folding viewfinder as it is accurate and bright and I find that bringing the camera to ones eye helps to steady it for handheld photos and the shutter release is then in a more convenient position than when using the wire sports finder. The ground glass focussing screen is really too small to be useful, the camera would need to be on a tripod anyway, but some sort of magnifier is needed to be able to make use of it.
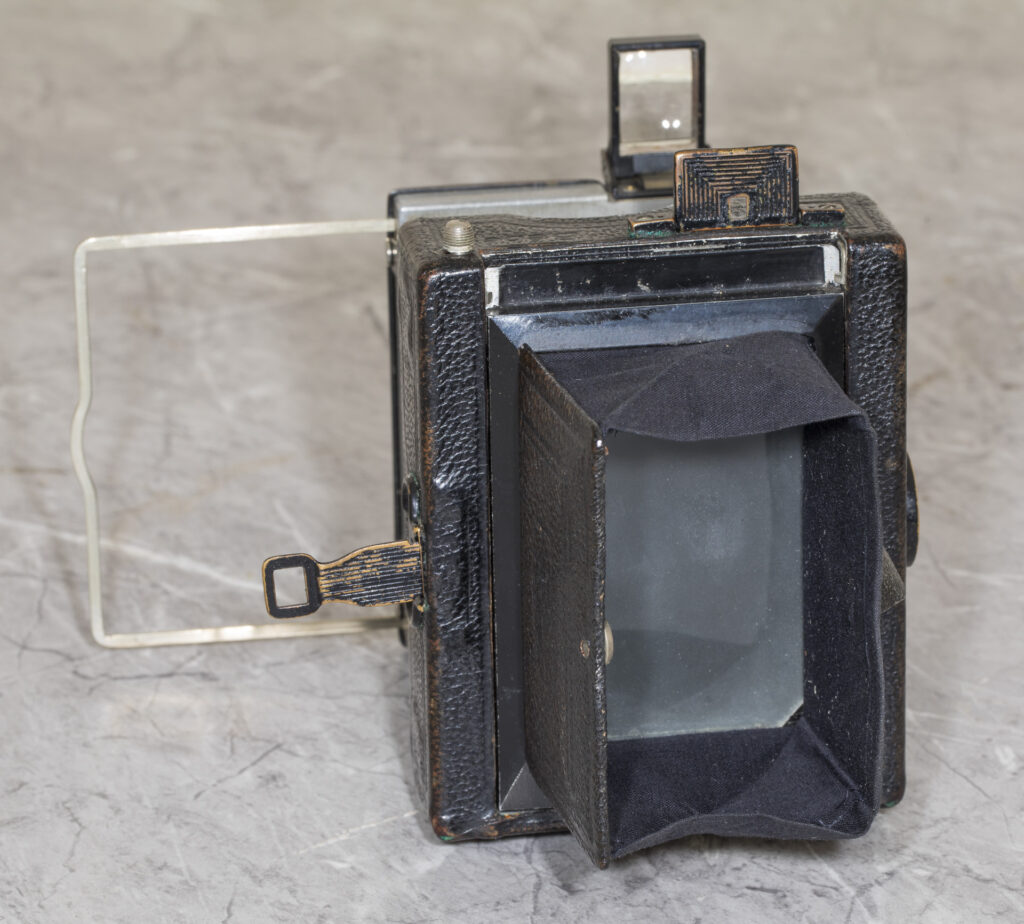
It is a small camera folded and not much bigger extended, smaller than my Certo Dollina for example both when folded and open. It slips into a pocket or small bag and is quite discreet in use, not really looking much like a camera anyway. Which leads to the question is this a large format camera or not? Doesn’t taking single shots on glass negatives in plate holders make it Large Format Camera albeit a very small one?
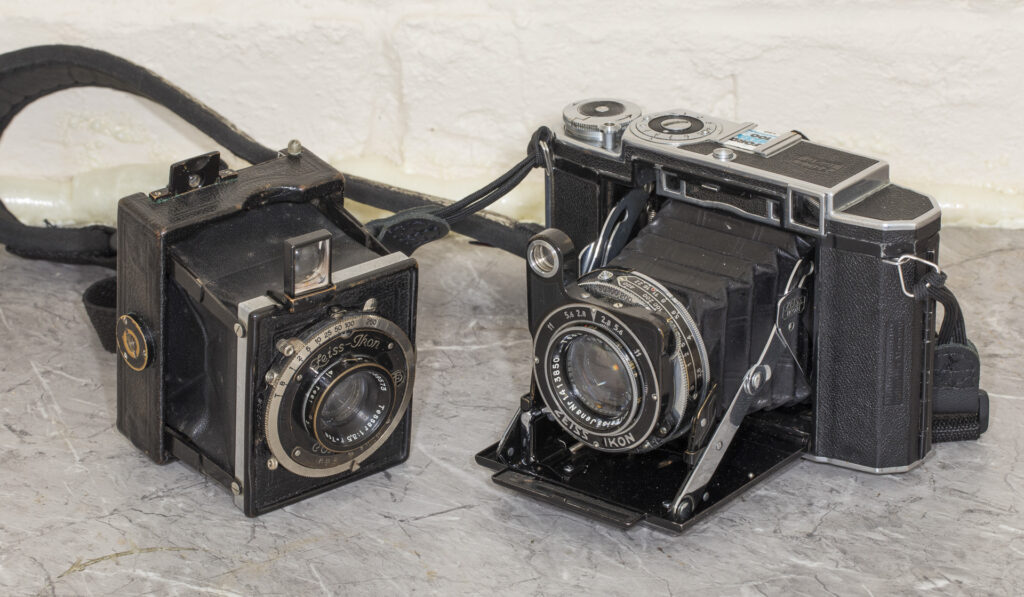
But how was I going to take photos with it in 2026?
From the limited information available it seems only plate holders and a film pack back were made for the smallest Bébé. It is in any case far too small for a roll film back and I am not at all sure sheet film other than in film packs has ever been available this small. Even if sheet film holders were made in 6X4.5 size the Bébé has an unusual mounting for the plate holders and focussing screen. On the bottom short side of the plate holders there is a flange that slots into the camera and then the plate clips onto the camera at the top. Other plate holders in 6X4.5 size turn up occasionally, but they have all been the more conventional type that slide in from the top with flanges on both the long sides.
It took a while before I came up with a plan. I decided glass plates were out as I would either have to make them myself or order a custom size, neither seemed very sensible for a camera which was untested, and it appears 6X4.5 glass plates were quite unusual even when the cameras were being made. Small pieces of cut film looked to be the way to go. I discarded the idea of buying sheet film to cut down as also too expensive for an untested camera, but pieces of 120 film cut across the roll would be almost the correct size. The glass plates were actually 59 x 44 mm so film sheaths (see below) would also be the same size with sheets of film 43mm wide to slide into the sheaths.
Cut Film Sheaths/Holders
In the early part of the 20th century as sheet film became widely available a method of using it in cameras designed for glass plates was desirable. Cut film sheaths are made from thin metal sheets (usually aluminium) folded to hold a sheet of film and to slide into a plate holder in place of the glass negative. In order for the sheath to be the same size as the glass plate the sheet film needs to be slightly smaller than the corresponding glass plate size. The sheaths have a folded back lip top and bottom to match the thickness of the glass, but in order for the sheath to hold the film the emulsion surface will always be a little below that of where the emulsion of the glass negative sits. This potentially leads to focusing errors so the lens has to be stopped down to ensure that there is enough depth of field to still focus on the film. Not really a problem in those days as nobody was daft enough to use lenses wide open anyway. Their use in large format photography declined as dedicated sheet film holders as an alternative to glass plate holders became available in a variety of sizes.
I realised I would have to use a film that lays flat readily, it would need to be cut into pieces across the roll, mounted into film sheaths and those placed in the plate holders. Then after exposure remove it from the sheaths and develop the pieces somehow.
It started to get a bit difficult.
Film sheaths are very hard to come by, and were they ever even manufactured this small? So it looked as if I would have to make them.
How was I going to accurately cut pieces of film and mount them in the film sheaths?
And how was I going to develop the small pieces of film?
It quickly became clear none of this was going to happen in a changing bag, and I didn’t have a darkroom. Even if I did it seemed unlikely it would be possible in complete darkness, small film pieces, sharp knives and all that. Orthochromatic film looked to be the only possibility, Ilford Ortho+ 120 then became the likely medium as I knew it would stay reasonably flat.
So I had to build a darkroom. I was pointed to the nearly derelict outside shed of the house and told to build it in there, next to the outside loo in the alcove where the washing copper was once housed, was still housed actually. So I built it there, it is small, turning around is quite difficult and I still need to sort out ventilation. Not to mention heating.
Then holders for the film. Cut film sheaths probably havn’t been made for 70 or 80 years, most were discarded decades ago and quite possibly 6X4.5cm ones were never made in the first place. I eventually found on Ebay a seller with some Kodak ¼-plate film sheaths which I could use to base my small ones on.
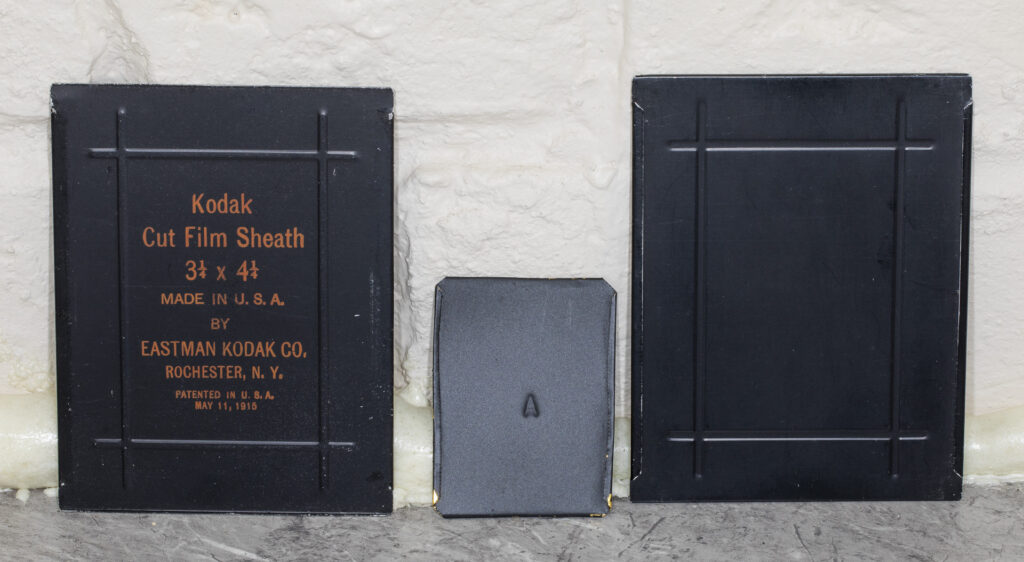
The Kodak sheaths are made from thin aluminium but I decided to use 0.12 mm brass as it is more available and slightly stiffer, flexibility is probably not a problem anyway with these small sheaths but I wasn’t going to be able to replicate the stiffening ribs of the Kodak ones if it proved necessary. I found there is little margin for error in the folding of the sheaths, just a tiny bit out and they either won’t hold in properly, or will not go in the plate holders at all. I had hoped to make sheaths 61mm high to take the full width of 120 film. But no chance, these are Zeiss Ikon plate holders and it is 59mm or nothing. As anyone who has worked with a Zeiss Ikon camera will know tolerances are tight. Eventually I made 4 sheaths that work well and another 2 or 3 that work with careful handling. And I have a lot of discarded pieces of brass sheet.
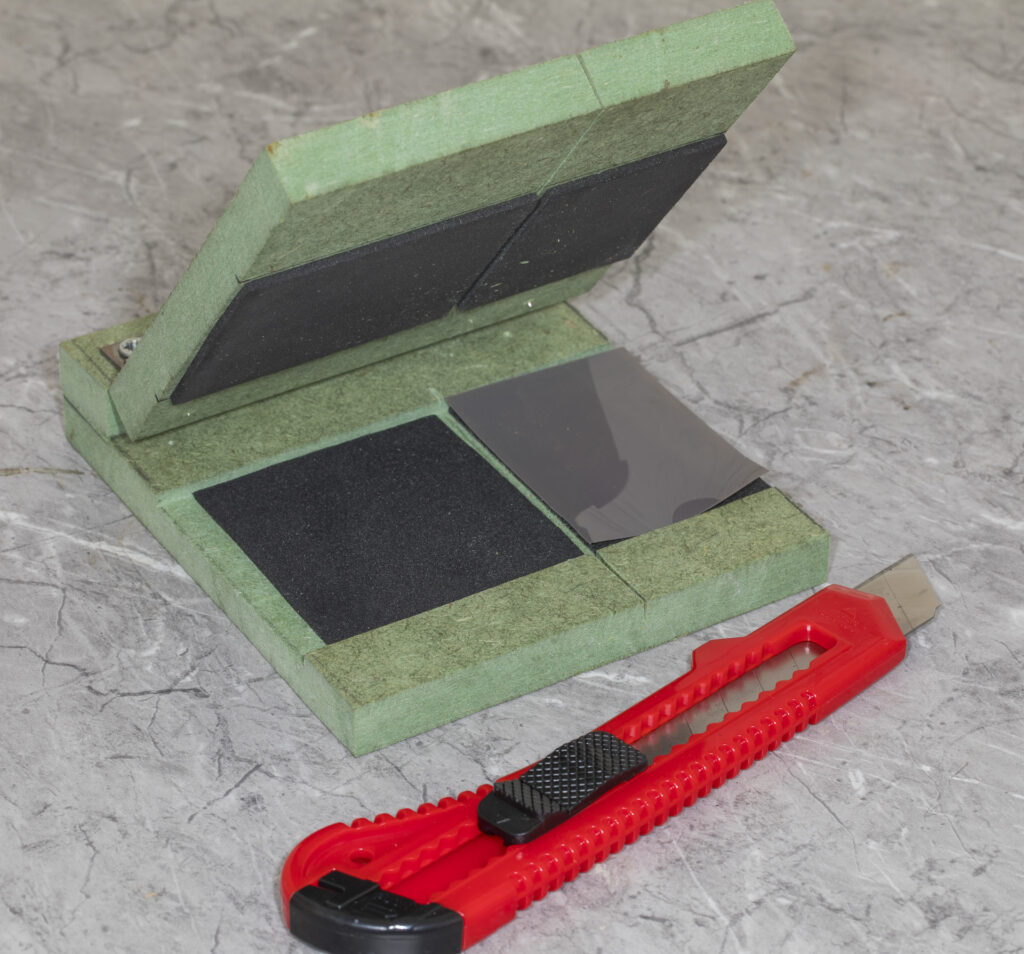
Next up a way to cut the film.
I needed to make straight parallel cuts at 90 degrees to the film edge and 43mm apart with no more than 0.5mm error. I came up with this cutting jig. The film lies in the channel and is held down by light seal foam above and below when the top piece is hinged down. If the end of the film is at the end of the jig when a knife is run through the slot a piece 43mm wide will be cut off. It works well often enough to not be too wasteful. I then slide the piece into the sheath and trim to size with a pair of scissors.
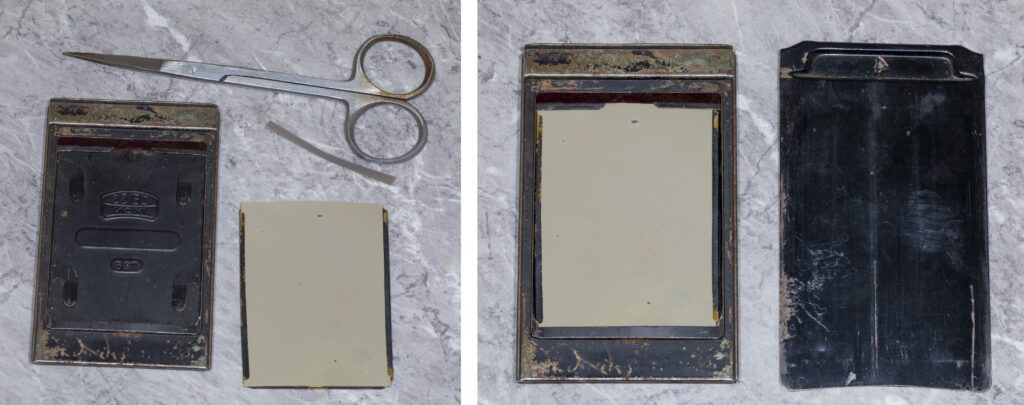
Developing became the next issue. In a tray under a safelight was my first idea, but a bit of experimentation showed small pieces of 120 film were really too light for tray development and had a habit of clumping together anyway. Developing one at a time seemed to be an unnecessary faff. I toyed with the idea of using or modifying a reel, one idea I came up with was using a reel set for 127 film, the 43mm width of the pieces is roughly that of 127 film. So would they slide into a 127 reel? Yes they do is the answer but they won’t stay in place.
Just as I was running out of ideas this appeared on Ebay:
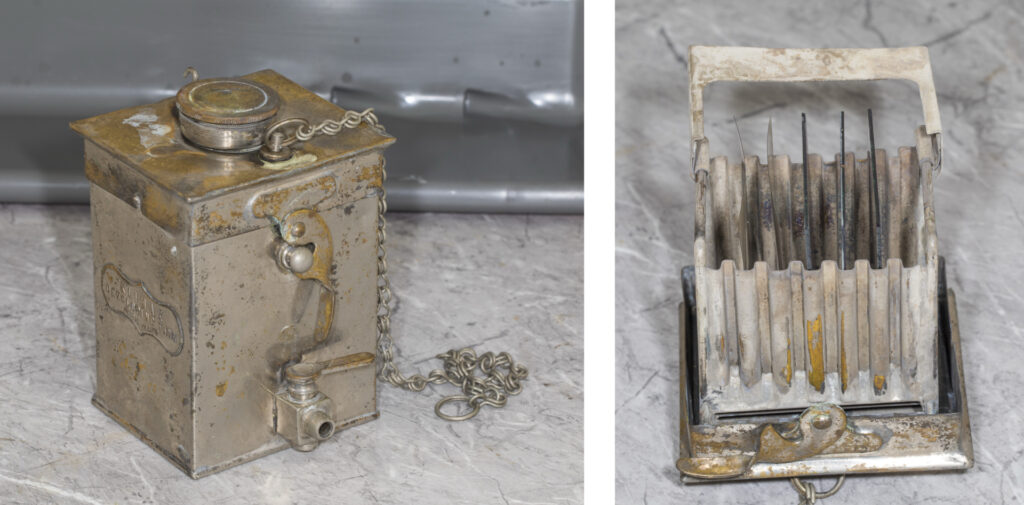
It is a Butchers Klimax developing tank for ‘glass plates and sheet film’, the last part is how an original advert described the range of Klimax tanks, which went up to at least ½-plate size. This one looked to be roughly the size I was looking for and an internet search revealed that Butchers had indeed made them for 6X4.5cm, as fortunately this one turned out to be. So £12 bought me a working period developing tank, but it would have been useful if the size had been marked on the outside, and also a note of the volume of liquid required for that matter (it is roughly 300ml, so probably 10 fluid ounces or 284ml). The only drawback is that it takes over 2 minutes to drain the liquid through the tap at the bottom, not good for developing evenly. I find turning it upside down over a large jug and emptying it through the lid is the only way.
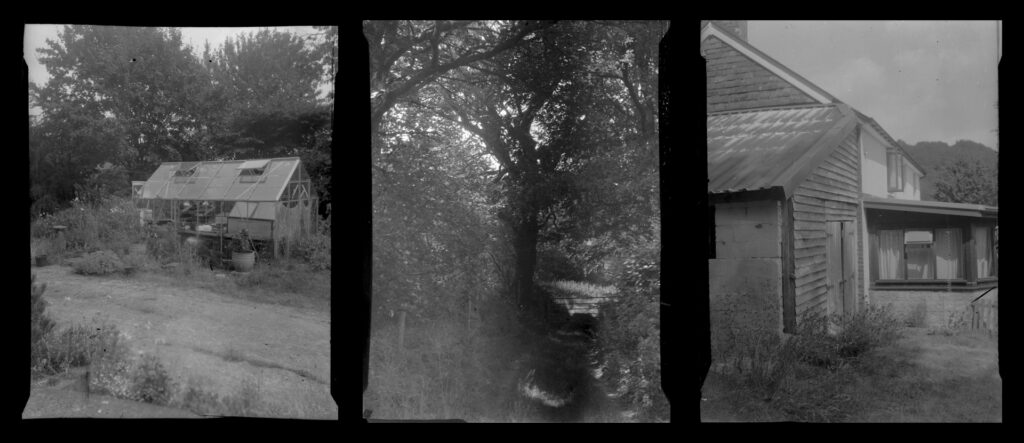
One day after several months of planning and building I suddenly realised that I had done everything needed and would now need to actually put it to use. I cut film, loaded pieces into the sheaths and then sheaths into the plate holders. I stepped outside and took 3 images in quick succession, went back into the darkroom loaded the Klimax tank and developed the film pieces. I did have the presence of mind to include a piece of film that had not been outside the darkroom so I could narrow down any failure points. To my surprise I lifted out of the tank 3 acceptable negatives. The middle one has some uneven development which I think is due to the slightly curved film pieces touching in the middle. Since then I have loaded the film pieces in pairs with emulsion side out and with a gap between the pairs, and have not had the same trouble.
So having proved the camera and everything worked I took some more photos, a few around the garden to practice and then on a day in Machynlleth I took 4 plate holders loaded with film. Presented here as they came out, dust, scratches and fingerprints included. Handling small pieces of film is fiddly with plenty of opportunity to damage the emulsion, and developing in a 100 year old metal tank doesn’t help. The negatives look like they have been in a drawer since 1930. Which I think has a certain charm.
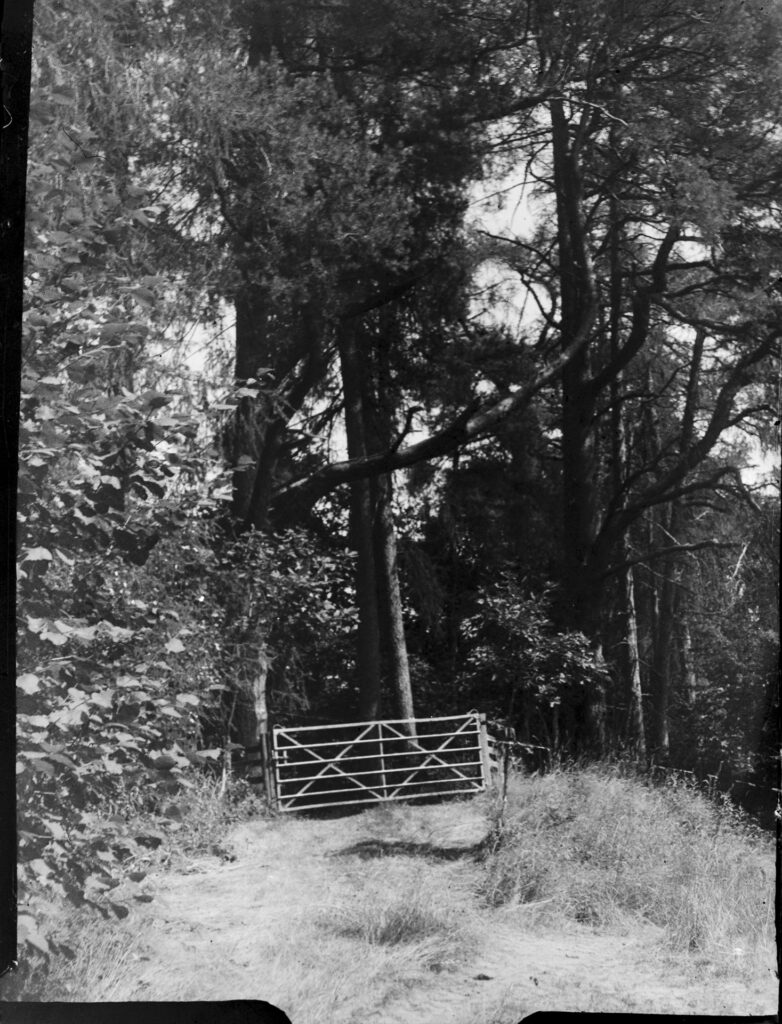
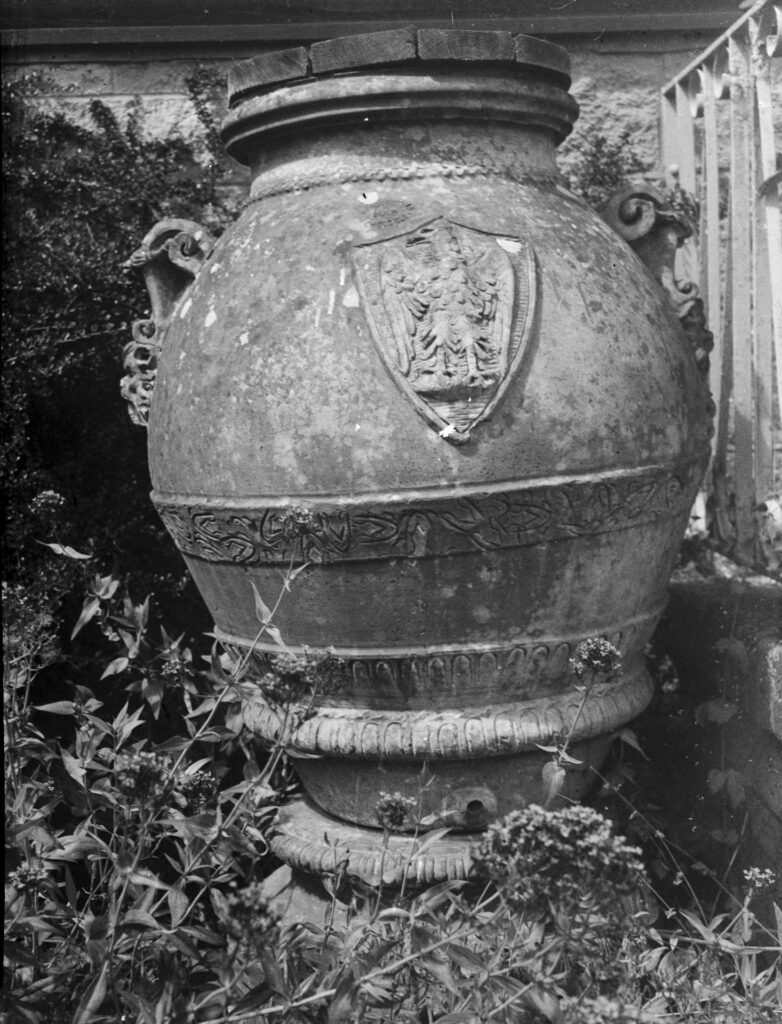
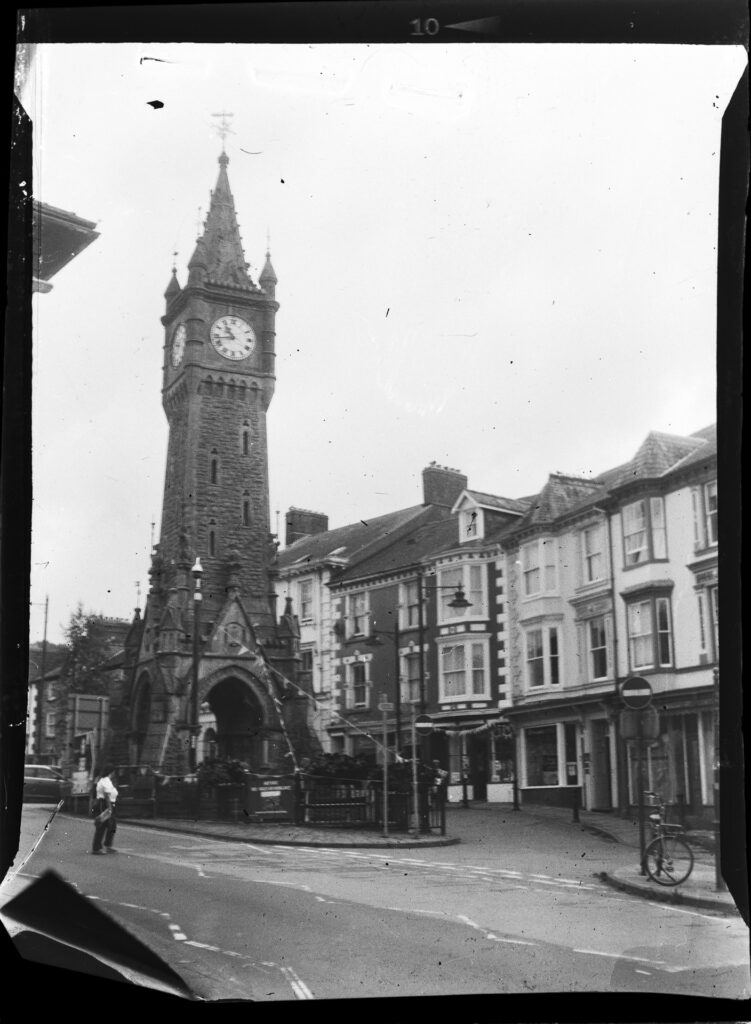
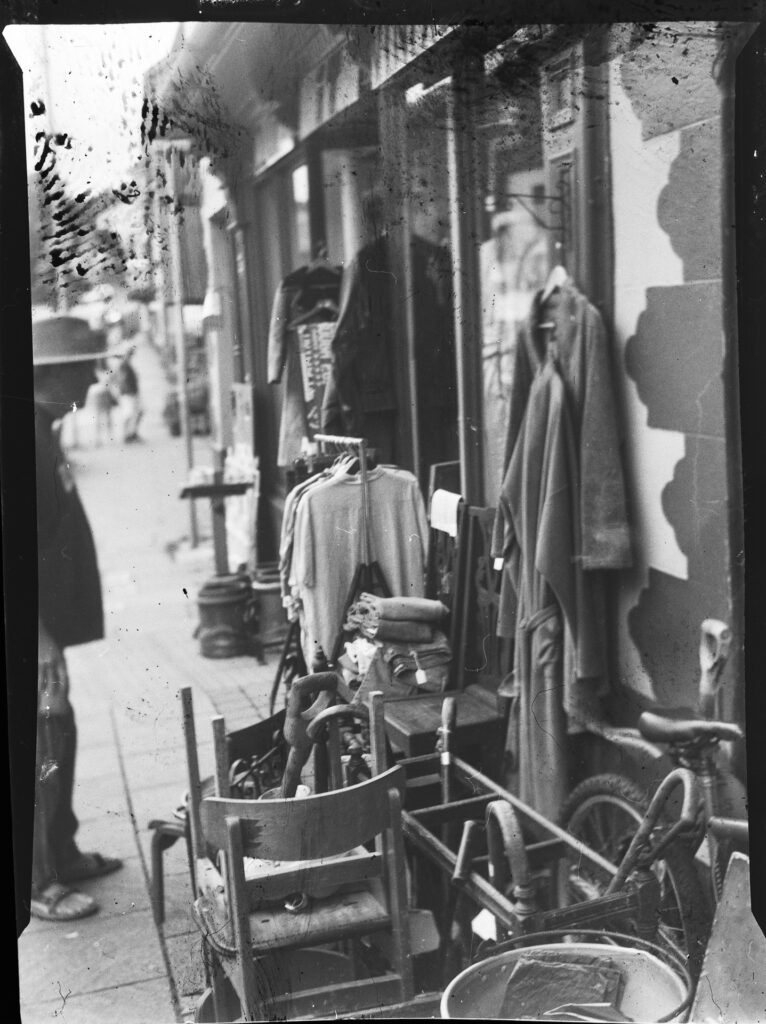
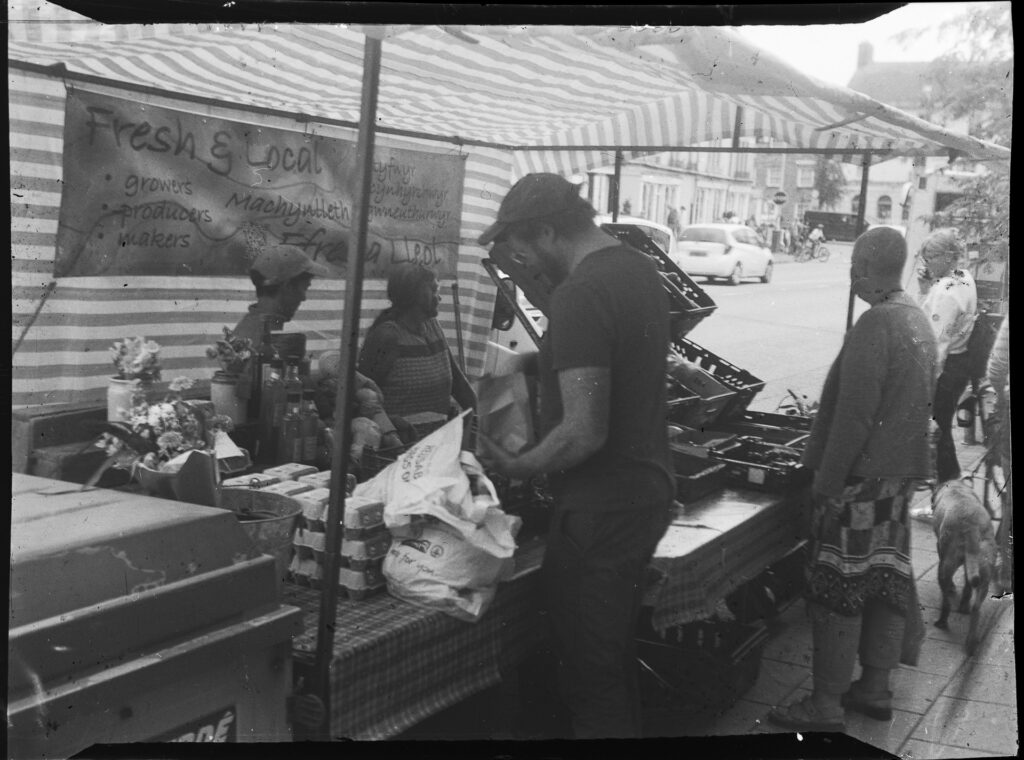
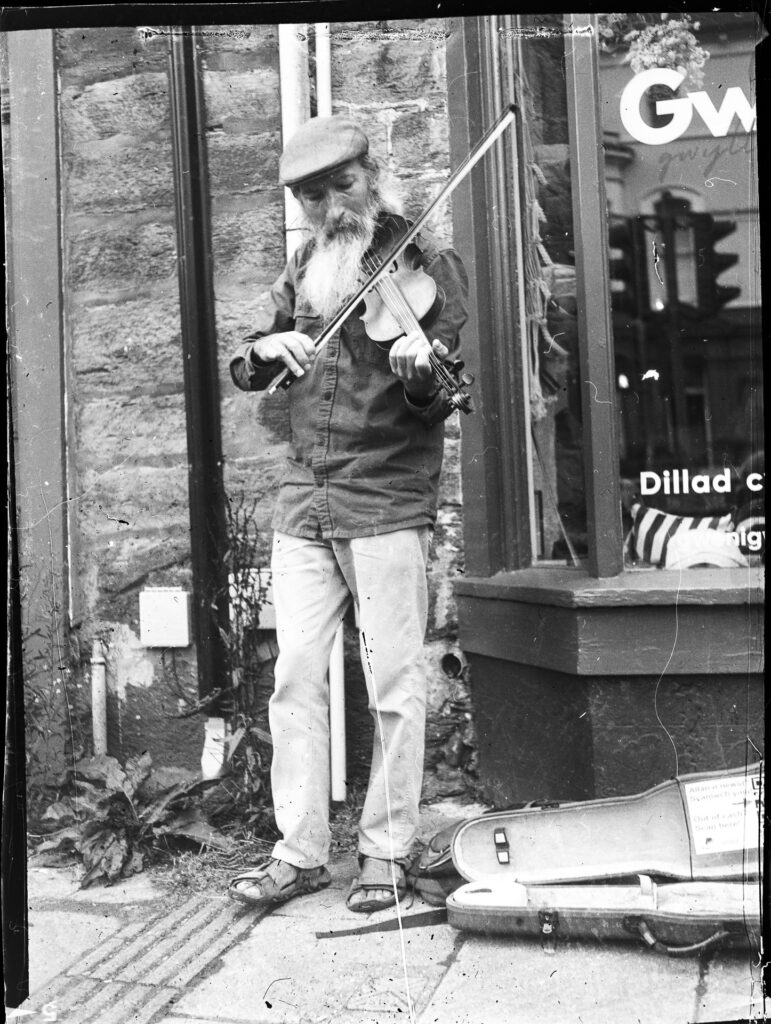
I need to decide on the next step, I do now have some sheet film for another project, but cutting accurately might be an issue. So I think changes to the way I am using the camera will have to wait until I can find or make some glass negatives.
Share this post:

Comments
No comments found