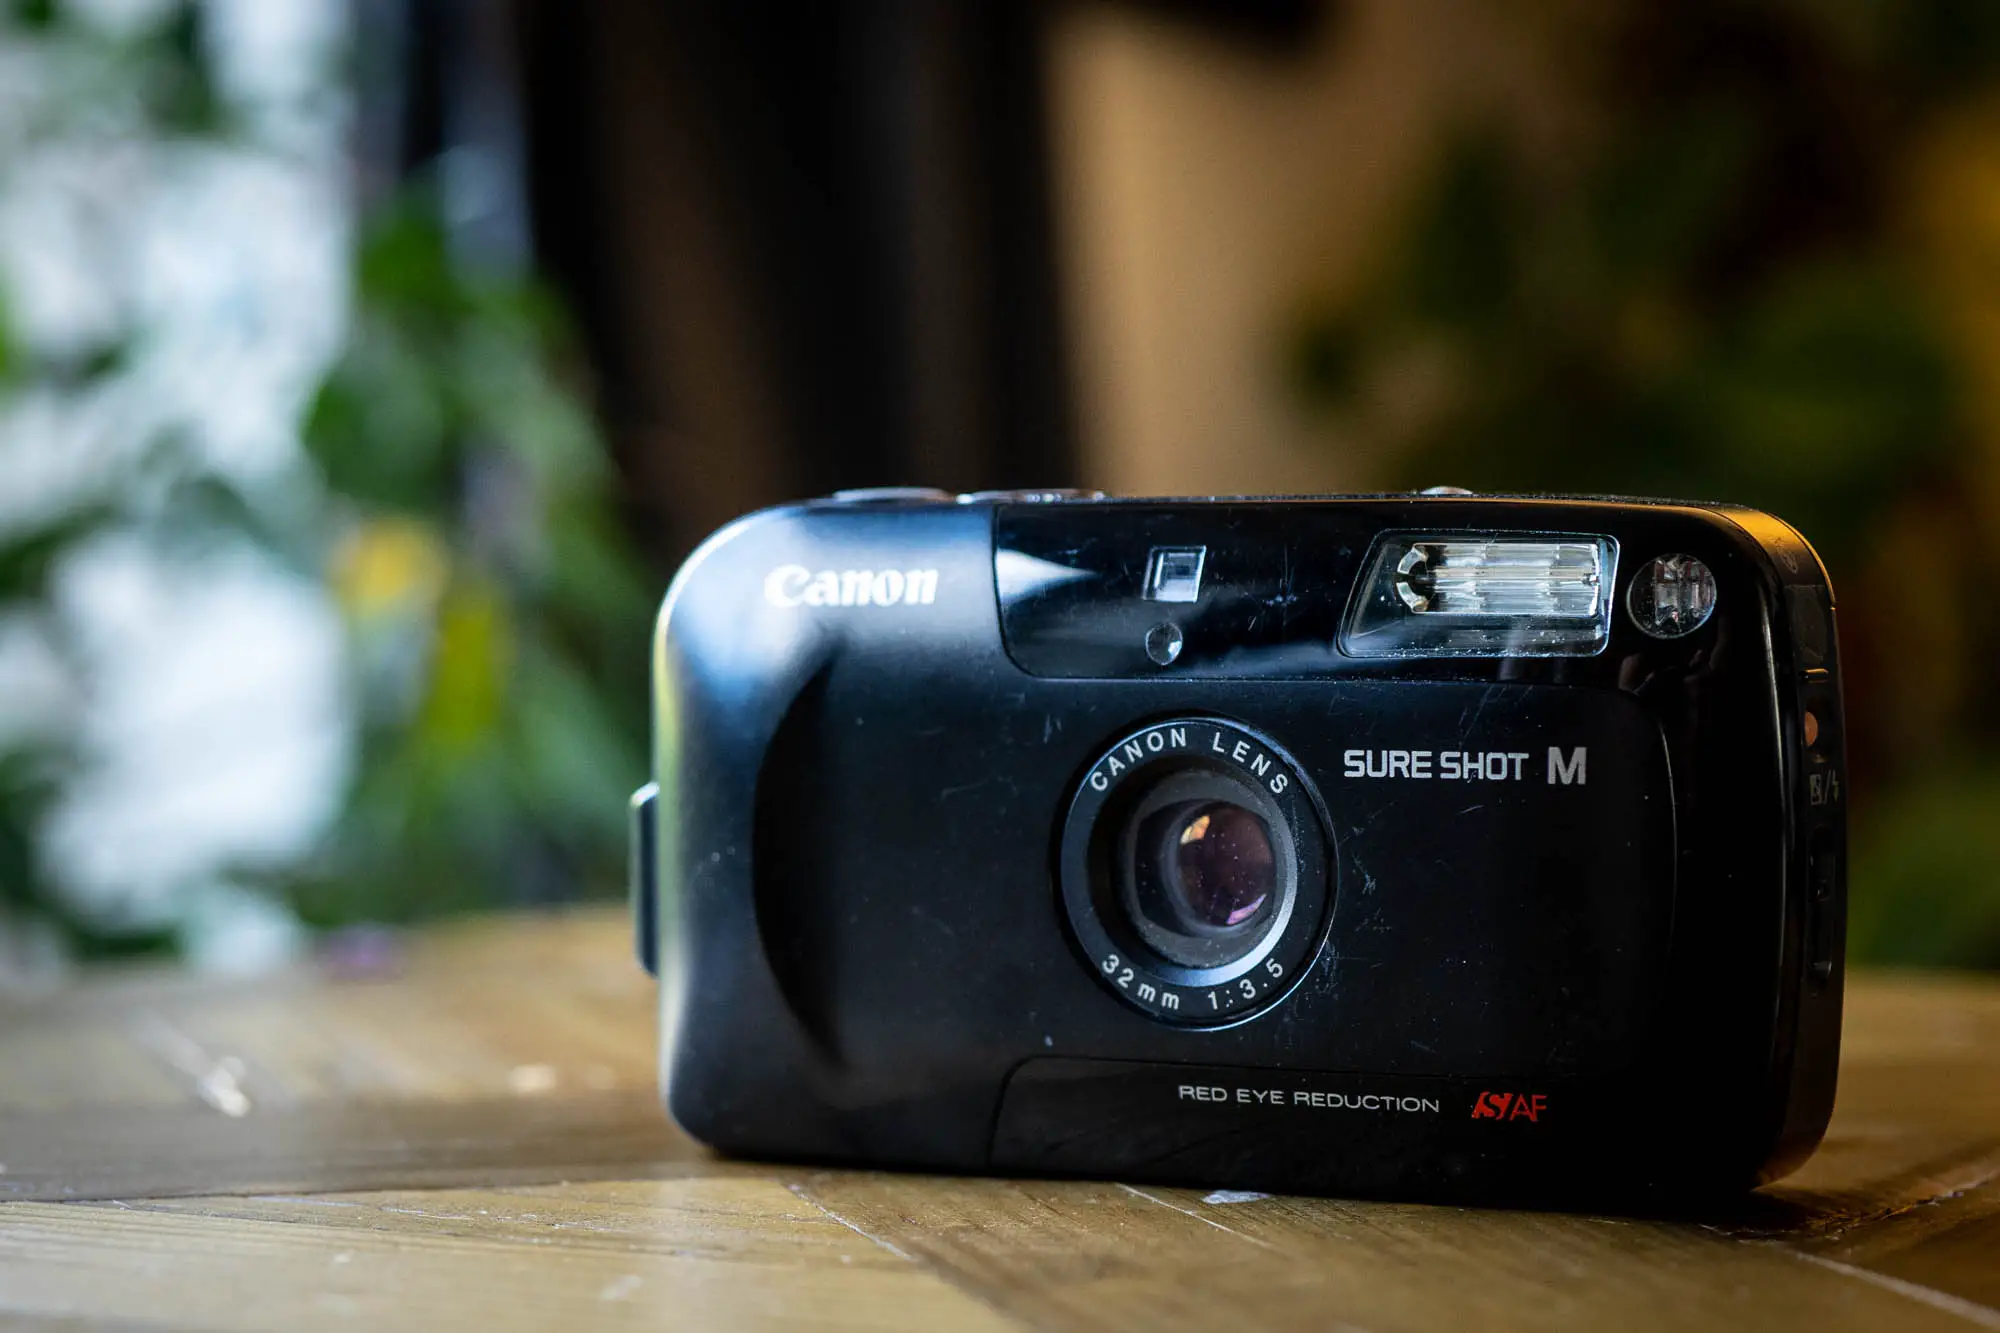
Just before Christmas I spotted a rather injured looking Canon Sure Shot M (otherwise known as the Canon Prima Mini) in a second hand shop in town. I’ve looked at these cameras a few times – mostly because they look good and are quite small. This one didn’t look as nice to be fair, but it was only £5, so I thought it worth a punt. As it turns out, it’s knackered nature would make it the perfect candidate for modifying/hacking it so it would never automatically flash.
The Canon Sure Shot M is quite a smartly designed camera, in my opinion – at least for the way it looks. They did a black and white bodied one that also looks good, but I prefer the full black one I have here. It’s quite similar in features to the Sure Shot Sleek (/Prima Mini II) which superseded it- a camera Charles Higham reviewed here. The key difference is that unlike the Sleek which allows the camera to be easily switched on into a flash-off mode, the Sure Shot M flash is controlled by two flash mode buttons on the side.
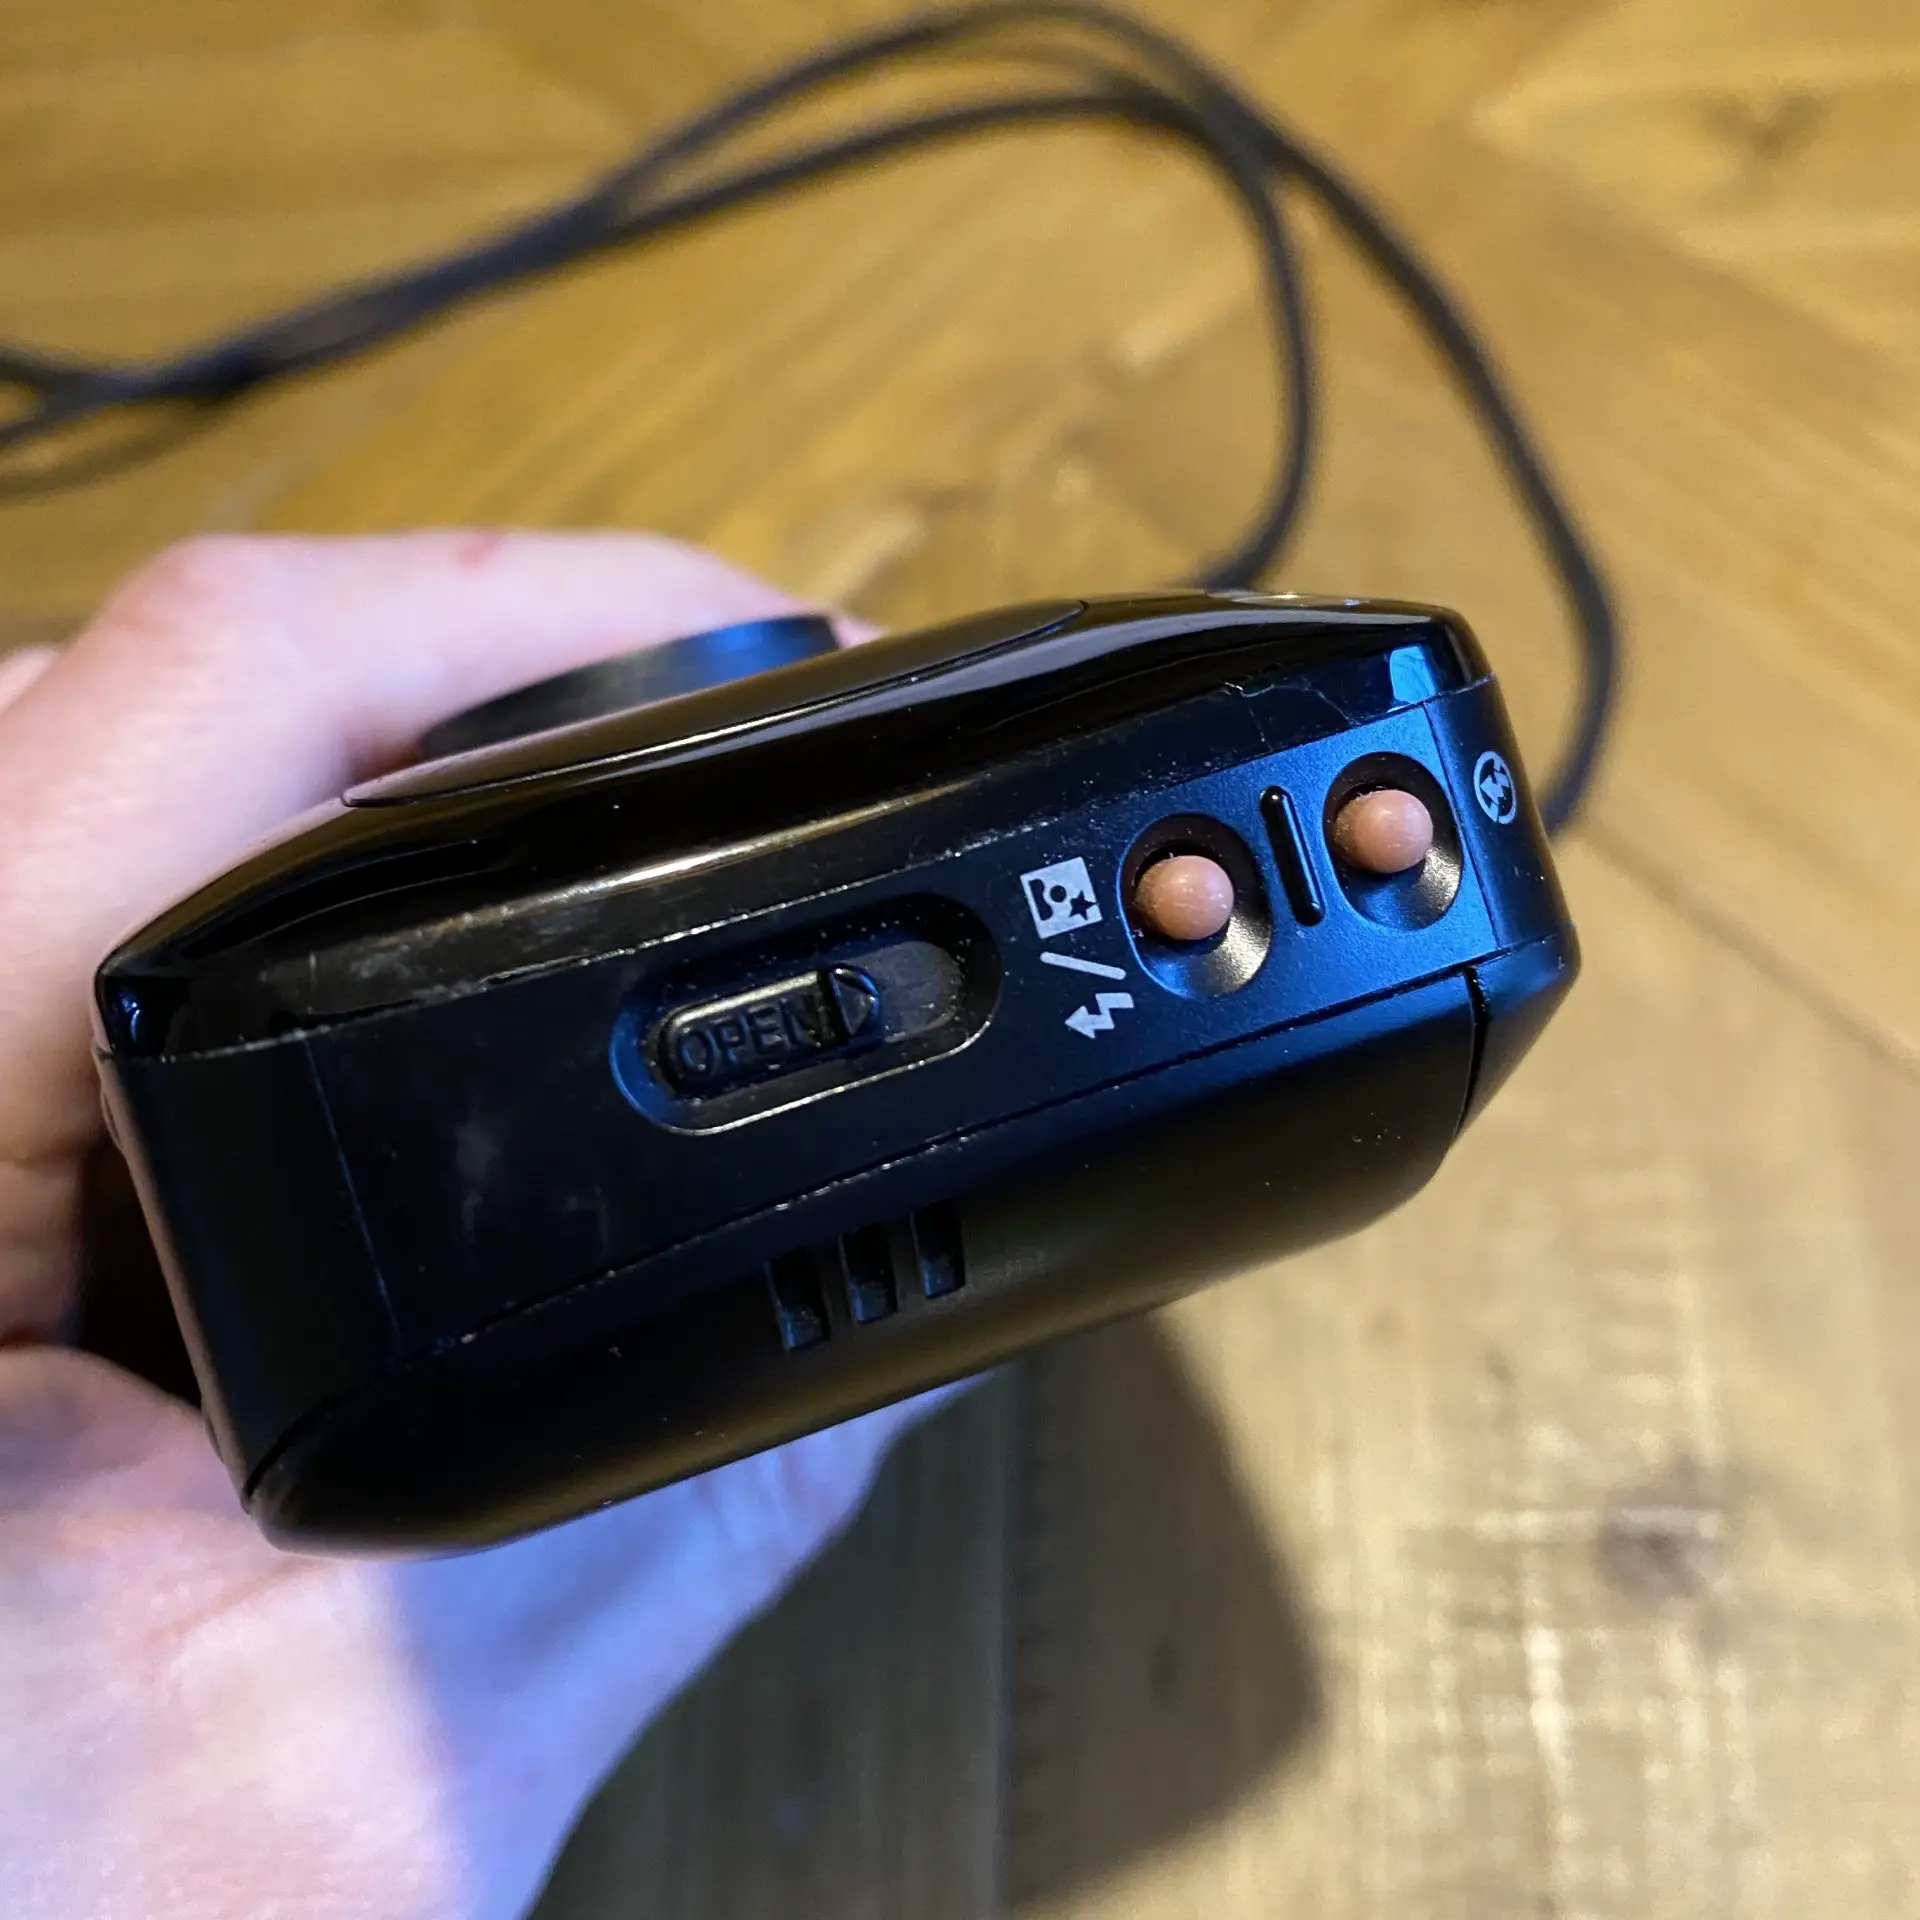
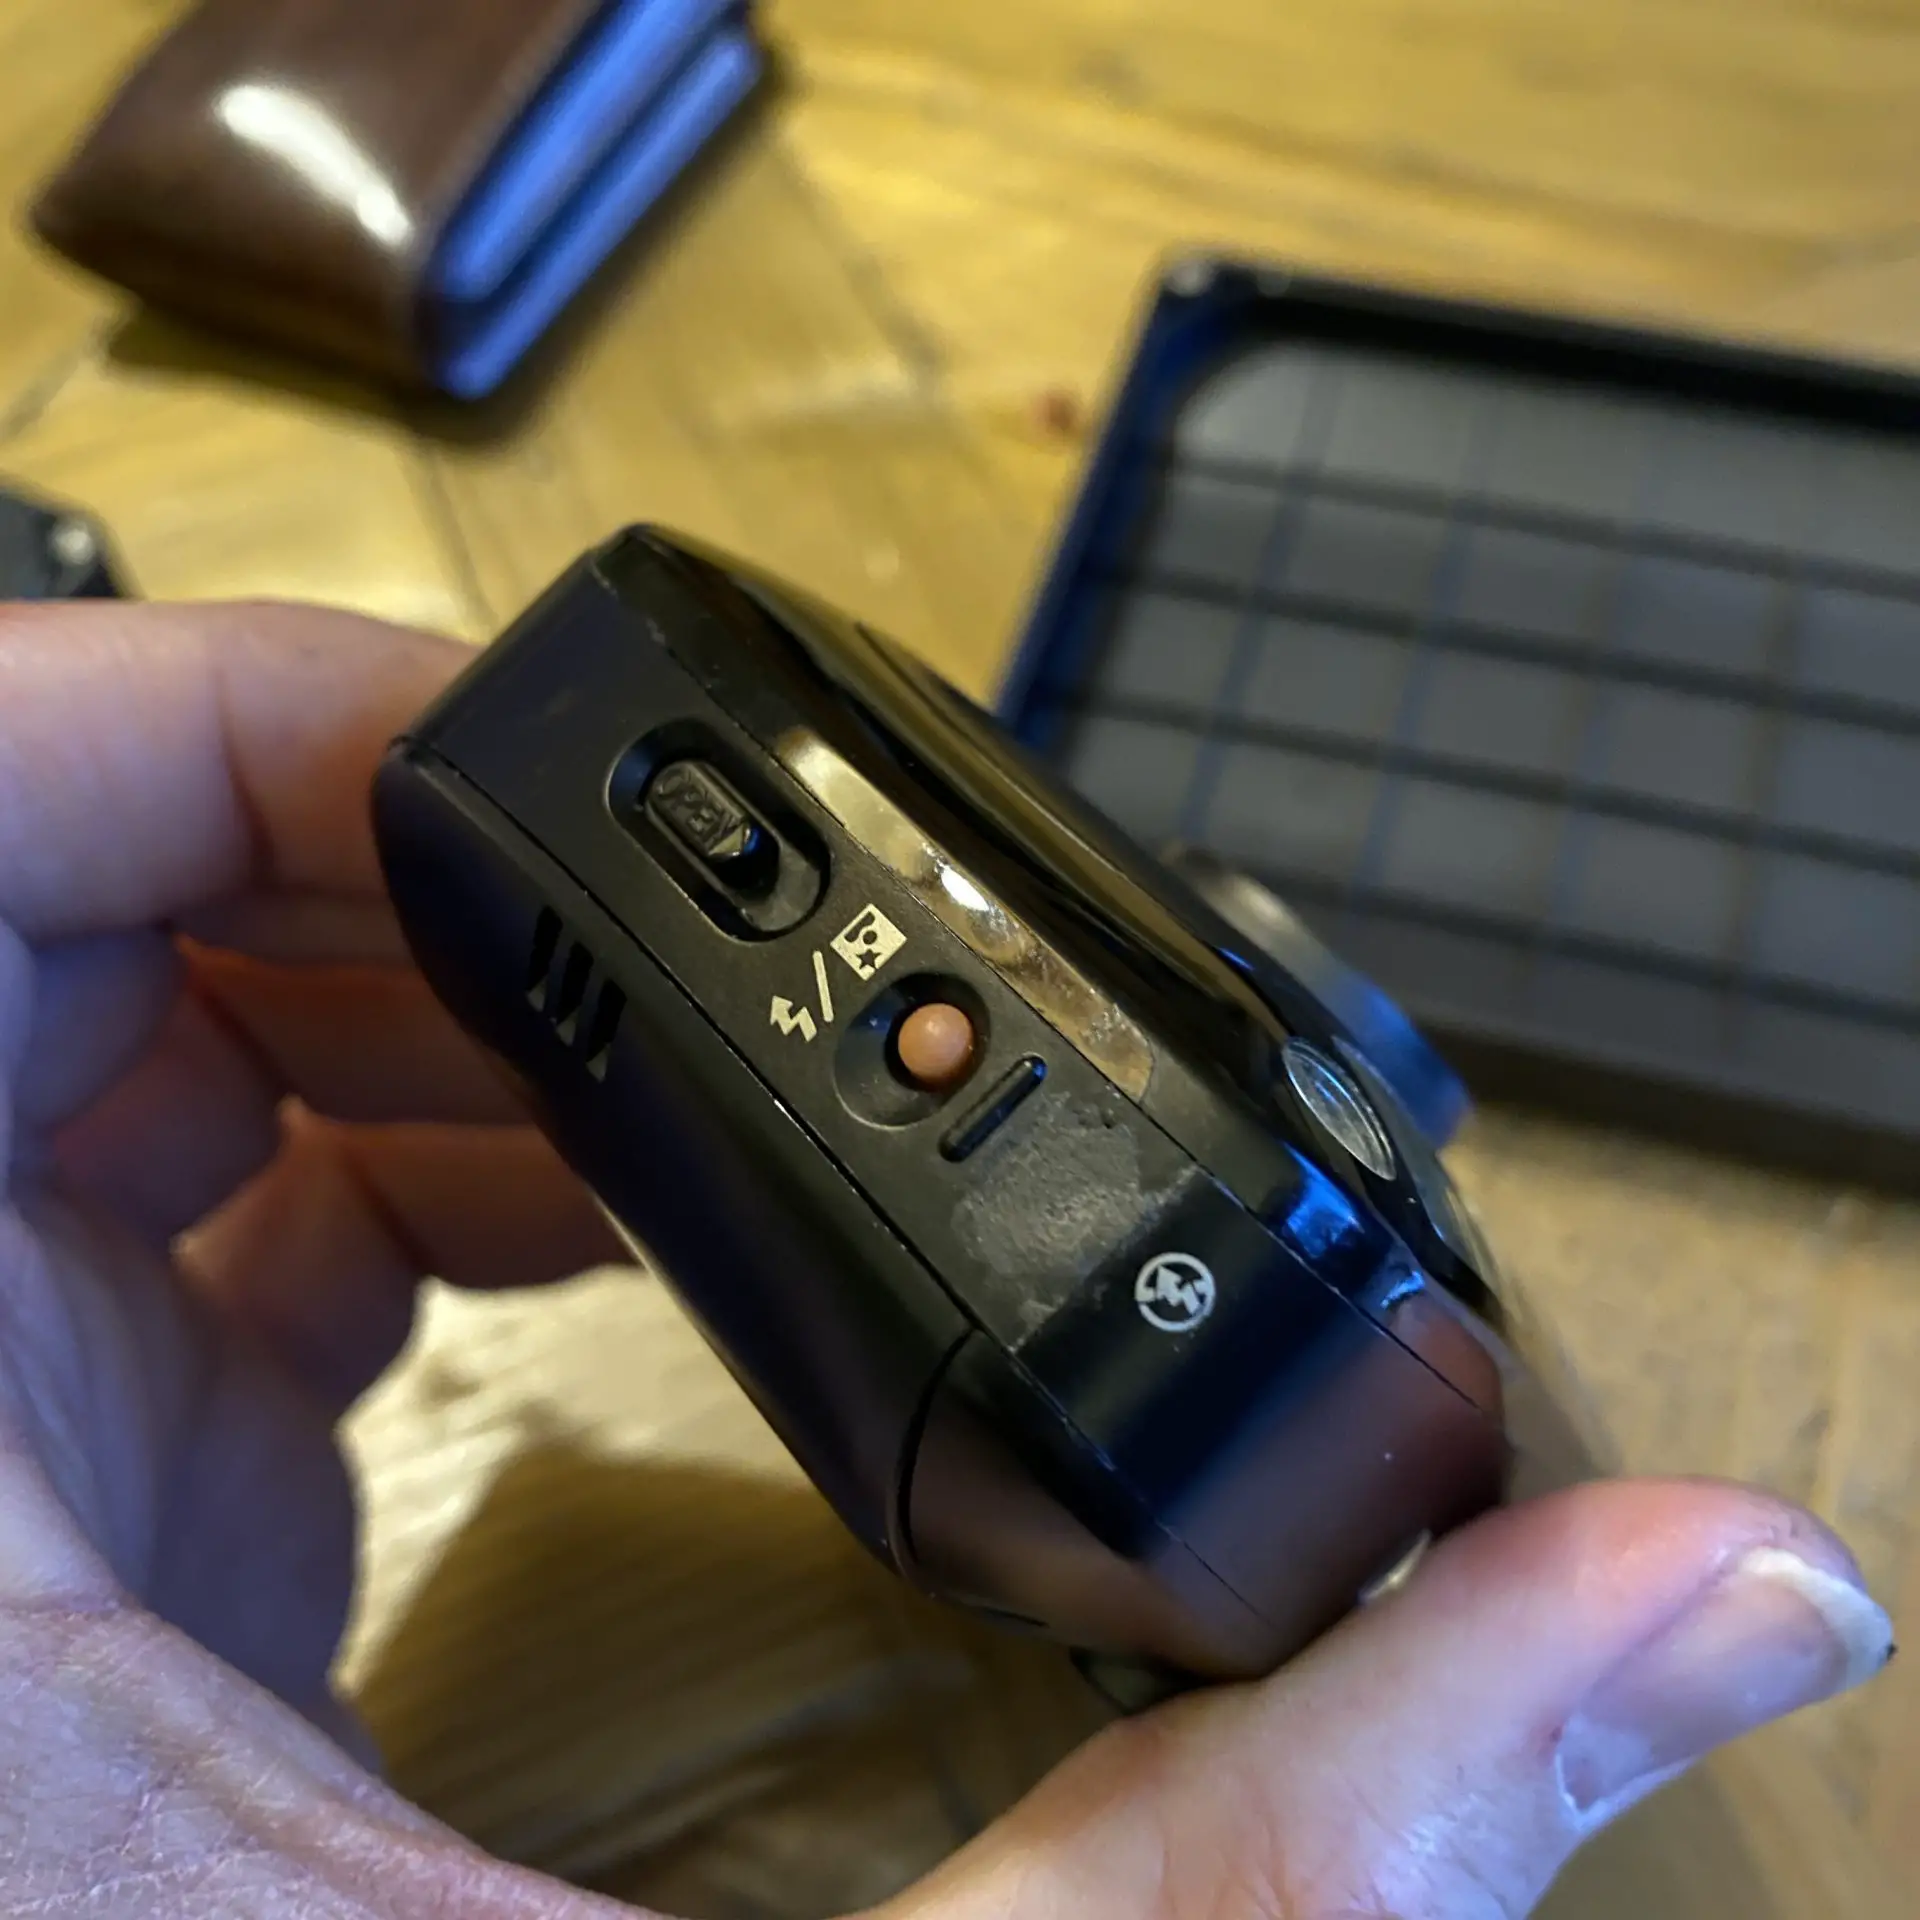
If you press neither button, the Sure Shot M remains in auto flash mode. Press and hold the top one and the flash is overridden and won’t fire regardless of circumstance with a minimum shutter speed of 2 seconds. Press and hold the bottom one and the flash fires in slow sync mode. Other than these flash modes, it just has a self timer, an on off switch and a shutter button.
It also has a fairly useful single green LED by the viewfinder that gives – for a single LED – uncommonly useful information. Half press the shutter button and it doesn’t light, the camera hasn’t got focus. Half press and it blinks very quickly and the light is too low for it to fire without the flash. Half press and it lights up and it has found focus and the light is adequate for it to shoot without flash and it has focus.
That flash blinking, combined with the default auto-flash state tells you it’s going to flash if you don’t override it with the auto-flash override button. This of course gives you the choice in these moments to just fire the camera, or kill the flash with a button press. In short, it’s a really nice and simple camera to use with a fairly intuitive user interface
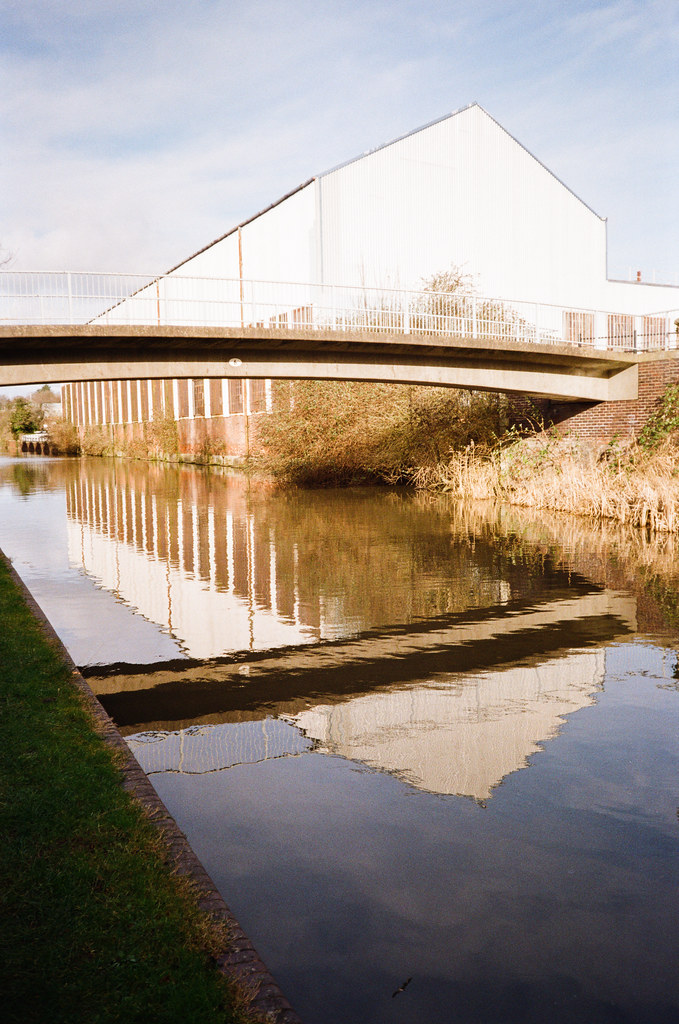
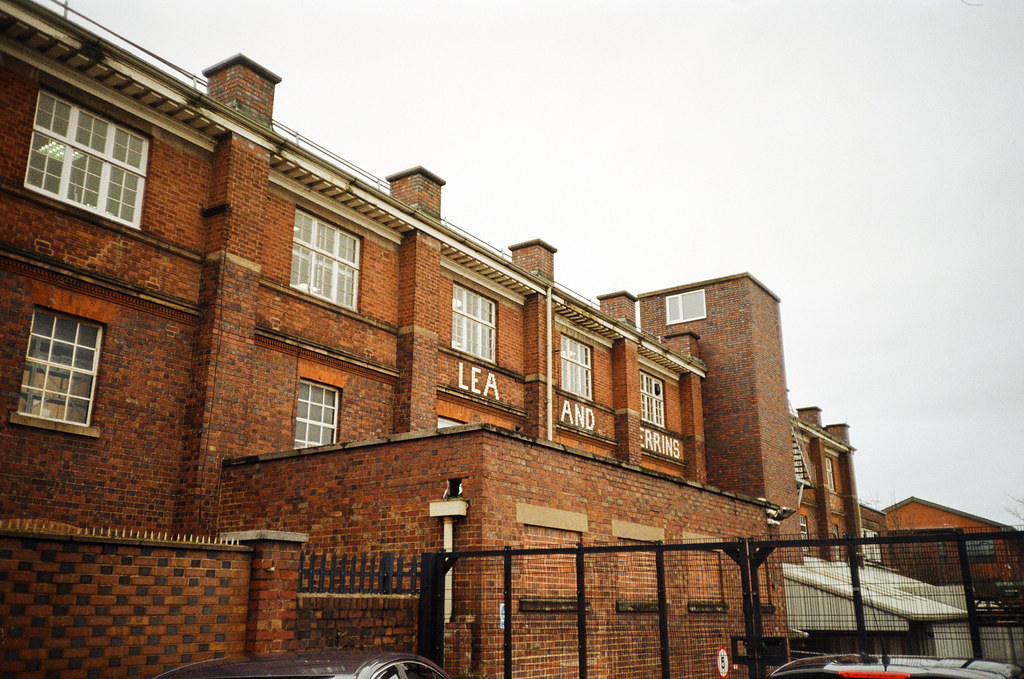
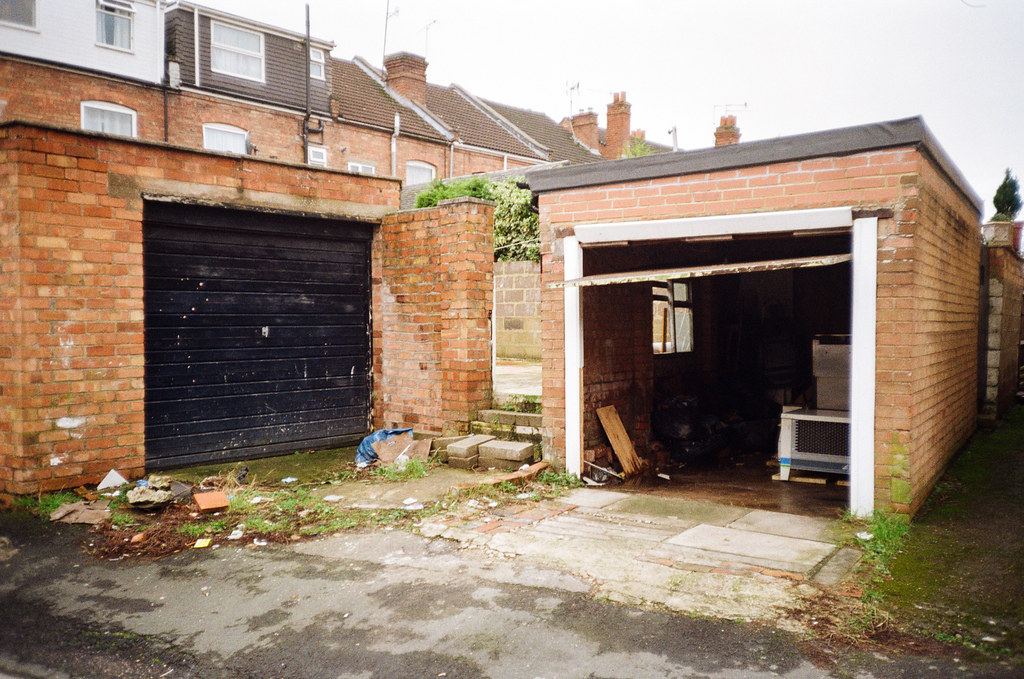
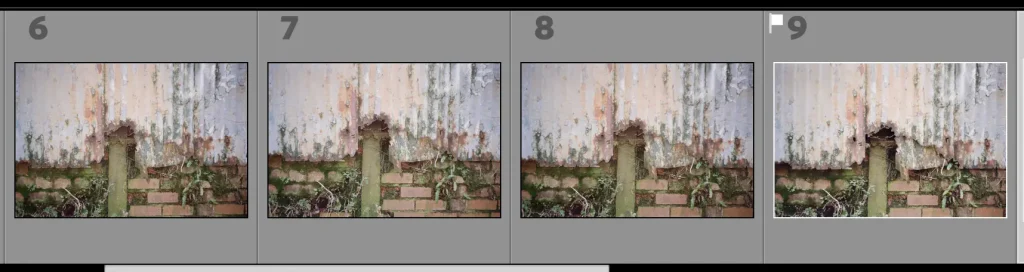
Like the Sleek, it also has a pretty decent 32mm f/3.5 lens. These were taken with Kodak ColorPlus 200

There’s also a pretty decent comparative review with the Olympus mju over on EMULSIVE here if you would like some deeper insight into the camera and it’s abilities.
For what it’s worth, rather than talk to much more about the Canon Sure Shot M, I thought I would show you what I have done to, shall we say “improve” the one I picked up…
A Broken Sure Shot M
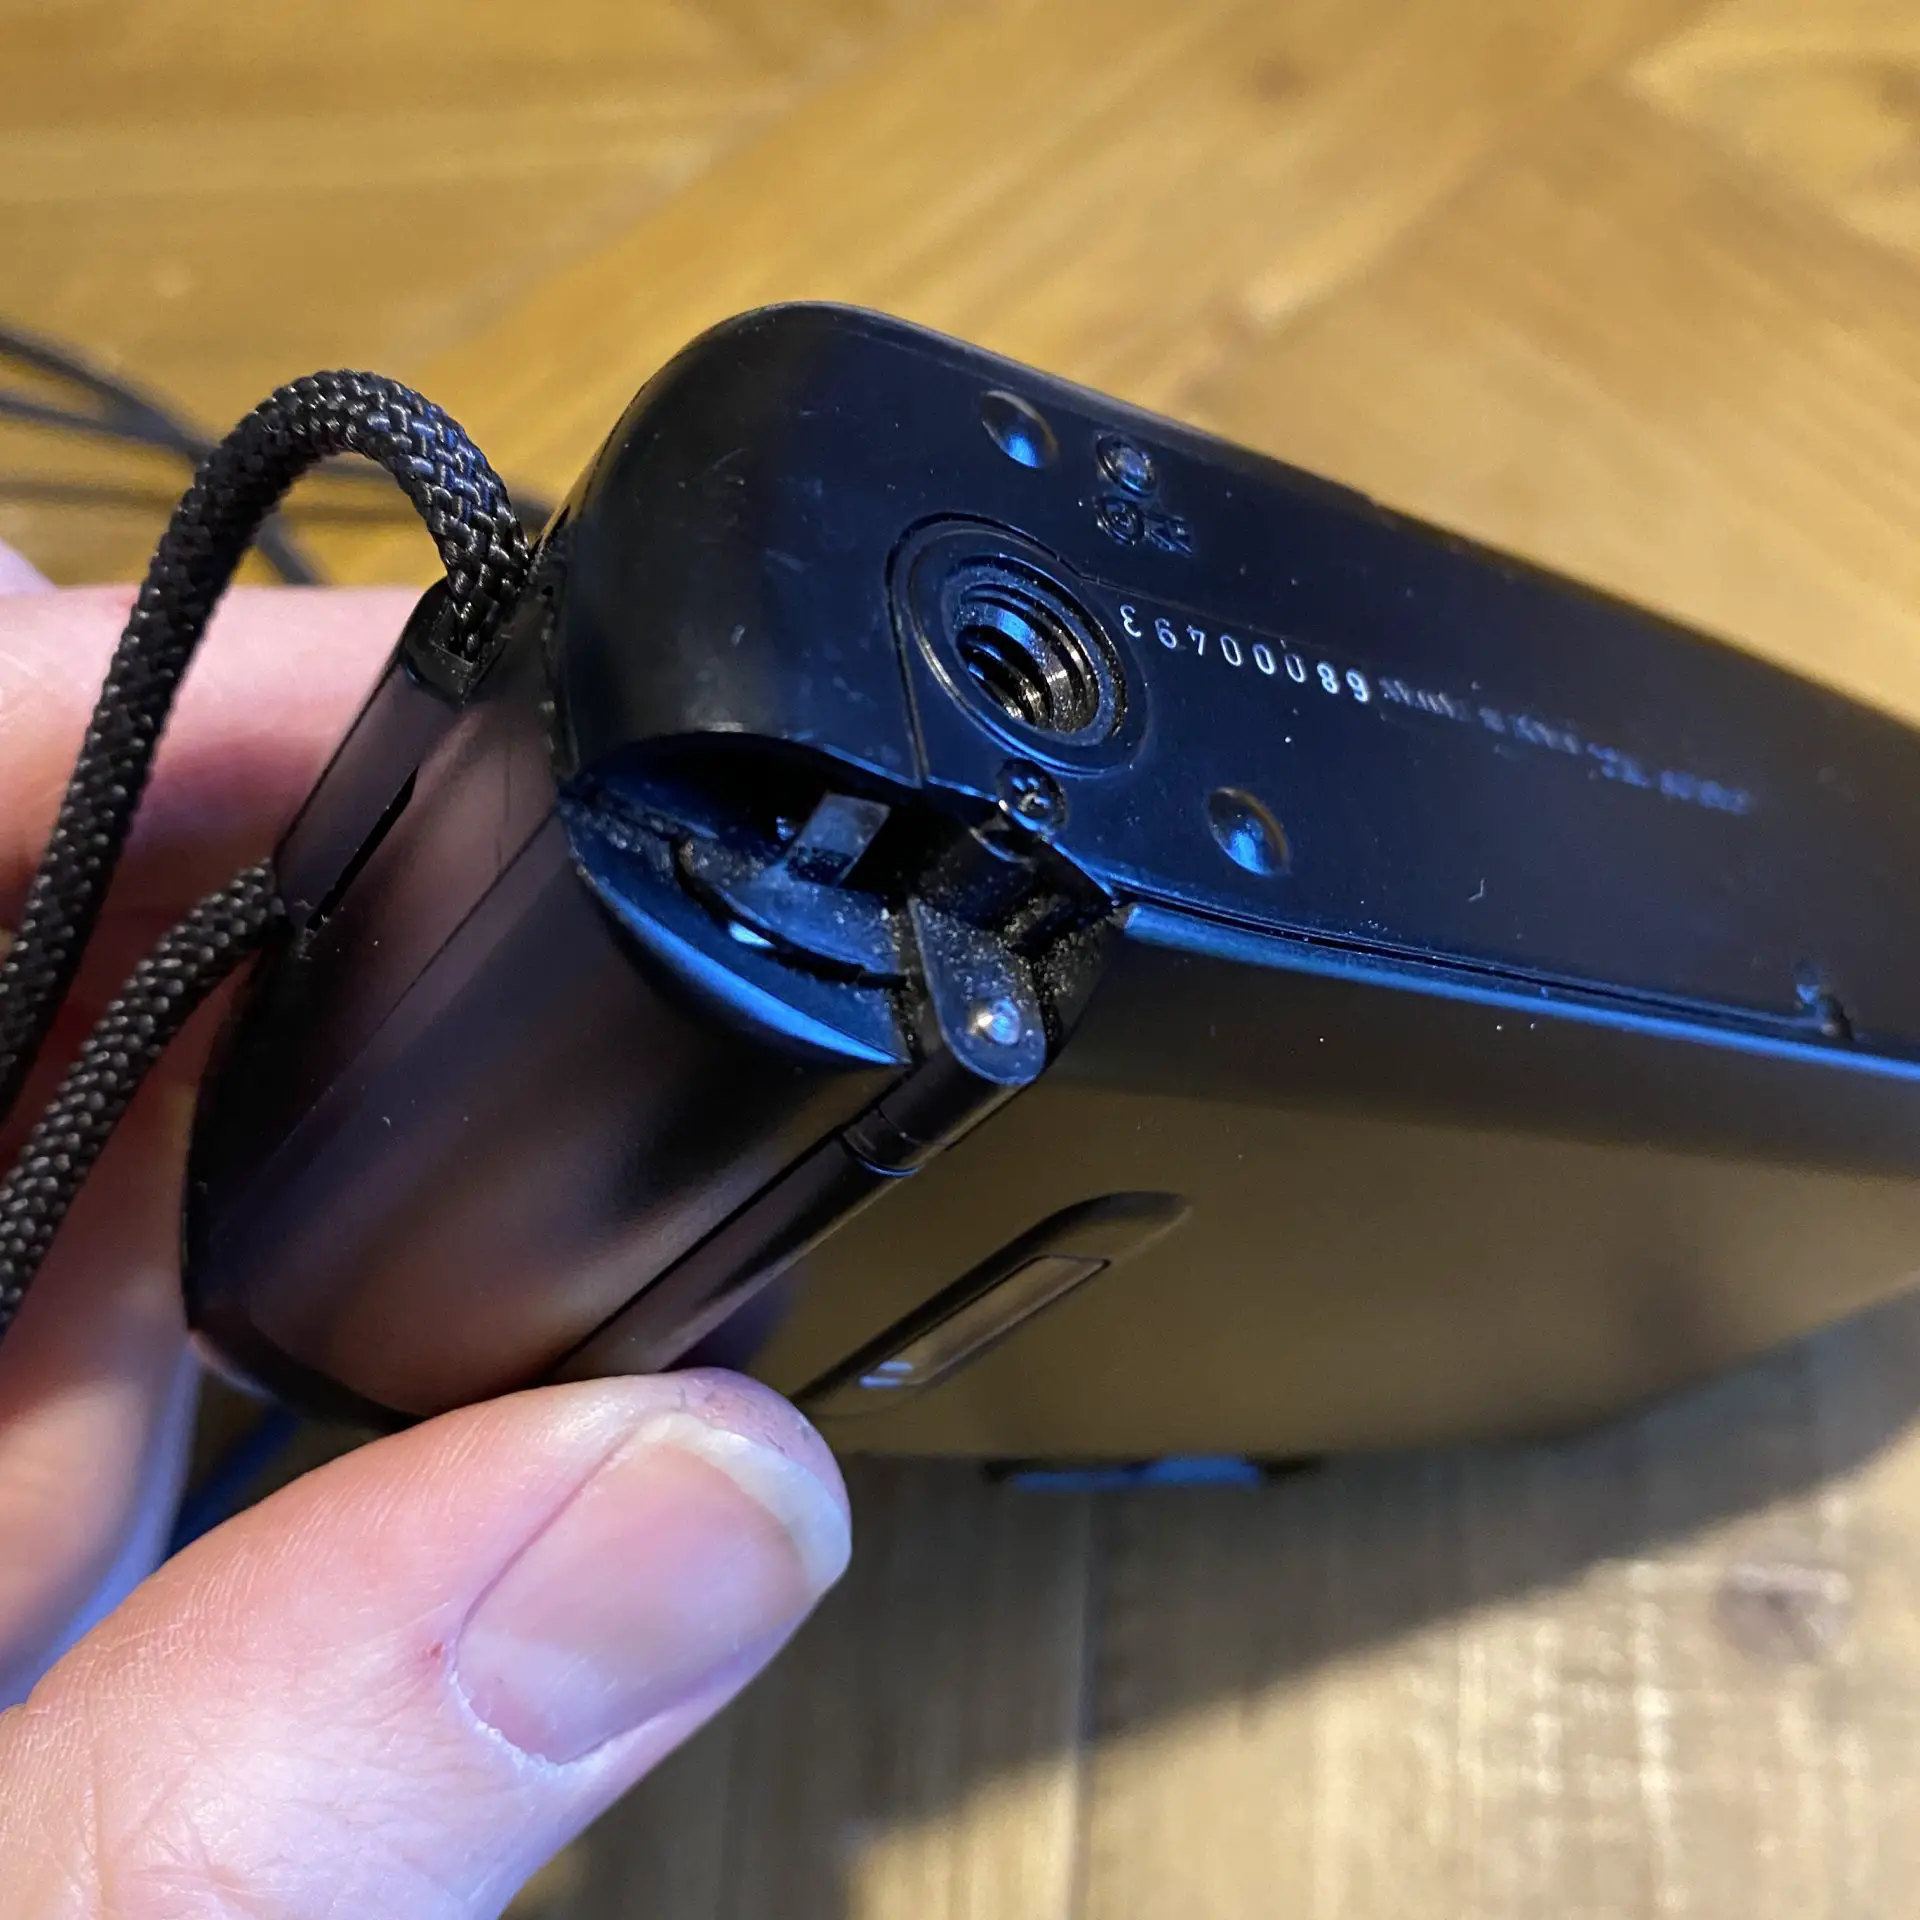
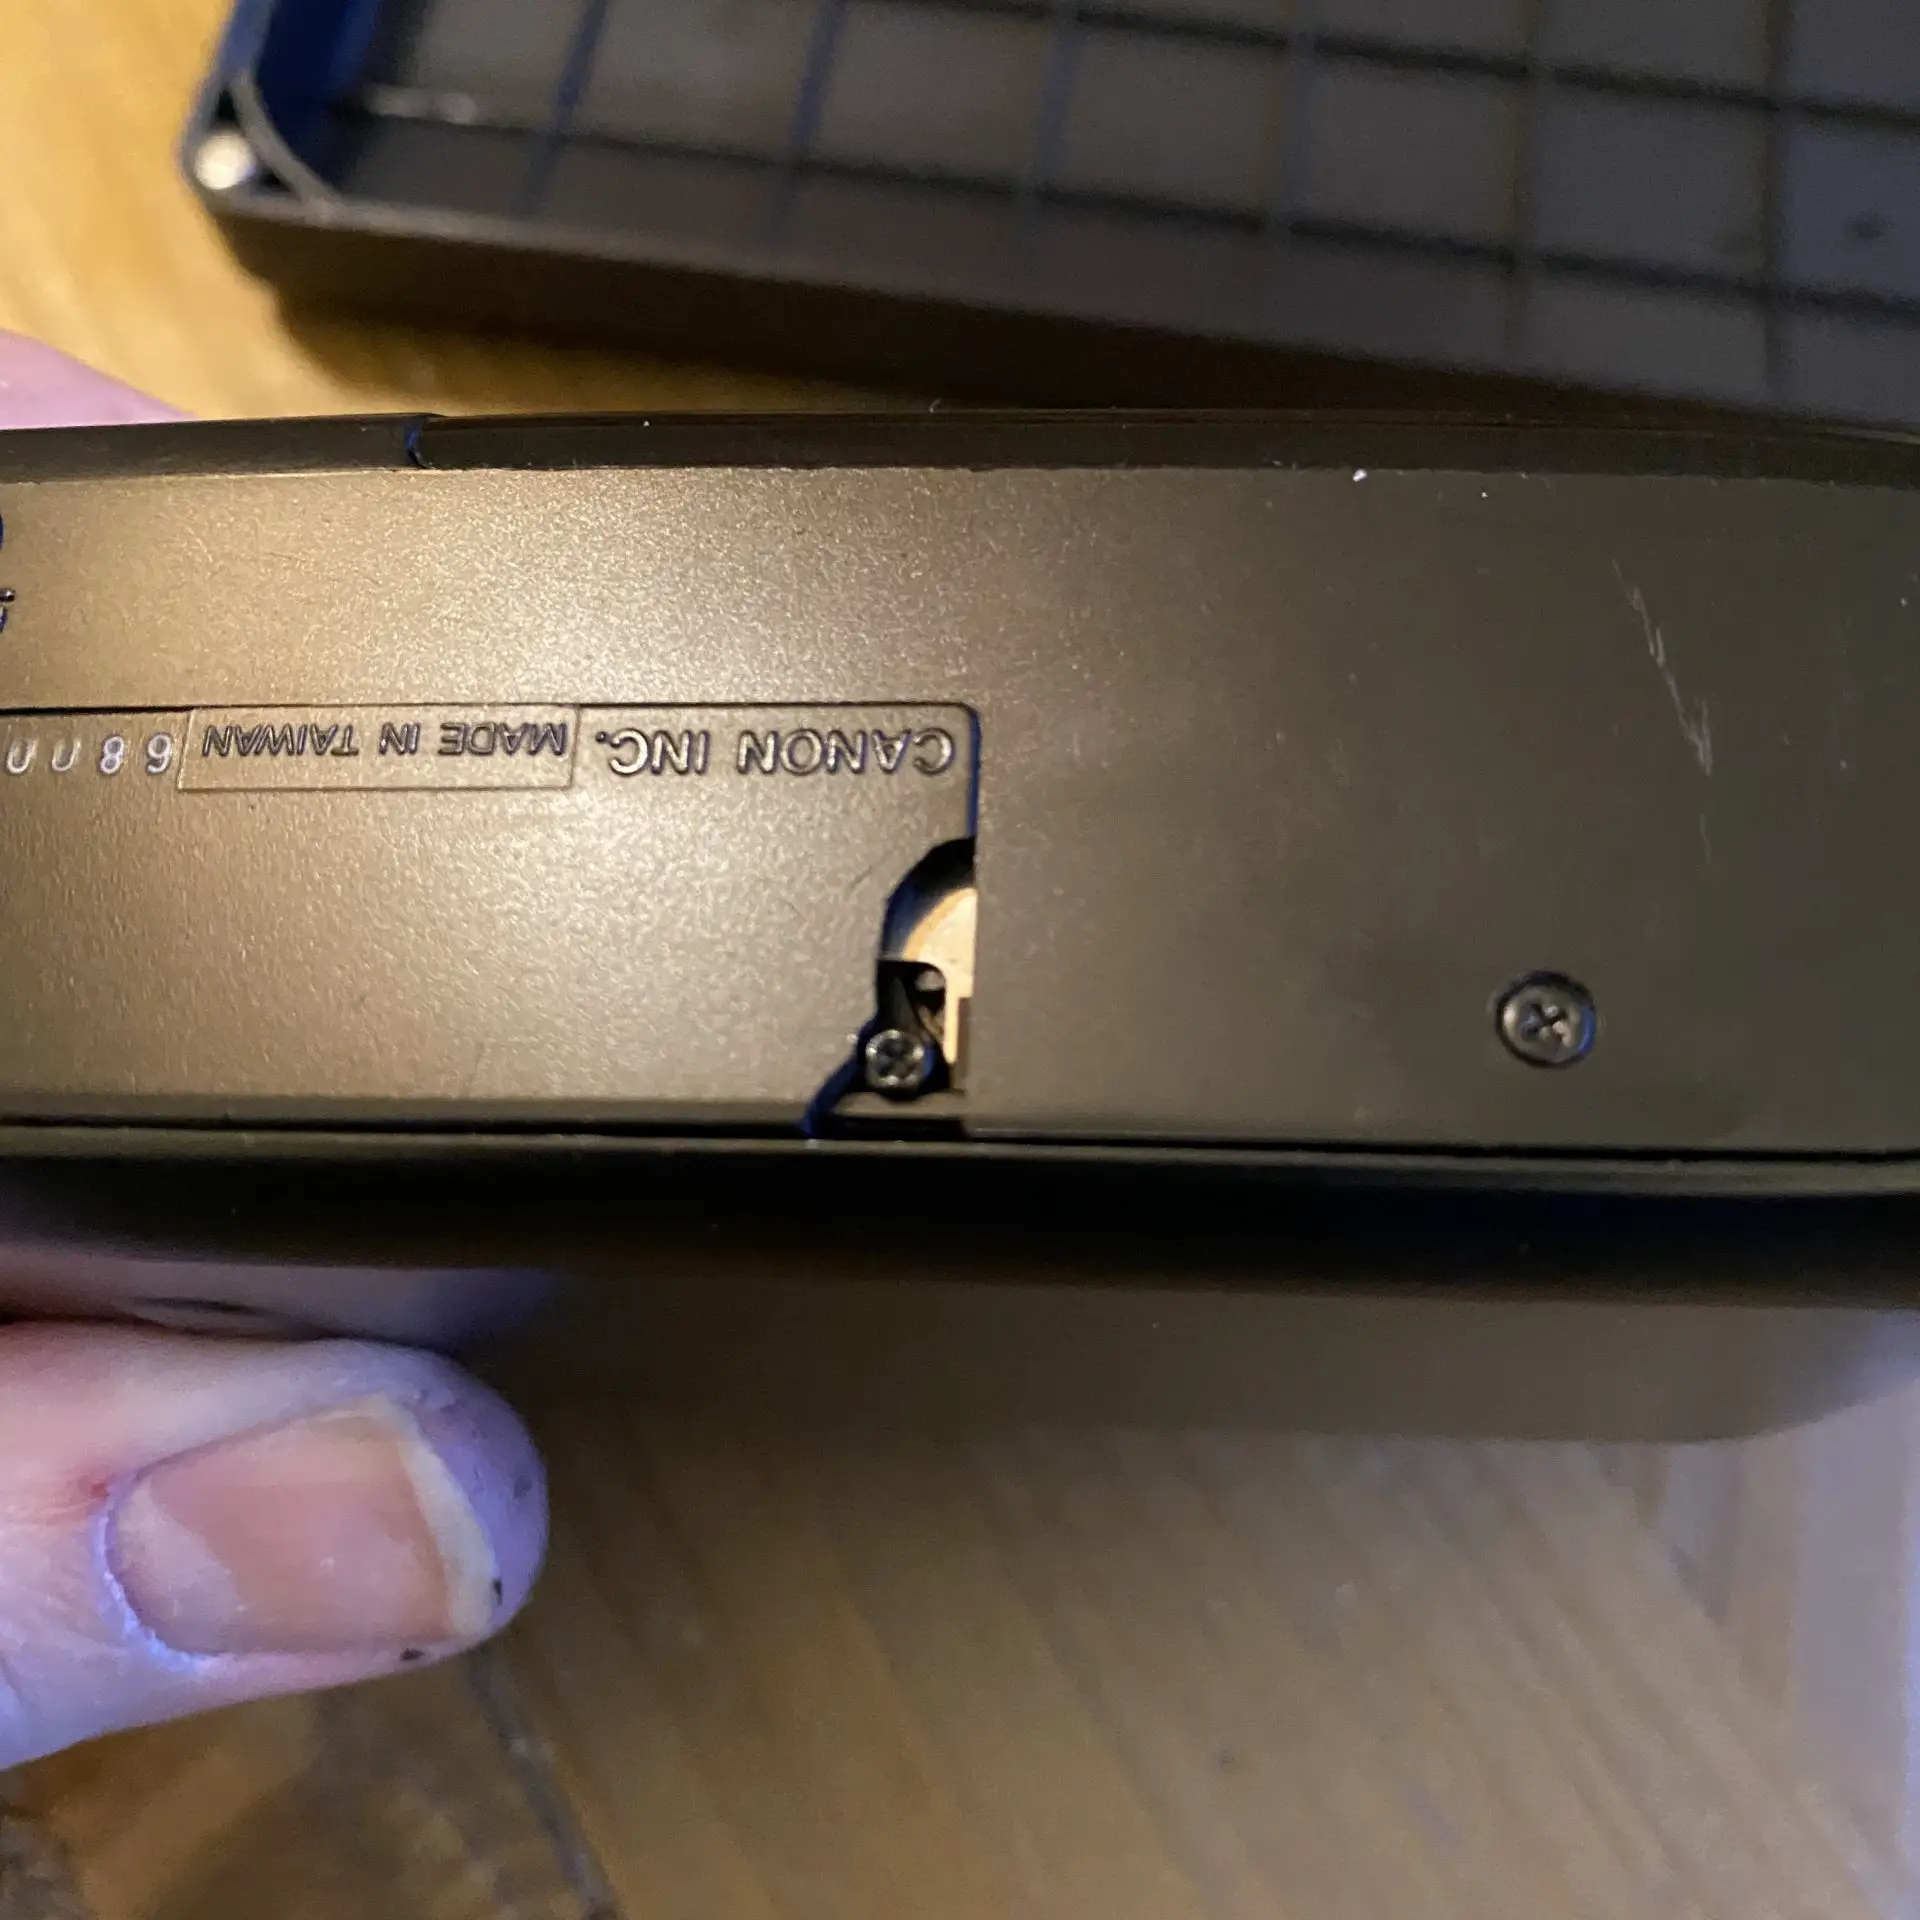
As I said at the beginning of this article, the Sure Shot M I have was in less than perfect condition when I bought it. As seems to be quite common with these cameras, the battery door clip was broken and the lower corner underneath the battery door was snapped off completely. I have seen a few like this on eBay – it must be some sort of inherent weakness in the design. Looking at it on the shelf in the shop, I had some doubts as to whether or not it would work at all. I didn’t bother asking – for a fiver, I threw caution to the wind and just bought it.
Despite appearances, it worked fine. In fact, I sort of felt like I had a bit of a bargain. If nothing else, it was a perfect camera to continue my way through the brick of cheap Kodak ColorPlus I bought last year – a plan I talked about here. So I shot a roll through it.
Shooting that roll, I did come up against an irritating user experience issue though. As much as I liked the small, pocketable design, the button on the side of the camera for disabling the flash slightly got on my nerves.
I actually don’t mind the press-and-hold-a-button-to-disable-the-flash functionality that much. The Minolta Riva Pano is the same, and that is one of my favourite cameras. That said, I have in the past taken apart the Riva Pano to see if it might be easy enough to permanently fix the flash off by soldering the switch inside. I think last time this happened was after I felt I had lost a shot due to the flash firing even when I had my finger on the button. Unfortunately – though I can’t remember why not – the Riva Pano isn’t very easy to modify.
So when same thing happened with the Canon and I ended up taking the same photo a few times trying to get it not to flash, I decided I would take it apart when I finished the roll to see if it was easier to mod. I then finished the roll and forgot my plan.
That was until I had to open a packet of Sugru to fix something in the car. I didn’t need much and had most of the packet left so went hunting for stuff to fix. Looking in the cabinet, there it was, the knackered Canon Sure Shot M.
The Plan
Looking at my tatty Sure Shot M I decided I would patch up the holes in it even if I couldn’t kill the flash – but figured it was definitely worth exploring the insides of the thing to see how easy it might be to permanently deactivate the auto-flash.
Whilst shooting the first roll, I had already established that if I pressed both flash off and force flash at the same time, it would still flash. So in theory, if I fixed it into flash off mode, I could still fire the flash by pressing the force flash button anyway.

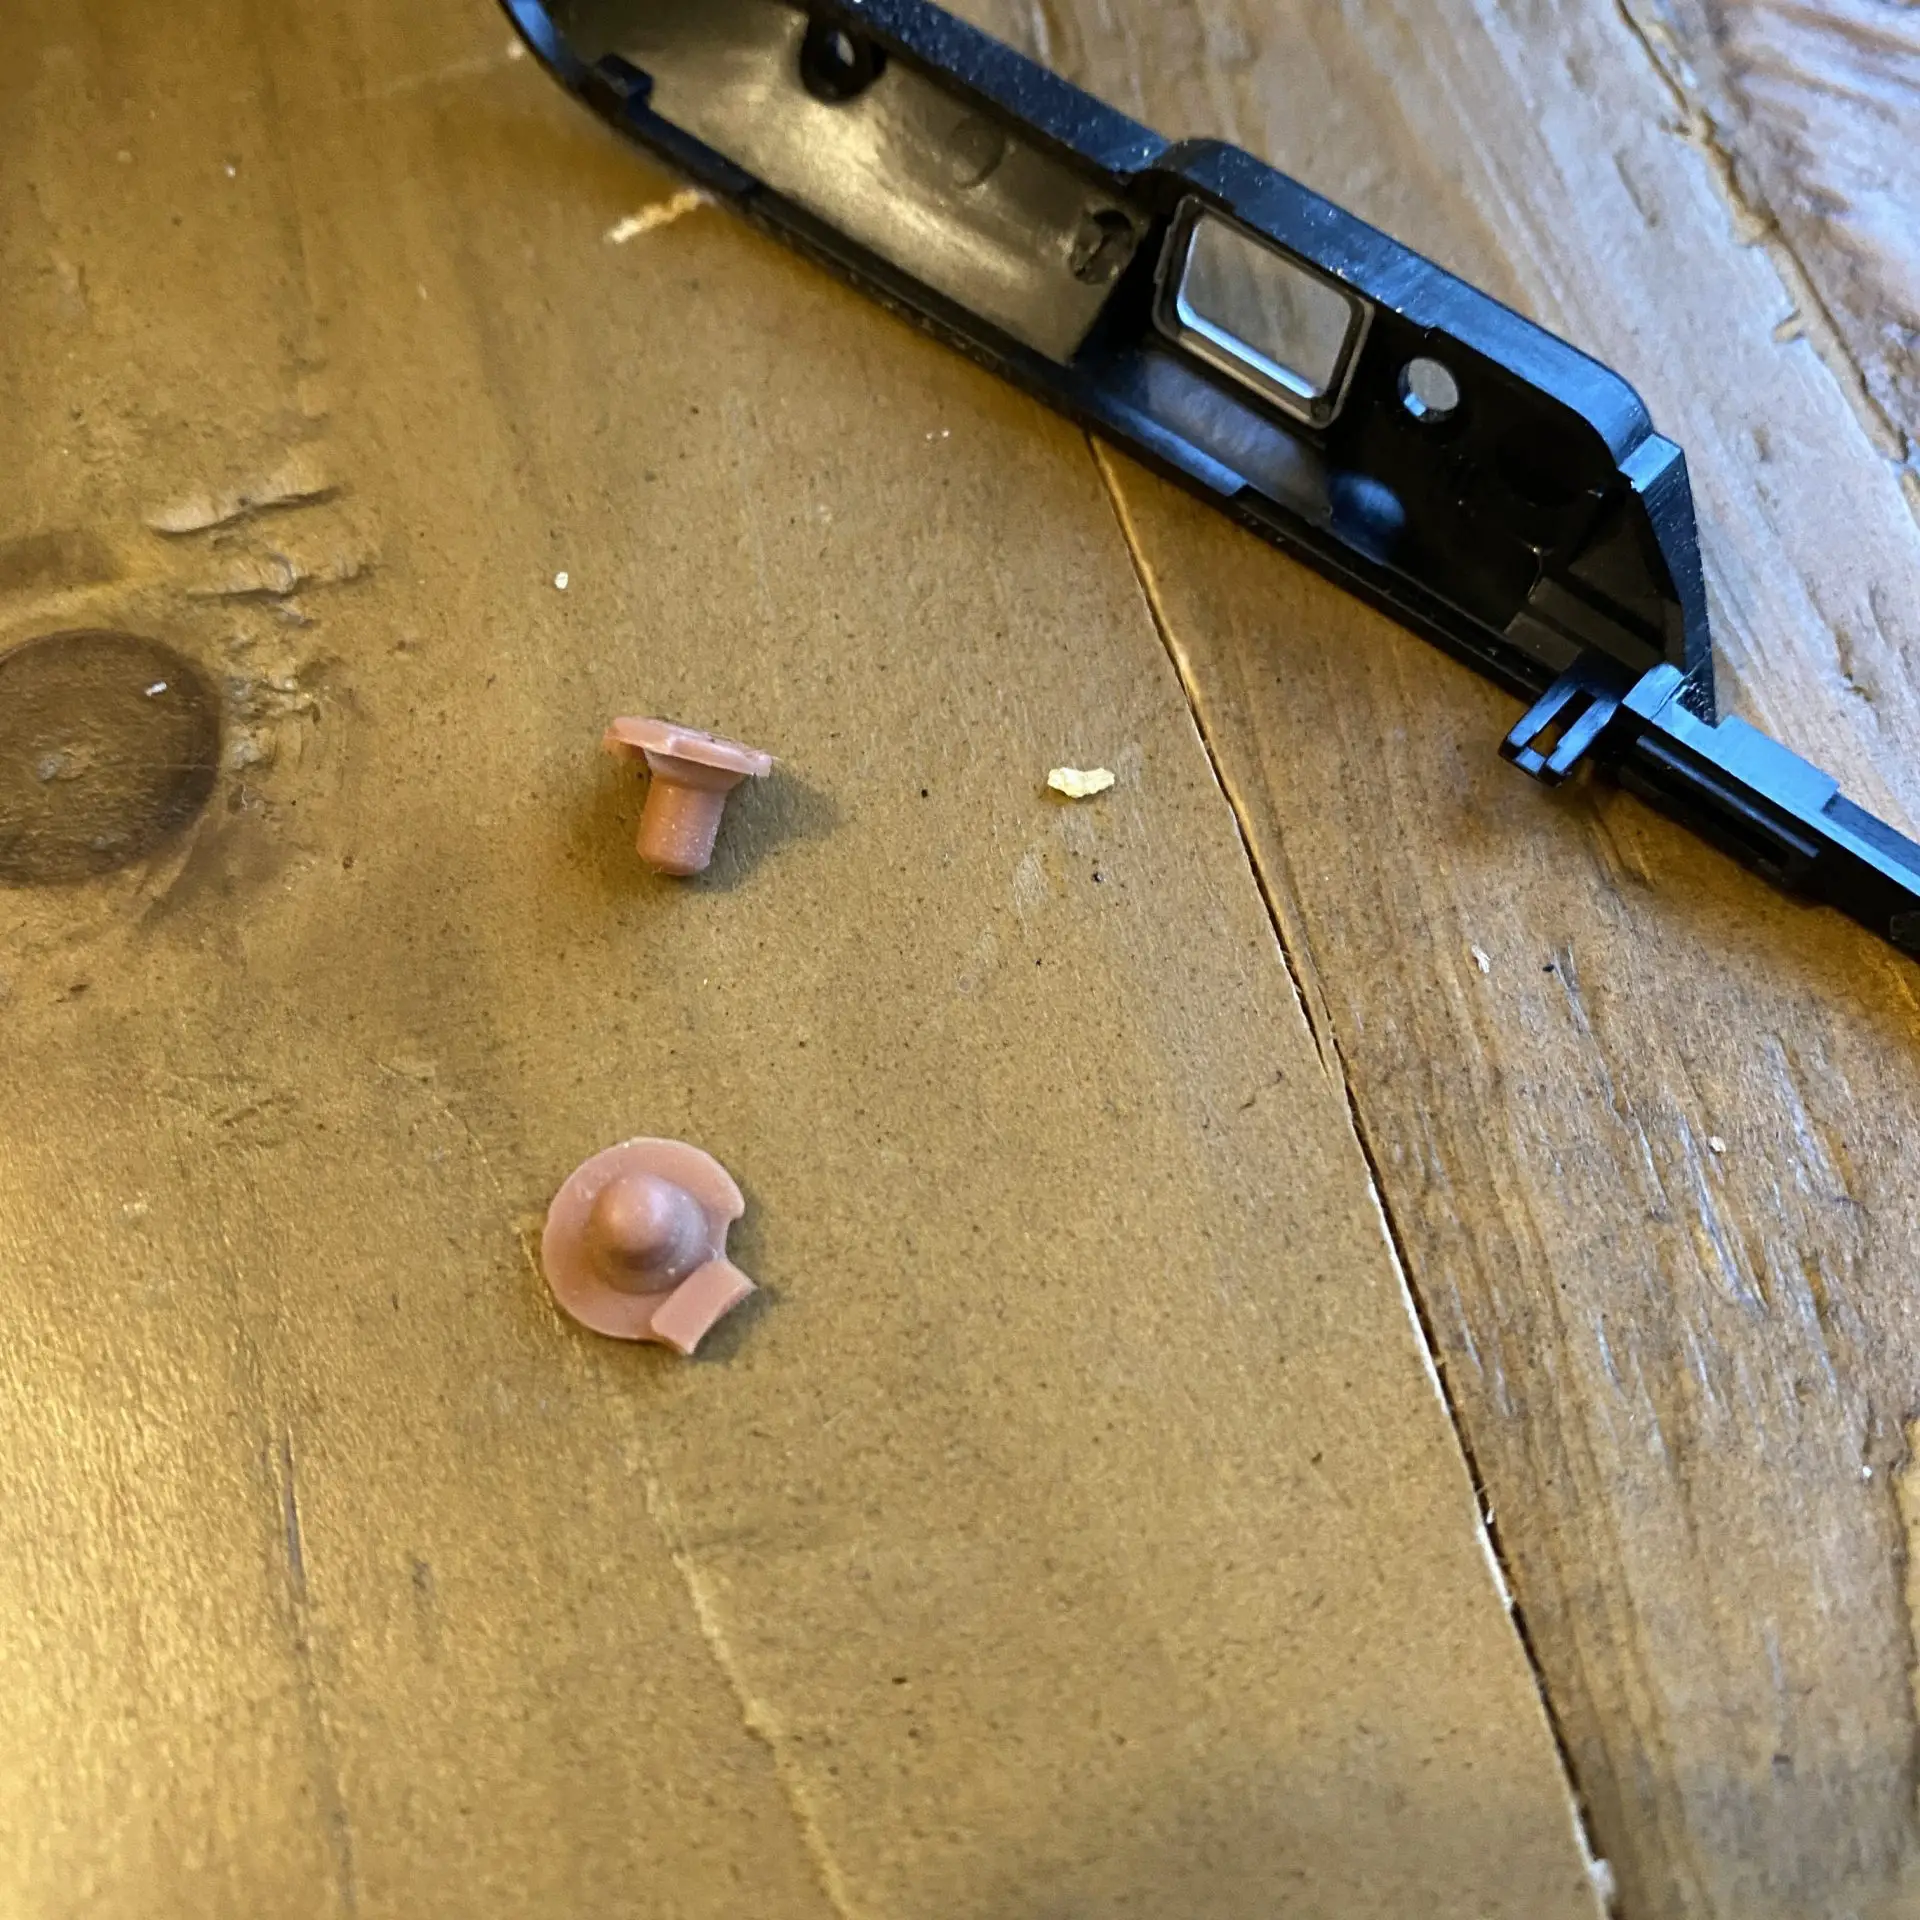
So I set about taking it apart. A few screws later, low and behold I could see straight away that I could kill the auto flash mode. These sorts of buttons work so that when you press the little rubber button, the underside of it which is conductive completes the circuit. So to permanently complete the circuit, all that’s required is a little blob of solder.

To tidy it up, I decided I would delete the button too. Cutting the little button assembly in half, I just put one side of it back into the camera and chucked the other bit away.
I then put the camera back together and Sugru’d the hole.
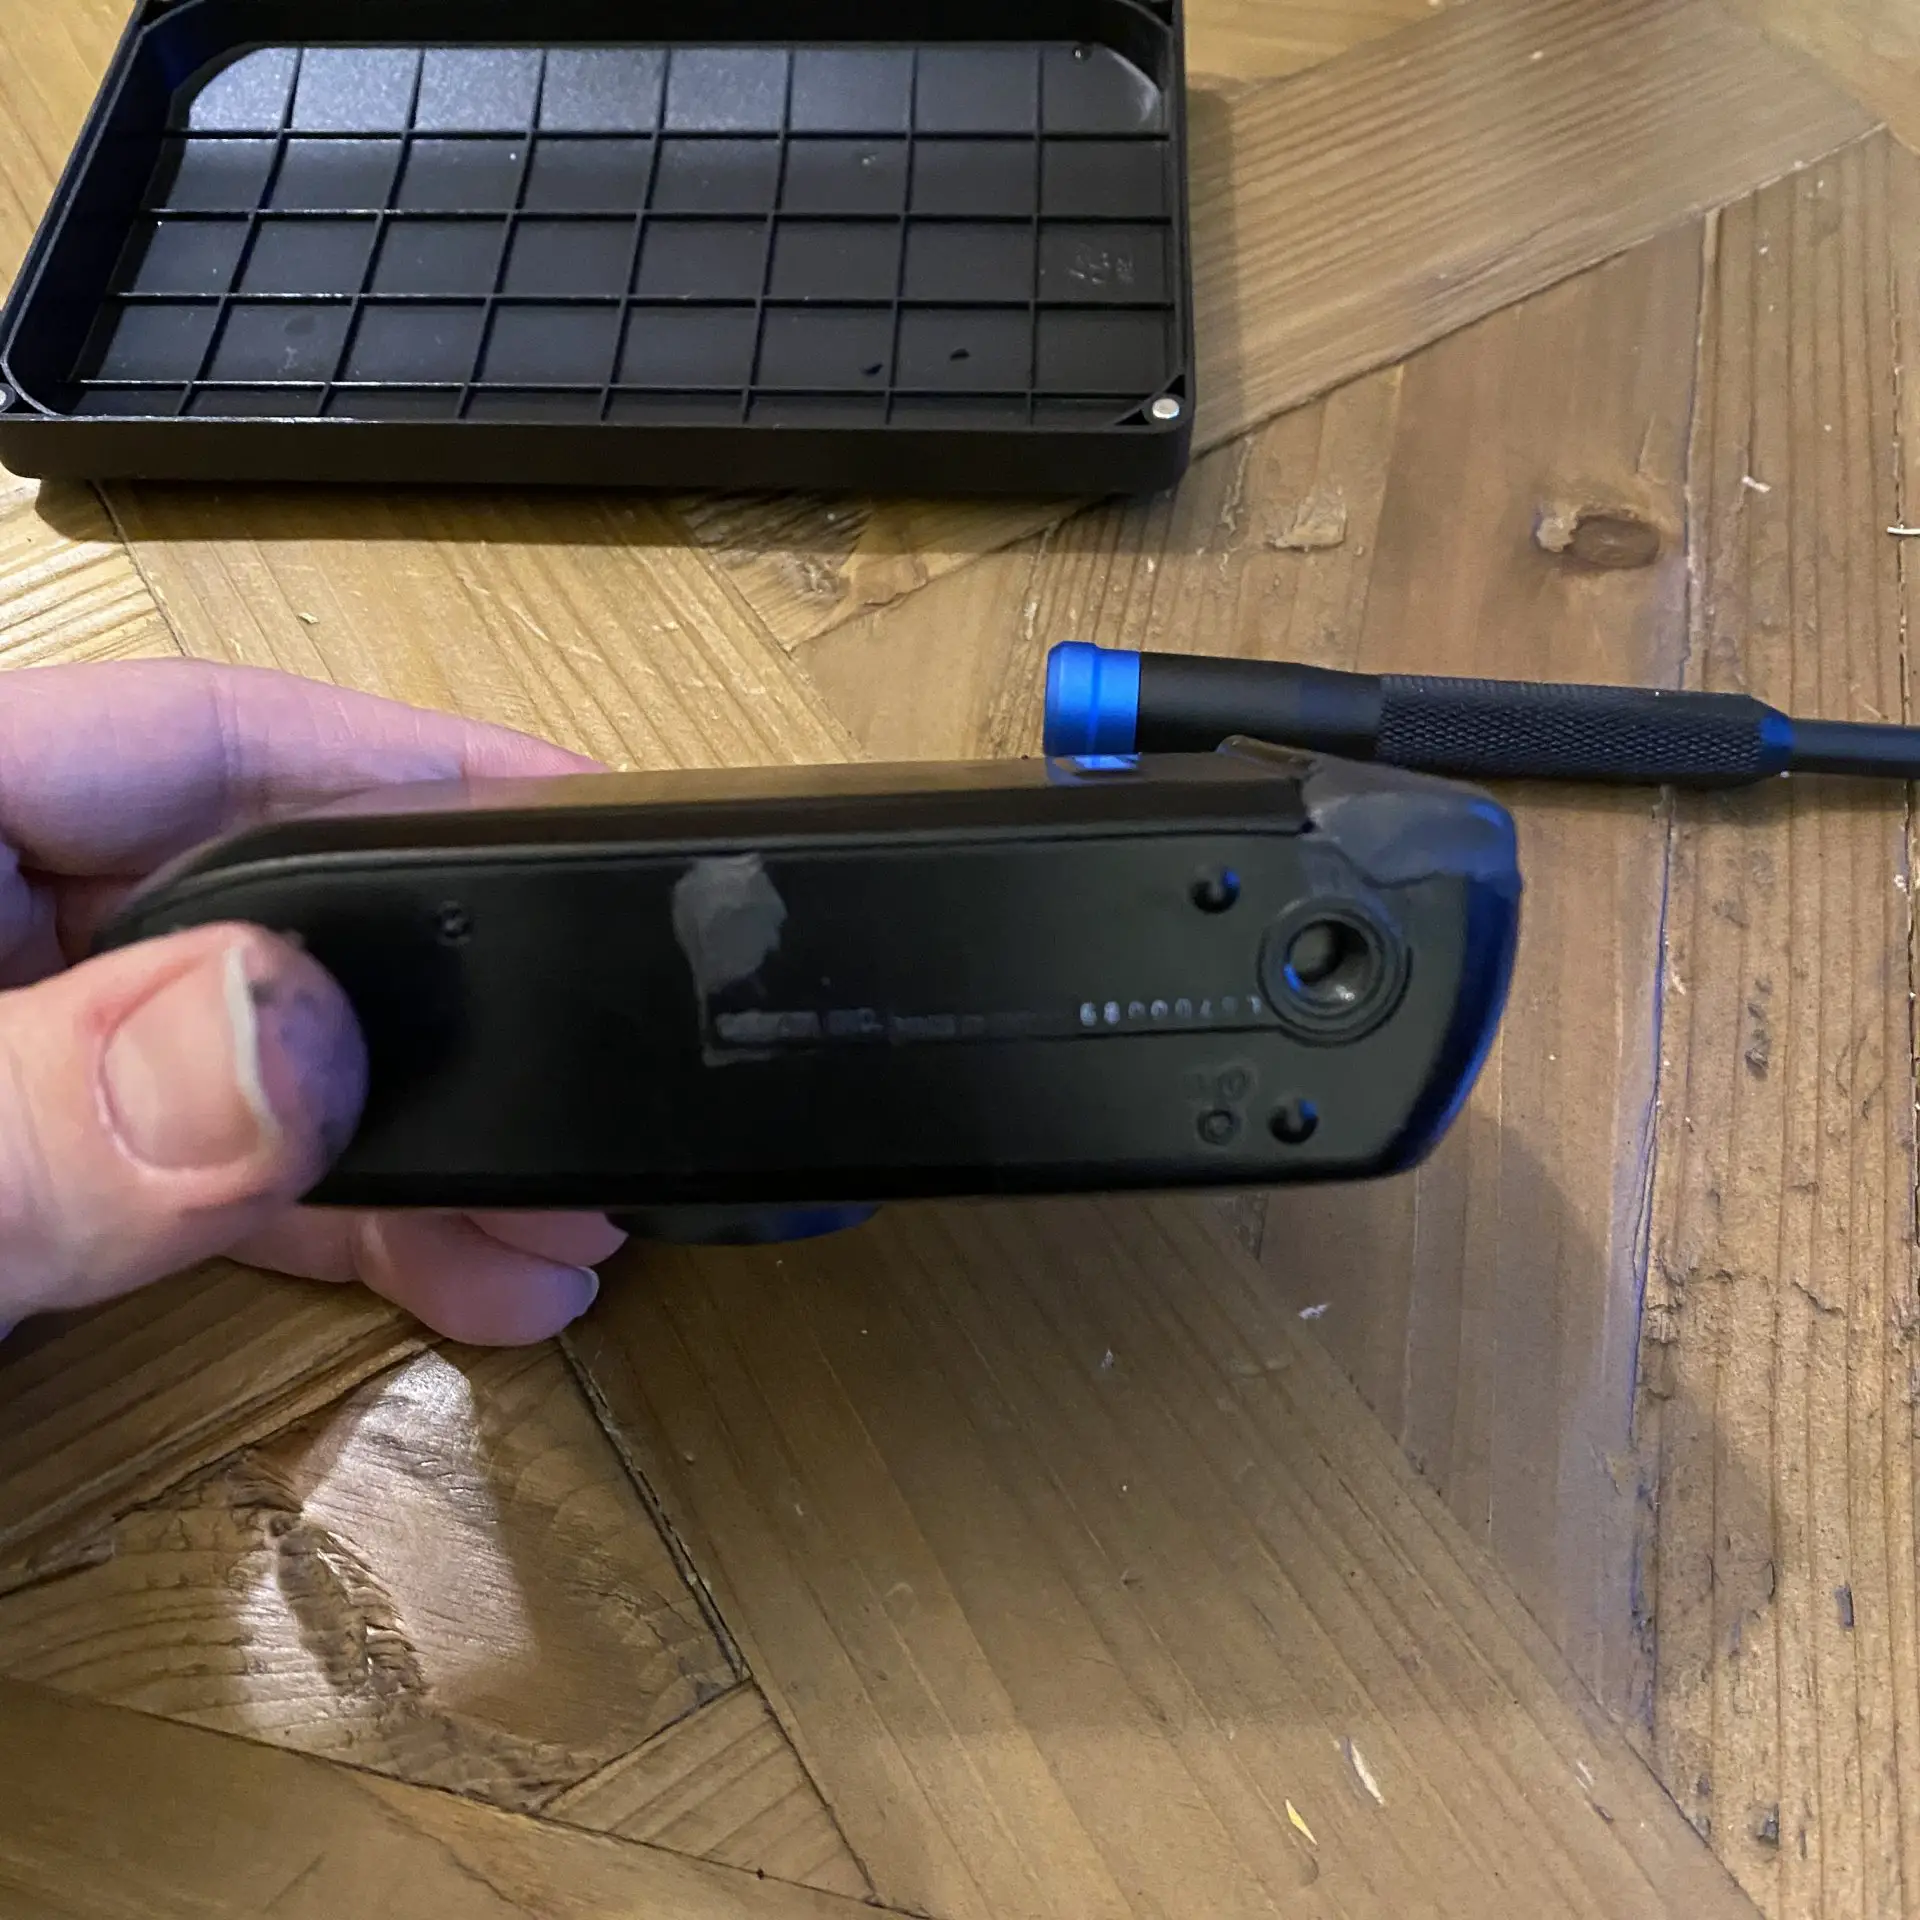
I then Sugru’d the bottom corner of the camera making sure that I made something of a friction fit along the lower edge of the battery compartment. It doesn’t click shut still, of course, but it dies stay shut better now.

I also fixed a hole in the bottom of the camera.
A “Better” Sure Shot M
The completed camera still isn’t the neatest cleanest example I could imagine, but it works exactly as I hoped. Half press the shutter and when all is well, the little LED lights up to tell you all is well. When there isn’t enough light, it blinks quickly to suggest the flash might be a good idea, or that you should put it on a stable surface or tripod.
But, what is key to my Sure Shot M modification is that now – when that little green blinker starts blinking – you don’t have to actively press the button to stop it from flashing automatically as the auto-flash is no more. Now you just have to decide if you’re happy to risk a bit of camera shake, or force the flash on. And to my tastes, as someone who 99.9% of the time would prefer a bit of camera shake to a bit of point & shoot direct flash, this is a much better default state. In short, I do believe I’ve made myself a better version of the Sure Shot M!
If you’re interested, this is the third camera I have successfully hacked to have a flash state that I find more preferable. You can find my Pentax Espio Mini hack here, and my (even simpler, and not requiring a soldering iron) Olympus Af-10 Super hack here.
Share this post:


Comments
Brian Nicholls on Canon Sure Shot M Mini-Review & Auto-Flash Disable Modification
Comment posted: 02/03/2021
Comment posted: 02/03/2021
Charles Higham on Canon Sure Shot M Mini-Review & Auto-Flash Disable Modification
Comment posted: 06/03/2021
Comment posted: 06/03/2021
Heather on Canon Sure Shot M Mini-Review & Auto-Flash Disable Modification
Comment posted: 02/12/2021
Comment posted: 02/12/2021