I recently found myself exposing three different redscale films almost in parallel. An Olympus Pen D2 was passing through my hands to be sold in my Etsy shop. I couldn’t pass the opportunity to try the very exciting camera and exposed part of a roll. I had tried one roll of Lomography Redscale film before so figured I’d give it another shot.
The film isn’t too cheap, so exposing it in a half-frame camera, doubling the frame-count, seemed a wise fiscal decision. I’ve bought medium format rolls at reduced price on a number of occasions, though.
Lomography Redscale 50-200
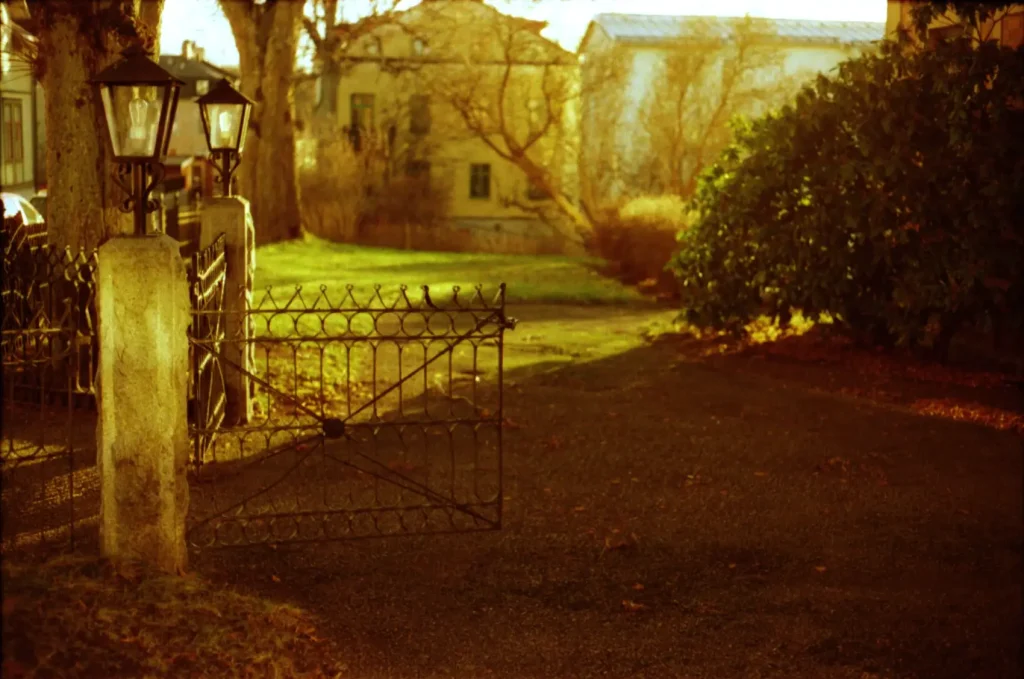
Exposing the film at the recommended speed hadn’t appealed to me after exposing my initial roll. When seeing that the results of exposing it at (the recommended) 200 ASA turned out far too red for my tastes I looked up alternative sources and found really nice results when people had let the light hit it with the exposure set for 12-25 ASA. The colours appeared less red, and the total impression of the photos was more retro-looking, which I liked. So that’s how I’ve done it from that point on.
A note on editing: I’ve upped the contrast in many of the photos, have not meddled with any colours.
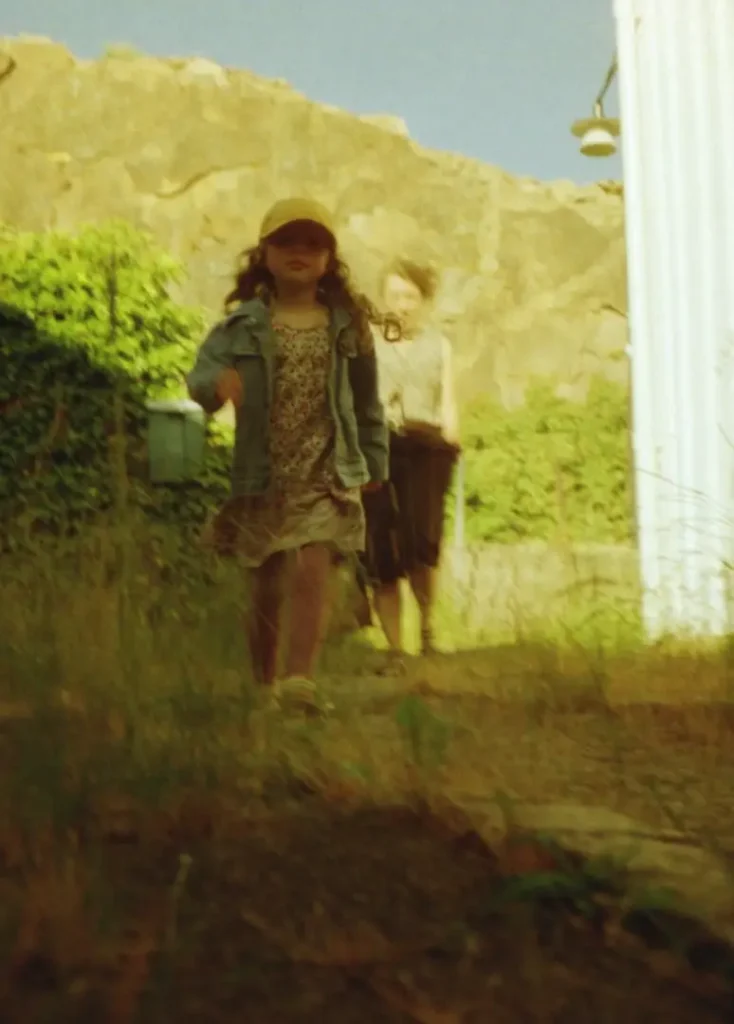
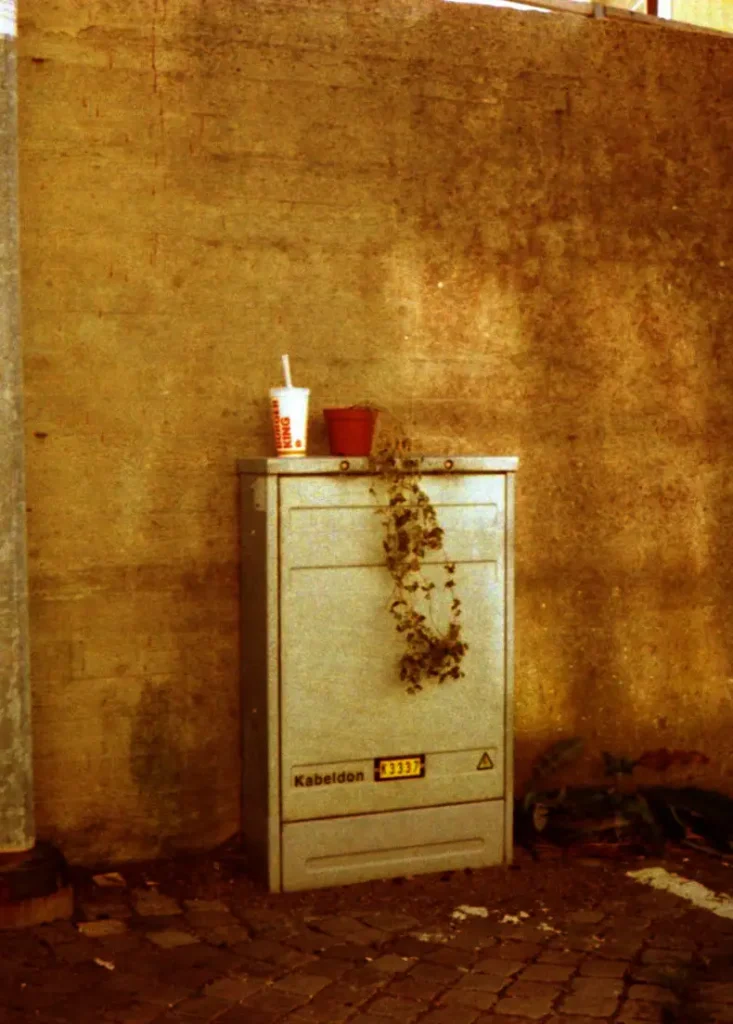
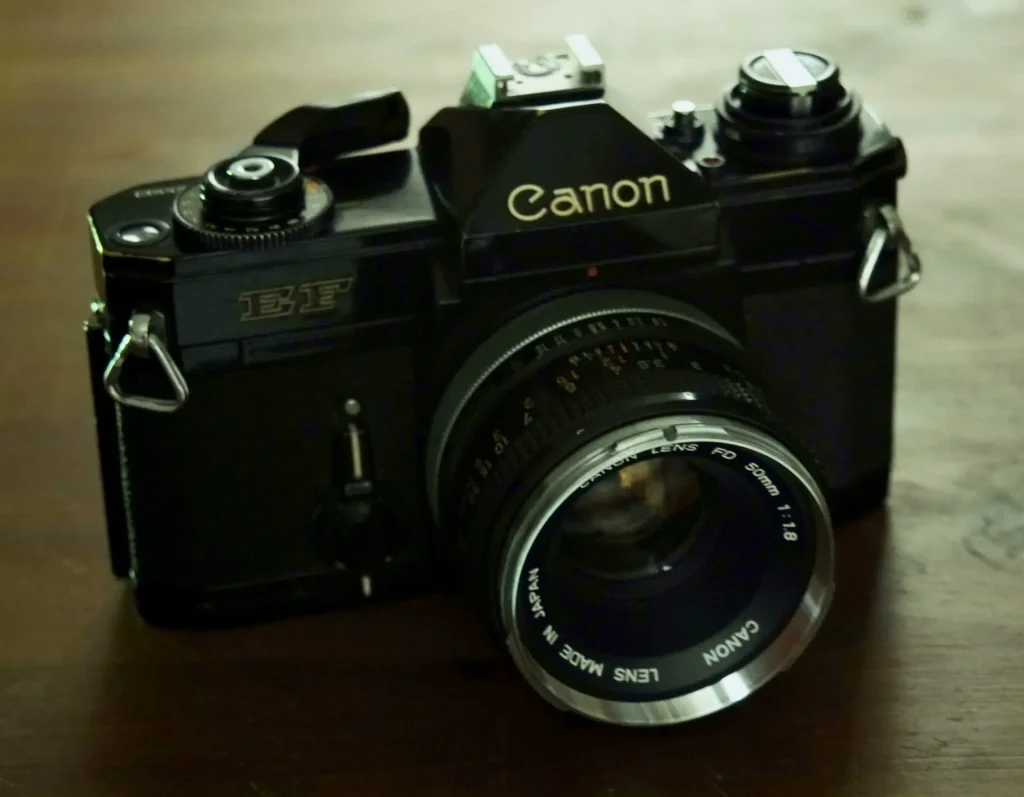
I then tried my newly acquired Canon EF along with my dad’s old 50 mm f/1,8 FL lens which he gifted me recently. (It’s not the lens in the above picture.) I loaded it with the Lomography Redscale film which I’d started on with the Pen D2, then ventured out into late (mid-) afternoon light in the middle of winter (-2C). The camera’s winder was (and is) very unreliable. I had to wiggle the winder-lock frequently to un-stick it. I need to fix it. (Does anybody else have experience of this problem on the EF?) Eventually I got lots of nice exposures. Several of the photos have signs of light leaks, the source of which I do not know.
Reversing Kodak 200 ASA
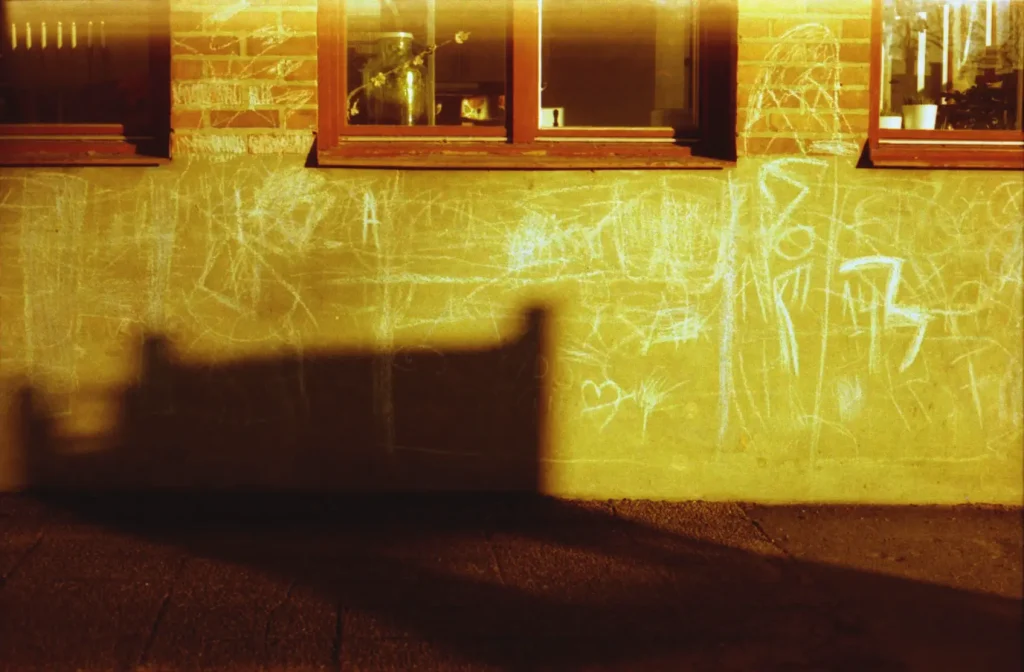
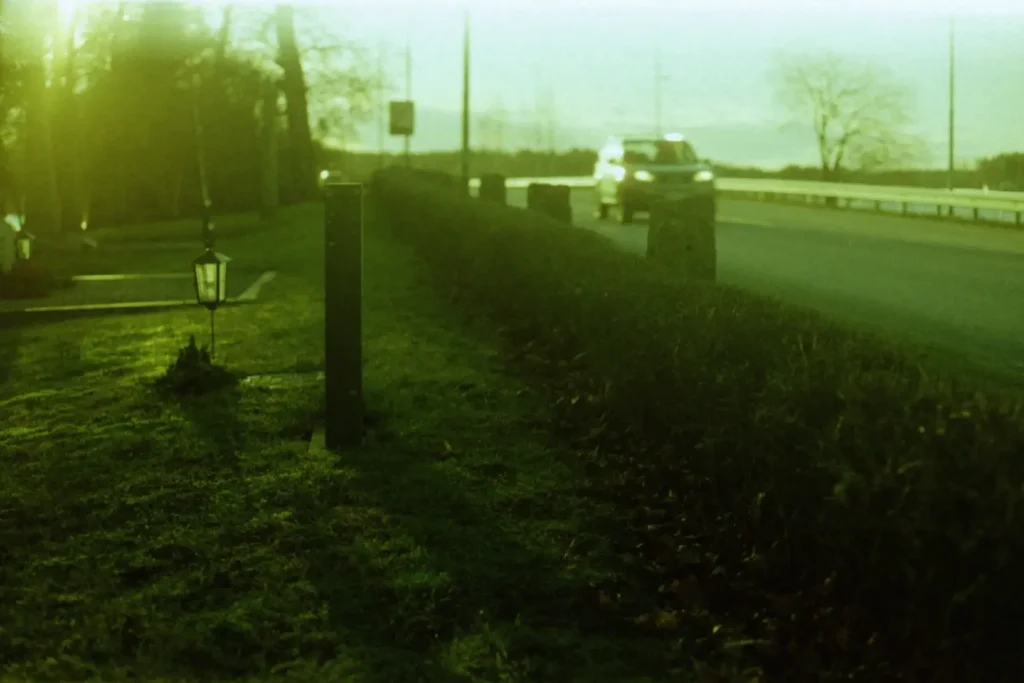
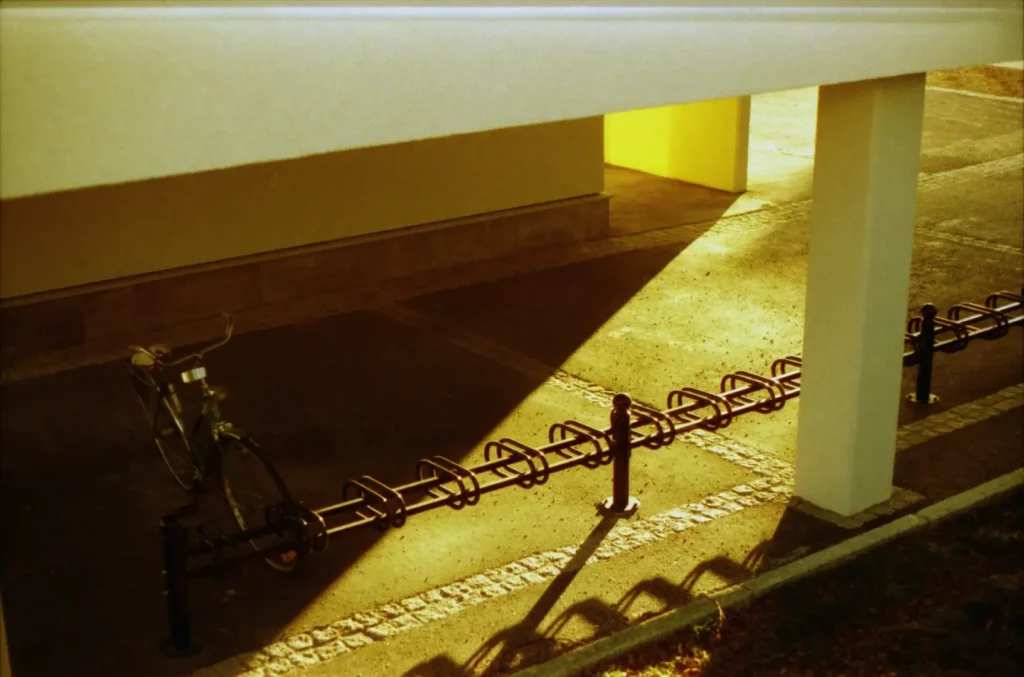
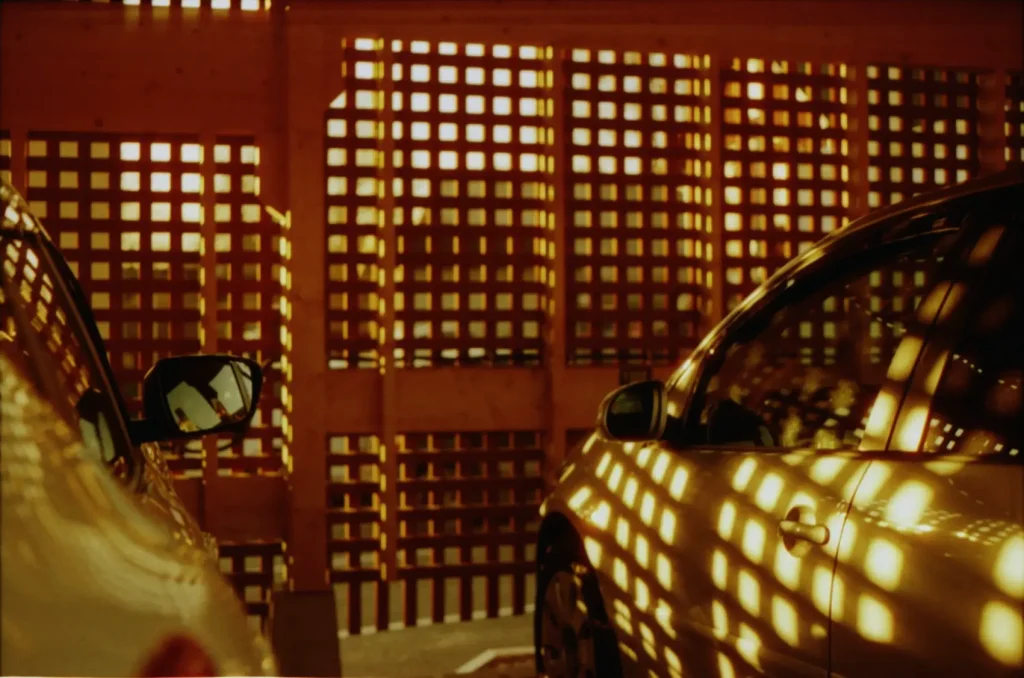
Considering the cost of buying redscale film I opted to make my own. I read up on it on several blogs (Hamish covered the process here). You simply reverse a roll of colour film – in this case Kodak ColourPlus 200 – and roll it into another film canister. You expose the different colour-sensitive layers of the film backwards – i.e. the light hits them in the ‘wrong’ sequence. It’s this that causes the colour shift. I used the film in my trusty Olympus Pen F with a Lomo T-43 lens adapted from a Smena viewfinder camera.

Uh, the photographer ‘imself!
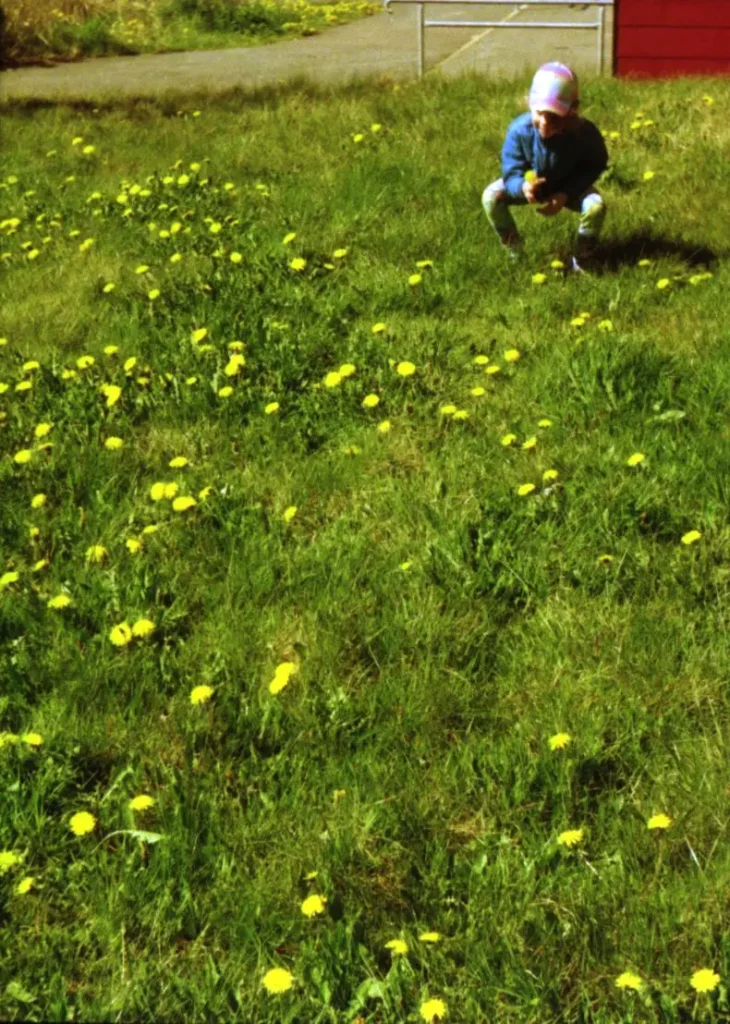
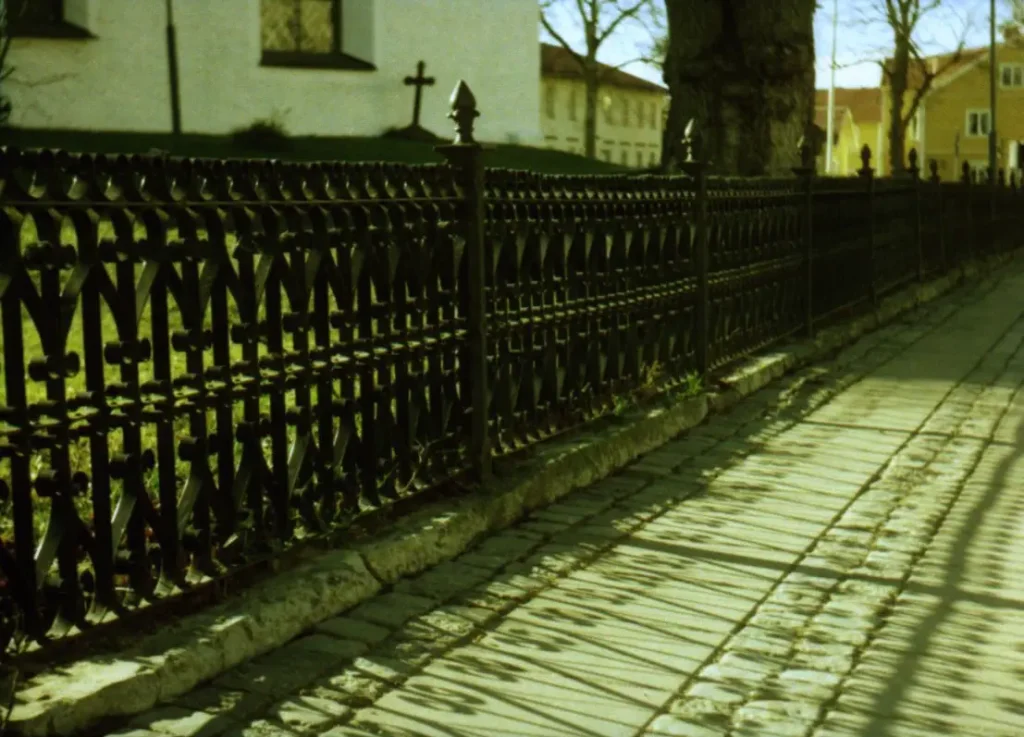
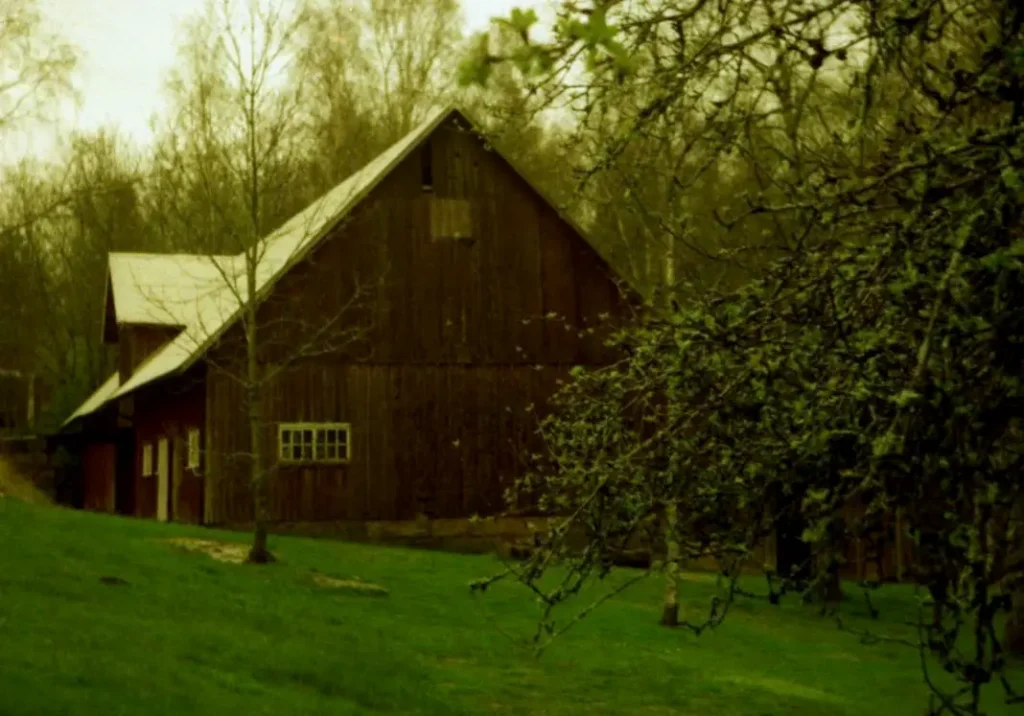
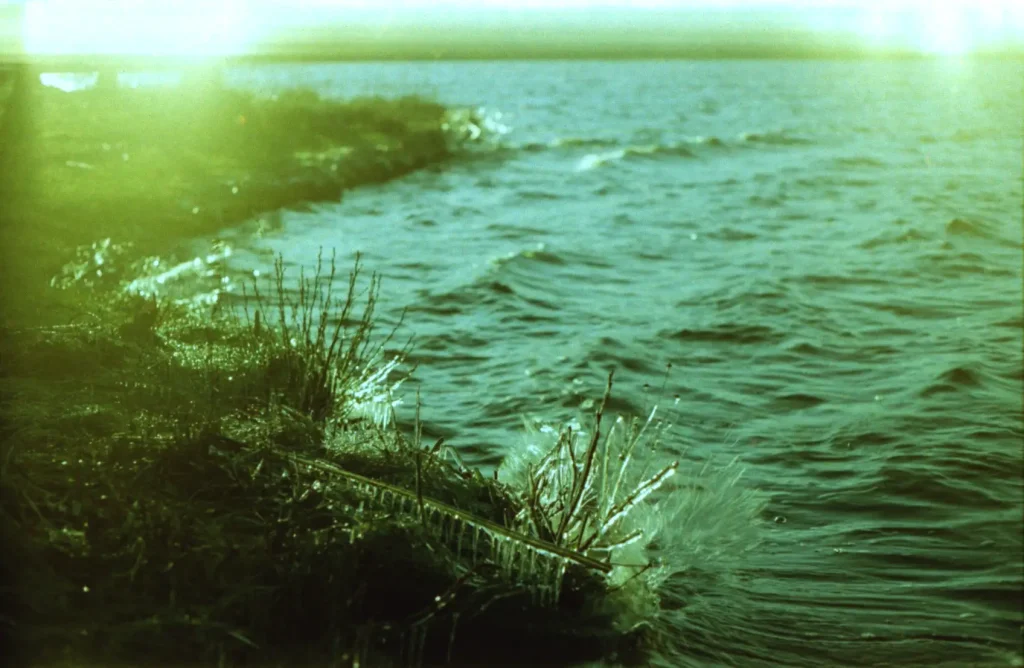
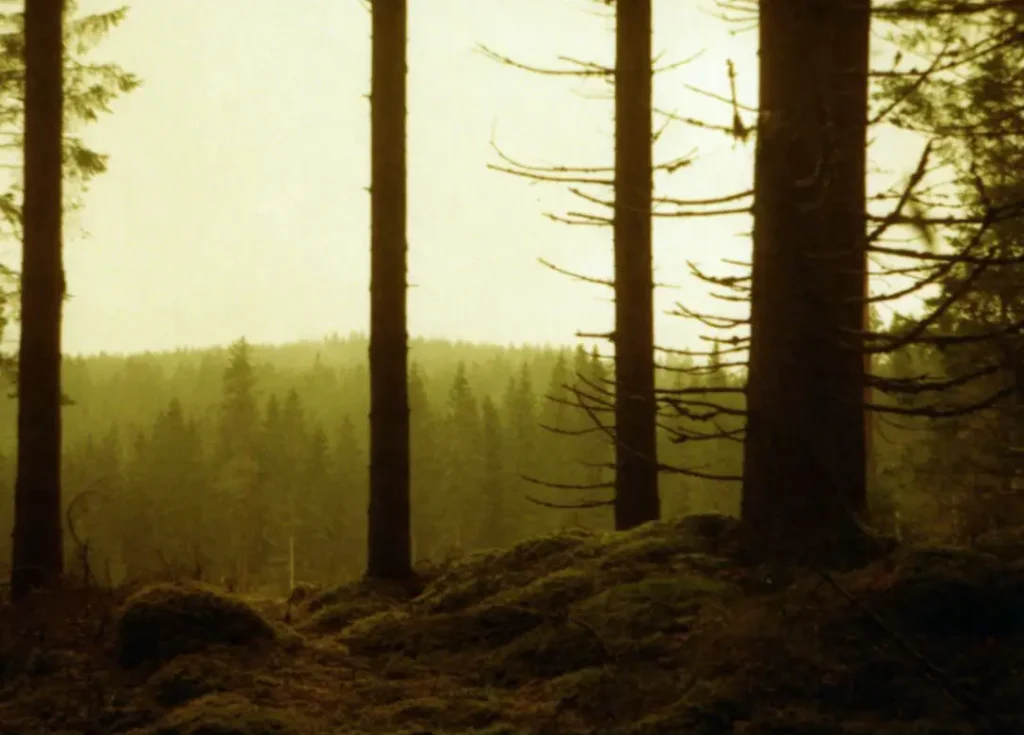
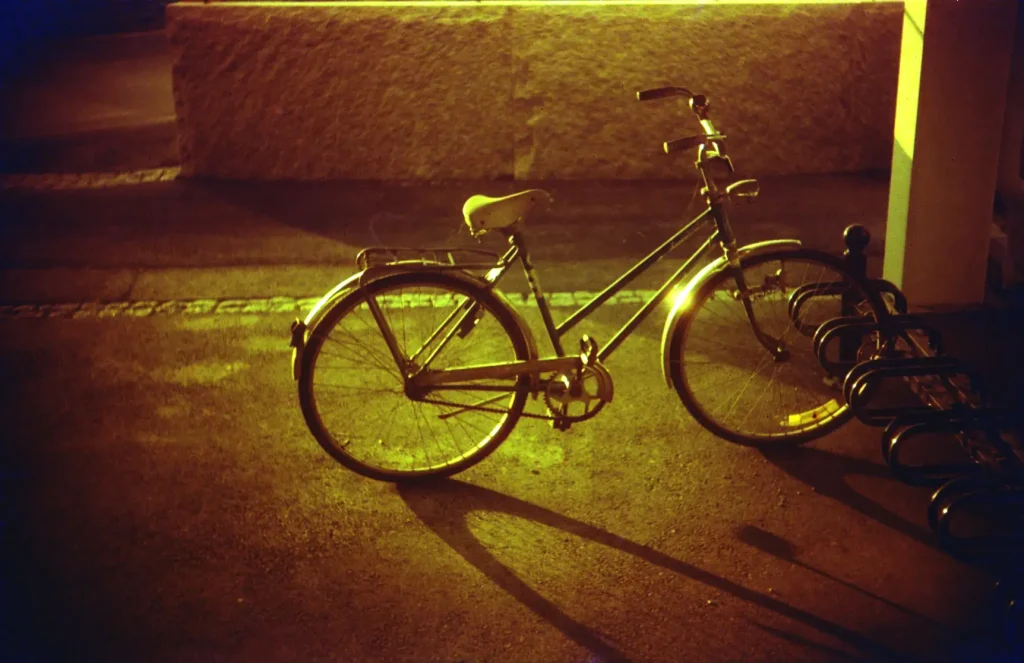
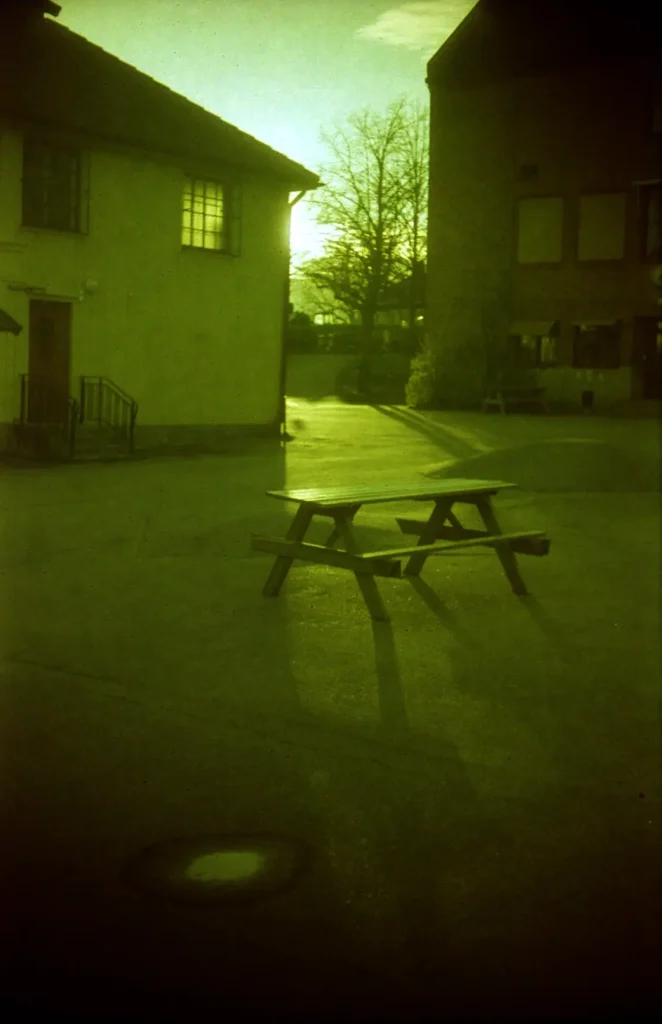
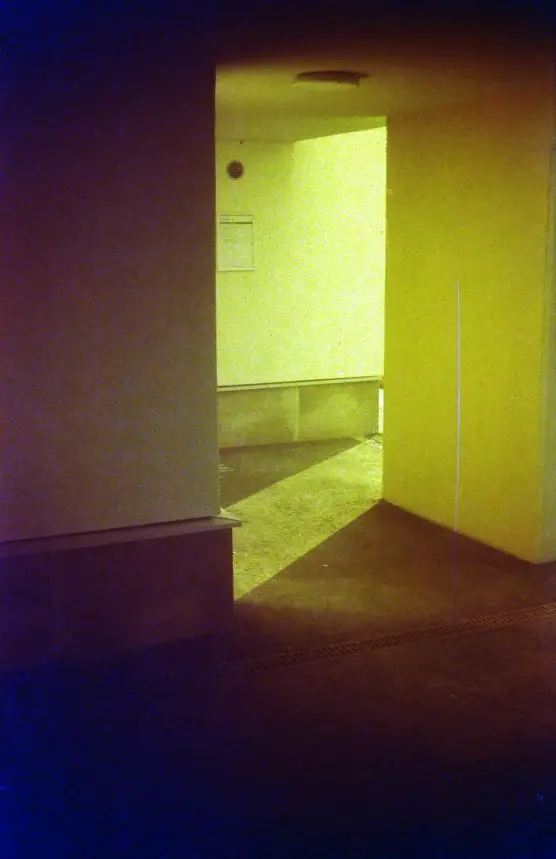
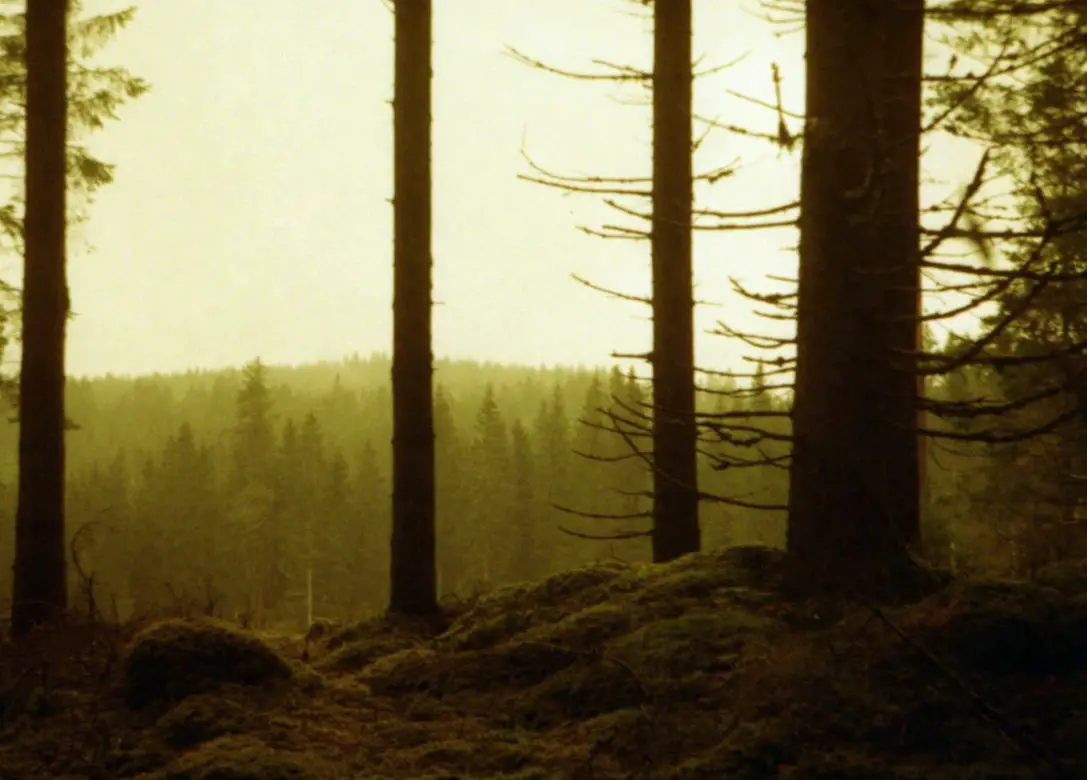
As you can see the colour tonality differs very much between photos exposed in different light conditions. Some photos have a strong sepia tone, others lean distinctly more to the green, yellow or brown. Of course scanning is essential in how the colours turn out. I disabled all colour correction when I scanned.
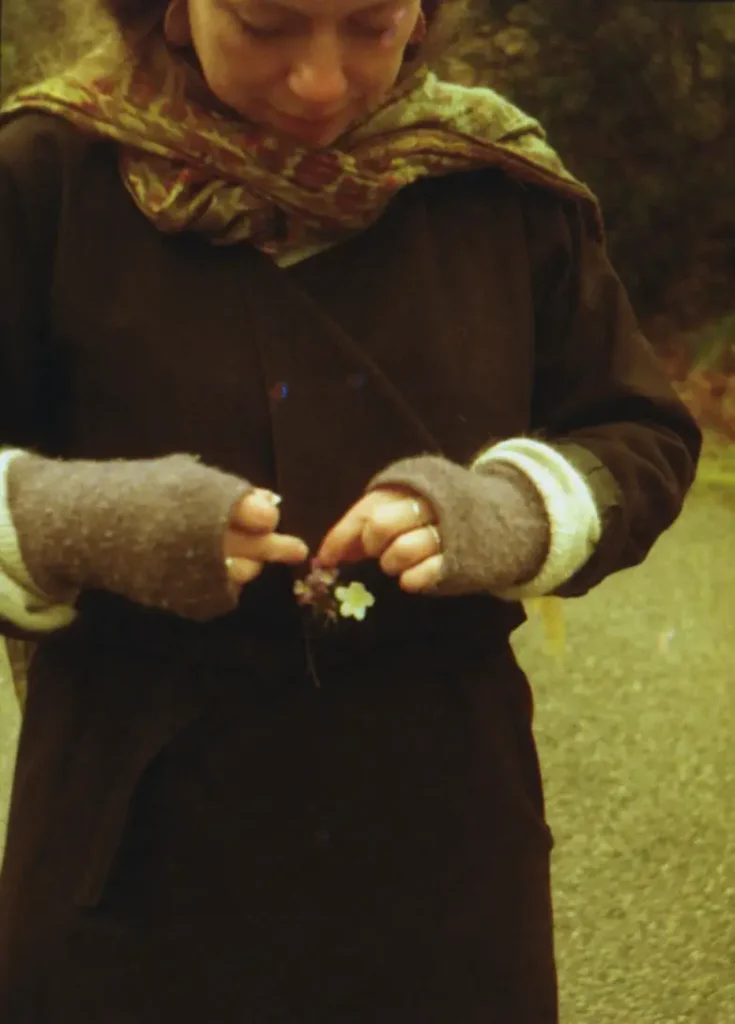
My impression is that the exposures leaning on being more yellow are the ones that have received the most light. The ones that have the most red tones are the ones that were less exposed. Here’s another thought: Is it even possible to overexpose redscale film?
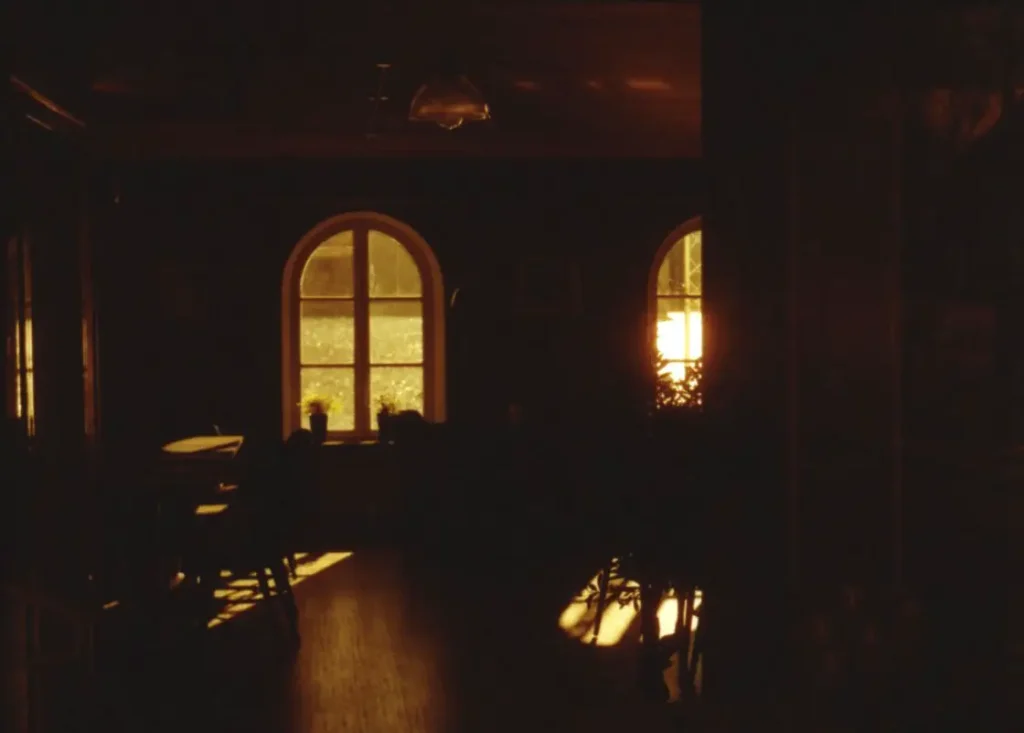
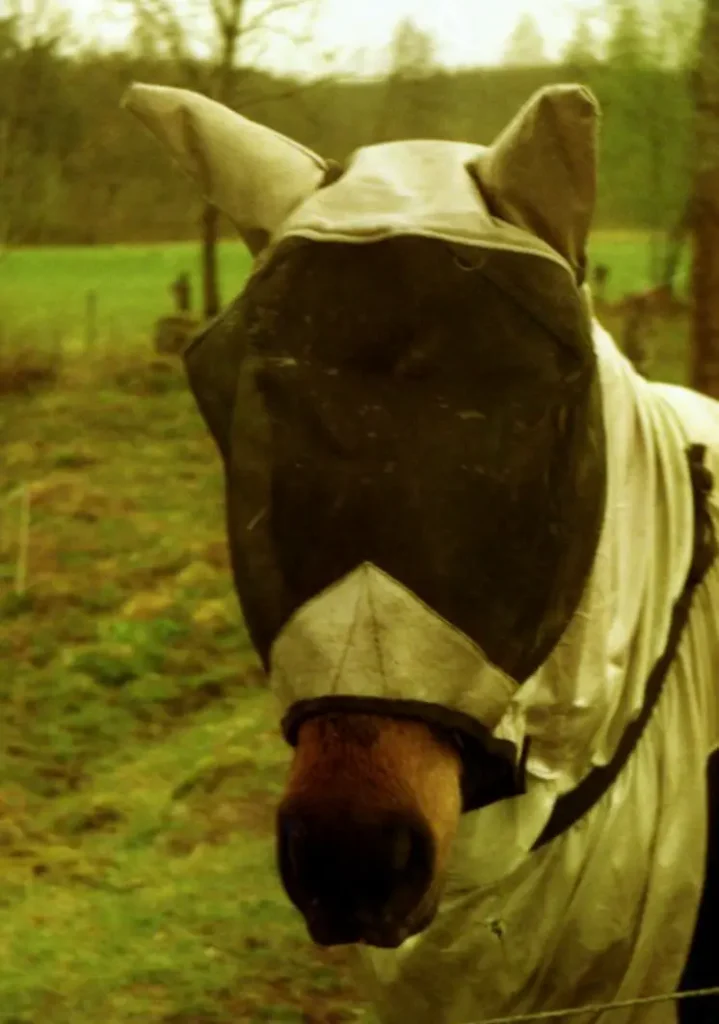
I dare to say that the Lomography roll is the most red tinted of the two, so far. That could mean that since the reversed Kodak is a 200 ASA film, the Lomography film is a 100 ASA film reversed.
Reversing Cinestill 800T
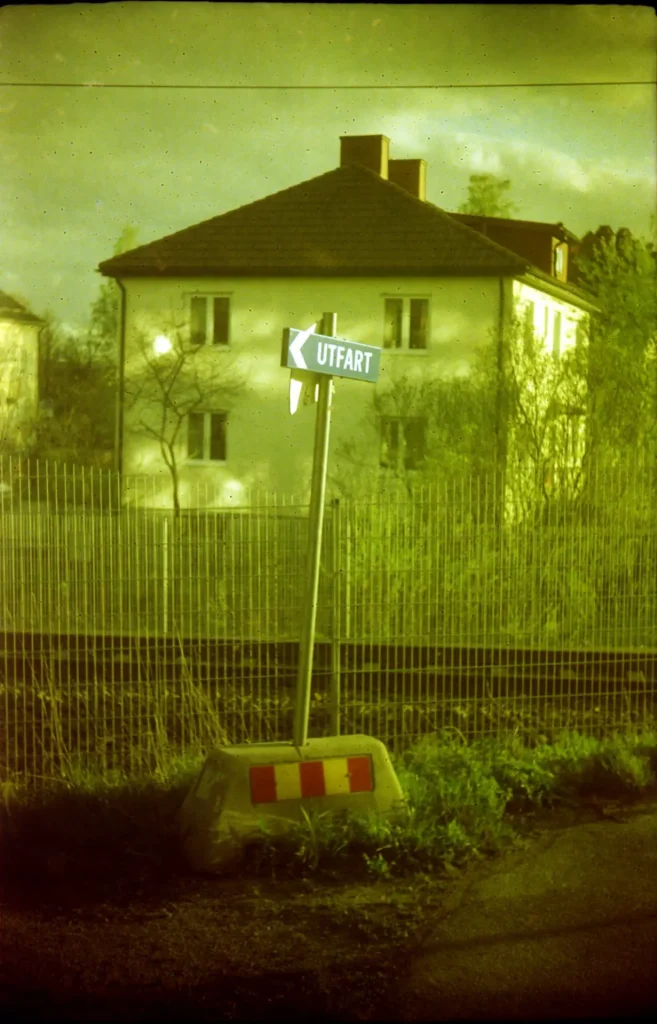
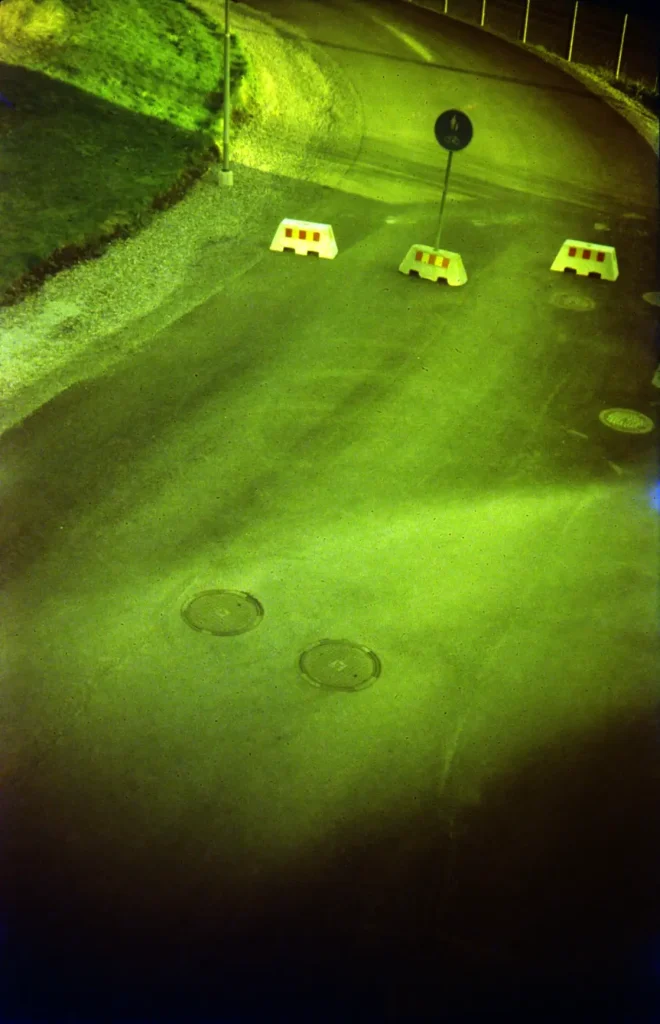
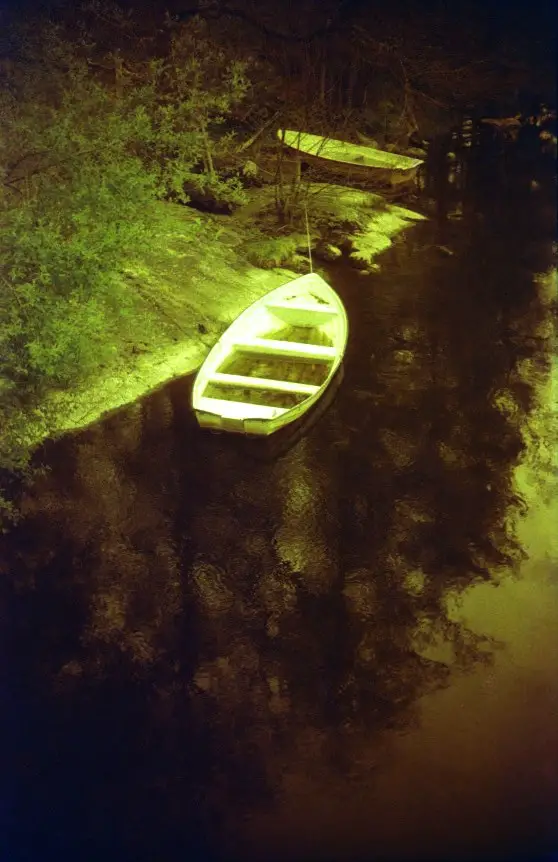
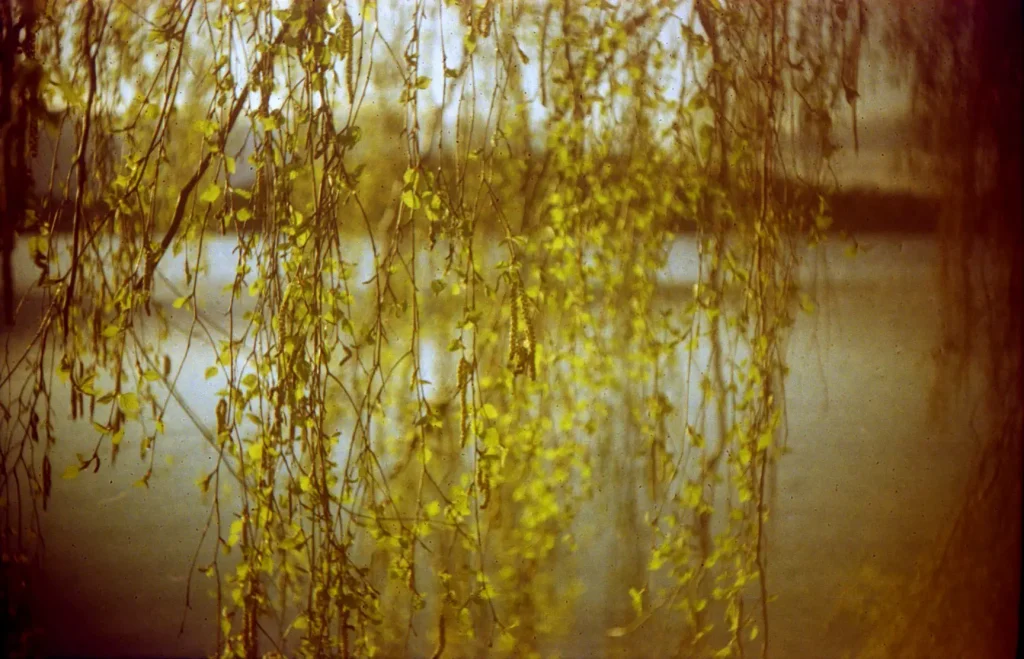
I made the same preparation procedure with the Cinestill film as with the Kodak film. However, two factors that are differing between the two films. The first is that the Cinestill is a faster film – i.e. more light sensitive – by two stops to be precise. The second is that it is a tungsten film. It is a film which is made to be exposed in lamplight. That is, it has a colour compensation which differs from the much more common daylight films. If you’d expose the film in daylight it would represent the colours more ‘cold’, perhaps with a bluish tint.
I exposed it in the same way as the Lomography and Kodak films – at 12-25 ASA. My choice of camera was the Halina 35X.
That’s it for now. I thoroughly enjoy exploring redscale and what can come out of it. This is something I will do more of in future!
I am very happy to be able to share my photographic experiences with 35mmc readers! Don’t hesitate to comment, and check out my Instagram at #ourbooksmalmo. Visit my Etsy photography shop getOurBooks. Check out my blog getOurBooks.
Share this post:


Comments
Michael J on Shooting Three Kinds of Redscale Film – by Tobias Eriksson
Comment posted: 08/08/2020
Tobias Eriksson on Shooting Three Kinds of Redscale Film – by Tobias Eriksson
Comment posted: 08/08/2020
Kodachromeguy on Shooting Three Kinds of Redscale Film – by Tobias Eriksson
Comment posted: 09/08/2020
The Canon EF was a serious instrument in its day. Will you have it overhauled and repaired?
Comment posted: 09/08/2020
Ken on Shooting Three Kinds of Redscale Film – by Tobias Eriksson
Comment posted: 10/08/2020
Ben Garcia on Shooting Three Kinds of Redscale Film – by Tobias Eriksson
Comment posted: 10/08/2020