

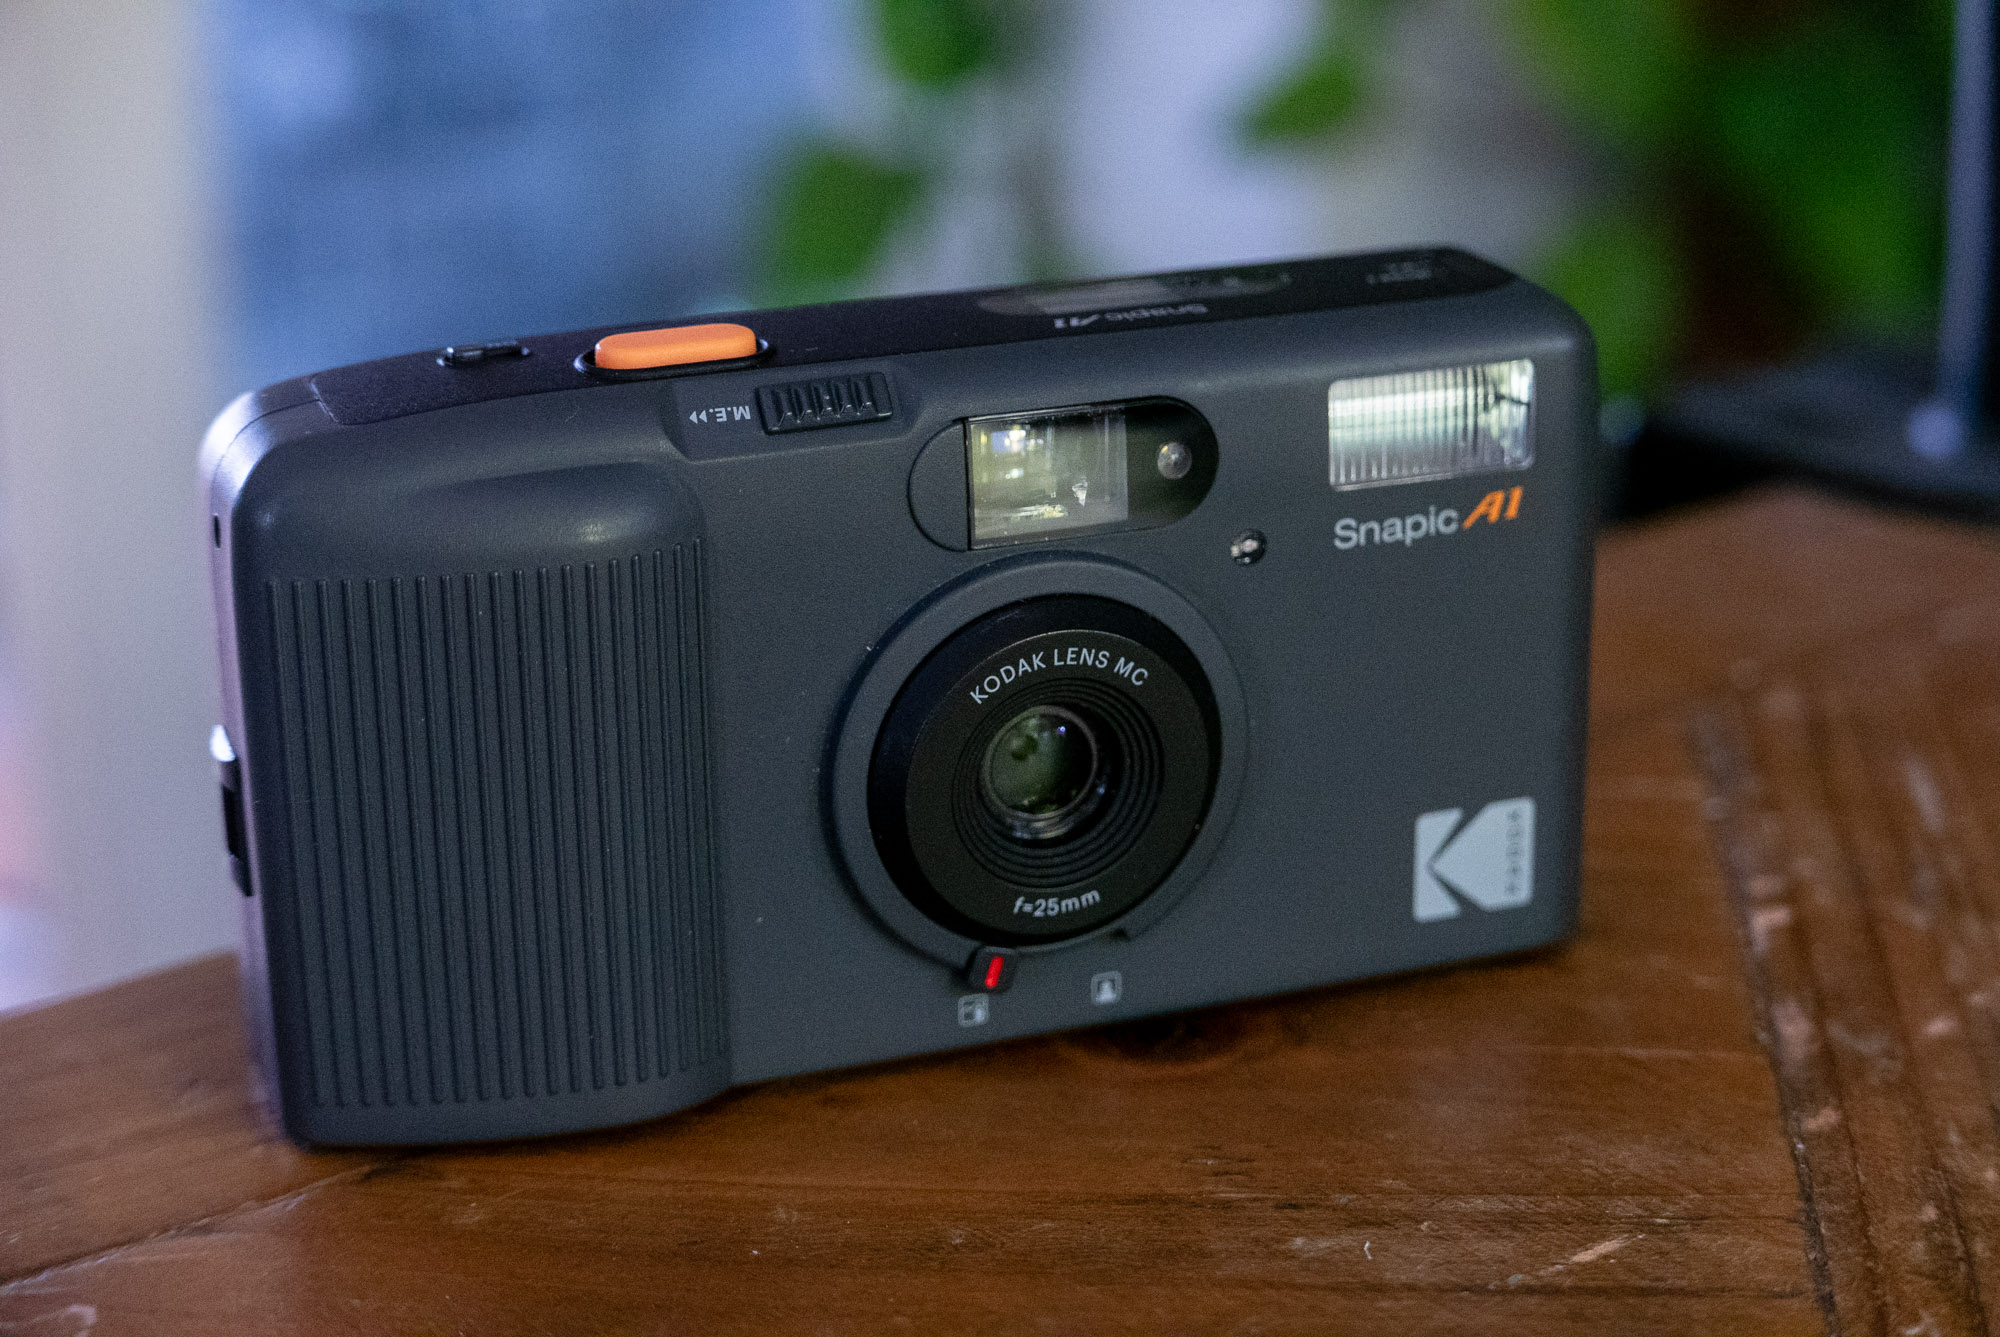
This is a review of the Kodak Snapic A1 – another new point and shoot 35mm compact film camera! I first came across this little camera online through various photography news reports, instagram content of some sort; it’s been pretty well publicised and I was immediately drawn in. Having now played with one for a few weeks, I haven’t been disappointed either.
Alongside the more premium Pentax 17, Rollei 35AF and Lomo MC-A, there’s been a lot of other pretty basic, boxy looking 35mm compact cameras coming to market over the last few years. Most of these have been of more simple designs that often seem to be just a small step up from disposable cameras. Many of them have been reviewed or mentioned here on 35mmc, but I’ve only ever looked a the Lensfayre Snap, and that’s was because I was interested in its sustainability credentials. I’ve just not found myself motivated to try any more of them – I don’t tend to review kit I don’t think I will like, and very few of these cameras look like they offer anything that would particularly interest me.
This isn’t really for the limited functionality though, instead I just haven’t been taken in by the design of any of them. The Kodak H35 is probably the one that comes most readily to mind – it gets good reviews, for what it is, but it just looks a bit crap to me. There’s no getting away from that fact that it looks like a disposable camera that’s had some vague attempt made to style it like a “vintage” camera. Yes it can be reloaded, but it just doesn’t look like it would inspire any confidence in use… and apparently that’s how it feels too. There’s nothing wrong with this at all really, but it’s not for me.
For the sake of clarity though, most of the distaste I hold toward these types of cheap cameras comes down to this cheapness of build and how they feel in the hand. I like cameras that are super-simple to use, and even like cameras with more basic and potentially limiting lenses – there’s a lot of fun to be had with basic photography equipment. I just don’t necessarily want to entirely do away with a positive shooting experience just to enjoy that level of simplicity!
Which is exactly where the Kodak Snapic A1 comes into play. At least to my eye, this has been the first new point and shoot 35mm camera to offer a highly simplified shooting experience but that also looks like it might be of a higher quality build. This is the reason it appealed to me when I first saw pictures of it, and is the reason you’re reading a review written by me – I don’t review kit I don’t like… As I said at the start, this camera hasn’t disappointed me!
Design and Build
The Kodak Snapic A1 looks a bit like a Ricoh GR1, or at very least it looks like it comes from that series of cameras. The shape and size of the body of the camera is similar, as is the profile of the grip. Even the shutter button is a similar shape and in a similar place. This, to my mind – and hand for that matter – is a good thing. I have shot with a lot of small cameras over the years, but very few fit into the hand as nicely as the GR1 series cameras do. The same can be said of the Snapic A1. It’s very small, but thanks to the well shaped grip it feels very comfortable in the hand. Cameras this small can be prone to allowing a finger to stray in front on the lens, but as with the Ricoh, the shape of the camera and profile of the grip seems to mean this doesn’t happen, or at least hasn’t yet happened to me.
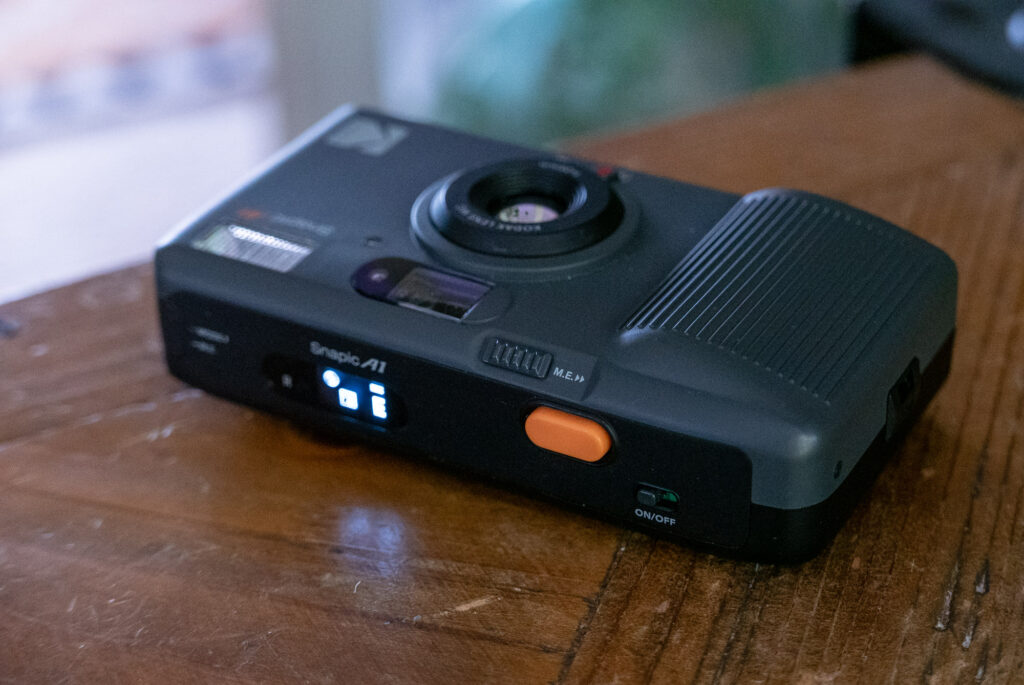
With that said, I have found one small handling issue. I tend to hold point and shoots with both hands when I have them to my eye, usually with my forefinger and thumb on the left hand top and bottom edges of the camera. Unfortunately, the little mode button (which I will come to in more detail in a mo) on the top left hand corner is quite readily pressed if holding the camera like that, so I’ve had to get used to either one handed holding the camera, or gripping it with my left hand slightly differently, or at least in a way that I more consciously avoid pressing the button. No big deal really, but definitely something that I felt worthwhile pointing out.
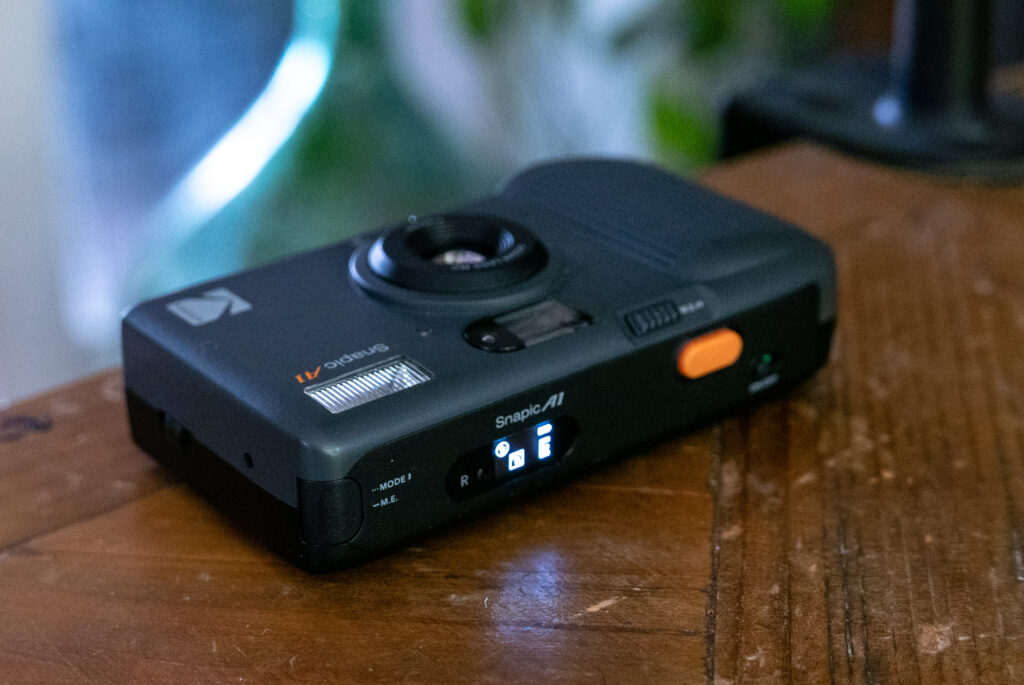
Aside from that, it really is a very nice camera to hold and use. The feel of the plastic it’s made of is pretty good. It lacks a leatherette grip à la GR1, but there is little about it that feels like an upgraded disposable. Instead it feels like a proper camera. It’s light, but feels like it would be pretty durable, and having carried it around in my pocket for a week or so, it’s shown little sign of wear and tear. If I was being picky, I might have liked a little built-in lens cover of some sort, as I’ve had a few occasions where the pocket dust has built up a little on the lens, but aside from that, it’s fared very well. Thanks to its size and low weight, it’s also been very easy to just keep in my pocket at all times too.
Basic Function
It doesn’t look or feel like a disposable camera, but it does function like one. Whilst it looks like it might be quite advanced at first glance, look a little closer and you start to see signs of it being really very basic under the skin.
Lens/Focusing
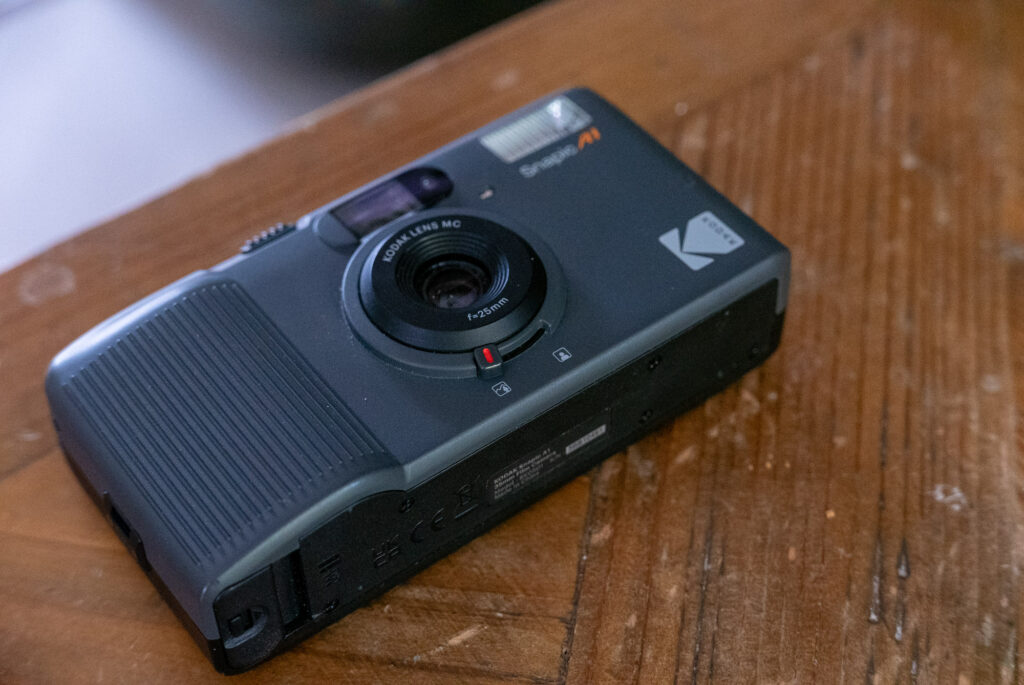
The Kodak Snapic A1 has a simple 3 element 25mm f/9.5 fixed aperture lens. Wide, but slow is the name of the game here. Of course, the advantage of this is lots of depth of field, and the advantage of that is simple focusing. It I manual focus and has just two set distances for focusing which it can be set to. The manual calls them: ‘close-up’ and ‘distance’. The specs on the website says that these are 0.5-1.5m for the close-up setting and 1.5m-infinity for the distance. Tinkering with one of my favourite apps, I reckon this means the focused distances are around 1m for close-up and somewhere a little short of 2.5m for the distance setting. In short, in good light at least, snapping away with this lens is super easy.
Exposure
Obviously, with this advantage comes the obvious disadvantage of it not exactly being ideal for low light. This is especially the case since alongside the fixed aperture, just like with disposable cameras, it also has a single shutter speed of 100th of a second – that is to say (aside from the auto-flash which I will come to below) there is no auto-exposure here, there’s just one setting: f/9.5 and 100th. As a result of this, any control over exposure comes down to the choice of film.
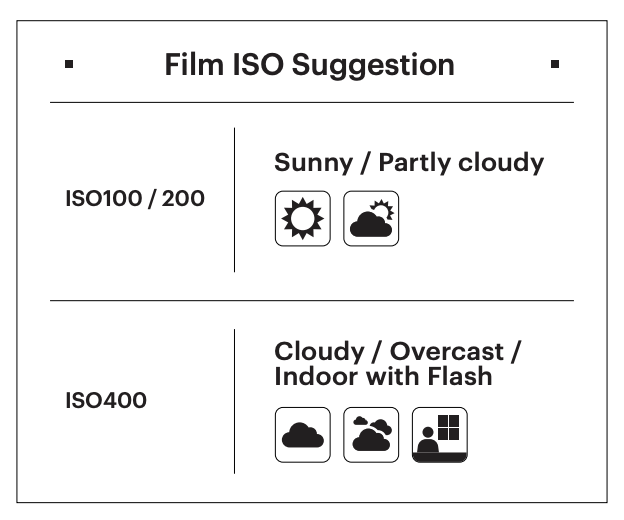
There’s two ways to look at this, the first is to just chuck a roll of 100-400 ISO film, probably erring toward 100 if it’s sunny, or 400 if it’s more overcast and just snap away with the overall aim of taking advantage of film stocks with wider overexposure latitude as much as possible for daylight shooting. Shooting indoors or in an area of slightly darker shade is then where the flash would come in (I’ll get to the flash modes in a bit). This is pretty much the disposable camera way of shooting and has a lot going for it when thinking about how to enjoy a camera like this without putting too much thought into it.
The other way to look at it would be to get into the exposure maths. Doing this opens up a much wider range of shooting situations and the use of film stocks with less exposure latitude. Of course, this approach relies on circumstances where the lighting isn’t going to change during the period of shooting. So for eg, with the Sunny 16 rule in mind, shooting on a bright sunny day where none of the subject matter is going to be in the shade (EV 15), a 25 ISO film would probably work quite well. Equally, a 400 ISO film would work nicely where the subject is in deeper shade (EV 11). It could even be possible to shoot with 3200 ISO given very bright indoor lighting for eg (EV 8).
I’m a big fan of both methods of shooting. In fact, I have shot a few cameras over the years – the Olympus AF-10 Super is one – where I have found a lot of satisfaction in this level of locked-down settings with specific film choices for specific shooting situations. But yeah, equally just chucking in a roll that has a load of latitude is equally as enjoyable for me, and is the way I’ve shot the camera so far. The quick start guide certainly seems to hint at the latter as being the designed shooting method:
Buttons, controls and interface
There’s very little in the way of buttons and controls on the camera. Beyond the shutter button – which as mentioned is nicely positioned to sit comfortably under the forefinger when shooting. Thanks to the Snapic A1 being manual focus, there’s very little shutter lag when the button is pressed. It also has a fairly nice feel to the button press action. One thing I also noticed pretty quickly when first using it is that it feels like there’s a slight delay between pressing the shutter and the automatic film advance actioning. Actually, I think this is more due to the fact that it doesn’t advance the film until the shutter button is released. Combined with the fact that there’s no autofocus noise from the lens this can be quite advantageous if wanting to be very subtle or quiet when taking a photo – though I should add, even the film advance motor noise is pretty quiet even if you do let it run straight after taking the photo.
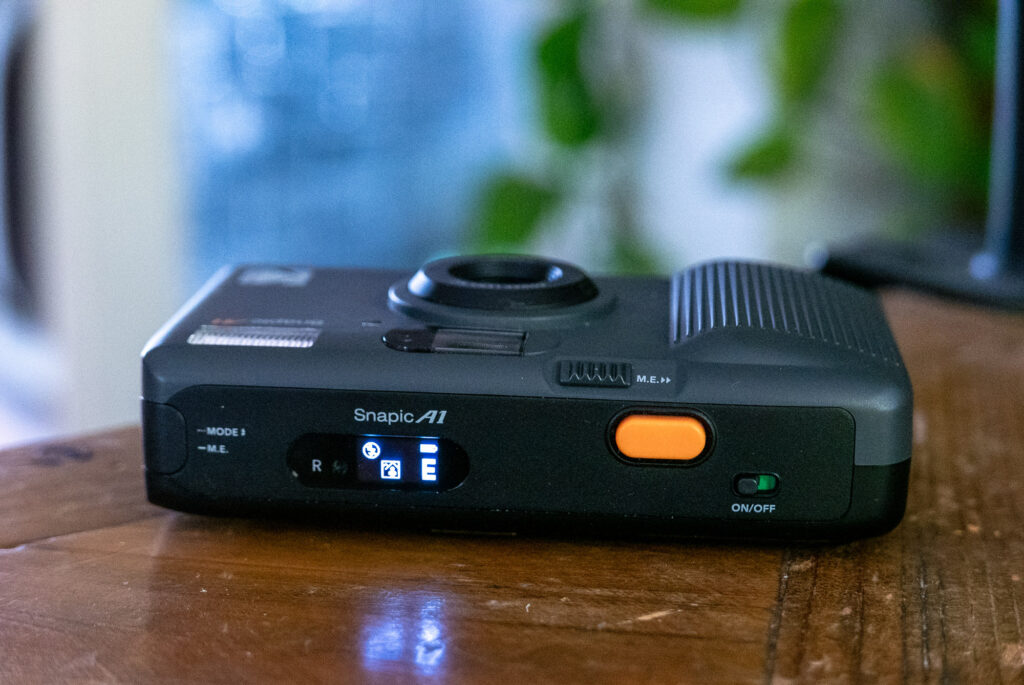
Beyond the shutter button, there’s only four other controls, the mode button on the top left corner of the camera, the focus control switch under the lens, a little switch for cocking the shutter (without advancing the film) when taking a double exposure and button for rewinding a roll before it’s end. There’s also a little screen that shows all of the few set settings as well as the shot count. The focus control switch is self-explanatory. The set focus distance is also displayed on the little screen – this felt like a nice touch to me.
The button on top left corner of the camera has two functions. Single/quick presses of this button cycle through the flash modes, a longer press/hold activates the double exposure mode.
Double exposure
The double exposure mode is just that, it allows the camera to make double exposures. Once the mode is activated and the first shot is taken, as mentioned, the shutter can be cocked by just pushing the little switch on top of the front edge of the camera. It’s worth noting that according to the manual, this really is just a double exposure mode, i.e. it can only be used once before the film needs to be advanced. I guess this is to prevent lots of layering of exposures which could end up in overexposure. Had I designed the camera, I would have probably allowed more than double exposures, but I suppose I get the logic.
Flash modes
Finally, there’s the flash modes. But before I get to them, I just want to point out possibly my favourite features – as also found on the Lomography MC-A – the remembering of the flash settings. Even when the camera is switched off and back on again, it remembers whatever the flash settings were set to. Of course, this is somewhat let down by the fact that it’s quite easy to accidentally press the mode button, but let’s just ignore that and bask in the wonder of flash mode memory… something so often not included on cameras back in the 90s and early 2000s!
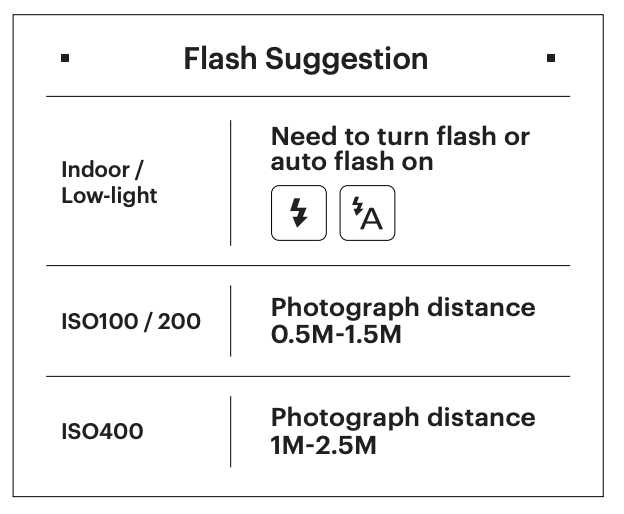
That out of the way, there are five flash modes to choose from: Flash off (my favourite). There’s then an auto-flash mode with red-eye reduction. It’s worth noting that this is the only bit of automation the Snapic A1 has when it comes to exposure. Apparently it activates the flash at light levels less than 2000 LUX – I had to look up what this meant in terms of EV. I found this website (set the aperture to f/8 and shutter to 1/125th for equivalent to f9.5 and 1/100th) and it seems 2000 LUX is about 9.6 EV (100 ISO). If I have managed to squeeze my head around what this means, it sounds like less light than I would have expected, but actually I’d probably prefer it choosing not to flash where a little bit of underexposure latitude might just work out ok. Where it will likely trigger every time is in indoors with normal levels of artificial light, which is pretty essential with 1/100th and f/9.5 almost regardless of the film’s ISO. Of course, once you start thinking about the ISO of the film and the flash – which apparently has a guide number of 8 – you could start thinking about choosing specific film stocks based your anticipated subject distance. Though you could also avoid all that overthinking by just looking at the little diagram in the manual:
The last two flash modes are always on, and always on with red-eye reduction – this being useful for fill for backlit shots etc, and/or where there’s a desire for the camera to flash every time where it might otherwise get tricked into not flashing by a bright light source in the frame, for example.
A few photos and notes on lens quality
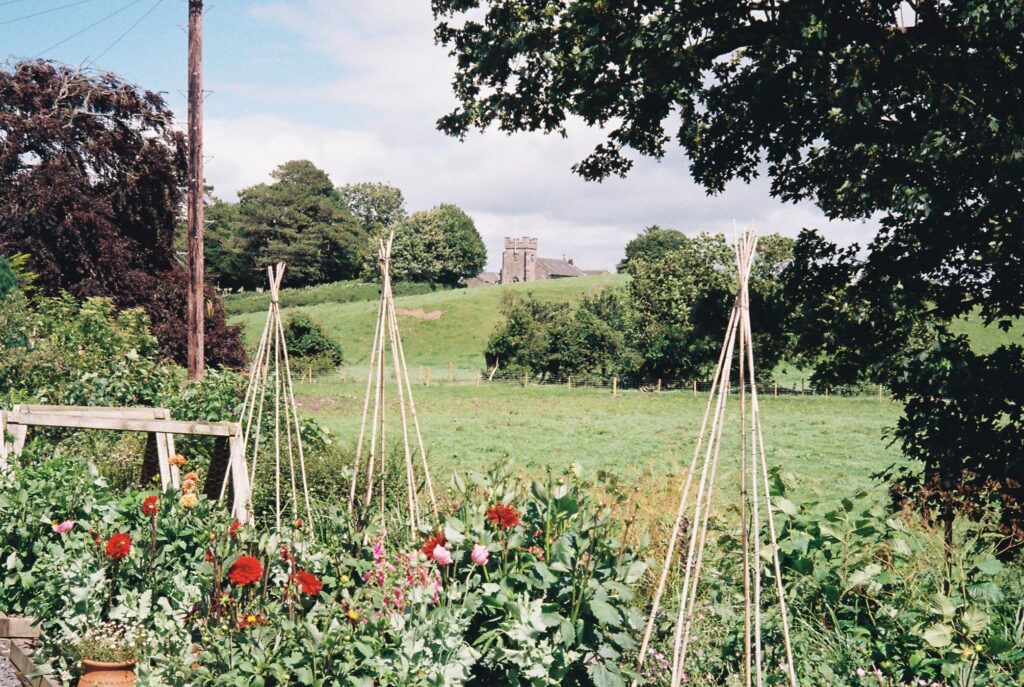
I’ve shot a couple of rolls so far, first was a roll of some sort of ECN2 film I found floundering at the bottom of my box of film in the fridge.


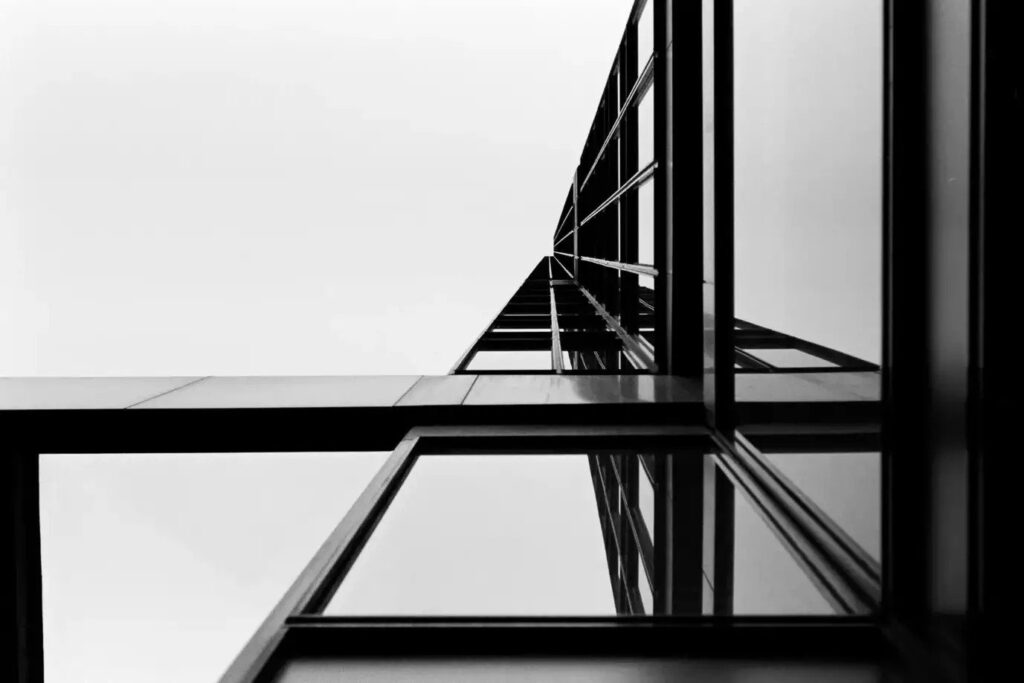
The second roll of film I shot was a roll of XP2 – I wanted to test the flash to took it to the photography show…


Final thoughts
I feel like ~2500 words is possibly too many words to write about a camera this simple. The reality for me though is that I like writing about cameras and lenses that inspire me to write about them. The Kodak Snapic A1 inspired me to write about it exactly because it is so simple. As I said at the beginning, simple, limited, restrictive, un-complicated (whatever word you want to use) cameras aren’t always interesting to me – especially the ones that feel crap in the hand (e.g. most disposable, and reusable cheap cameras).
But, cameras this simple that also feel really nice to use are really fascinating to me for two reasons that I hope I have illustrated in all the waffle above. Firstly, I love the idea that with little to no thought, a roll of wider-latitude film can just be chucked into this camera and it can be used with little thought beyond whether or not the flash should be on. But, given specific shooting circumstances, using an understanding of exposure value and or the power of the flash/subject distance, a more precise-exposure shooting process can also be achieved and enjoyed.
Of course, even for me and all my waffle, I’ll admit that a lot of the enjoyment in a camera like this is going to be in the quick and easy point and shoot approach. Much of the above beyond that shooting approach is little more than a thought experiment. Though, with that said, I definitely intend to load a slower-speed film and shoot it on a sunny walk on some hills or the beach later on in the year when the weather is more reliable – not least as I would like to see just how much resolution I could achieve our of this little simple lens and perhaps some Ilford Ortho.
Regardless of how I might use it though, there’s a reality here that I solidly believe a camera like this should have very wide appeal. The Kodak Snapic A1 could be picked up and used by pretty much anyone, just like disposable cameras can. But unlike disposable cameras, it’s not going to feel like a load of crap in the hand to those of use who are more picky. And so even outside of the more in-depth ways it could be shot – especially given the keen price point (£99 in the UK) – I think is going to be very popular camera! In short, in case it’s not blindingly obvious, it definitely gets a thumbs up from me!
Share this post:

Comments
John Bennett on Kodak Snapic A1 Review – Overthinking With Well Built Simplicity
Comment posted: 25/05/2026
And for $99 (the price in the States), you really can’t go wrong. It does everything you’d expect.
Michael Zwicky-Ross on Kodak Snapic A1 Review – Overthinking With Well Built Simplicity
Comment posted: 25/05/2026
Philip on Kodak Snapic A1 Review – Overthinking With Well Built Simplicity
Comment posted: 25/05/2026
Gary Smith on Kodak Snapic A1 Review – Overthinking With Well Built Simplicity
Comment posted: 25/05/2026
Alexander Seidler on Kodak Snapic A1 Review – Overthinking With Well Built Simplicity
Comment posted: 26/05/2026
Rickey Hargrove on Kodak Snapic A1 Review – Overthinking With Well Built Simplicity
Comment posted: 27/05/2026