

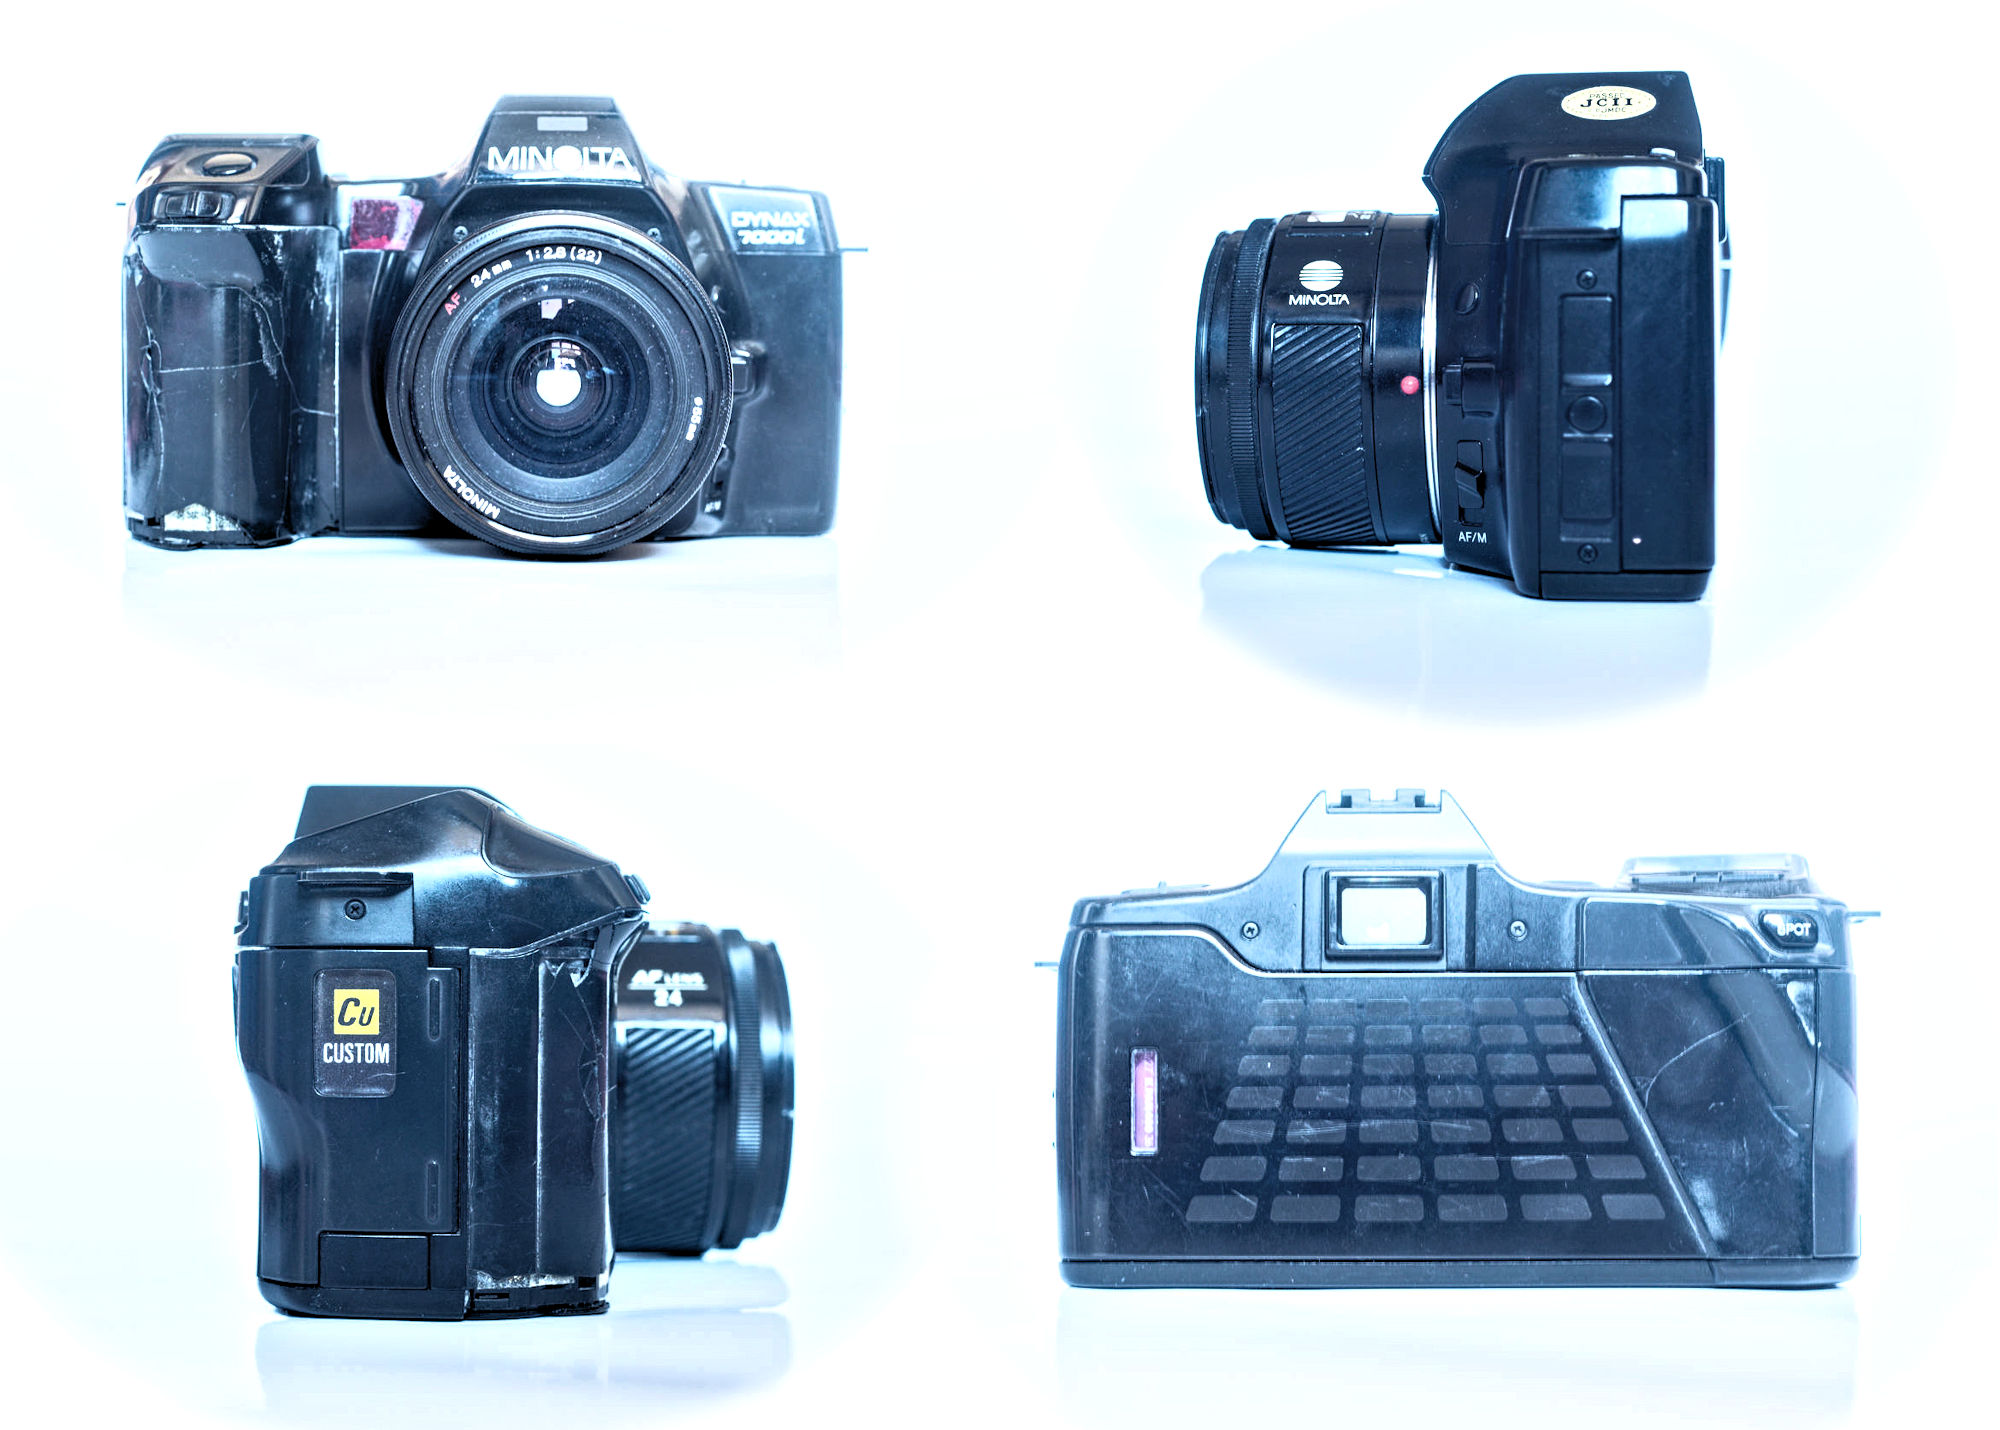
The subject of this review was released in 1988 as a replacement for the Original ‘7000’. With that camera Minolta had shaken up the photographic market. It was the first model to be released in an autofocus system that would not only survive film, but would also survive the camera division of the company that made it.
Nikon and Canon may not have been first out of the gate, but the giants responded quickly and quite strongly. Minolta sought to capitalise on the lead they had stolen on the big two by producing an update as early as 1988. This second generation of autofocus SLR cameras was headed up by a camera aimed at enthusiast photographers. Minolta continued with their regional branding, calling the camera ‘Alpha 7700i’ in eastern markets, ‘Maxxum 7000i’ in the Americas, and introducing an equivalent brand for European markets by calling the camera ‘Dynax 7000i’ there.
My review camera has the Dynax branding, but I’ll just refer to it as the 7000i in this review.
Innovations
A surprising amount changed in the space of 3 years, and the 7000i is a very different camera to its predecessor. It still uses a lot of the peripherals that were introduced with the original series, including electronic cable releases and interchangeable screens as well as the lens range, but there were notable differences too. This included a switch to modal control, a new flash shoe, use of a lithium battery, and the addition of two extra autofocus sensors.
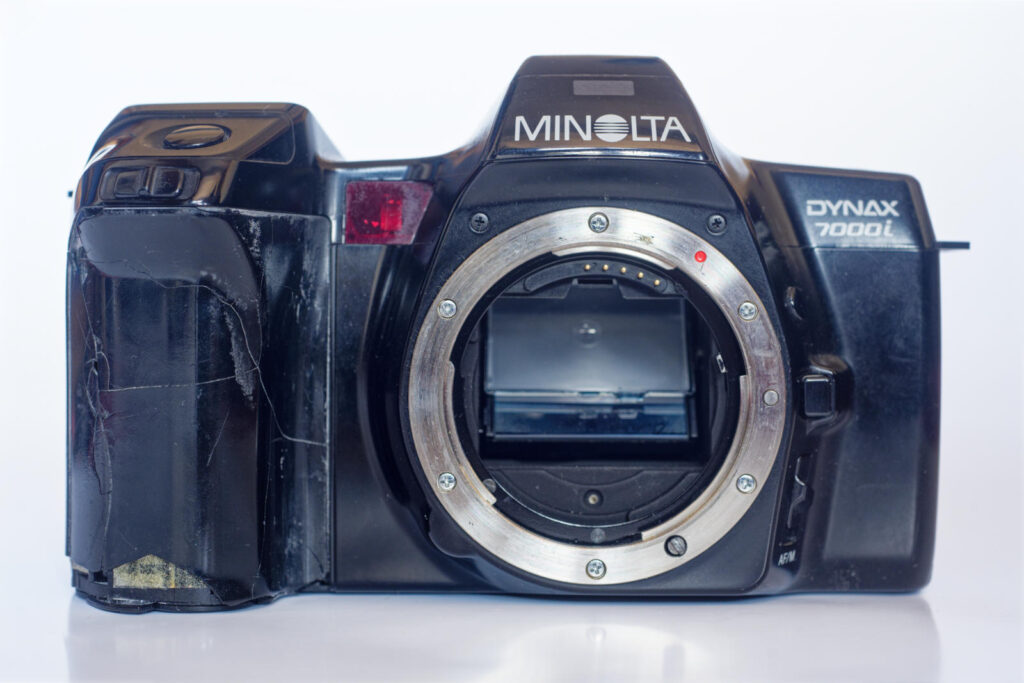
Modal control
The look is very different from its predecessor. The 7000 AF is conventional in shape and also, to an extent, in its controls. The 7000i is sleek and smooth by comparison, more ergonomic in form, with a lower profile and controls where you alter settings by pressing a button and choosing a setting on the large top-plate display.
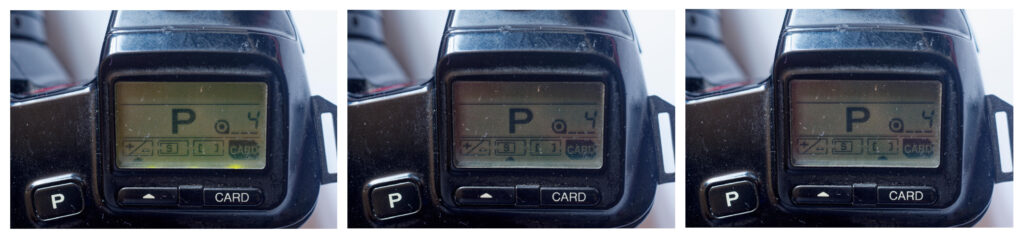
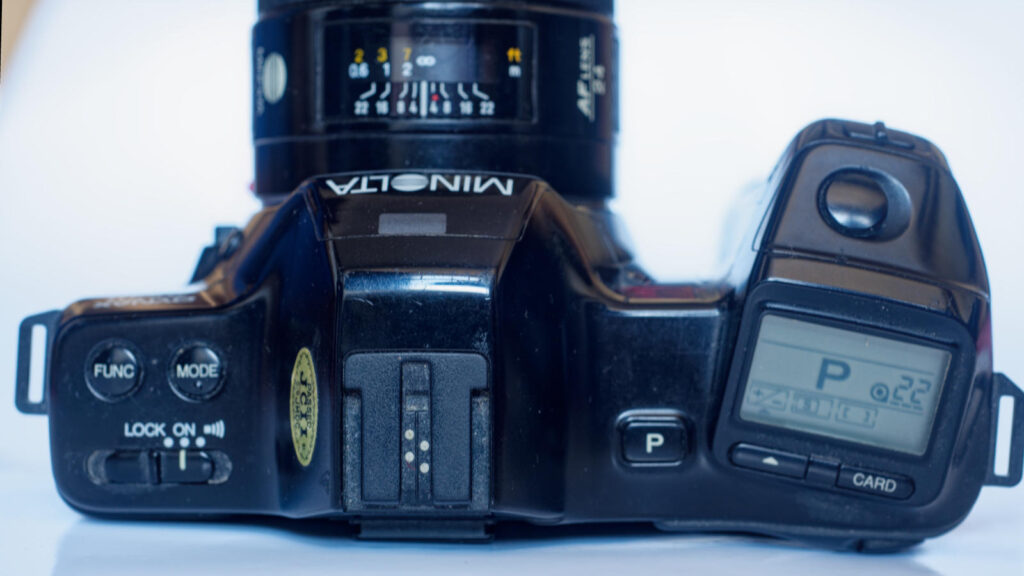
On the whole, the 7000i is quite intuitive. This was the first step down a path that led to the Dynax 9xi. The main differences are the use of regular shapes like rectangles and circles on the 7000i in contrast to the 9xi’s more freeform shapes. However, asymmetry has got a foothold, and the design is brave enough to not arrange the screen and grip controls to line up with the rest of the camera.
The original 7000 had a relatively discreet Program Reset button just in front of its power switch. Here, we see Minolta being a little less subtle in an attempt to nudge their customers towards Program mode with a larger and more prominent P button.
The iISO flash shoe
Cameras had long featured a standard shoe that enabled you to attach things like accessory viewfinders. The same shoe was also used to hold rangefinders, exposure meters and brackets for flashguns. As time went on, flashguns became the most frequent accessory used, and electrical contacts were added to make the shoe ‘hot’ – meaning that, when a flashgun was connected, you could trigger the flashgun without extra leads. It was a standard, and flashguns all connected in the same way.
That didn’t last long. Some manufacturers started to add extra contacts to control snazzy features on their own dedicated flashguns. Then nothing was universal anymore. At this point Minolta seemed to decide to break away from the accepted ‘standard’ and have a go at redesigning the whole thing.
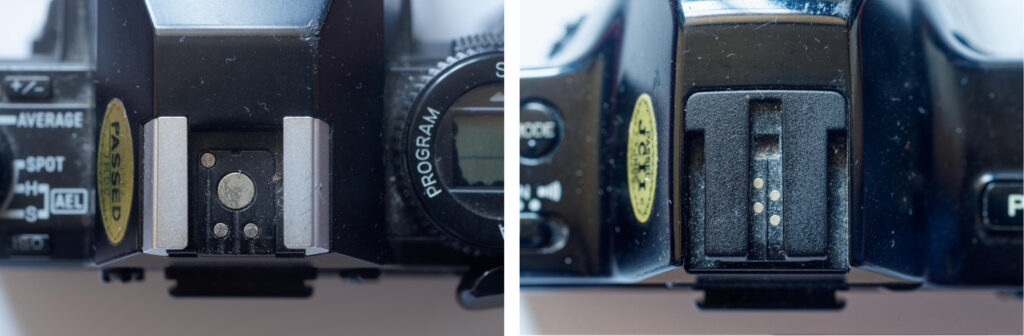
Minolta’s iISO design is basically an inversion of the traditional shoe. It is a nice bit of design, and tackles a problem long found on SLR cameras – the vulnerability of the top-plate to distortion damage if the camera is dropped with a flashgun providing a rather large lever applying sudden pressure. Because Minolta’s iISO shoe was constructed in plastic, it was a small, replaceable weak spot on the connection between the camera and flashgun that would fail without causing greater damage to the camera/flash combination. Better, of course, to not drop the camera, and certainly not with a flashgun attached, but the revised shoe did seek to minimise (and localise) damage.
The iISO shoe was around for 22 years; over that time, Minolta, Sony and third parties produced plenty of flashguns that were compatible (as well as adapters). Finding a dedicated flashgun to fit, if you need one, should not be difficult.
The battery
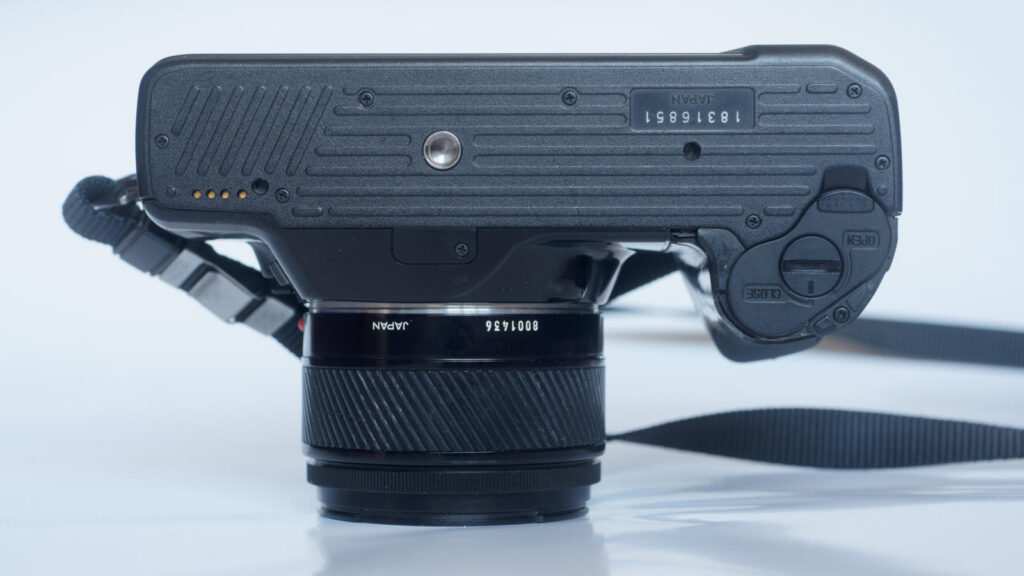
The previous series had used conventional alkaline ‘AA’ cells. These are commonly available, but also quite variable, both in initial voltage (if you are using NiCad versions) or in voltage variation over their lifetime. The 2CR5 lithium battery used in the 7000i was more expensive, but it could provide consistent power to run a camera reliably at 3fps. As the battery could cope with anything the camera was capable of, there was no supplementary battery pack/grip option (although the contacts on the base of the camera suggest that Minolta were keeping their options open).
More AF!
Autofocus had come a long way in three years: enough to make the first generation autofocus appear quite pedestrian. The 7000i also introduces an extra two AF sensors either side of the central one. As soon as we get extra sensors, we need to consider how we use them. In the case of the 7000i, the camera makes most of the decisions, although the photographer does have the option to disable the extra sensors and just rely on the centre focus point.
Then there was the ‘i’ bit…
One of the big things that Minolta brought in with this line of cameras was the camera doing basic analysis of the shooting situation and altering how the camera reacts accordingly.
Predictive AF
Rather than just judging sharpness of focus at any particular point in time, the intelligent bit of the 7000i is supposed to do an analysis of how the target of the AF sensor is moving and then decide where the subject is likely to go in the future. It also looks across the three AF sensors to try to judge which of the three to focus on.
As well as predictive AF and which sensor to use, the camera also works out whether to use single ‘focus-and-lock’ AF, or to focus continually. Now, I’m a bit sceptical about the camera’s ability to properly judge this. If something is fidgety, I can see how the camera could reliably judge that continuous AF was the way to go, but if something is still, leading to an AF lock and then starts getting active?
In practice it works well enough, so maybe my scepticism is unfounded. Notably, later series of cameras tended to give options in settings of single AF or continuous AF, as well as giving an ‘auto’ option.
Metering
The 7000i uses Minolta’s first stab at matrix metering. In contrast to the plain centre weighting used on the 7000, the 7000i breaks the subject up into 6 segments in order to work out the best exposure overall.
As a backup to matrix metering, Minolta gave a ‘spot’ option via a button on the back of the camera (locked while the button is pressed), giving an effective override.
Later cameras had more ‘segments’, but the ‘intelligent’ metering used in the 7000i works rather well. I understand that when the camera is set to Manual metering it reverts to simple centre-weighting.
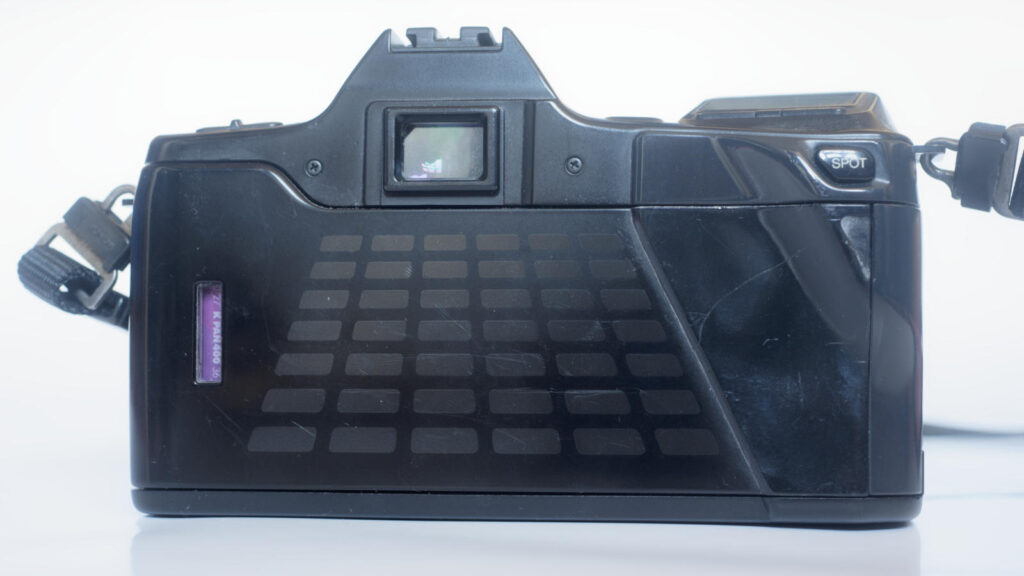
Cards
The 7000i introduced cards. The whole cards thing rather passed me by at the time. My eldest was born in 1987, so the whole end of that decade is a bit of a blur. By the time I had the time (and cash) to be interested in photography that didn’t feature small people, Minolta’s cards had been and gone. A number of Minolta cameras that take cards have passed through my hands, but I’d never actually used a card in an i, Xi or Si camera until I started this review.
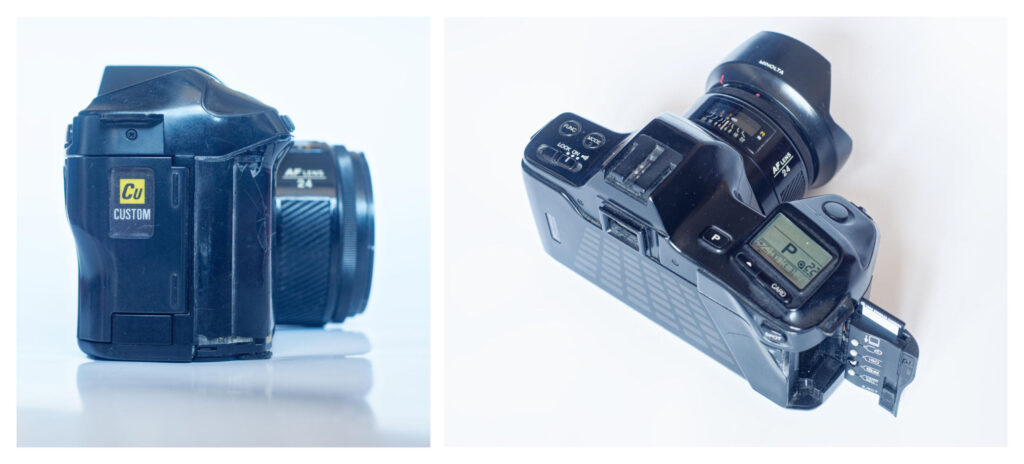
As I was planning to review the first of the card cameras, and because the ‘Custom’ card that allows useful options on the 7000i can be picked up for reasonable prices (and should have a resale value), I thought I would get one.
The card is very easy to use; you simply load it into the door at the right of the camera and press the ‘Card Adj’ button, which is the lowest of the little rubberised buttons in the card door. You can then press the card button on the top-plate to access each of the custom functions in turn. In the case of the Custom card, there are seven options:
- Usable exposure modes: this does not give you any more modes, but enables you to hide any or all of the exposure modes other than P, which is always available.
- Lens focus hold button function: If your attached lens has a focus hold button, you can set it to hold focus, select the centre focus centre or switch to continuous AF.
- Shutter speeds: This allows you to use whole or half stops for shutter speed selection.
- Slow shutter speed warning: Can be set on or off.
- Frame counter: Can be set to count up from 1, or down from whatever the DX coding indicates is on the roll.
- Film rewind start: Can be set to automatic at the end of the film or manual by pressing the rewind button in the card door.
- Film leader: Can be set to rewind into the cartridge, or to leave the film leader visible.
Once you have changed the settings with the custom card, you can remove it, or replace it with another card, and the settings will stay. I can attest that this works, even when the camera is left a long time without batteries, as when I went to change the setting to leave the leader out in my long-dormant 7000i, the camera was already set to do that. At some time in the past, someone had already used a custom card to set this value, and it stuck.
Other cards ranged from those to achieve particular effects (such as ‘Fantasy’), support types of photography (travel, sports, close-up child, etc), and other options such as bracketing, multiple exposures, and multi-spot metering, as well as preserving data on settings used for each shot on a roll. The cards were usable by the i and xi ranges of cameras, along with the 700si model of the si range. Note that some cards are only usable in certain cameras. Such features on later cameras tended to be built-in.
Accessories
Two interchangeable backs were available for the 7000i, these were the Data Back DB-7, which imprints the date (and optionally time) on a negative and the Program Back PB-7 which could do consecutive or fixed numbers in addition to date/time and also allowed you to set up an intervalometer and timed long exposures.
Missing
The 7000i was aimed at enthusiast photographers. It is the sort of camera that in later years would be expected to have twin control dials, depth of field preview and vertical grips, but these were still the early days of autofocus 35mm SLRs with built-in winders and those expectations were not yet established.
Back in the time of the ‘i’ series, the 7000i only had a single jog-switch (control wheels came in with the next ‘xi’ series), no battery or control grip and no DoF preview. What differentiated it from the more entry-level 5000i was Programme shift, Aperture priority and Shutter priority (although the last two could be added to the 5000i with a card) – and a more advanced version of matrix metering.
A second control point
On the original 7000 AF and 9000 AF there were twin control points. Both cameras had a control near the shutter release to control the shutter speed and another on the left side of the lens mount to control aperture.
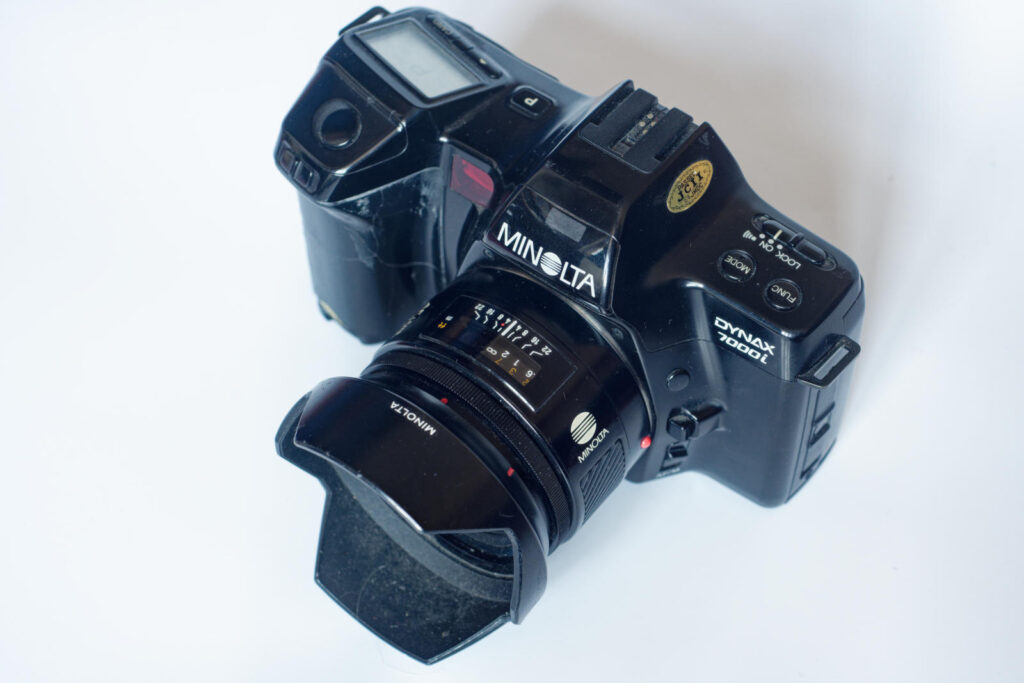
The 7000i only has a single jog-switch, but it works for program shift, shutter and aperture priority. In manual exposure mode the jog-switch controls shutter speed until you press a button on the side of the mount, at which point it adjusts aperture. This setup is absolutely fine for me, but I confess to being an advocate of P mode with shift, and while I do use shutter and aperture priority exposure when appropriate, I rarely use manual. For people who still prefer manual exposure, this may suit them less well.
DoF preview
Being able to judge depth of field (DoF) was one of the original benefits of an SLR. The downside was the darker screen as the lens stopped down. As time went on, manufacturers improved the brightness of SLR screens, but this tended to make judging focus on the viewfinder screen more difficult. Autofocus stole even more light from the viewfinder, making transmission of light (rather than judgement of focus) in the viewfinder even more of an imperative.
DoF preview also adds a complication to metering. Do you disable metering while stopped down, or do you take account of the lens already being stopped down? If you are metering and are in shutter priority mode, do you keep adjusting the aperture of the stopped-down lens as the scene changes brightness? None of this is impossible to deal with, but it is a complication.
I can see why DoF preview was a feature that manufacturers would try to wean their customers away from. In practical terms, with its effectiveness on a standard autofocus screen, its absence is no huge loss. However, Minolta may have been keeping their options open. It is notable that the bottom left of the 7000i lens mount (as you look at it) features a little bulge, at just the position that Minolta normally put their DoF preview button. Later cameras that did get a DoF preview featured it in just this position.
The road not taken?
Unlike the 7000 AF, the 7000i never had an extra battery pack (the 2CR5 battery copes quite well) – however, the base of the camera does feature a little row of four shielded electrical contacts that were never used by an accessory; there are also two holes for studs that would help to position something on the base of the camera. I’m guessing that this was hedging against an adverse reaction to the 2CR5 battery, with the idea of offering an AA-battery backed alternative. If that was the intention, it doesn’t seem to have been needed in the end.
Camera Issues
Probably the biggest issue is deterioration of the plastics used over time.
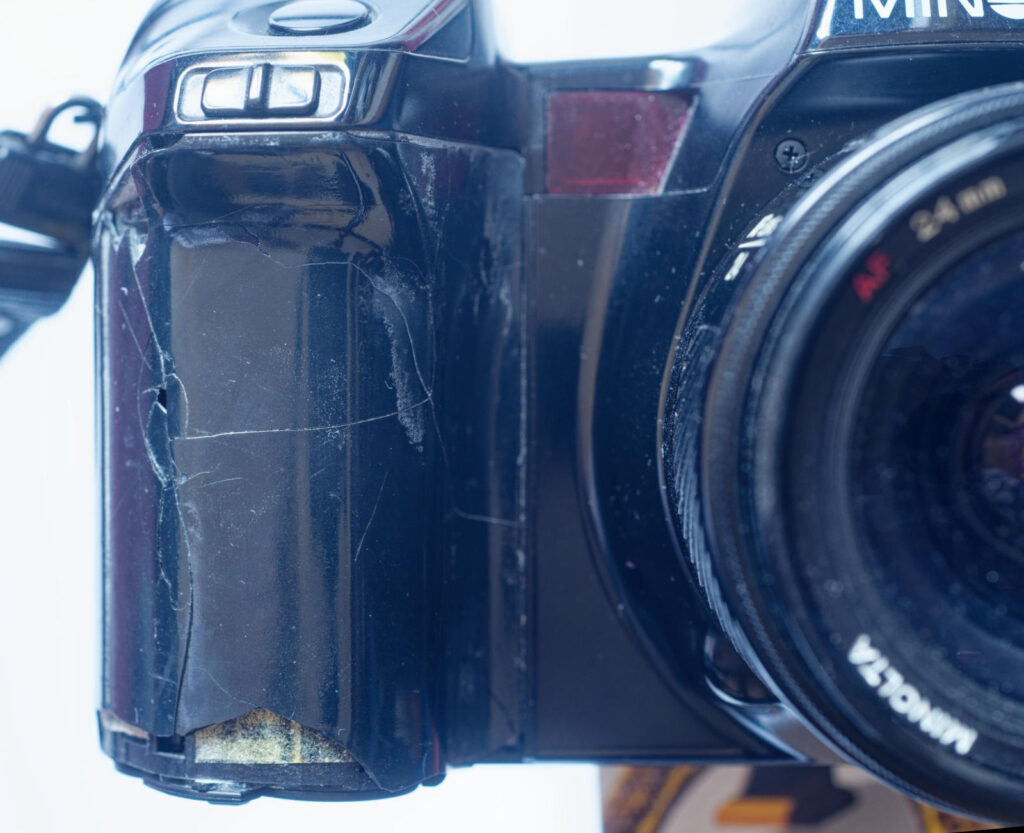
I bought this particular Dynax 7000i at a stand for the disabled photographers society at the Photography Exhibition in Birmingham back in 2018. It was boxed with all the bits and hardly showed any signs of use. Unfortunately, the plastics in use on those early autofocus Minoltas don’t need use to show age. Moderate use and exposure to daylight in normal household conditions have aged the camera’s grip over the last 8 years.
It’s a fairly common problem, and not just restricted to Minolta.
Each time I’ve taken the camera out or done some product shots of this camera, it has lost a bit more plastic from the grip. Towards the end of the roll I was shooting, so much of the grip had fallen off that I ended up using some plastic padding to bolster up a serviceable grip, which was then covered with thin leather.
Dynax/Maxxum 8000i / Alpha 8700i
Although the ‘i’ series never got its own ‘professional’ model, it did pick up an enhanced version of the 7000i in 1990. The Dynax/Maxxum 8000i (Alpha 8700i in Japan) had a high-specification shutter. Its top speed was 1/8000, and its flash sync speed was 1/200 – in comparison to the 1/4000 and 1/125 of the 7000i. The 8000i/8700i also featured:
- A focus hold button on the back of the camera
- The choice of spot, multi-pattern or centre-weighted metering as default
- A separate button on the left of the mount to set exposure compensation
- A multiple exposure facility
- A PC flash synch socket on the body
Although It didn’t get DoF preview or a vertical grip, it is a remarkably well-specified camera.
A special white ‘MIR’ version of the 8000i was produced to celebrate Toyohiro Akiyama (a Japanese journalist) taking a similar white 8700i (together with some standard black-finished lenses) with him on a trip to the Mir space station.
In use
The Dynax 7000i is a very usable camera, even after 38 years. It doesn’t have astonishingly swift autofocus, but it is plenty fast enough. It is not a gimmicky camera, but if you like a party trick, you can add a creative card of your choice. It is both capable and robust (apart from the plastics).
Viewfinder
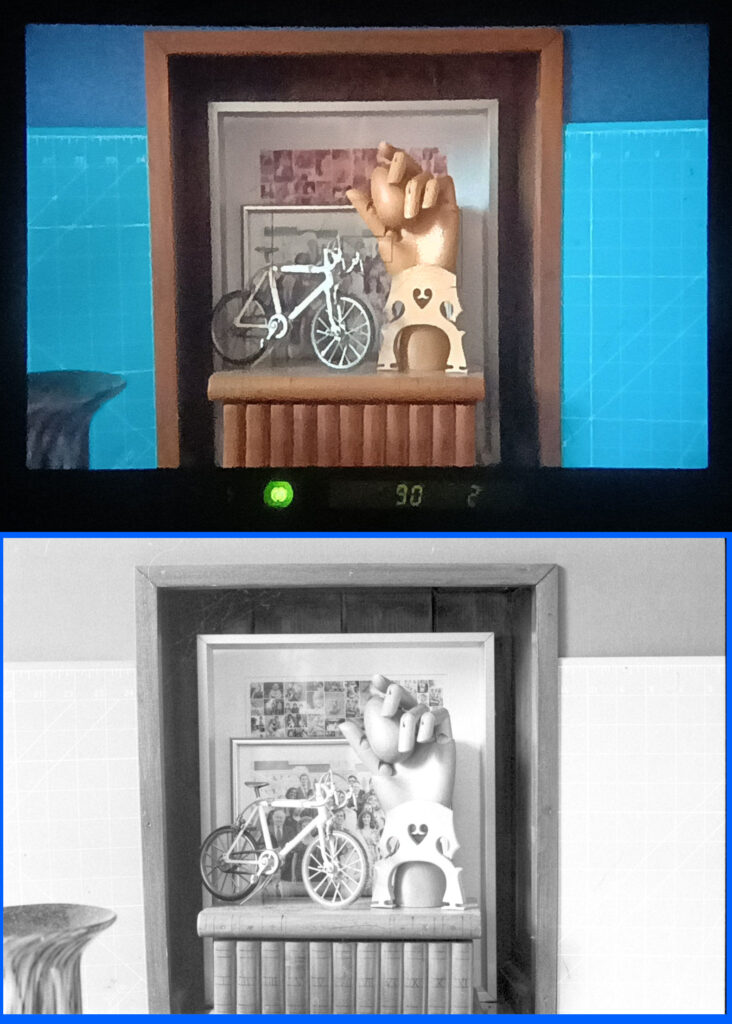
The viewfinder is nice and bright, shown above with the standard G screen. The viewfinder shows focus confirmation and exposure info along with just north of 87% of the image that will end up on the negative. The 7000i also works with the (hen’s teeth rare) PM screen that was available for the previous series. I used my converted Pentax MX screen, which gives more of an idea of sharpness of focus across the screen than the standard AF screens. I included a comparison shot in my 9000 AF review.
Handling
The 7000i handles well. The modal control is simple and intuitive enough that you shouldn’t get lost. It probably helps to go with the flow and use the camera in P mode and trust its decisions. You won’t be led astray. Later cameras tended to have more opt-outs, but that can add complications. The 7000i grip is substantial enough for me to wrap my hand around, and the thumb grip on the rear of the camera aids a really secure hold – enough that I don’t routinely feel the need for a neck strap. Weighing in at 835g with a 24mm prime, the camera feels solid enough to inspire confidence without being tiring to carry around all day.
The specification is pretty good, with the shutter going down to 1/4000, a flash sync of 1/125 and the film transport being capable of chewing through film at 3 frames per second.
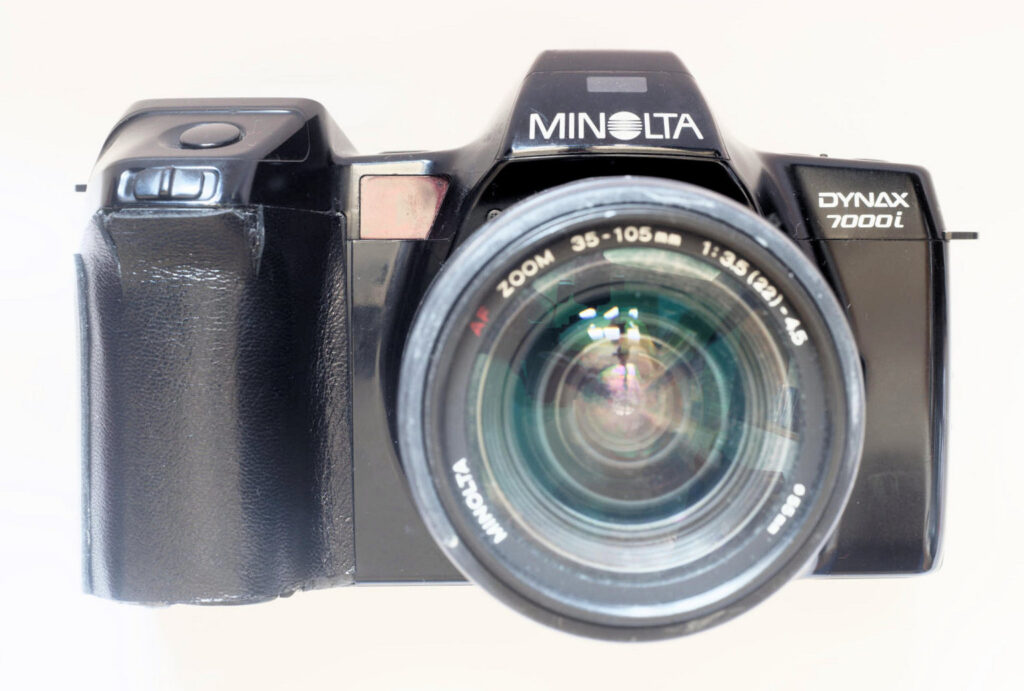
The camera works well enough that when the grip started to fall apart in my hands while shooting the pictures for this review, I felt the need to repair the grip so that the camera could live on rather than just seeing the film out. I may have been channeling my father.
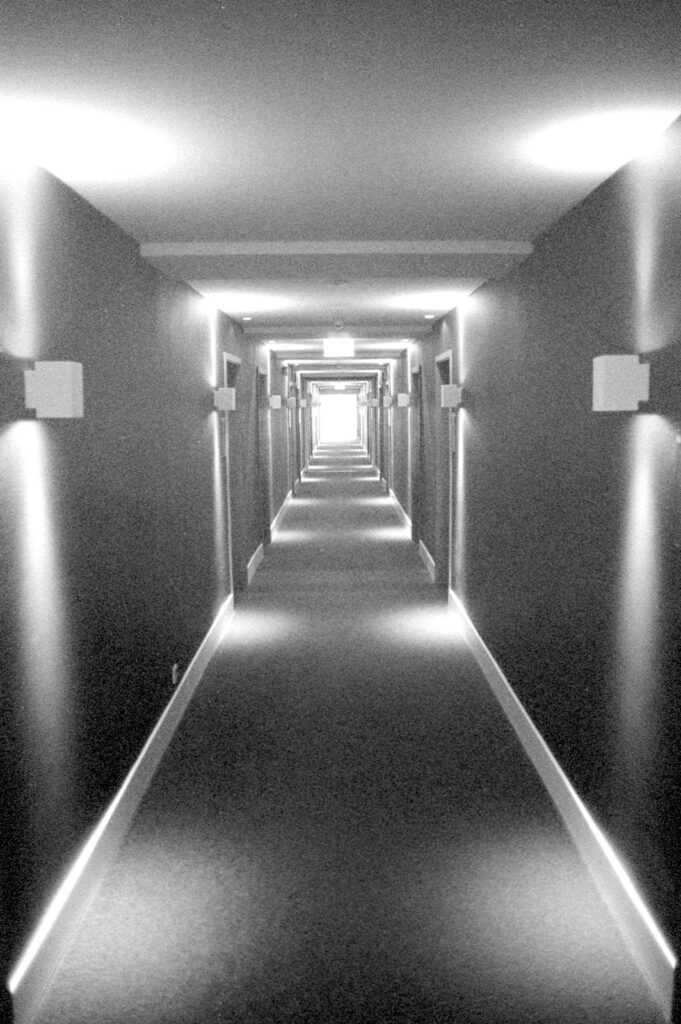
Pictures



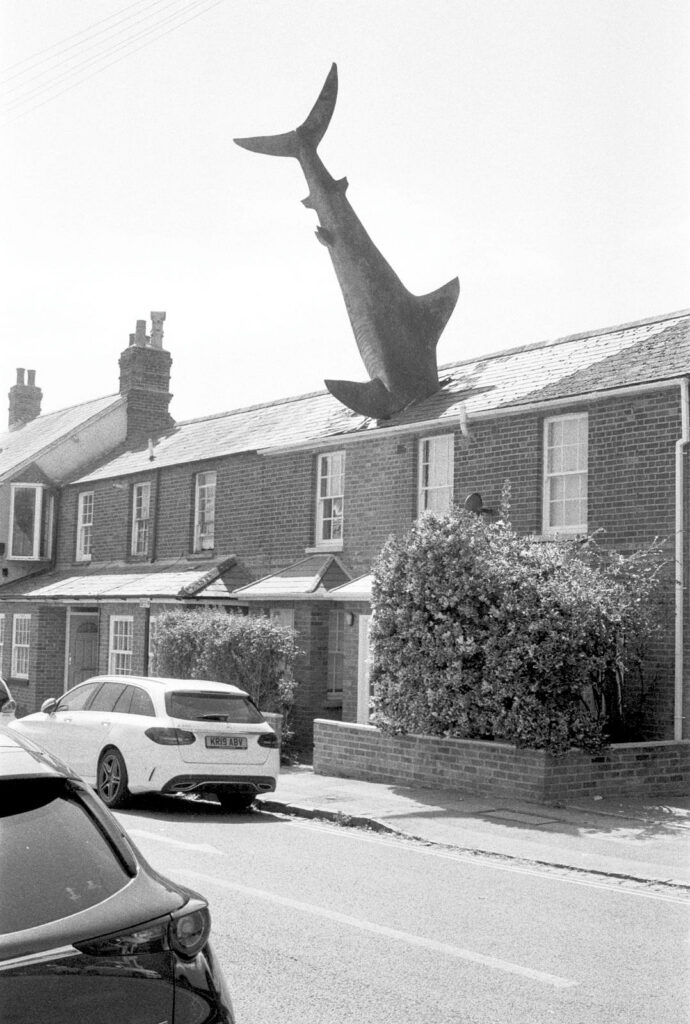
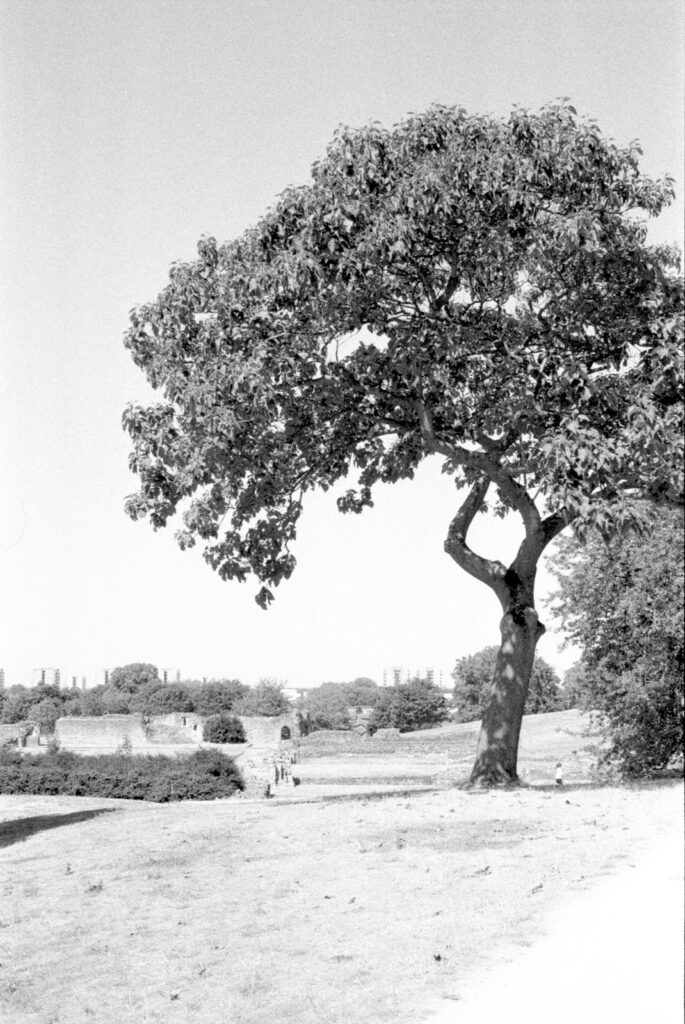
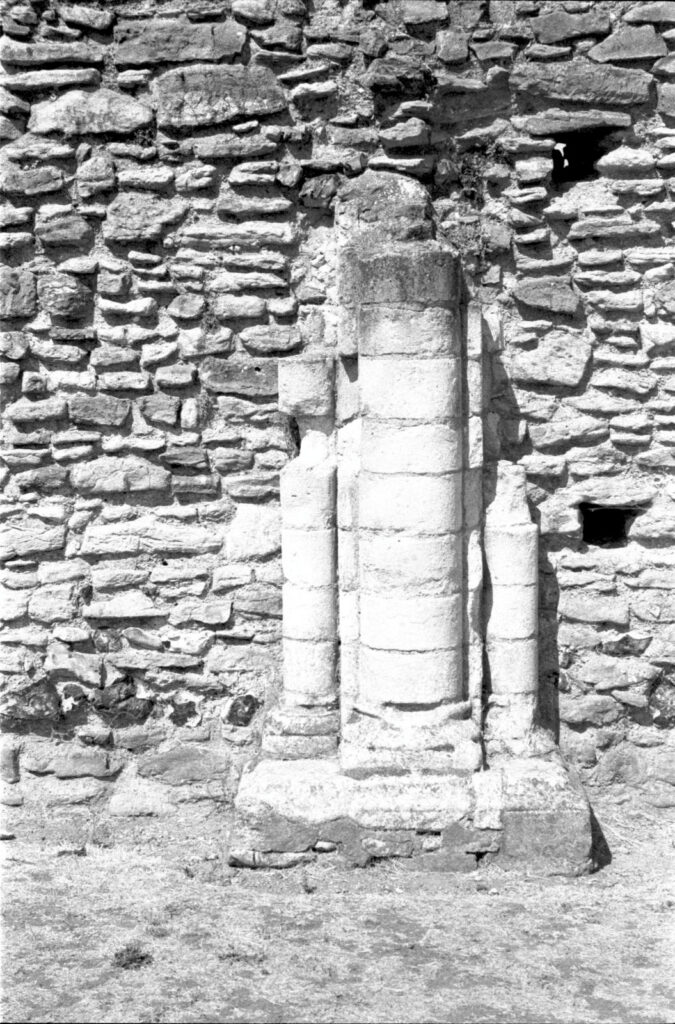
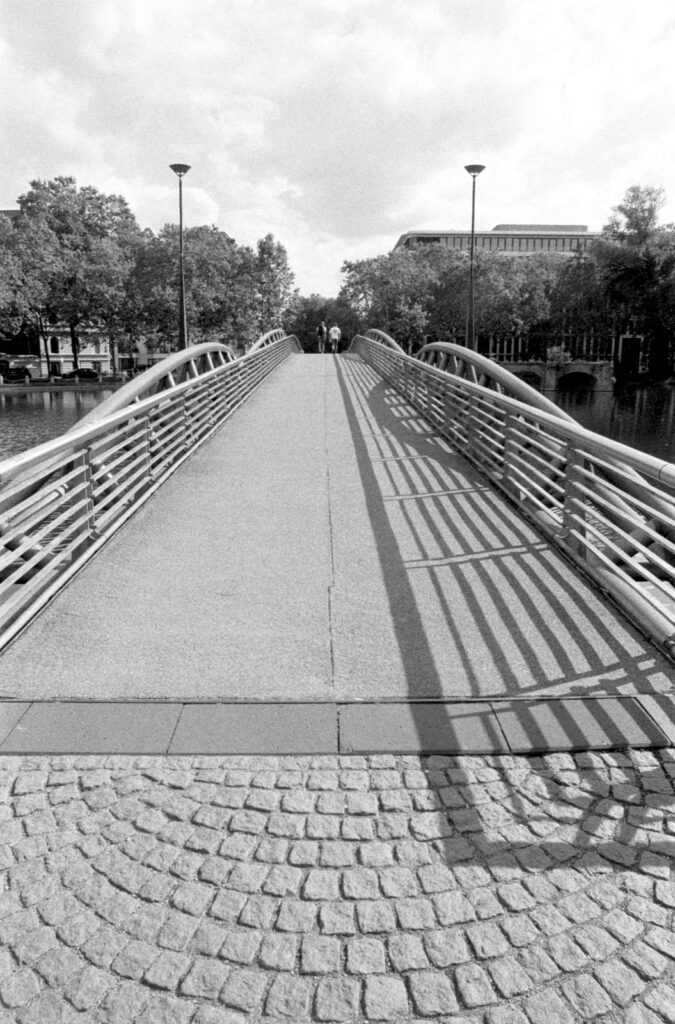

Summing up..
The 7000i is a reliable pick if you are wanting to shoot film using any of Minolta’s (and Sony’s) excellent screw-drive A-mount lenses, which form the great majority of the lenses available.
Even the more modern built-in motor lenses will expose OK, although you will have to focus manually. The lens motor restriction is also true of any other Minolta camera released before 2000 (with the exception of the Alpha/Dynax/Maxxum 9, which required a factory upgrade to support SSM).
Details of exactly what A-mount lenses are fully compatible with the 7000i are available at Dyxum.com.
You will get similar features from some of the later ‘5’ series cameras (the 500si is a very good specification), but you won’t quite get the build quality that you get on the 7000i.
Share this post:



Comments
Geoff Chaplin on Minolta Dynax 7000i review – Cards on the table
Comment posted: 28/09/2026
Martin on Minolta Dynax 7000i review – Cards on the table
Comment posted: 28/09/2026
Thanks for a comprehensive and interesting read!