

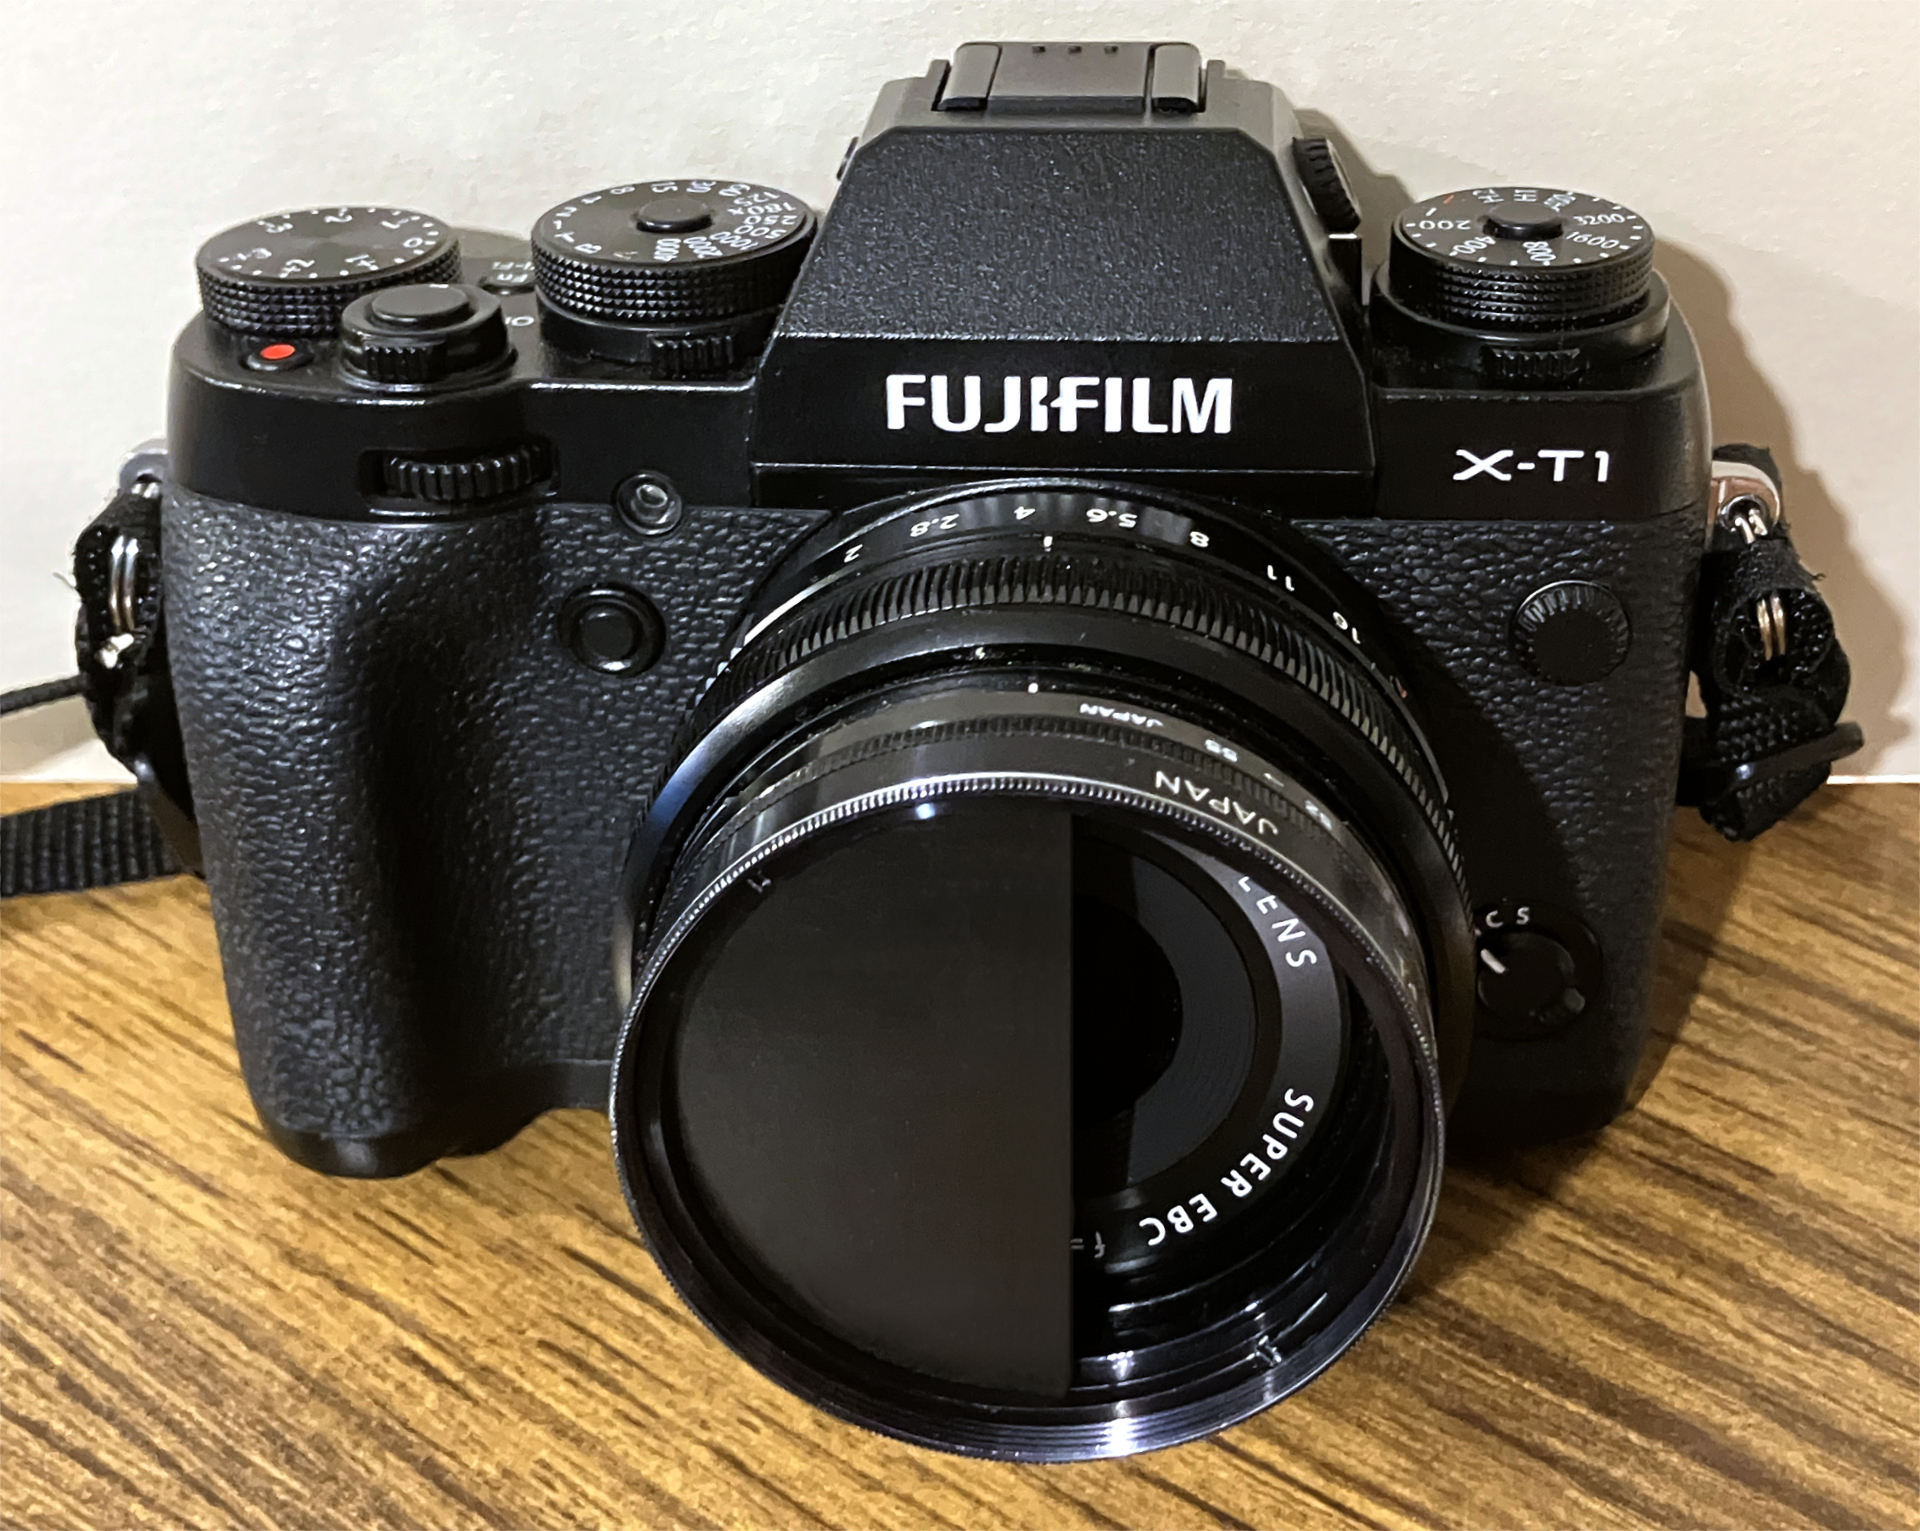
Just over a year ago, I proposed this oddball idea. The article simulated a potential technique for shooting half-frame images with almost any camera and without modifications. Results were promising, and I promised to do a real test with an SLR (my Nikon FE).
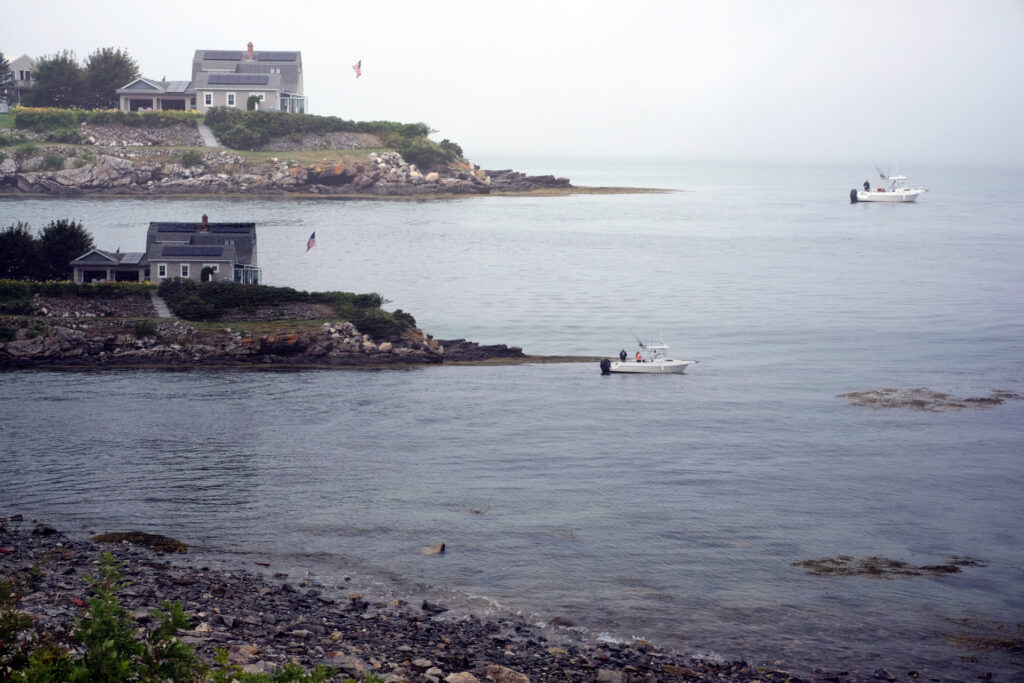
But some of you may have noticed my recent absence from 35mmc (which I explained in a recent One-Shot Halloween Story). Over that hiatus, I exchanged my Fuji X-Pro1 mirrorless body for a slightly upgraded Fuji X-T1 (with an improved sensor and more of the physical controls that I preferred). I quickly discovered that the X-T1 allowed double-exposures. To familiarize myself with that, I tried several 16MP “full-frame” double-exposures on Boston’s North Shore. This was the best:
I then tried an interior:
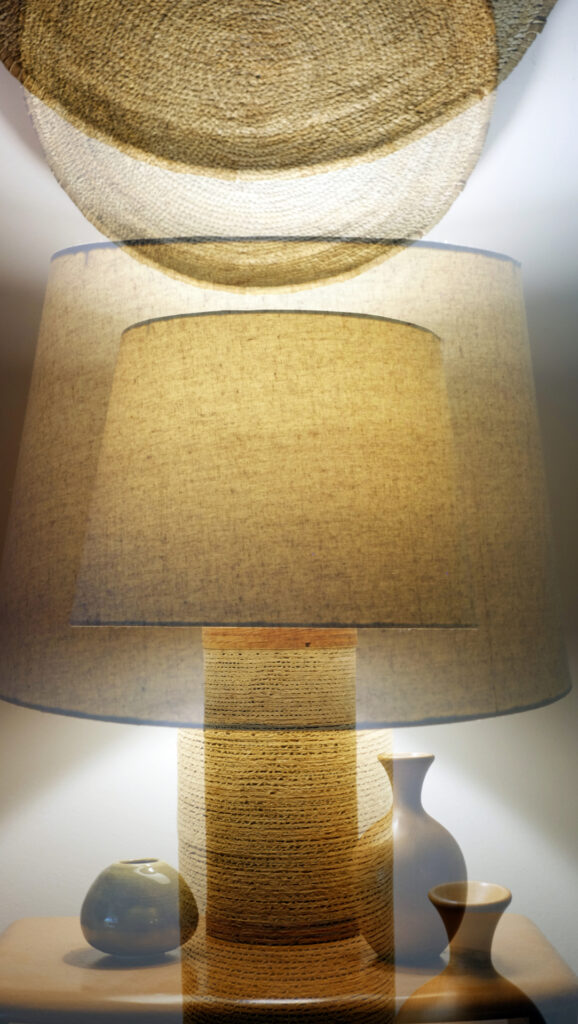
These gave me confidence to proceed with my “in-camera half-frame” experiment.
A Learning Curve with Payoffs
As described in Part 1, the technique uses a rotatable lens cap with a sector cut out. Below is the antique original that inspired the idea:
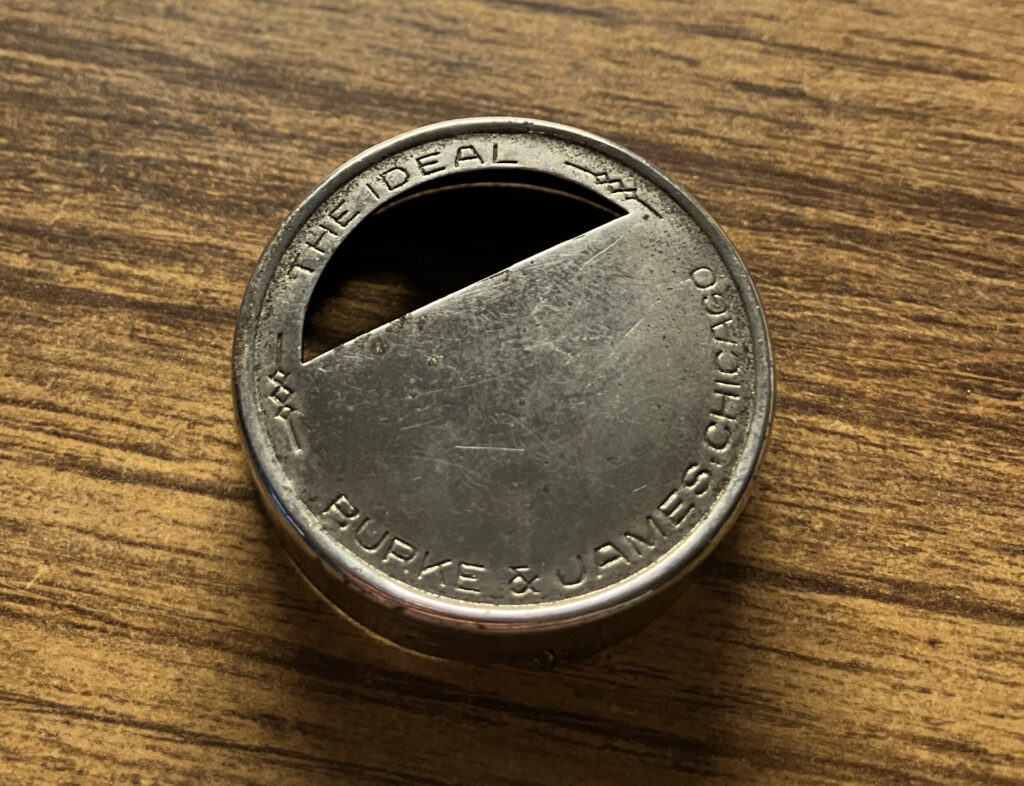 Called the “Burke & James ‘The Ideal’ Camera Duplicator,” it allowed early 20th Century circus and carnival photographers to sell souvenir prints of people talking, dancing or playing games with themselves. All for 25 cents a print!
I thought this simple device would enable many film and digital cameras to shoot half-frame diptychs using similarly masked, in-camera, double-exposures. On digital, film, 35mm, Micro Four-Thirds, Medium- and Large-Format cameras, one would shoot a first half-frame image with the lens cap’s entrance hole on the right (or left) and then take a second image with the hole rotated to the other side. My X-T1 does double-exposures and automatically saves both halves as a single full-sensor image.
Film half-frame film cameras like the original Olympus Pens use a fixed film-plane mask to crop shots to just under half the normal 35mm width. The advance lever then moves the film just past a shot to expose the next one in a non-overlapping area. The smaller side-by-side images are usually separated by a white gap. It works really well and without much fuss.
I quickly discovered that things are a little more complicated with this article’s technique! But it allows any double-exposing system to capture in-camera diptychs that bespoke half-frame cameras cannot. Things like “blended” half-frame pairs, full-frame-width shots located above and below each other, full-frame-width panoramas, and even images separated diagonally!
But First: Improving that Lens Cap
For reasons that will become obvious in my later workflow list, I wanted the lens cap to rotate easily while I continued to look through the viewfinder. This was the perfect solution:
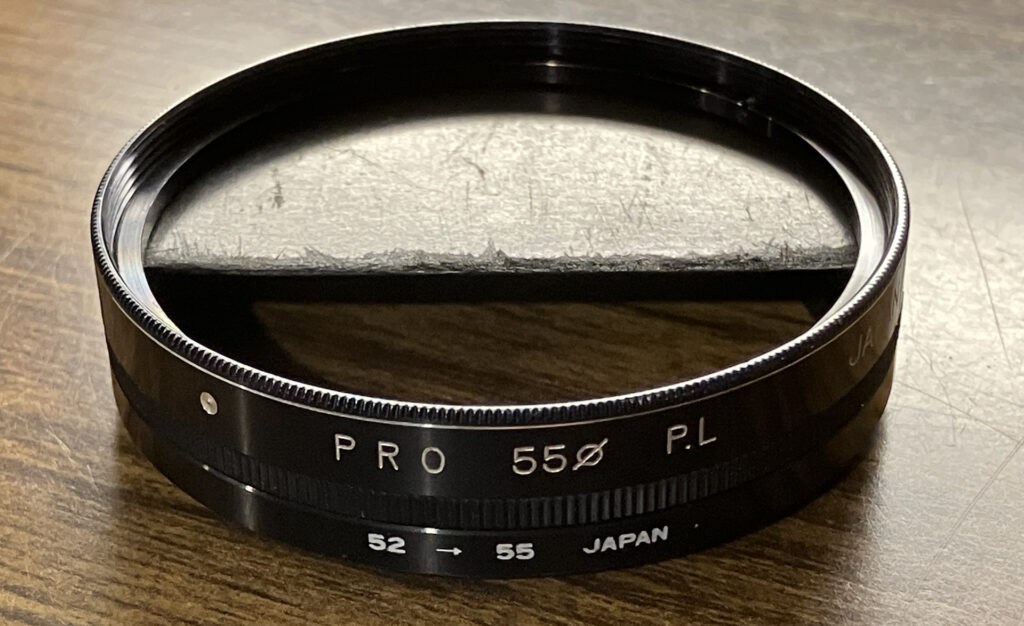 I replaced the glass polarizer from a “rotatable” two-part filter ring with a semi-circular plastic light mask. As you see above, the ring’s fixed part is a 52-55mm step-up ring, and the portion that holds the mask rotates freely on it. (My original Fuji lenses have 52mm filter threads.)
The next step was trickier: Determining how big the cap’s semicircular mask should be. The hole in the Burke & James cap spanned about 1/3rd of the ring’s diameter. So I cut off about 1/3rd of my plastic disk, placed the remainder where the original polarizer had been (as shown in the above photo), locked it down with the original retainer ring, and screwed it on the X-T1 lens. But I saw absolutely nothing in the viewfinder.
That stumped me, until I realized that those old-timey carnival photographers used large-format cameras with lenses mounted on long bellows. Their cameras had such long focal lengths, that the cone of light coming through the lens cap expanded significantly before hitting the film. That was why their vintage lens-cap’s hole was so narrow.
But modern mirrorless cameras like the X-T1 have minuscule lens-registration distances. This, and the fact that their lenses are small, meant that light coming through my original 1/3rd-diameter hole never even touched lens glass. I eventually determined that covering about 50% of the lens diameter was close to ideal. This article’s featured image shows the final lens cap in position on-camera:
Surprising Discoveries
My first test proved revealing:
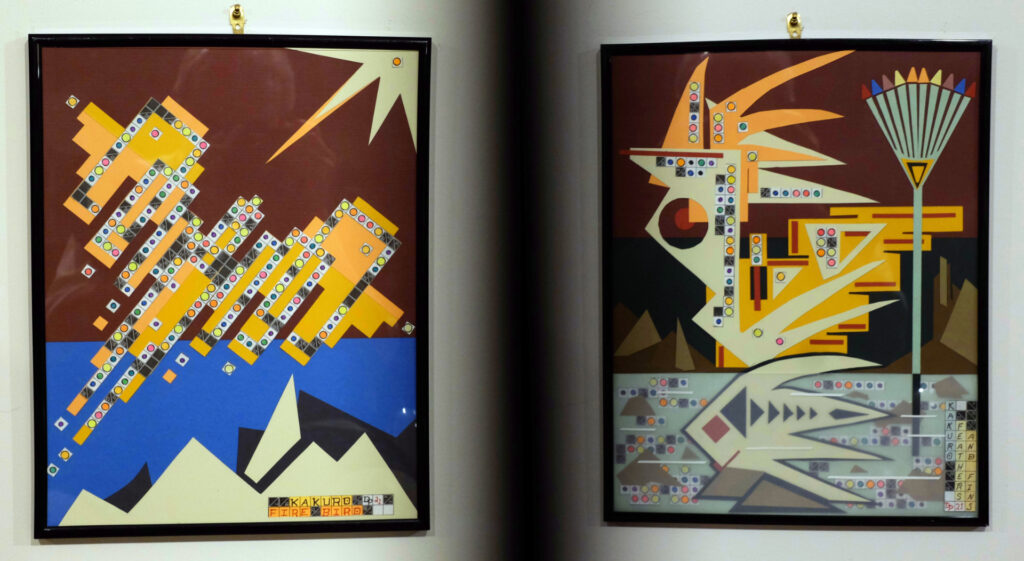
These shots of my abstract paper-collages were taken one after the other, with each hanging from the same hook. It worked fairly well (if you ignore my reflection in the left frame).
But I also learned that blocking half of the incoming light for half-frame shots didn’t work well in auto-exposure mode. So this article’s half-frame images were all shot with the switch on the camera front set to Manual, and apertures, shutter speeds and ISOs also set manually with the camera’s physical controls.
More surprising, though: The location of the border between the half-frame mask and captured image and the border’s sharpness varied with aperture! For example, with Fuji’s 35mm f/1.4 lens, the following three captures show where this line fell in the viewfinder at (from left to right) f/1.4, f/4.5 and f/16):
 As I stopped down from 1.4 through 4.5 to 16, the dividing line between mask and image moved through the field from left to right, the border line became sharper, and the captured image area decreased. With f/4.5 being a decent half-way point. This allows one to produce half-frame results with paired images of equal or unequal area.
I saw similar effects with Fuji’s 18mm f/2 lens:
 Here, the border line moved proportionately less as I stopped down from f/2 through f/5.6 to f/16. Probably because it’s a wider lens. For both lenses, though, f/16 created the sharpest frame division (probably because depth-of-field was greatest at f/16). And without a doubt, the 18mm lens at f/16 produced the sharpest division of all.
These interesting results meant that I could adjust ISOs, apertures and shutter speeds to control exposures, image areas captured, and whether the two half-frames are separated or blended. Lots of creative flexibility!
TIP: Fuji’s later X-T* models do multi-frame composites, as opposed to just half-frames. And I don’ t know if they behave like the X-T1. But to preview the above “final” position and sharpness effects before shooting, I needed to half-press the shutter button.
A Recommended Workflow
“Best” workflows will differ between cameras, but this worked well on the X-T1:
- Using the ring just below the top-deck ISO dial, set the camera’s drive mode to half-frame (the overlapped-rectangles icon just to the right of S).
- Confirm that the camera’s shooting mode is set to M (manual) on the switch by the lens. And that its ISO setting and shutter-speed are NOT set to A (automatic) on the top-deck dials.
- Turn the camera on.
- Looking in the viewfinder, rotate the lens mask to its approximate position for the first half-frame shot and roughly frame the first image in the visible field.
- Looking in the viewfinder, half-press the shutter button and adjust the ISO, aperture and shutter speed to get the framed image to a good size and exposure, AND move the lens mask’s edge where you want it. (Once you release the shutter button, the mask edge moves, but that’s OK.)
- Press the FOCUS ASSIST button on the camera back to magnify a portion of the image. On the X-T1, you’ll usually have to look for the button (it’s hard to find by touch).
- While still looking in the viewfinder, turn the lens focus ring until the viewfinder’s magnified patch looks sharpest.
- Half-press the shutter button to close the magnified view.
- While still looking in the viewfinder, with your left index finger (if you’re right-handed), rotate the lens mask to fine-tune its shooting position. (This is where the freely rotating mask ring is needed!)
- Re-frame the half-image within its area as needed.
- And shoot.
- If you like the result (including the sharpness and location of the frame’s dividing line), press the camera’s MENU/OK button and proceed to step 13. But if you want to redo the shot, press the ring button to the left of MENU/OK and start again at step 5. NOTE: As long as the camera remains on and in double-exposure mode, your time to find and shoot a diptych’s second image is limited only by the camera’s battery. A small red light on the camera back blinks during this waiting period.
- When you find your second scene, rotate the lens-cap mask to its approximate new position (probably 180 degrees from the first location) and proceed from step 5.
- If you are happy with the second half-frame capture, press the MENU/OK button. The camera will merge and save the half-frames images. But if you want to redo the second shot, press the ring button to the left of MENU/OK and start again at step 5 to reshoot the second image.
NOTE: It may take a few passes through this process before you get used to the way the camera displays both the first committed shot and the second adjustable one. But this approach really helps one align or match features between both. And if what you see in the viewfinder for your second shot REALLY confuses you, the lens mask may still be in its first-shot position!
This workflow may sound complicated, but when you get used to it, it doesn’t take long at all. And though the above workflow is specific to the X-T1, the general idea should be adaptable to any double-exposing camera.
Pretty Nice Results!
As we’ll see below, this technique opens up some new half-frame applications. But first, here are three “traditional” diptychs (with the half-frame images shot beside each other):
Here’s a wholly in-camera version of an image “composited” using Photoshop in Part 1 of this article:
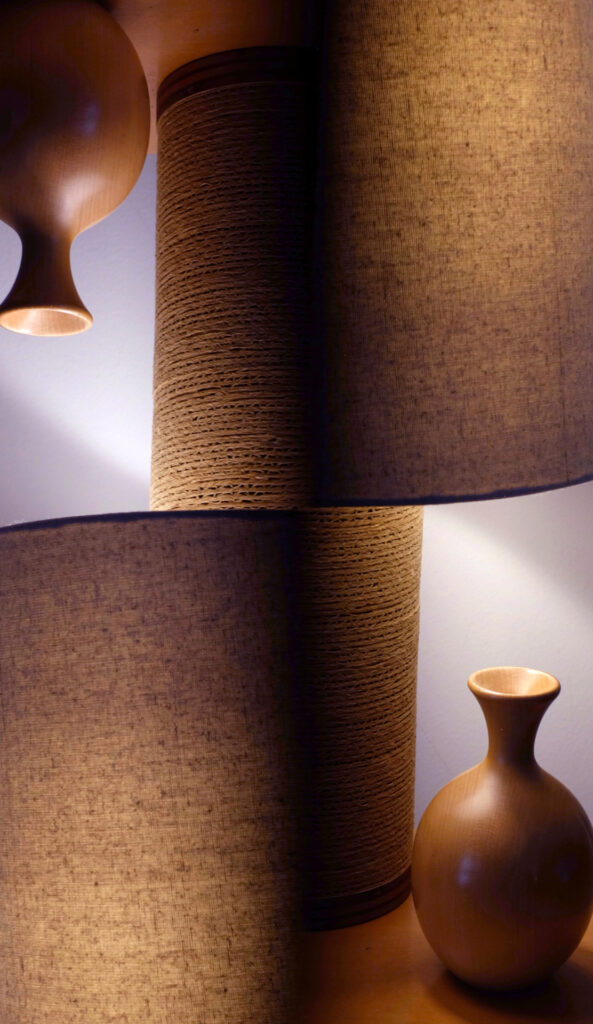
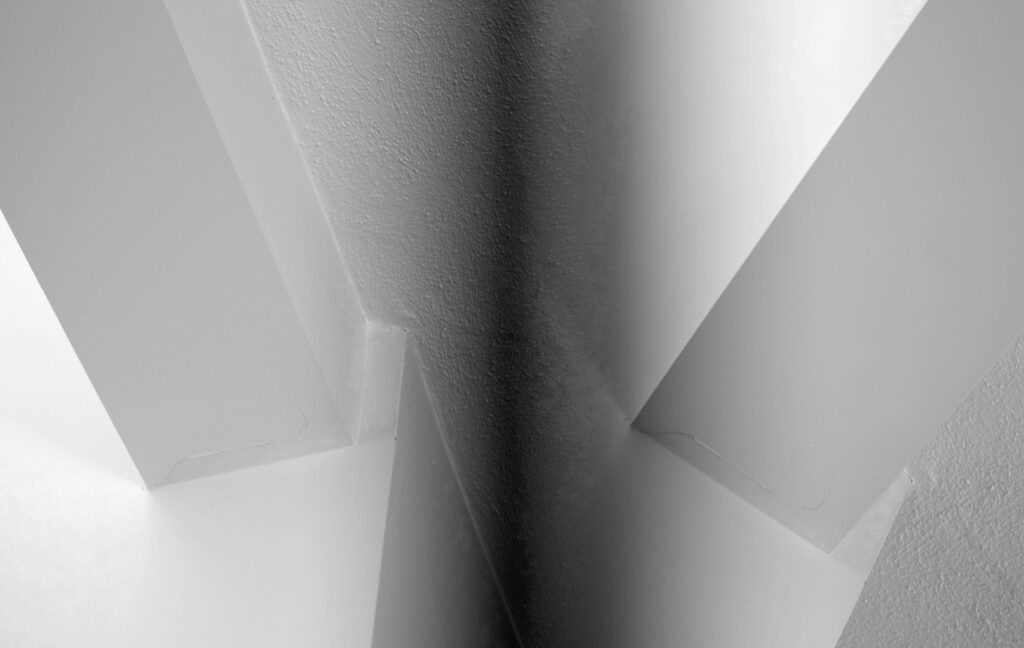
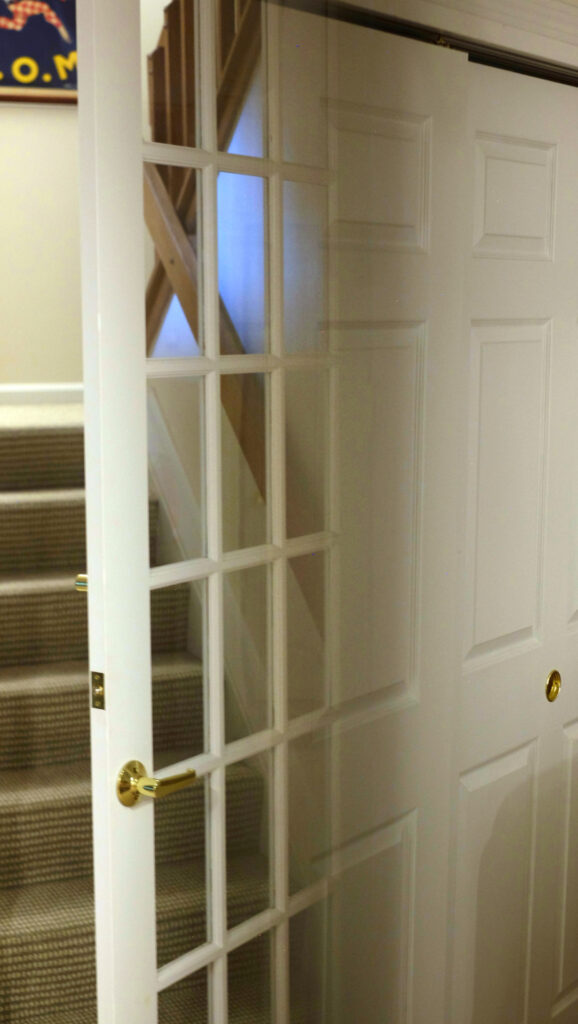
Next, five diptychs with images above and below each other:
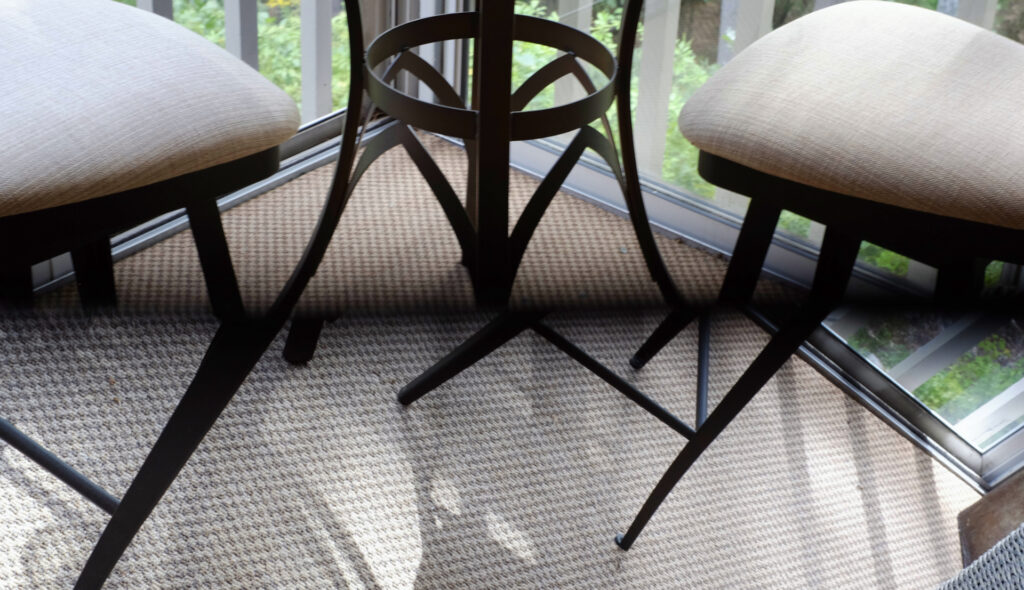
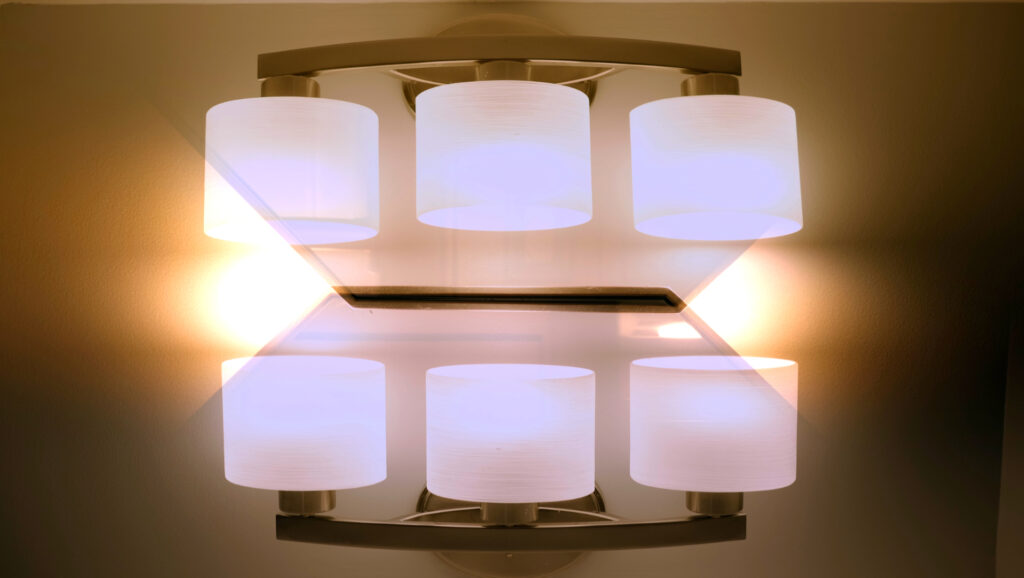
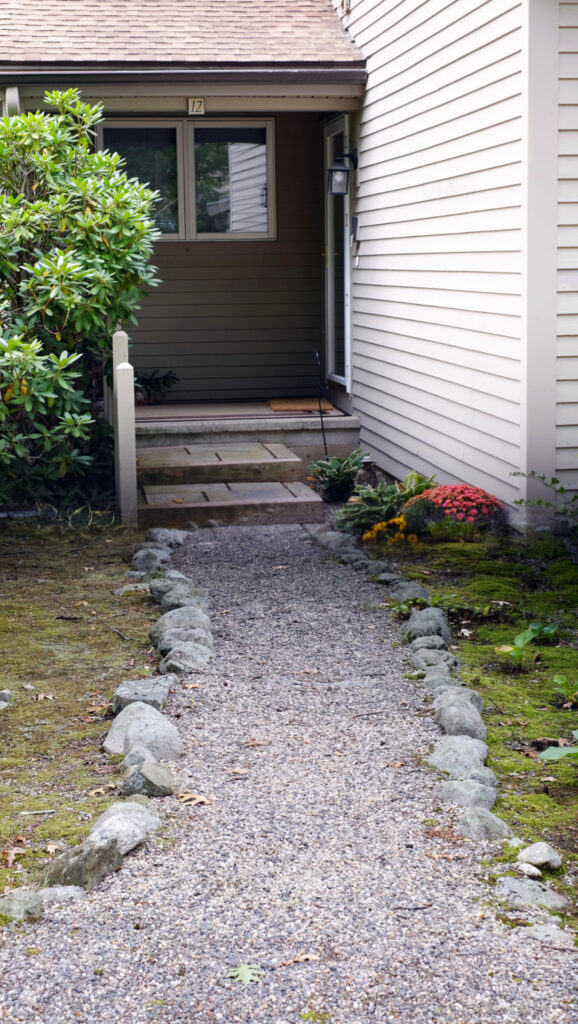
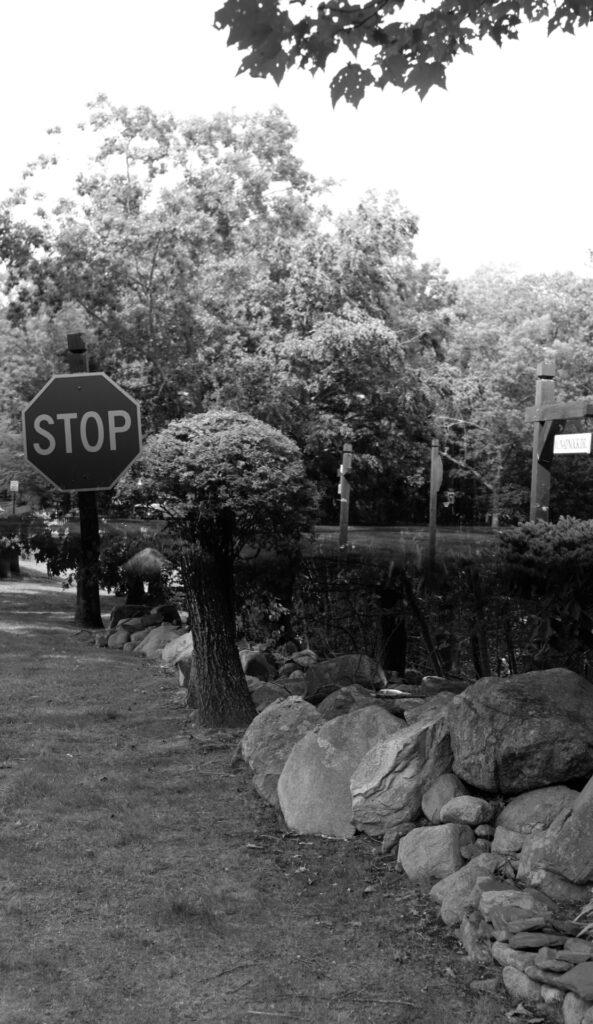
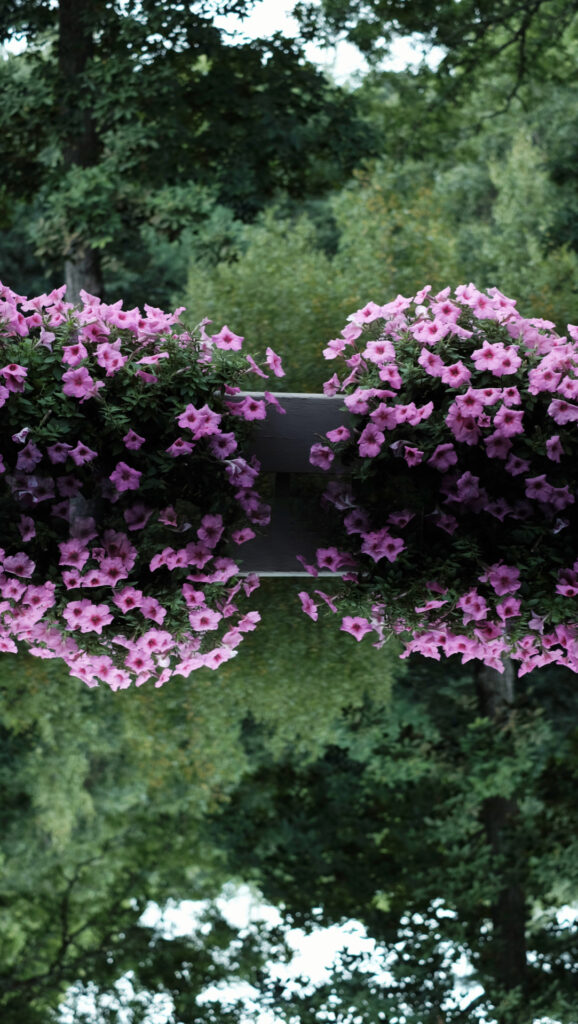
Returning home from a photo walk, I realized that my lens cap could mask off full-frame-width panoramas:
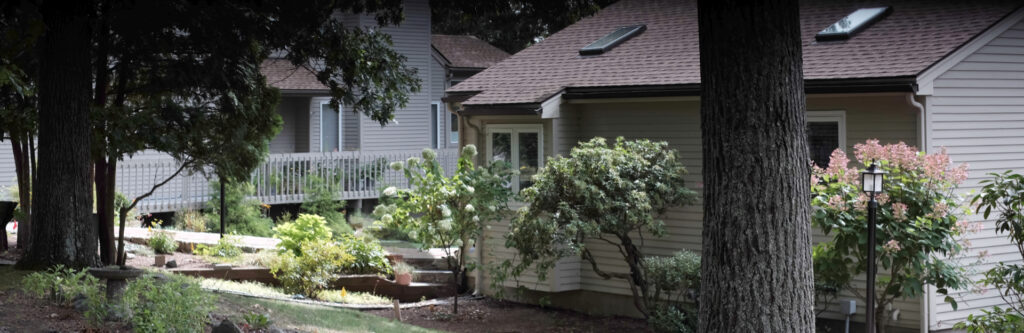
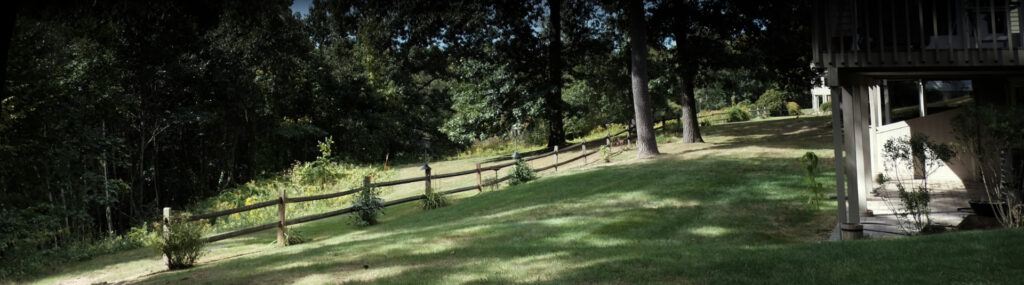
Practice Makes (Pretty Close to) Perfect
As you see, the process may be quirky. But with practice, it became easy, fun and remarkably flexible. As further proof, consider the “Haunted Tree House” photo from my previous One-Shot Halloween Story. Its source image was the following diptych, produced in-camera at noon on a bright-overcast day:
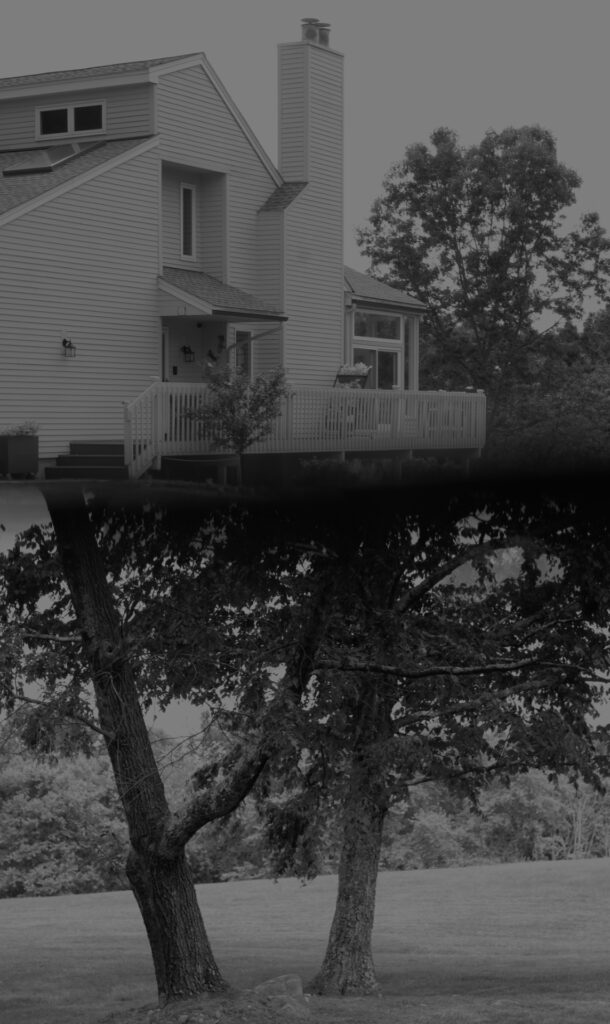
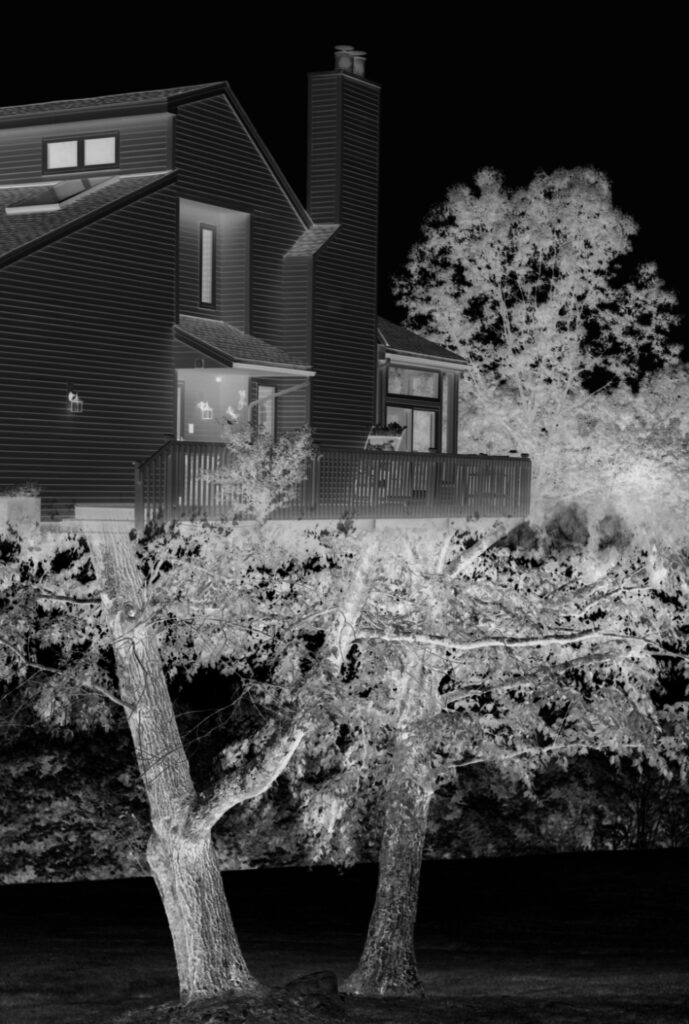
And Finally, Something Really Different!
The rotating lens mask isn’t limited to just horizontally and vertically separated half-frames. It can also do diagonal separations at any angle. Here’s my first attempt, with the mask edge set at about 45 degrees (or 135 depending on from where you measure):
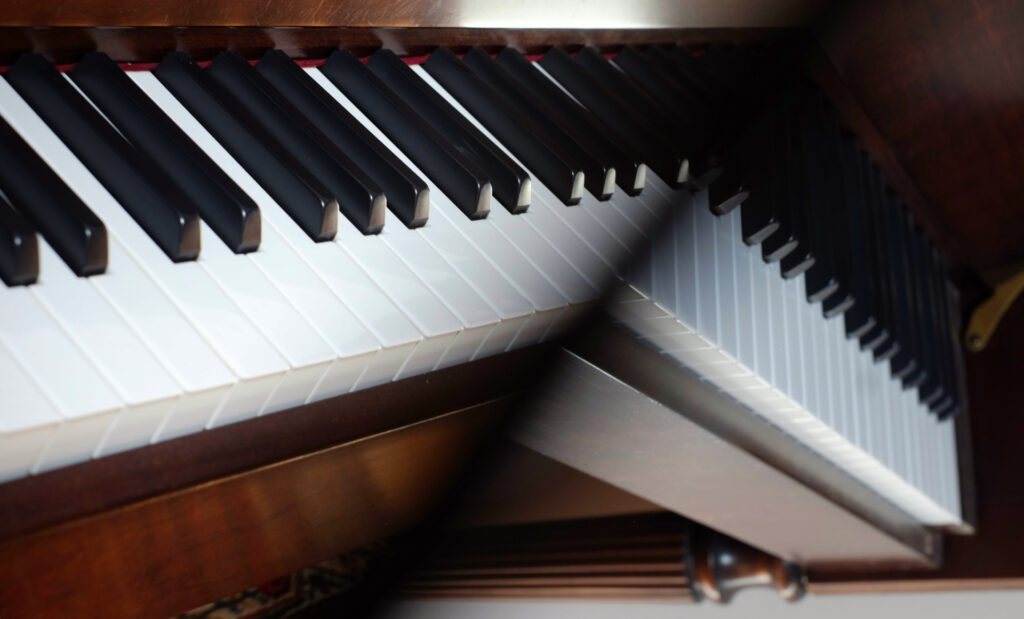
And in the following slanted blend, the camera’s articulating LCD allowed me to take a look-up shot of deck-rail petunias, after which I turned around to shoot the building’s roof line:
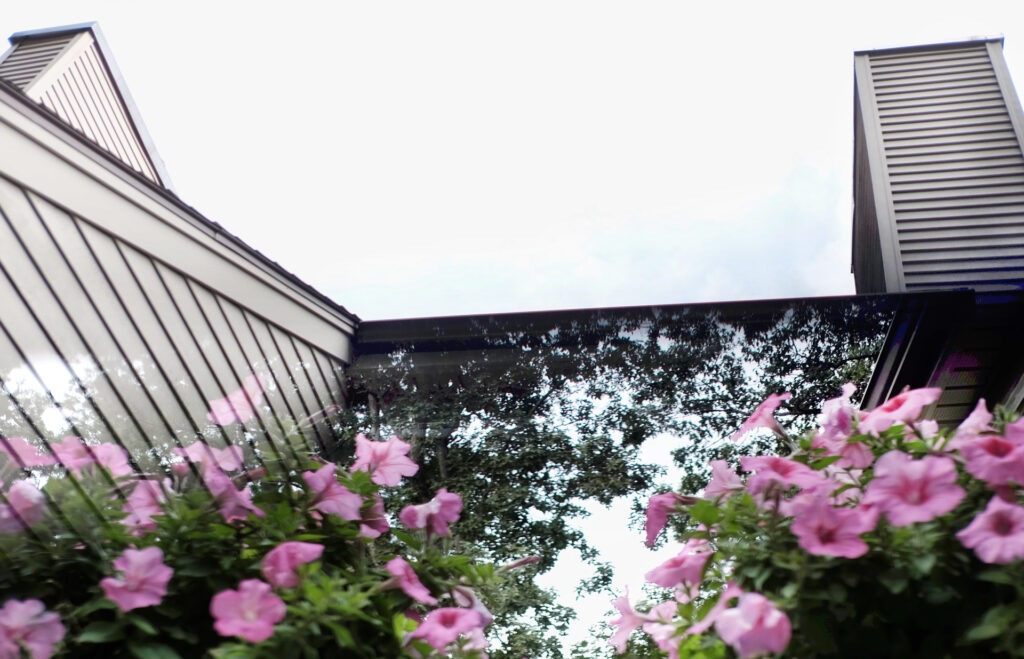
It was a surprising effect. If I’d shot the roof first and the flowers second, would the result been different? Must check that!
Some Final Thoughts
I love the fact that the only additional kit needed to create such a variety of images is a simple screw-on filter.
Though Fuji’s 35mm f/1.4 lens worked better for the images I had in mind, I want to do more with the 18mm lens.
And I’d like to use more diagonal separations within square images.
Perhaps a Part 3 is in the offing!
–Dave Powell is a Westford, Mass., writer and avid amateur photographer.
Share this post:

Comments
Martin on “Half Framing” Practically Any Camera (Part 2 of 2)
Comment posted: 08/11/2026
Best regards