


I love technical films. Films that aren’t meant for cameras, or if they were, weren’t meant for normal photography. High contrast copy films, sound recording films, Microfilms, direct duplication films. All of these films can occasionally be found online, and i am happy to try them all.
Don’t get me wrong, I love conventional film, too! So why do I experiment with film that’s not meant to be put in a normal camera? Because they’re unique! While I have definitely bought a few technical films that for one reason or another aren’t super useful for normal photography, If you’re willing to experiment, and put some time into testing them, they can produce wonderful images that are just a little bit different than the film you can buy from places like B&H.
While I have bought a lot of technical films, including stuff like Imaglink HQ microfilm, Kodak 2468 and 2422 direct dupe films, and even Imagesetting film that can see IR light, in this article I will focus on a film that I suspect many people might have used, but few have seen the full potential of, TF-12D.
What is TF-12D?
TF-12D is an obscure stock. There is a very little information about it online, at least by that name, in regards to using it for photography. There is one article claiming that TF-12d is sold by BFG in the Netherlands, but based on the examples shown there, I would be hesitant to say that it is TF-12d (more likely Aviphot 80, another one of my absolute favorite film stocks).
While examples of photos might be a few and far between, there is a decent amount of information about the film’s intended use. This film is not meant for recording pictures, but for recording sound! Well, kind of. It doesn’t actually record sounds we hear, but a representation of sound that can be read by movie projectors.
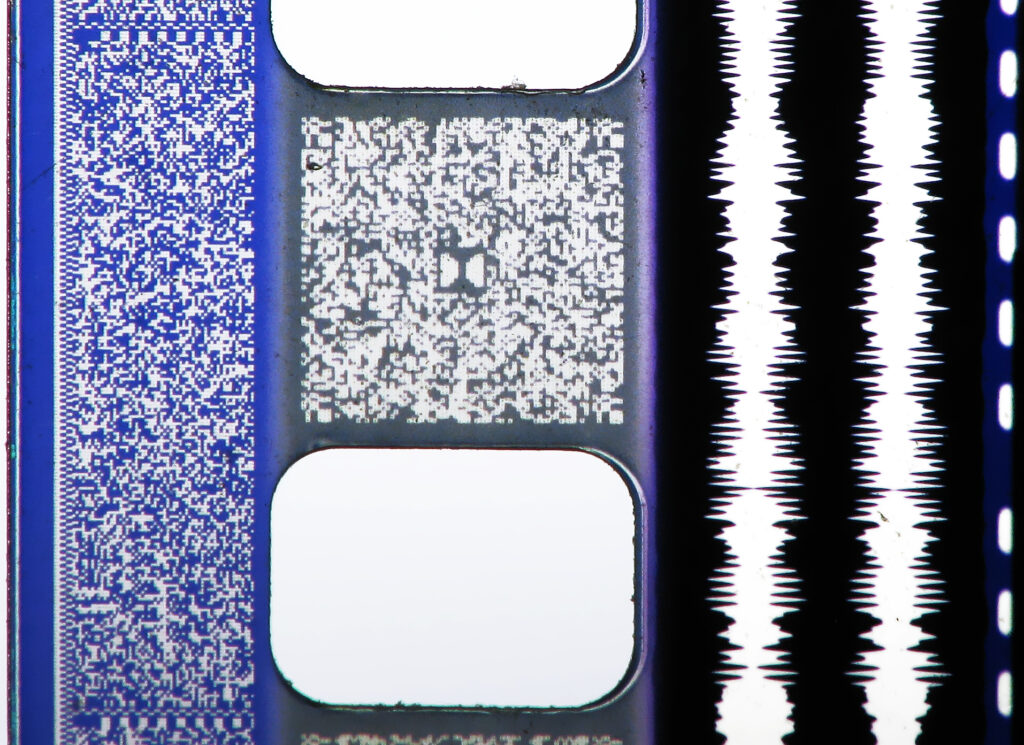
If you have ever used any sort of audio editing program, or maybe even a video editing program that lets you see the audio tracks, you are very familiar with what is usually put on this film. The sound is represented by a line of varying width, the wider the line, the louder the sound. I am no audio engineer, but from what I can tell, the modern equivalent is an “audio waveform”.
you might be asking the question that I was initially asking when I learned about sound recording film: Why do you need a specific film to do this? Wouldn’t any normal film work? And the answer is, technically yes. But, practically no. There are a couple of traits that are fairly unique to this specific type of film, that still photography film just doesn’t have.
Sound film needs to have an extremely fine grain and very high resolution, capable of capturing even the smallest detail. All of those very tiny details in the waveform need to be recorded almost perfectly. If they aren’t, the sound won’t be very good. While some low speed films like Pan-F might be capable of capturing such details, the next trait Is arguably more important, and also what makes it a very hard film to use in a normal camera.
When an audio track is recorded onto film, it’s passed over a light in a machine that has a slot that can be made wider or narrower to record the waveform. It needs to record exactly where the light strikes the film and nothing else, And the density of where the light strikes needs to be extremely high. Thus, sound film needs to be some of the most contrasty film possible.
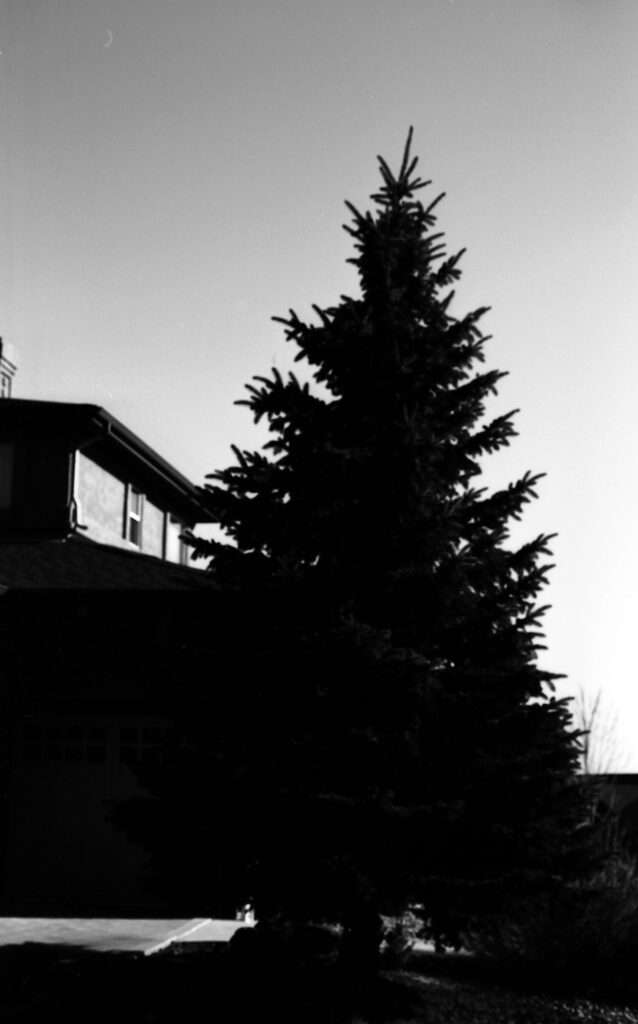
So, now the question becomes why would you want to use a film like this? The answer for most people is, it’s a very unique look that you just can’t get with other films. For a while Washi was selling this film as Washi-S to photographers for that exact purpose, as a high-contrast, experimental film. FPP still sells the Kodak equivalent, 5278, as Sonic 25 as well. I bought it from Astrum, where I get most of my films, as “Foto-32”.
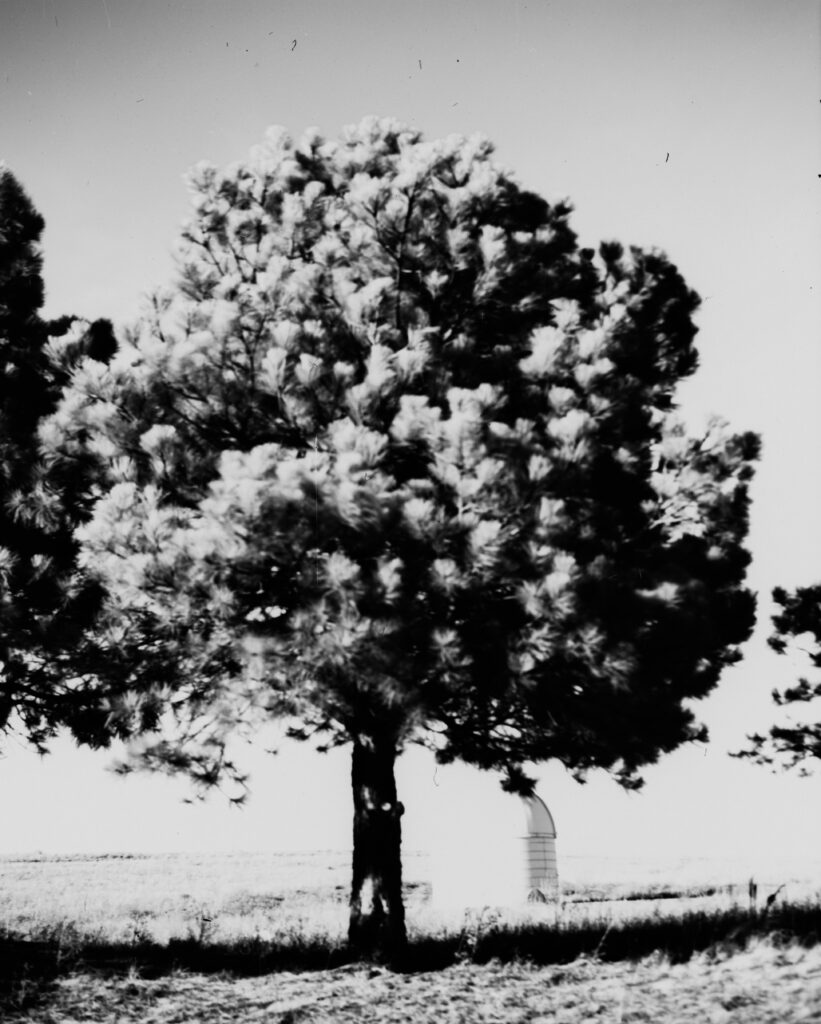
And I do actually think that it looks interesting like this too! But, I’ll be the first to admit it isn’t very good for normal photos when used this way. Depending on the scene that you were shooting, you might lose the highlights, or the shadows. Or even both if you meter the scene poorly like I did in the image above. But as I mentioned earlier, I am absolutely willing to experiment. And boy am, I glad that I did.
Lowering Contrast with Normal Film Developers
If you have been doing film photography for a while, you might be familiar with the fact that different developers give you different contrast. As an example, people generally refer to D-23 as a “low contrast developer” as the images that it produces do not have a lot of contrast. On the other hand, something like Rodinal 1+25 Is generally considered to be a “high contrast developer” because the images that it produces have quite a bit of contrast. While I’m no expert on how the actual chemistry of this works, I do at least understand the idea in practice.
You can probably see where I’m going with this, a high contrast film in a low contrast developer should be able to give me normal contrast. It’s a simple enough idea, and for those of you reading who have used Adox CMS 20 II, You have seen this work in practice! CMS 20 II was actually a very high contrast microfilm that should be developed in a special ultra-low contrast developer that Adox sells to use for normal photography.
A couple other companies have done this as well such as SPUR, and even Kodak with tech pan film and Technidol. But unfortunately, their developers are proprietary, and often quite expensive as well, if they’re even being made anymore. That’s why I had been looking into my own ultra-low contrast developer, But unfortunately, there aren’t very many good off-the-shelf options.
HC 110 and Rodinal at very high dilutions are generally considered to be low contrast, and they’re readily available too. So, I started there. At first, I tried HC 110 F for eight minutes, like the datasheet for tech pan recommends.
Unfortunately, this was very much under developing the film, the negatives were extremely thin, even with very long exposures. So, I increased the development time to around 16 minutes to see what would happen. And, I did get results, but they weren’t exactly what I was hoping for.

The contrast is definitely more manageable, and I think that if carefully metered that TF-12d could definitely be used as a low speed film in HC 110 F. But, I thought I could do better.
Making an Ultra-Low Contrast Developer At Home
While researching how to shoot some rolls of tech pan I acquired, I stumbled upon a group of people making their own ultra-low contrast developers for films like Techpan and CMS 20 II. The vast majority of people doing this were using something called POTA, but I didn’t like that very much because it uses quite a lot of the developing agent, and once mixed it goes bad in around an hour!
There were a couple of other alternatives that I looked into, but a friend showed me something called H&W Control. This developer was made by a company called H&W control that sold some sort of microfilm to the consumer with a special developer meant to make the film usable in normal cameras. However, unlike most ultra-low contrast developers, the recipe for this developer is public!
The same friend that had shown me the developer had also shown me some example images on some Coppex Rapid that he had, and they looked pretty good! So, I decided that I would take the plunge, and buy the raw chemicals in order to make it. I had never mixed my own developer before, but as long as I followed the recipe I figured it couldn’t be too hard.
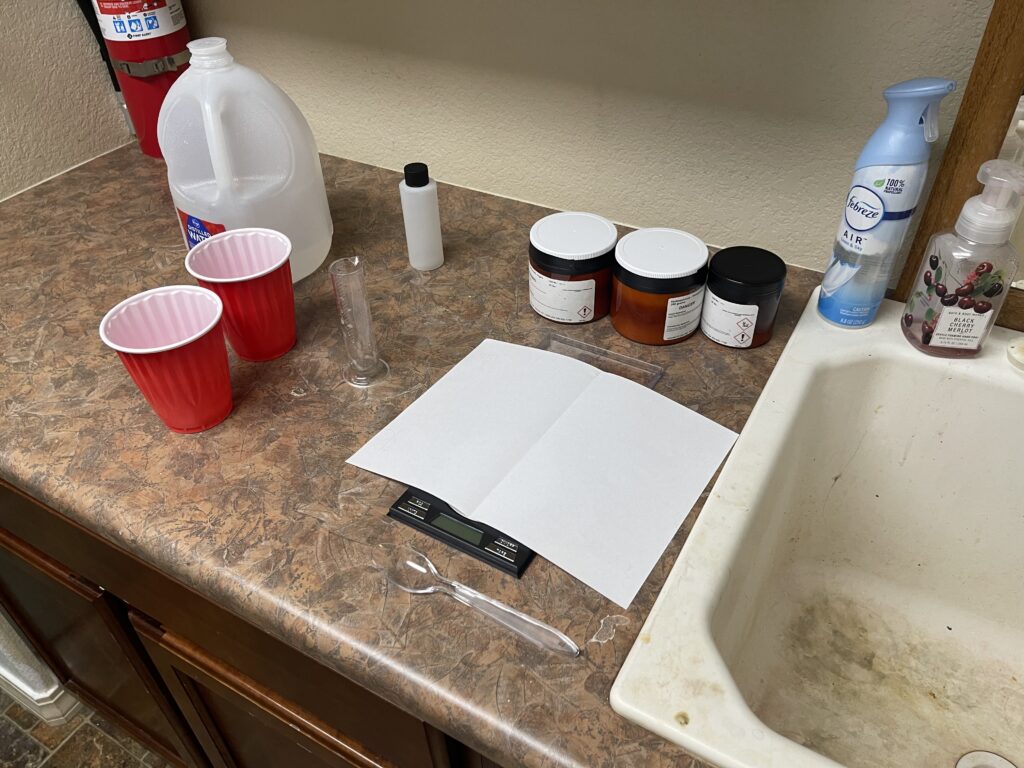
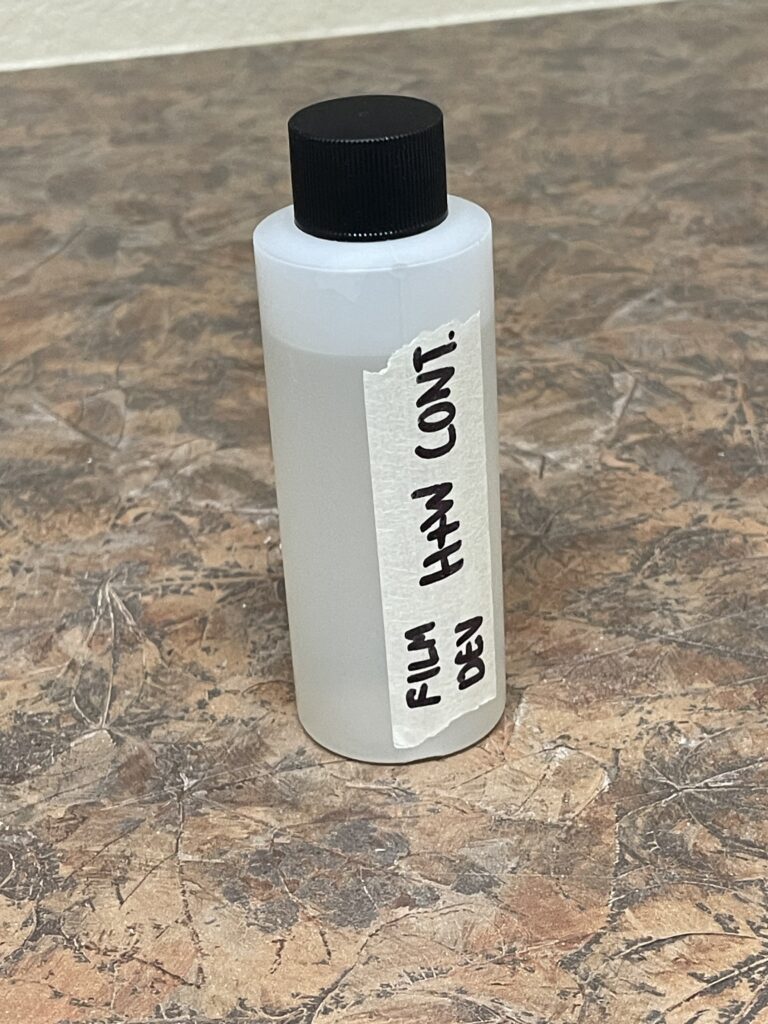
After mixing all the ingredients together, there was only one thing left to do: develop!
Examples and final thoughts
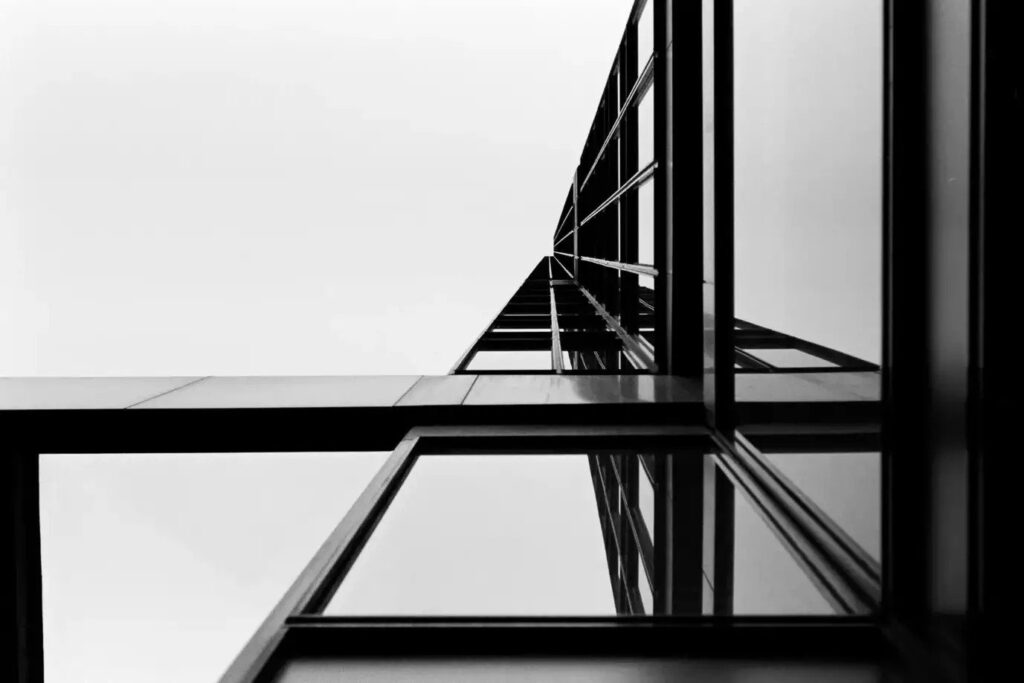
I was, to say the least, extremely surprised to see the results I got from this film in H&W control! With a test roll I found that the best exposure was at EI 80! I decided to take my camera to class and take a few shots at the school and along my walk home.
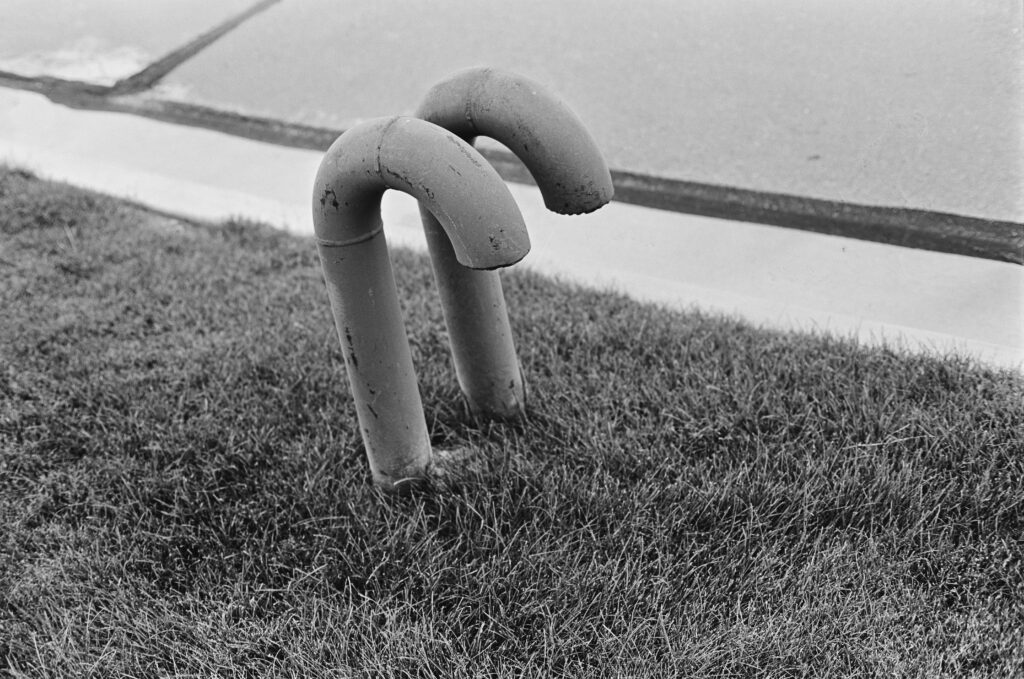

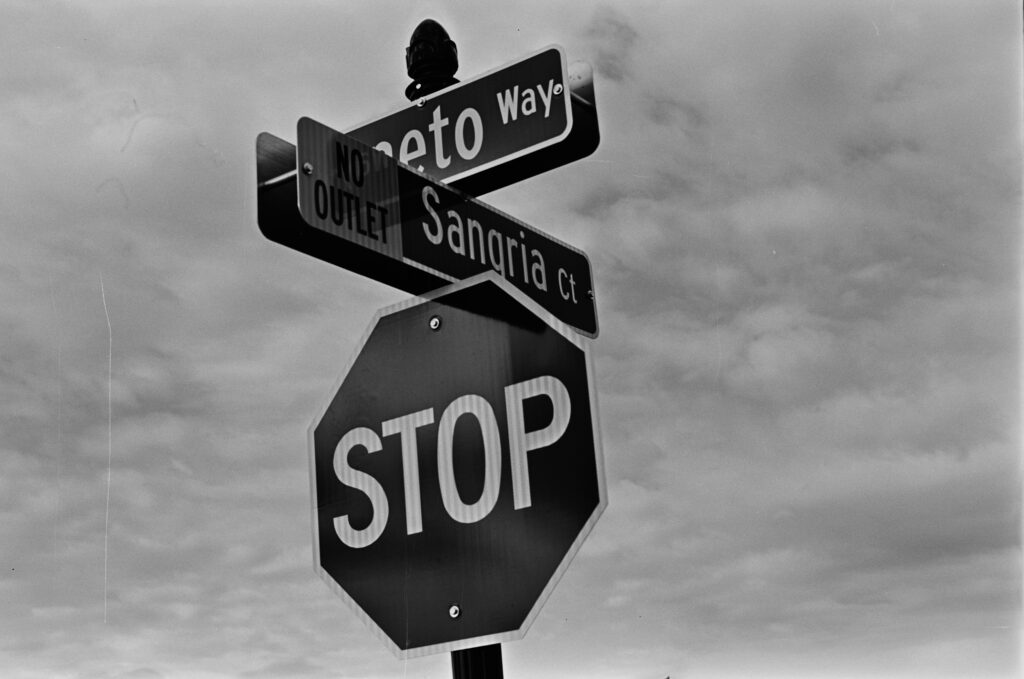
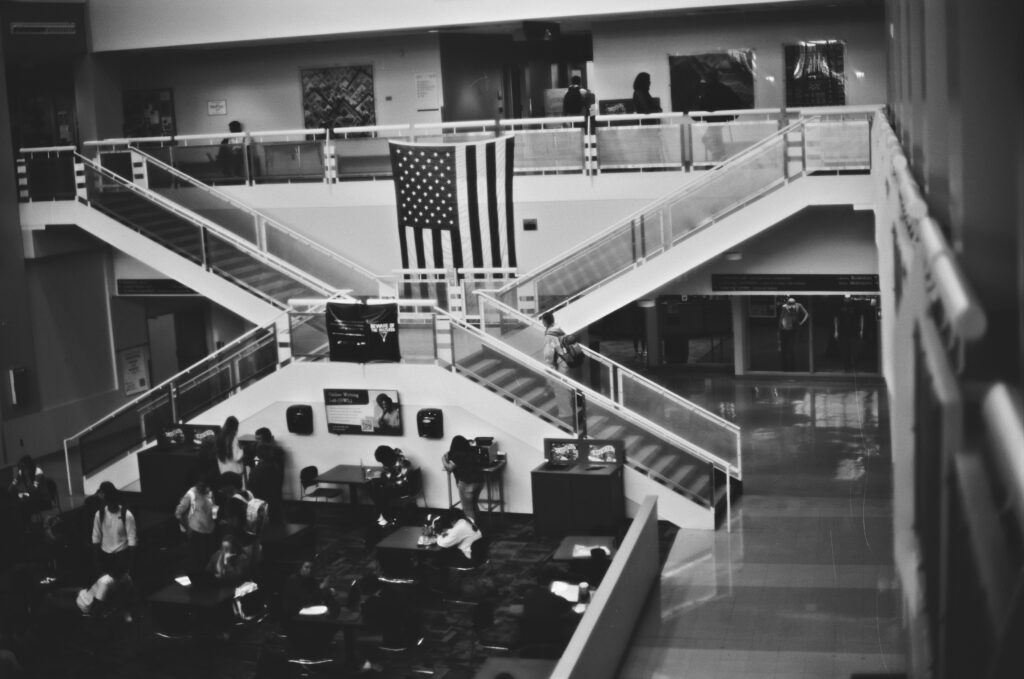
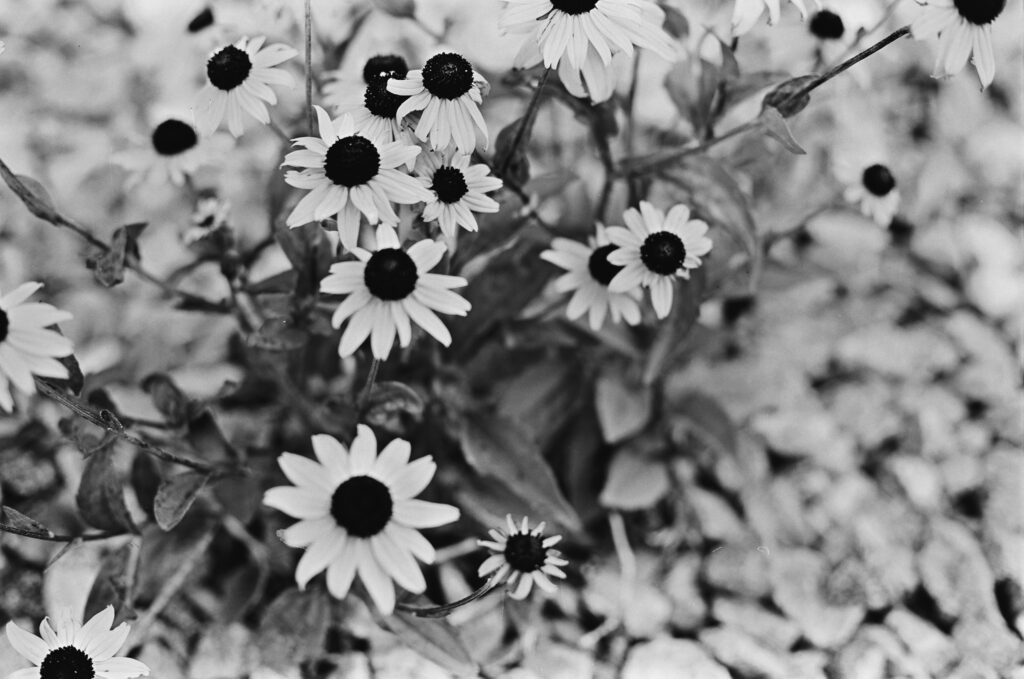
As you can see from these examples, the film has a wonderful look. The contrast is still a little higher than most film, but it is still manageable. Highlights and shadows also still retain details. Darker reds are almost black, but lighter reds and oranges still retain details, a unique characteristic of early panchromatic emulsions that is rarely seen today.
But, one of my favorite characteristics is that the grain is extremely fine, and the resolving detail is very close to 120, on 35mm! It is reminiscent of Tech Pan or Adox CMS 20 II.
While technical films are not for everyone, I don’t think that means that you should avoid them all together. Even if you don’t want to put in the time to mix your own developer, just figuring out the composition on these types of films will push you out of your comfort zone, and I think that Is something that every photographer should try and do every once in a while.
Share this post:


Comments
No comments found