

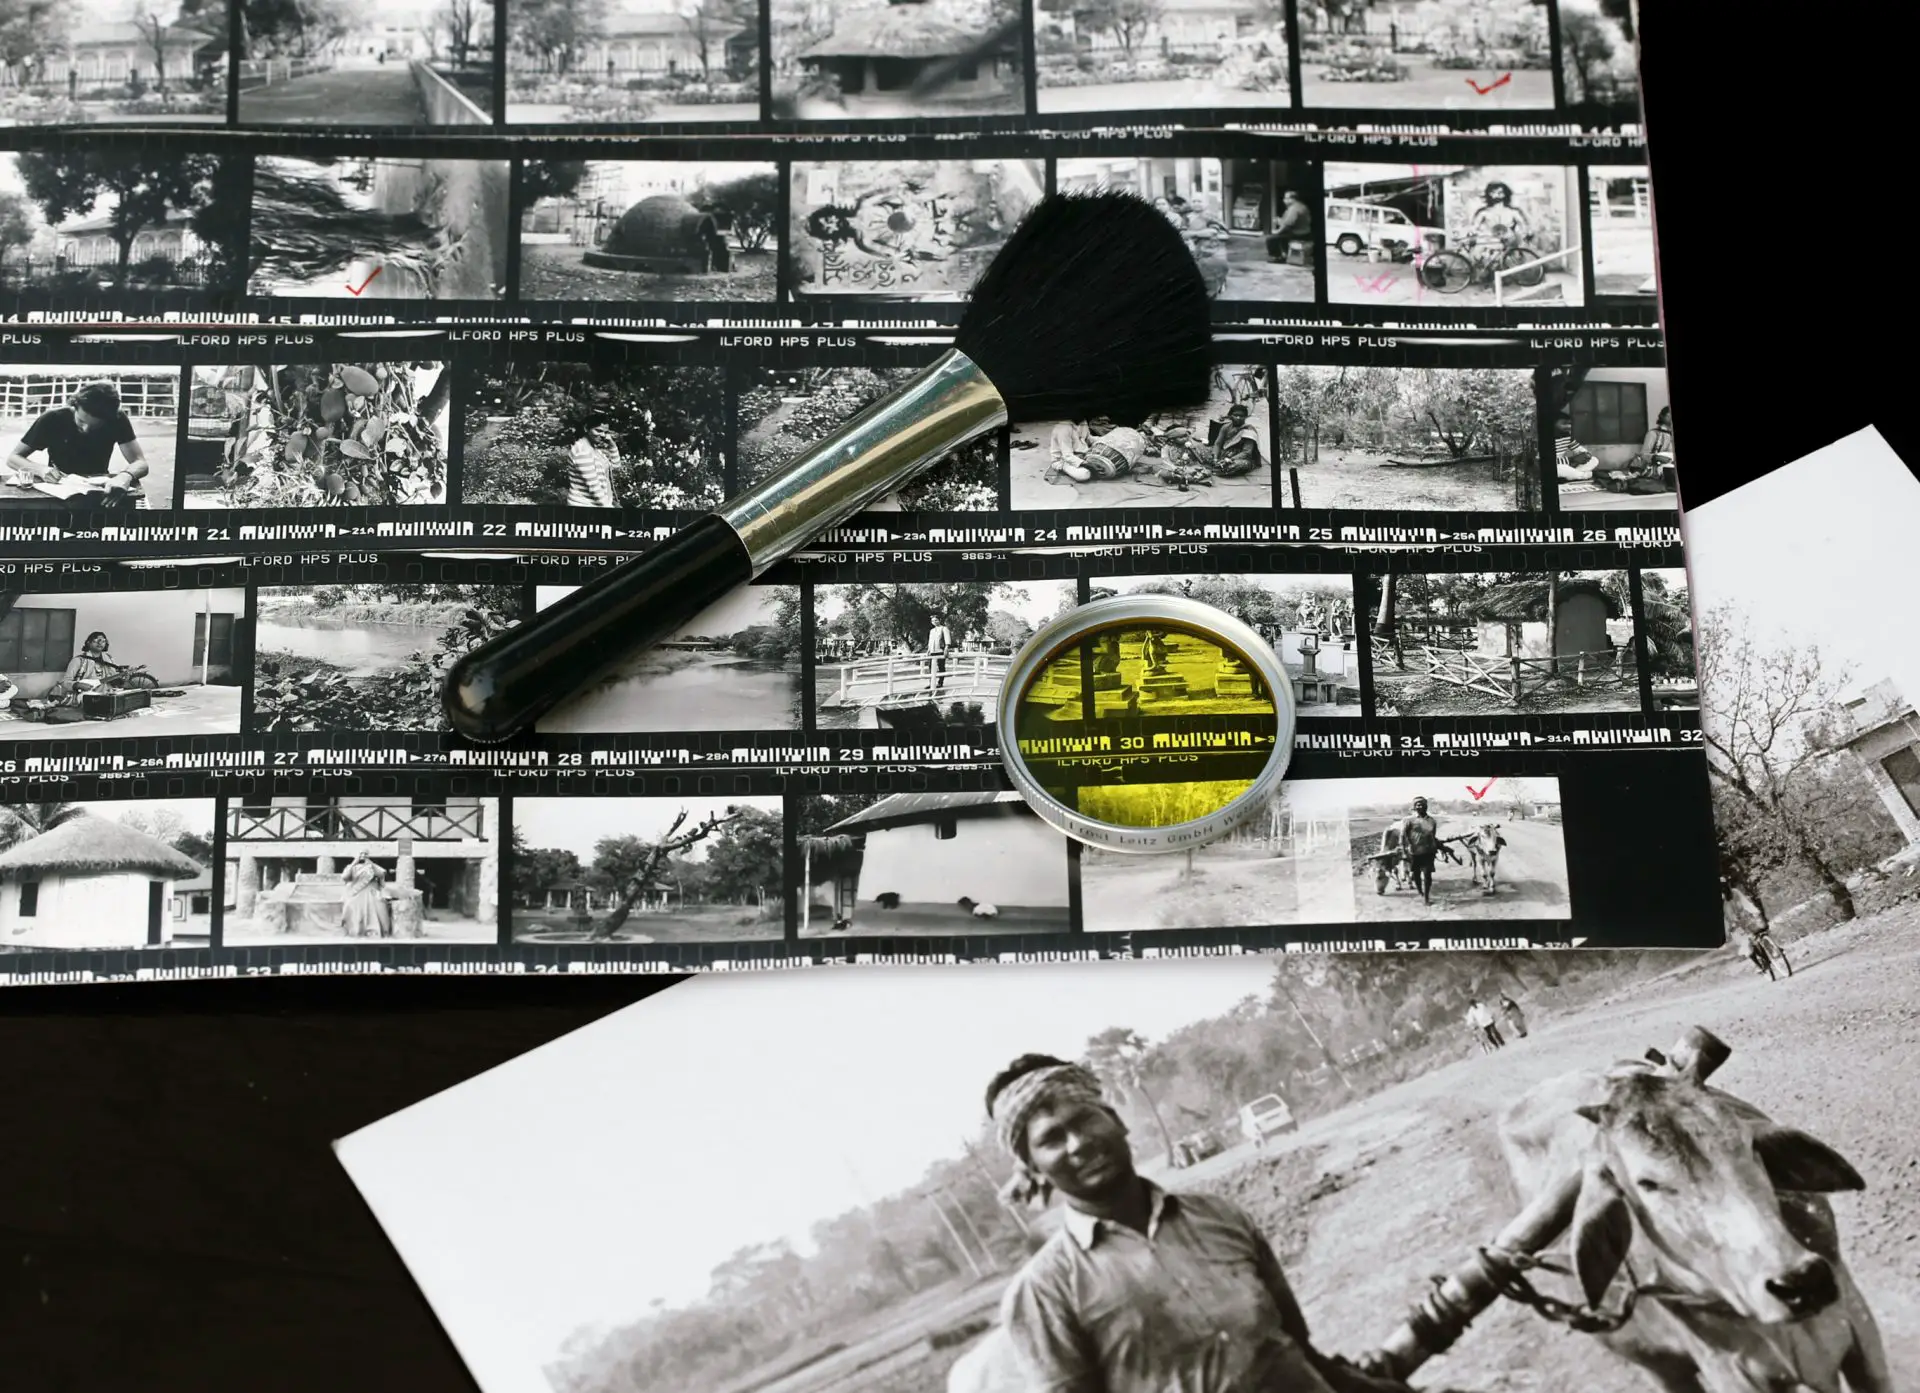
“It sometimes seems as if curbing entropy is our quixotic purpose in the universe,” wrote science-historian James Gleick. When it comes to organizing film photos, entropy runs rife—and so does quixotism.
I’ve been shooting film for 15 years, since my dad gave me his old Minolta SLR. And for the last 8 years, I’ve also been developing and printing my photos in my makeshift home darkroom. Over the years, I’ve accumulated lots of film negatives, scans and darkroom prints. I’ve also developed a system for organizing them, which I thought I would share here on 35mmc.
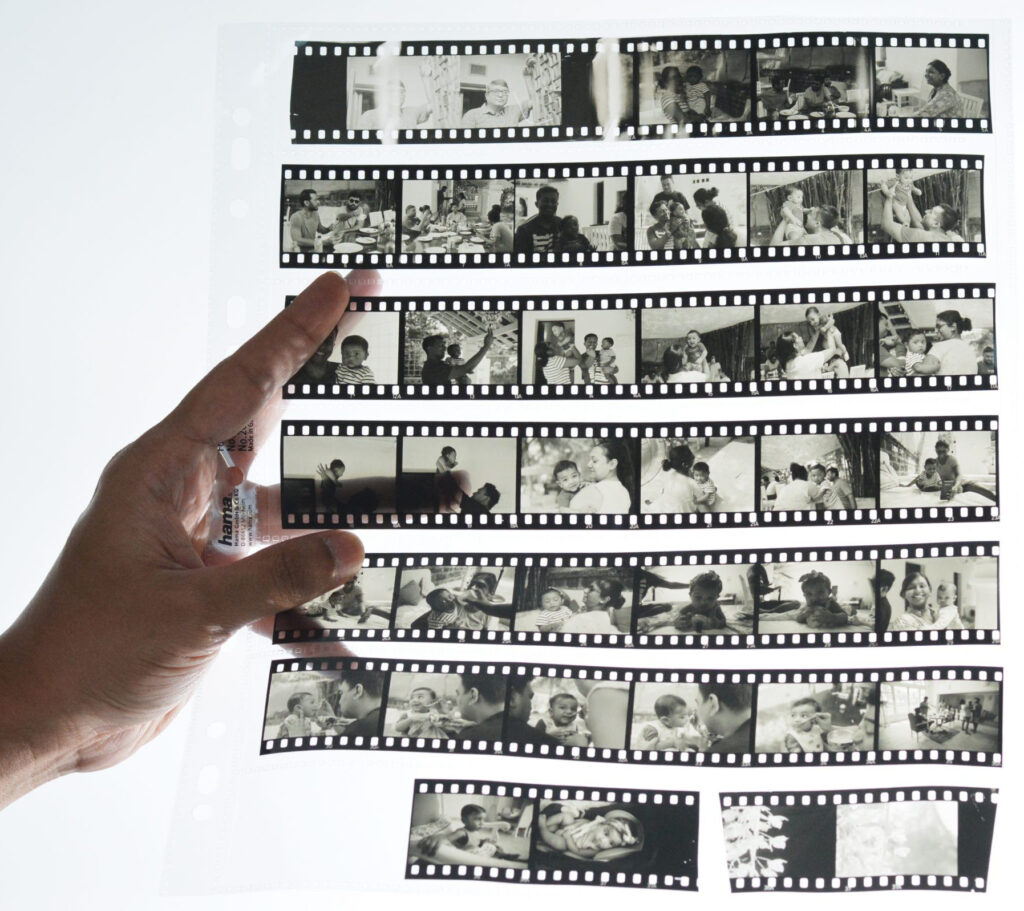
I shoot both 35mm and medium-format film. The black-and-white film gets developed at home, but I send my colour film to a lab (I don’t shoot as much colour film, so I haven’t invested in C-41 chemicals).
In the darkroom, I print only B&W. Some of my darkroom prints are gifted or hung on the wall, but mostly they go into my photo albums. At first I used to keep my prints in a cardboard box, but I found that I rarely looked at them again. For me, an album is much more pleasurable to leaf through, and also for showing my prints to other people.
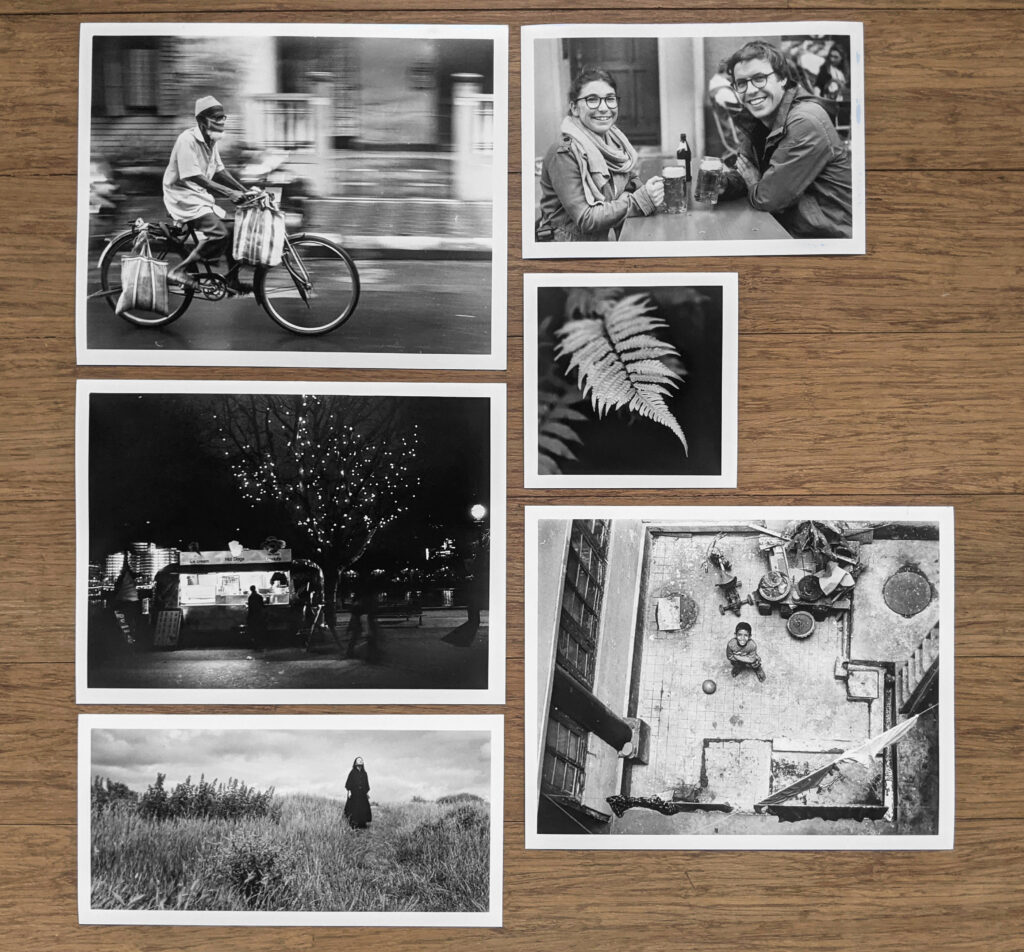
I think of my film photos as existing in three separate forms, in three different archives: (a) negatives and transparencies, (b) scans, and (c) prints.
The guiding principle behind my system is that given an item from any one of these three archives, I should be able to easily locate it in the other two. So for example, if I’m looking at a print in one of my albums, I should be able to find the corresponding negative and scan.
A second principle is that the system should not take too much effort to maintain. Developing, scanning and printing are already a lot of work, and knowing myself, if the system involves too much effort and friction, it will eventually break down.
Finally, a third principle is that the archives should include some basic info, such as year, camera and film stock.
Scans
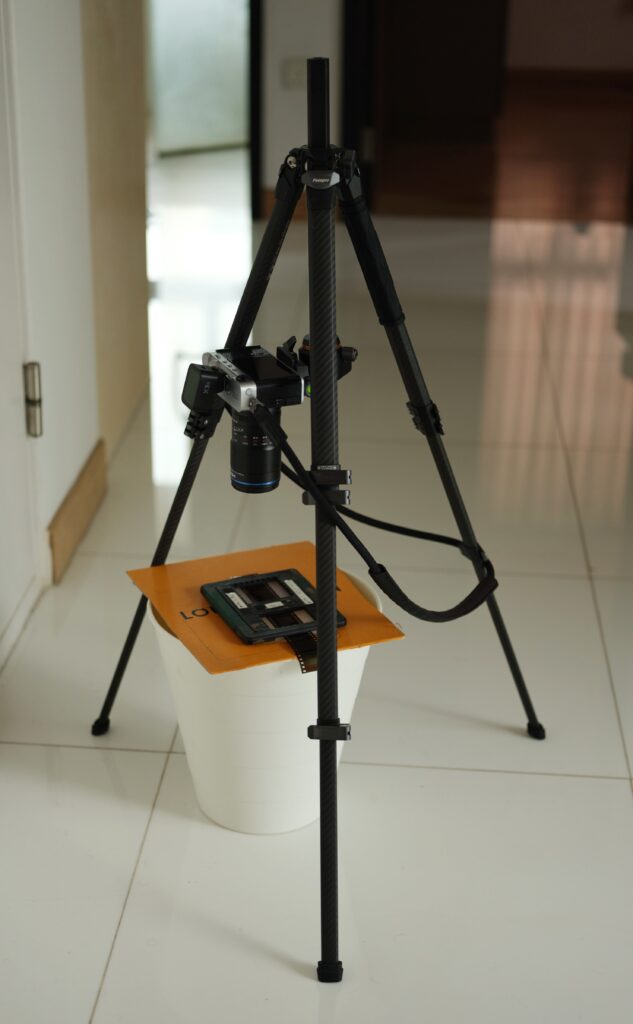
The scans are the first thing I archive. Colour film generally gets scanned by the same lab where I develop it. But B&W film—which I shoot more of—gets developed at home, and “scanned” with a digital camera. I use pixl-latr as a film-holder and diffuser, and a diffused off-camera flash as backlight, placed inside an Ikea recycling bin. The photo below shows my home scanning setup (I’ve written about it in more detail on the pixl-latr blog).
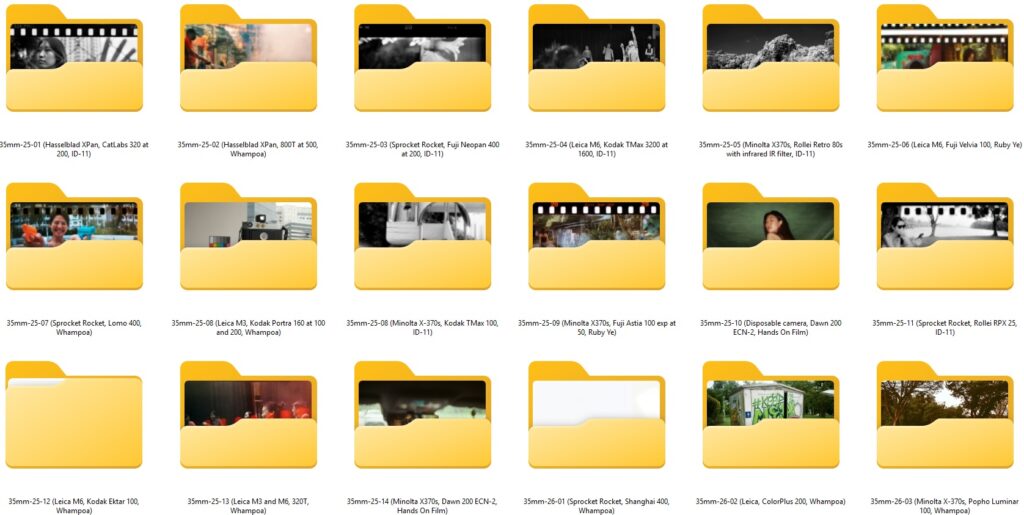
Once I have the scans from a roll of film, I put them in a folder on my computer. I name the folder as follows:
[format]-[year]-[serial] ([camera], [film], [developer or lab]).
So my folders have names like:
35mm-22-08 (Leica M3, Kodak Double-X, ID-11)
or:
MF-26-04 (Rolleiflex, Fuji Pro 160NS, Whampoa)
In this scheme, [format] is either 35mm or MF (for medium format). [serial] is the ordinal number for that year (so in my 35mm example, it’s my 8th roll from 2022). Then I have the camera and film, and the last field is either the developer (if I developed it at home) or the name of the lab.
For my film scans, I follow the 3-2-1 backup rule: keep three total copies of your data, on two different storage media types, with one copy stored off-site.
My primary copy of my film scans lives on my computer hard drive. Every few months, I back them up to (a) an external SSD, and (b) to Mega cloud storage.
Negatives
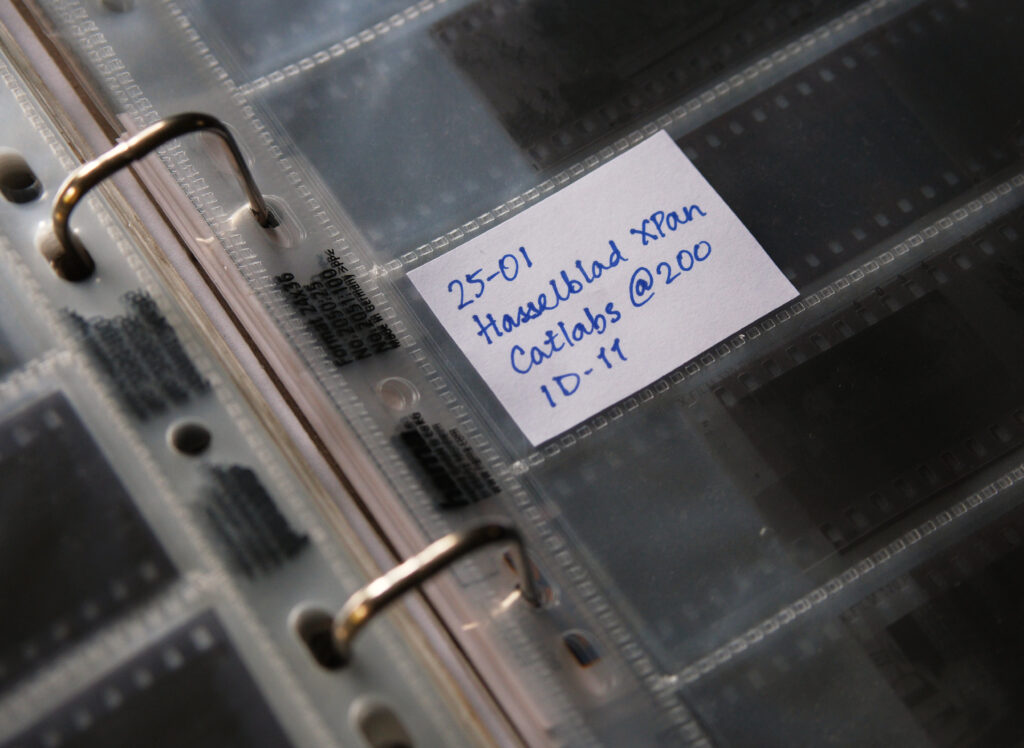
Once I’ve finished scanning a roll of film—or collected it from the lab as the case may be—I put the negatives in a clear acetate sleeve, and file it in a binder. In each sleeve, I include a slip of paper with the same “metadata” that’s in the folder name.
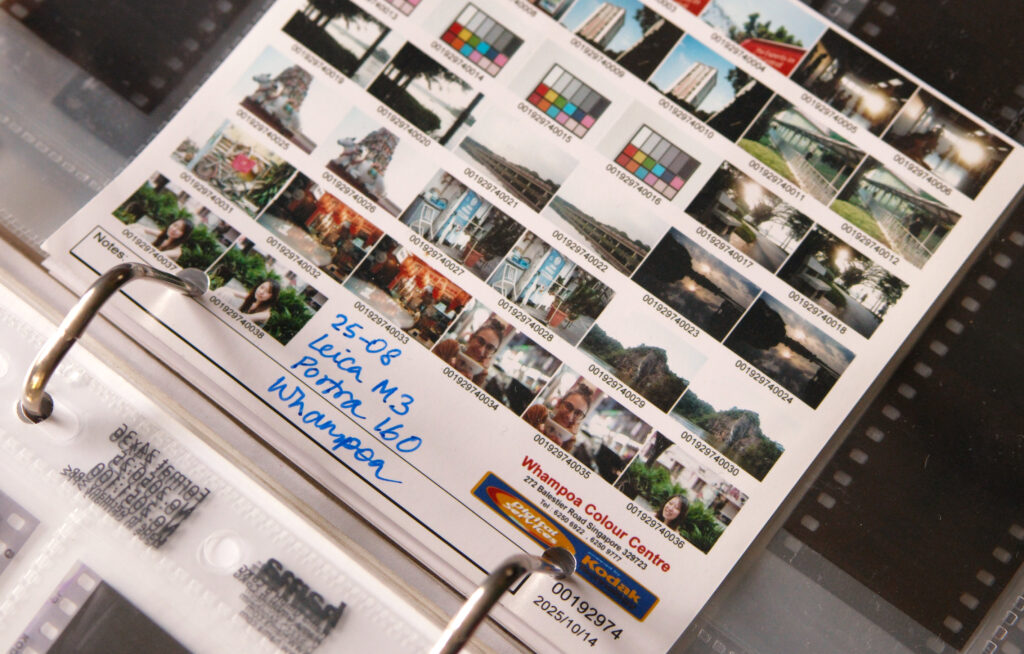
Some labs, like Whampoa Colour Centre in Singapore, also provide a digital contact sheet which is super helpful, and which I file along with the negatives.
The only exception is slide film which I mount and store in a box, also with the same info.
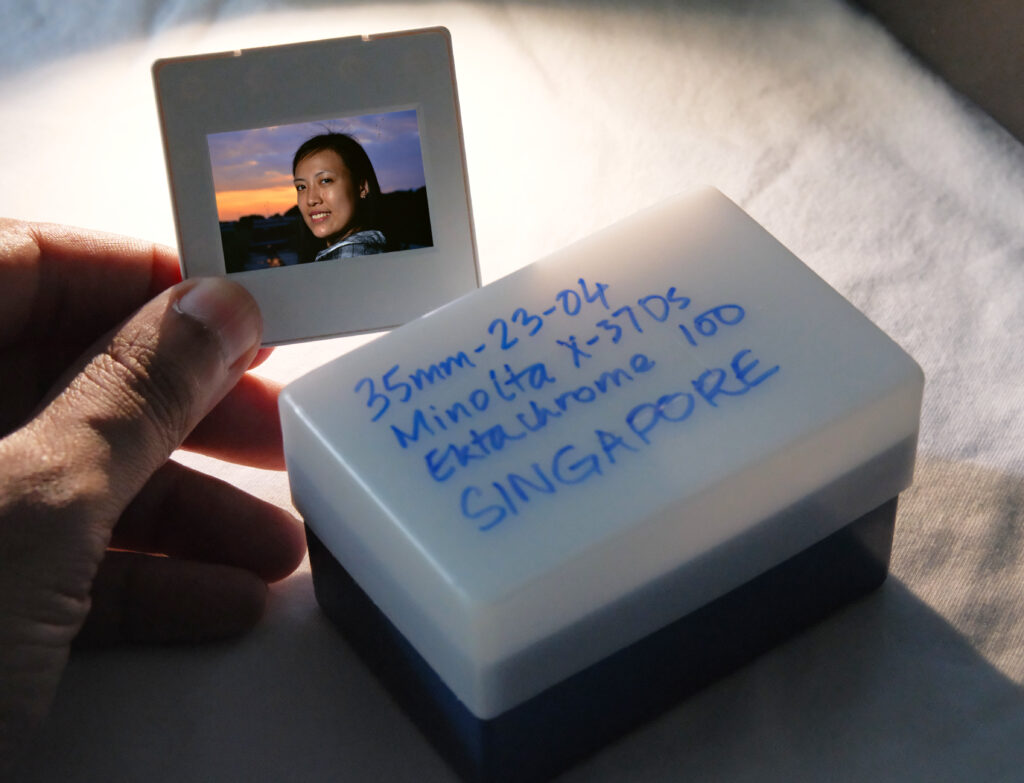
We have a projector at home (Zeiss Ikon Perkeo), which is why I like to mount my slides. But if you don’t plan to project your slide film photos, I guess they can go in a binder too.
Prints
Most of my darkroom prints go into Hama photo albums. In keeping with the analogue theme, I typewrite the captions and “metadata” in my albums.
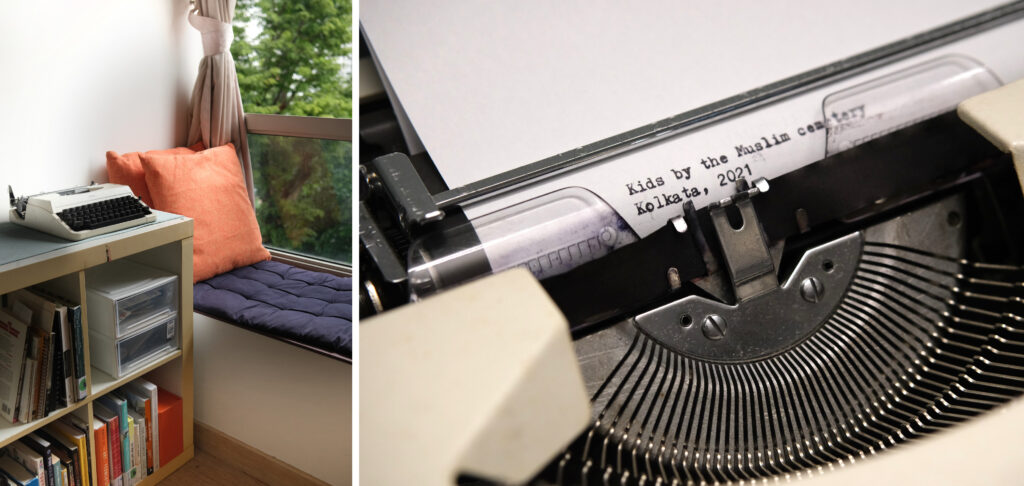
My typewriter is a Japanese-made Royal 202, which is a joy to use. I got it secondhand from an retired lady in Singapore, who said she used it to type her first job application. She was happy when I told her that I plan to use it; she had heard that “young people just use typewriters as decoration.”
I generally have just one photo per page, mounted with transparent photo corners. On the right page, I have the photo, along with the caption, place and year.
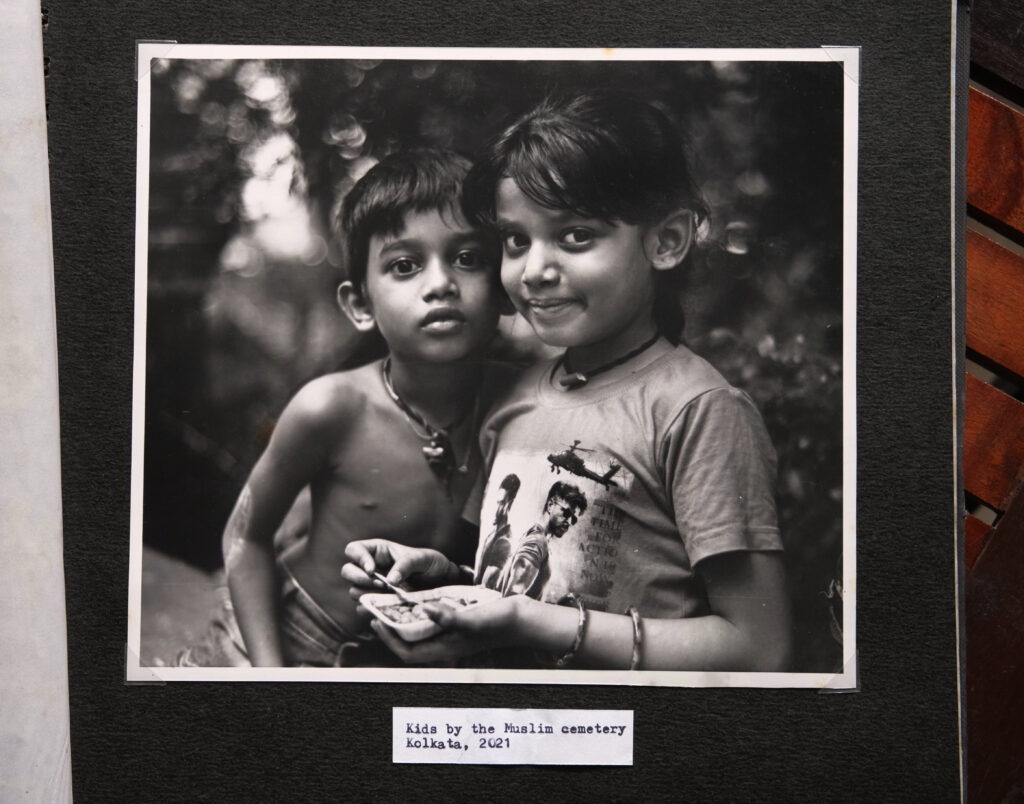
I think of the right page of the album as what “normal” people are likely to be interested in.
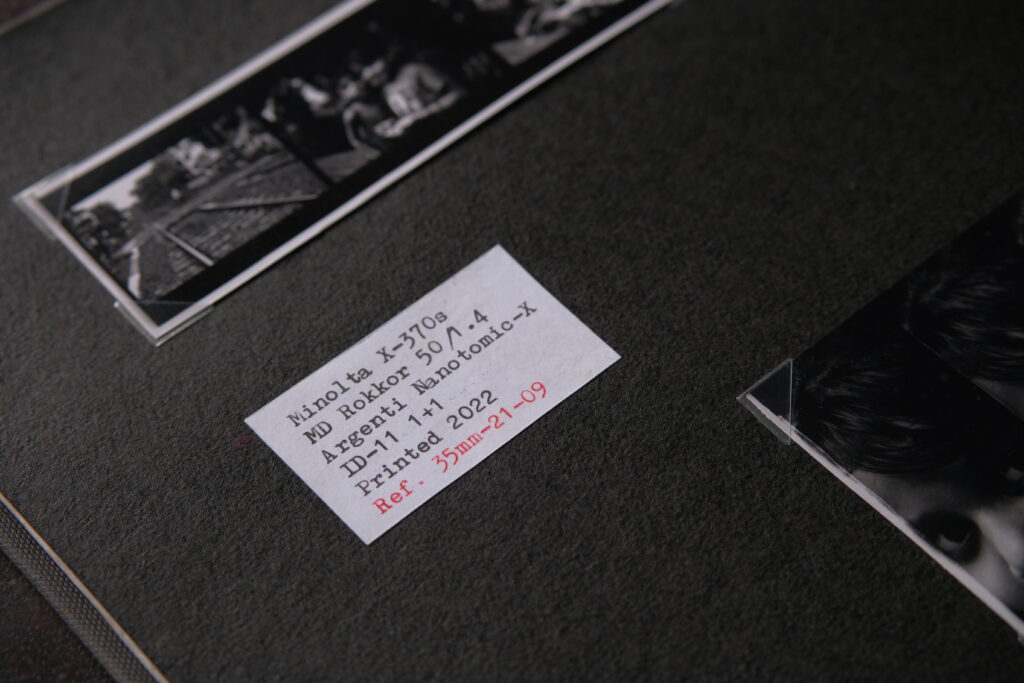
The left page is for the nerds. Accordingly, I include more info about the photo—similar to what I have in the folder names on my hard drive, but here I also note the lens (if I used an interchangeable camera).
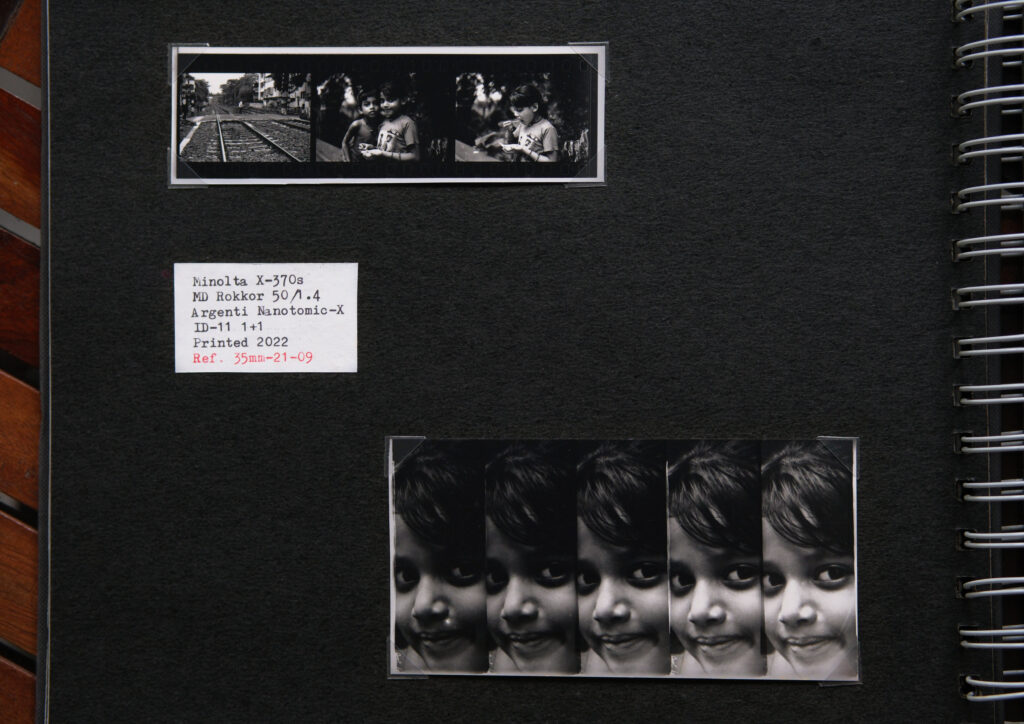
At bottom right is the test-strip which I always make in the process of making a darkroom print. If you’re not familiar with darkroom work, the purpose of a test-strip is to dial in the exposure and contrast for the final print. I use localised test-strips and F-stop printing, described in an earlier post.
I also include a mini contact sheet (top left) with just three frames—the photo which I printed, and the two frames immediately before and after. I like this because it often shows a sequence in time. Just before I shot Kids by the Muslim Cemetery, I walked across railway lines, and just after, there’s another shot of the same kids.
The contact sheet is a “proper proof”, i.e. printed at SPT (also known as minimum time to maximum black) at Grade 2 (standard contrast). If you’re not familiar with these terms and want to dig deeper, check out my article about 3 ways to make contact sheets.
The proper proof is the closest we can get to an “unedited” darkroom print. Using creative printing techniques, a negative which was, say, underexposed or overdeveloped can still be made to look good in a darkroom print. But a proper proof shows us what it “really” looks like.
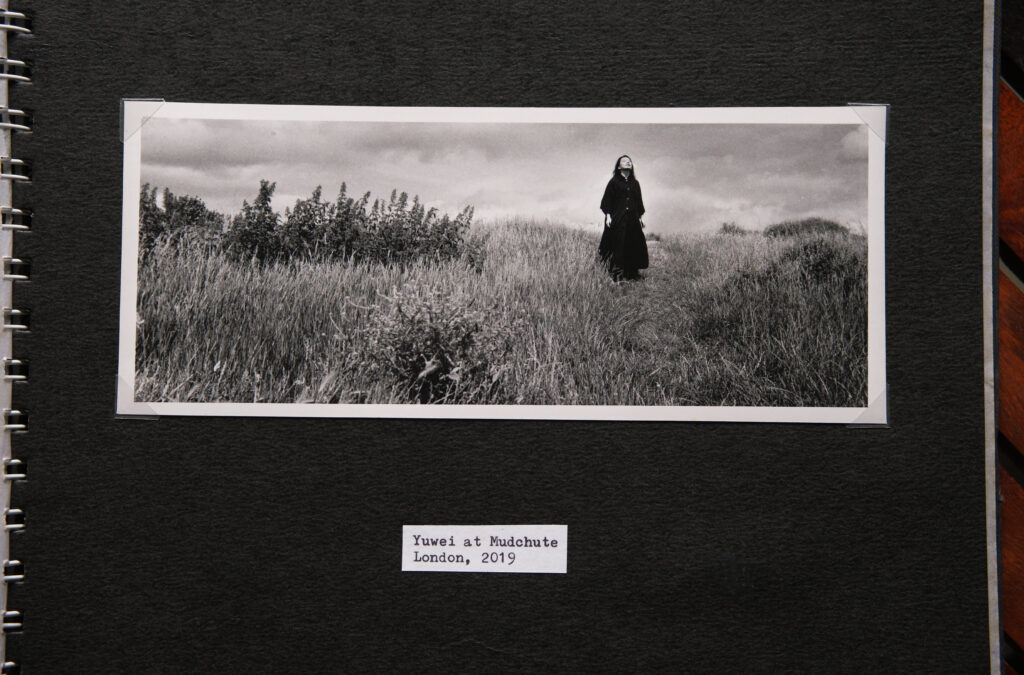
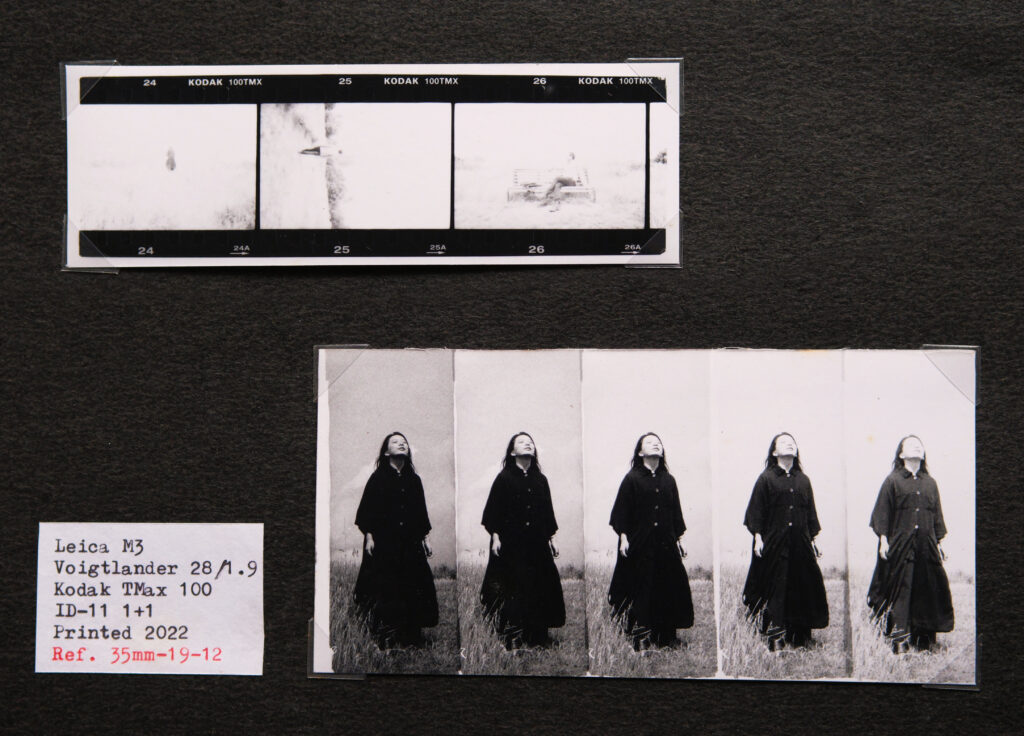
For example, although the print of Yuwei at Mudchute Farm (above) looks good, you can see from the contact sheet (below) that the original negative was extremely overexposed. In fact, I initially thought it was unprintable, but Kodak TMax has incredible latitude.
It’s good to have the proper proof as reference, because it helps me spot my own mistakes (I was shooting without a light-meter and just guessed the exposure, which was clearly off), and also if I want to print the same negative again.
Tying it all together
The key to the system is the indexing. I can look at a print in my album, and the label will tell me that it’s from, say, 35mm-21-09. It’s then very easy to locate the corresponding negatives (which are filed sequentially in my binders), or the scans (which have the index number in the folder name). Similarly, if I’m looking at scans, the folder name tells me how to find the corresponding negative, and vice versa.
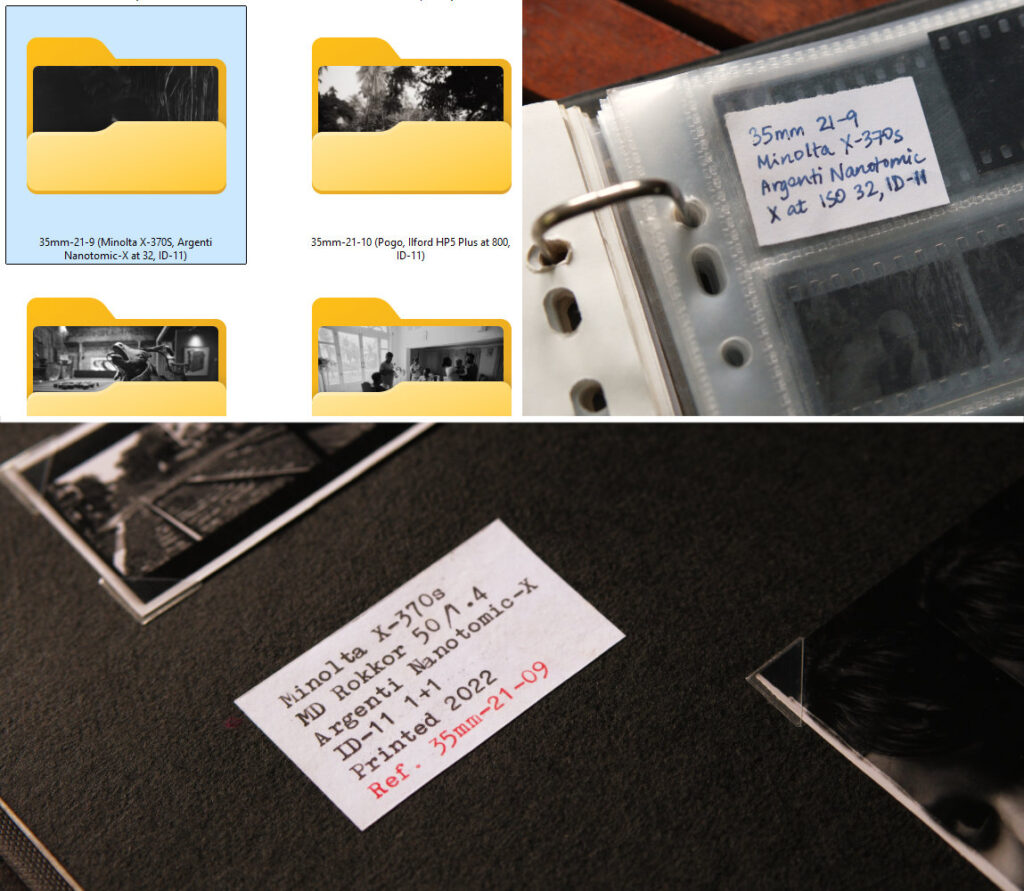
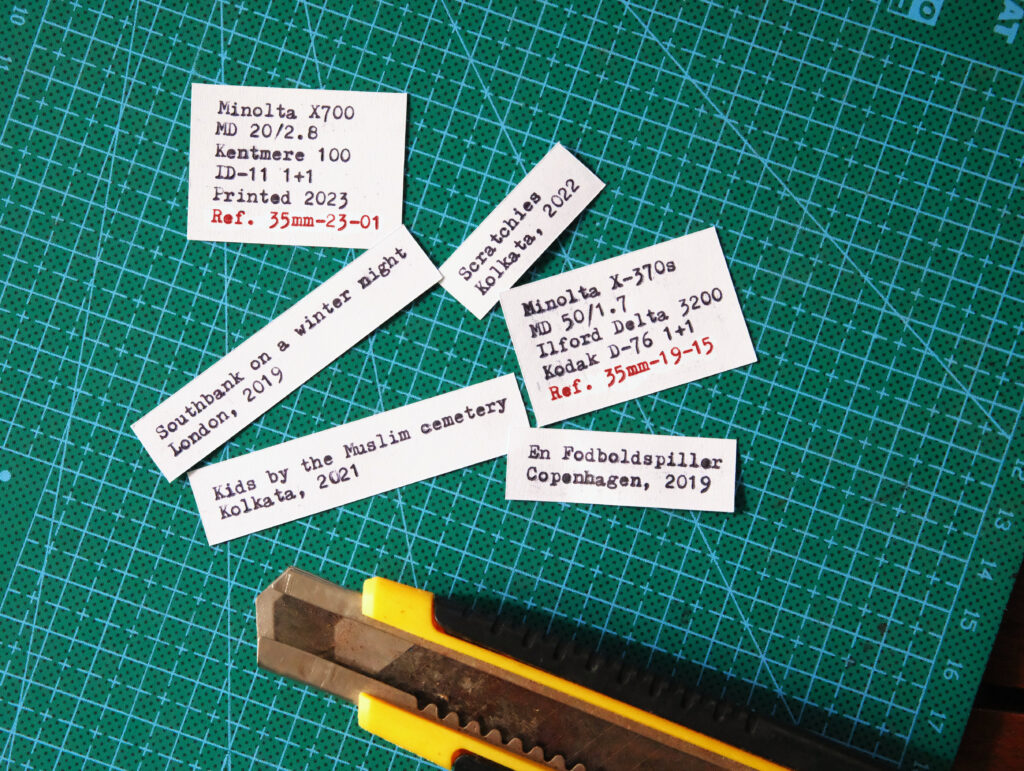
It also doesn’t take too much effort—mainly just renaming the folder after scanning, inserting an info-slip in each negative sleeve, and typing out a similar slip for my album. If anything, the most tedious part is cutting out the typewritten slips and pasting them into the album. But the typing itself is super fun, which makes up for it.
For further organizing, browsing and searching my film scans, I use a couple of free DAM (digital asset management) tools. For example, I recently wanted to make an Instagram post featuring film photos of stray dogs of Kolkata, so my DAM software (Excire Foto Light) helped me search for dog photos across my various film-photo folders.
I also edit the JPEG metadata, which originally just have the name of the scanning device, to reflect the actual film camera and film stock that were used. For this, I use an ExifTool GUI which I coded myself. This is probably very niche (or even borderline-obsessive) territory, but if you want to know more about my post-scan DAM workflow, let me know, and I can write a separate post about that.
Obviously, I’m not saying that this is the One Right Way to archive your film photos. It may be too simple for some people, and too much effort for others. Hamish infamously bins his negatives, though I don’t know if he has since mended his ways [Editor’s note: I haven’t]. I’m just sharing my own process—and if you find some inspiration, or want to share your own tips or process, I’d love to hear.
Share this post:

Comments
No comments found